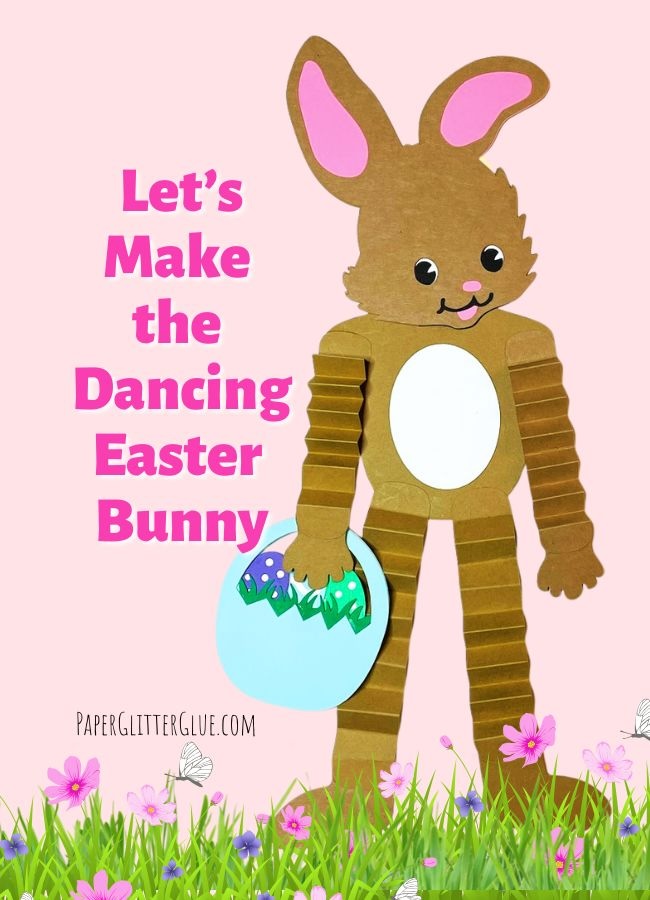
This adorable Dancing Easter Bunny is a cheerful papercraft that jiggles and wiggles when you move it, making it a delightful decoration or a sweet handmade Easter greeting. The bunny features easy accordion-fold arms and legs that bounce playfully when the piece is gently shaken. Or hang it on the door to help your Easter Bunny dance.
This design (no. 212 in the free Paper Glitter Glue library ) also includes a tiny Easter basket filled with colorful eggs, making it a festive spring project that is fun to craft and even more fun to share.
If you’ve made any of my dancing characters before, this bunny will be very familiar to assemble. The construction is simple and perfect for crafters of all skill levels - that means kids will have fun making it too.
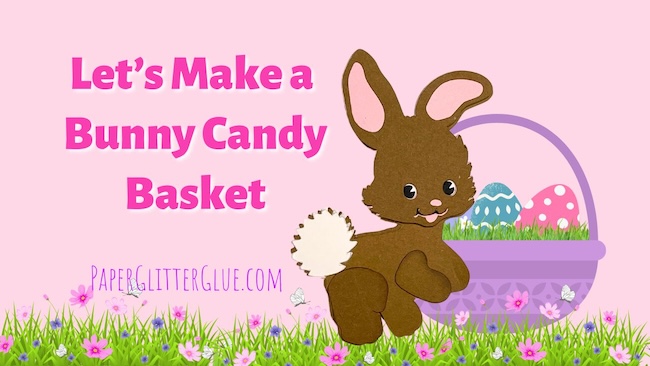
I was inspired to make this design from the Bunny basket. Be sure to check that one out, too.
Someone asked me to make a dancing bunny with moveable arms and legs. I just added that file to the library - it's under Design No. 212 as well. Isn't he cute?
Subscribe to get my crafting newsletter where I keep you up to date on making all sorts of papercrafts.
I’ll walk through the steps and share tips for assembling the dancing elements.
What supplies do you need to make the Dancing Easter Bunny?
Cardstock in coordinating colors
White cardstock for the bunny chest
Pink cardstock for the ears
Green cardstock for the basket grass
Scissors or a cutting machine such as a Cricut
Glue (a tacky craft glue works well)
Bone folder or ruler for folding the accordion sections
Printer for the pattern
String or ribbon for hanging the bunny
Steps to make the Dancing Easter Bunny
- Download the pattern for the Dancing Easter Bunny - Design No. 212
- Cut out the pattern for the Dancing Easter Bunny.
- Next let’s make the head of the bunny by gluing the four layers of the face pieces together.
- Glue the head to the background piece which includes the body.
- Fold the arms and legs to make the dancing elements of the bunny.
- Adhere the paws to the arms and legs.
- Glue the arms and legs to the bunny.
- Optional – glue the white chest piece to the bunny.
- Make the Easter eggs. There are two designs – glue a solid colored egg behind the front egg with decorative cutouts.
- Glue the grass section behind the handles on the basket. Add Eggs
- Glue the hanger piece to the back of the bunny’s head.
- Make someone happy by sending them your adorable Dancing Easter Bunny.
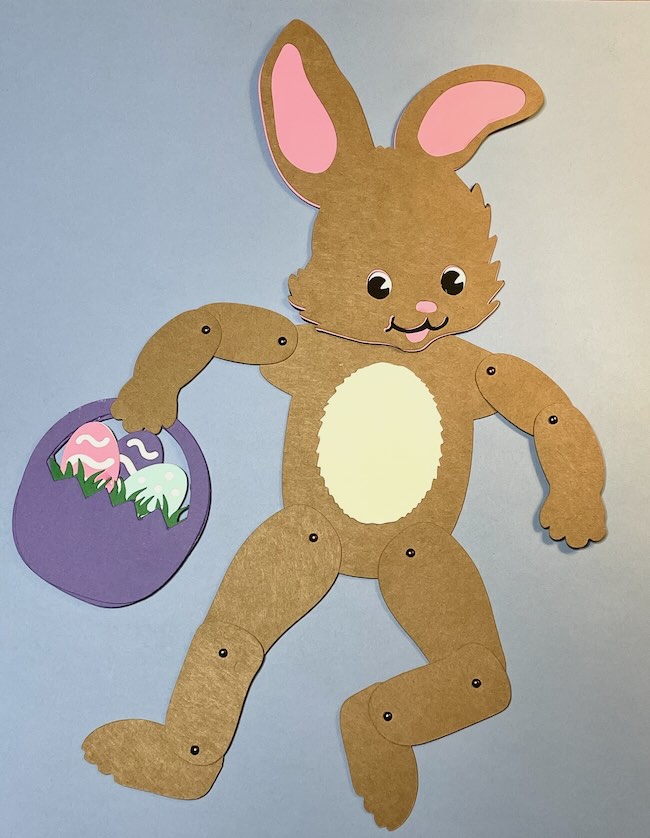
- Bonus Easter Bunny - the Dancing Easter Bunny with Moveable Arms and Legs
For more details on how to make this delightful Easter bunny, read below.
1. Download the pattern - Design No. 212
Download the Dancing Easter Bunny pattern from the Paper Glitter Glue library. The file includes the bunny pieces as well as the basket and decorative Easter eggs which cut out beautifully with the Cricut.
The SVG pattern for the Dancing Easter bunny is free in my Paper Glitter Glue library as Design No. 212. You do need the password though. If you don't already have the password, simply subscribe with the form below and you will get the password right away and all my crafty news.
2. Cut out the bunny pieces
Cut the pattern pieces using your cutting machine. If you are cutting by hand, take your time with the small facial pieces so they stay neat and crisp. Or you could draw in the facial features which would personalize the bunny and might be easier.
Here is how the pattern looks as you first upload it to Cricut Design Space. This view actually shows the score lines in red which is how I draw them to make them easier for you to determine what is a score line.
The only score lines are on the arms and legs and on the hanging tag for the back. See the red lines.

At the bottom of this upload image screen there is a green button on the lower right hand side that says - Continue. Click it.

The next photo shows the design in the Cricut Design Space canvas - where you actually set up the Easter Bunny design for cutting.

You need to see the entire design so go to the little toggle switch on the lower left hand side that says 100%. Click the minus sign until you can see the entire design. On my laptop screen I can see the entire bunny design at 50% reduction of the size on the screen - it does not change the size of the design.

Now we ungroup the design, delete my one inch scale square because we don't need it. Next select the parts with lines (the arms or legs) on them one at a time.
I've selected one of the legs in the layers panel. You can see that it is highlighted in green, but the arrow also indicates that it is grouped with the score lines.

Click the arrow so you can see the score lines grouped with the leg piece.

Next select the score lines ONLY within the layers panel on the right, then go to the color box to check to make sure that it is red (meaning I drew the score lines in red.
Finally, go over the the operations menu where it says Basic Cut with a scissors icon. Click on that and scroll down to score.

Choose score and the solid lines on the bunny legs will change to dashed lines which means that your Cricut will score them.
Then, and this is very important, select the entire leg piece (meaning the score lines and the leg piece) and scroll to the bottom of the layers panel and attach. That tells your cutting machine that these particular score lines are to be scored on this leg piece.
Do the same thing with the other legs, the arms and the hanging tags.
If I have confused you, just let me know by emailing me [email protected] and I will try to explain it better.
3. Assemble the bunny’s face
The bunny’s face is made from four layered pieces. Glue them together to create the eyes, nose, and mouth. Layering the pieces adds dimension and helps the bunny look extra cute.

4. Attach the head to the body
I like to glue 2 layers of the body together because the head is rather heavy and might make the top of the bunny flop forward. A thicker body helps hold the head up better.

Once you have done that, glue the head to the large background piece that includes the bunny’s body.
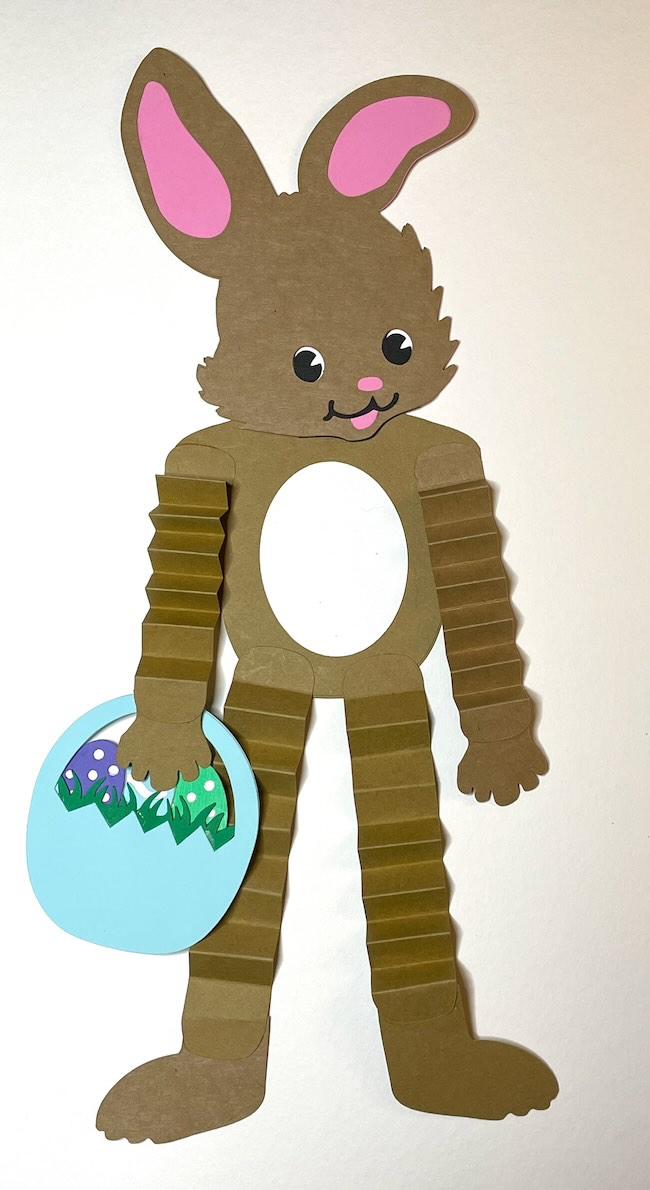
5. Fold the accordion arms and legs
The arms and legs are what give the bunny its playful dancing movement.
Using the score lines as guides, fold the strips back and forth in an accordion style. A bone folder helps create crisp folds, but you can also use the edge of a ruler.

6. Attach the paws
Glue the paw pieces to the ends of the folded arms and legs.

7. Glue the arms and legs to the bunny
Attach the folded pieces to the body so the arms and legs dangle freely. When the bunny moves, the accordion folds will bounce and wiggle.
8. Add the chest piece
Glue the white oval chest piece onto the bunny’s body if you would like that extra detail.
9. Make the Easter eggs
The design includes two egg styles - a zig zag pattern and one with dots.
Glue a solid egg behind the decorative egg with cutouts so the colors show through the openings.
10. Assemble the Easter basket
The photo below shows the components for the Easter basket.

Glue the grassy piece behind the basket handle so the grass peeks up from the top.
Then tuck the eggs into the basket and glue them in place.
Glue to the Easter bunny's paw.

11. Add the hanger
Glue the hanger piece to the back of the bunny’s head. Once dry, you can add a small piece of string or ribbon so the bunny can hang and dance.
12. Share your dancing bunny
This little bunny is guaranteed to make someone smile. Mail it to a friend, hang it on a spring bulletin board, or use it as a cheerful Easter decoration.

Bonus Bunny - The Dancing Easter Bunny with Moveable Arms and Legs
The only significant difference between this bunny and the bunny with the accordion folded arms and legs is that you substitute cut out pieces of the arms and legs. Each piece has a small hole to insert a tiny brad so that the arms and legs can move freely.
You can see the pieces in the photo below. The PDF files show you all the pieces so that it is easy to assemble.

It's fun to pose him and he dances on his merry way.

Leave a Reply