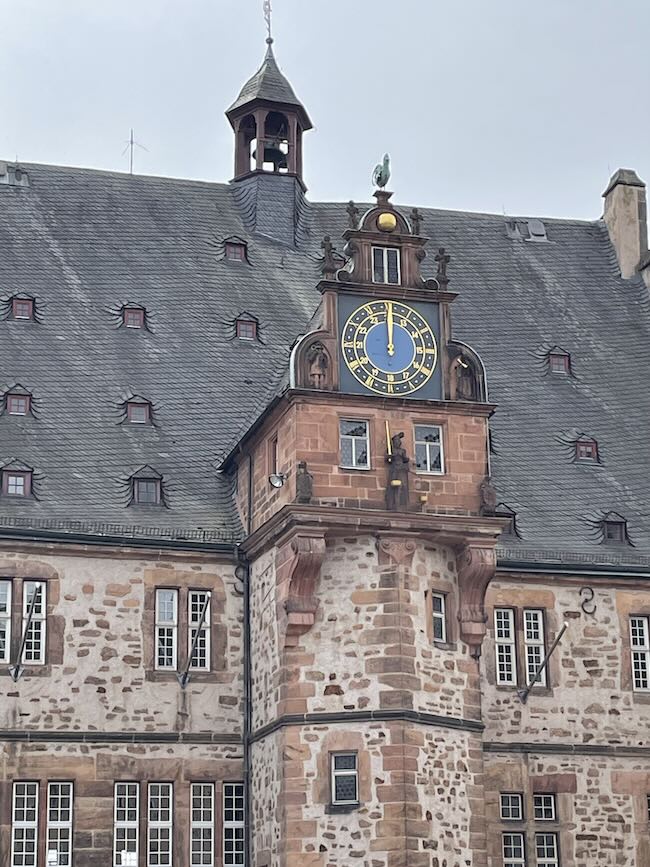
It's time to finally bring the European Town Hall to life. This building is based on an iconic Rathaus (Town Hall) in the beautiful town of Marburg, Germany. I saw so many delightful details that I just had to make it as my first project after coming back from my first European trip.
It did take some time to get the pattern done though. All the beautiful details including the famous chicken on top of the clock tower took some time to design.
You can get the free pattern for the Marburg Town Hall in my free Paper Glitter Glue library as design no. 191. Subscribe to my newsletter to get the password for the library.
Materials to Make the European Town Hall
- Free Design file no. 191 from the Paper Glitter Glue library
- Cardboard or watercolor paper or cardstock - If using cardstock, heavier cardstock like 110# cardstock works best.
- Paint for cardboard or watercolor paper
- Glue - Bearly Art Glue is my favorite for cardstock or watercolor paper
- Aleene's Quick Dry Tacky Glue is my favorite for cardboard
Here is the link to the video where I made the European Town Hall.
Steps to Make the European Town Hall
- Cut out all the pieces for the Town Hall
- Fold along all the score lines
- Paint if needed (cardboard or watercolor paper)
- Glue on the windows and doors before assembly (that's the way I like to do it, but it's not absolutely necessary)
- Glue on decorative trim
- Assemble the main structural pieces - the body of the town hall and the front tower
- Assemble the smaller pieces - the layers of the front gable, the small cupola, and the chicken
- Add shingles to the roof pieces if desired
- Glue the front tower to the main body of the European Town Hall
- When the front tower is dry, glue the main roof on
- Glue the front tower roof to the main roof and tower
- Adhere the cupola to the roof (you may have to trim the end of the cupola slightly to fit above the tower roof)
- Glue base insert in the bottom to keep your structure square
- Finally, glue the famous clock tower chicken in place
Below I'll into a little more detail about making the European Town Hall based on the iconic building in Marburg, Germany.
1. Cut out all the pieces
For this project I used watercolor paper because it is strong, cuts well, and is easy to paint.
Here's how the pattern looks when uploaded to Cricut Design Space.
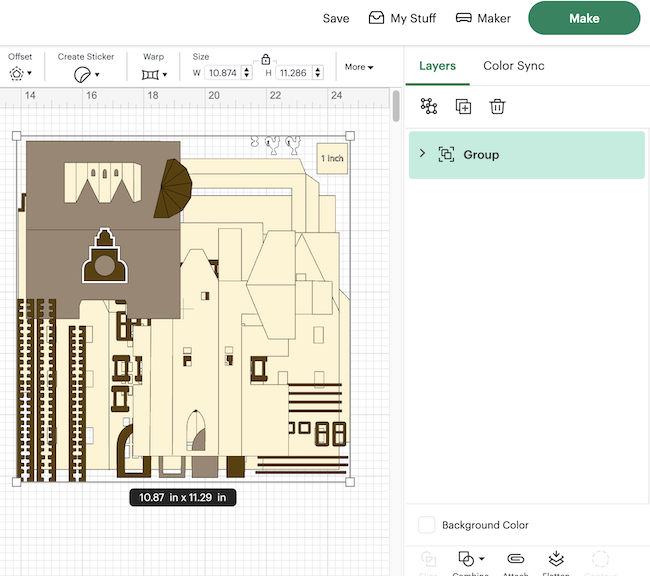
There are a LOT of pieces.
The most important thing to remember is to attach score lines to the pieces with score lines - the structural pieces. These are the 8 pieces with score lines.
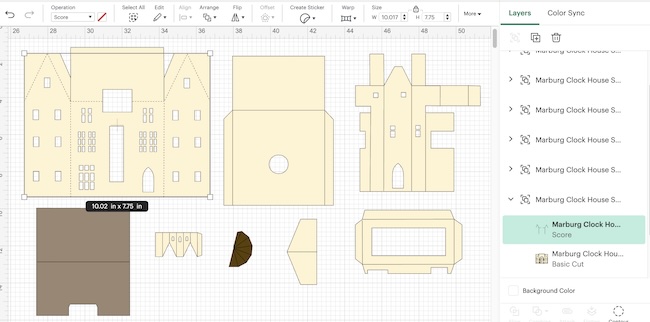
Each piece with score lines is grouped with its own score lines. So within the layers panel on the right click on the piece and the little down arrow on each piece. The score lines will be the first part.
Here's how to convert the score lines from cut lines to score.
- Click on the score lines while you are in the layers panel, go over to the top left and check the color box - it should be red. I always draw the score lines in red to specify these lines as score lines.
- Next move your cursor more to the left which is the operations panel. Click on it to open. Scroll down to choose score.
- Then go back to the layers panel and choose the entire piece, scroll to the bottom of the layers panel where it says ATTACH. That's very important. Now your cutting machine knows exactly where to make the score lines on this piece before it cuts out your project.
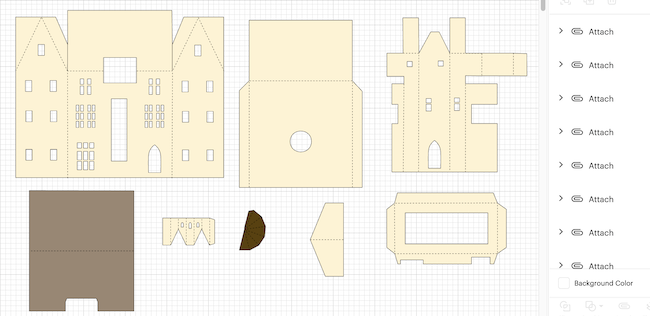
This photo shows all of the pieces with the score lines attached.
2. Fold along all the score lines
I always fold along score lines before I continue making any of my 3D projects. It makes lining up windows and doors so much easier. Also if you paint your projects, you can see the score lines so much better when they are folded before painting.
3. Paint your pieces if using watercolor paper or cardboard
Another thing I like to do is paint before construction because I'm a messy painter. It's easier to do small details like windows and doors before you glue them to the house itself.
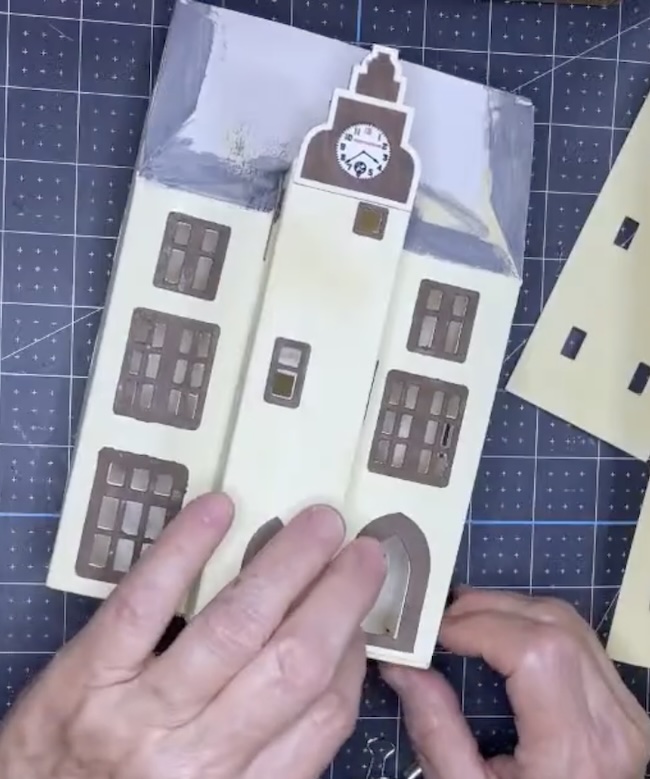
4. Glue on the windows and doors before assembly
Centering the doors and windows is easier before the building is assembled.
5. Glue on decorative trim
It's easier to glue on the decorative trim when the house flat before assembly.
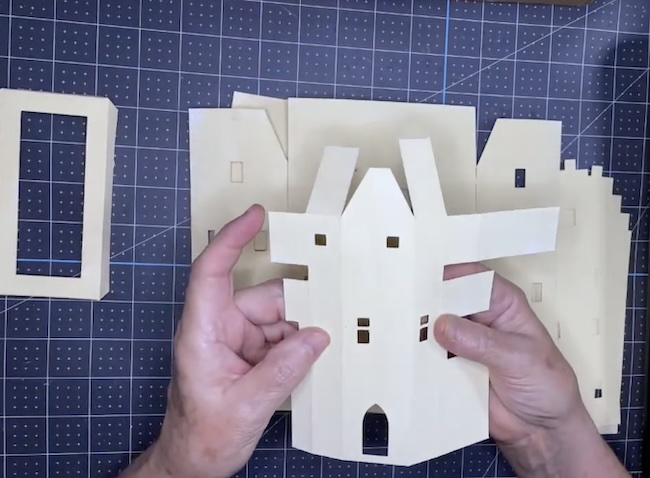
6. Assemble the main body of the town hall and the front extension
Glue the back tabs together to make the structure of the front extension. Also glue the roof flaps together on the Town Hall front extension. I used some binder clips to hold things in place while the glue dries.

Next make the main structure of the town hall by gluing the back piece within the front pieces which has 3 sides. Apply glue to the side tabs on the back piece to do this.
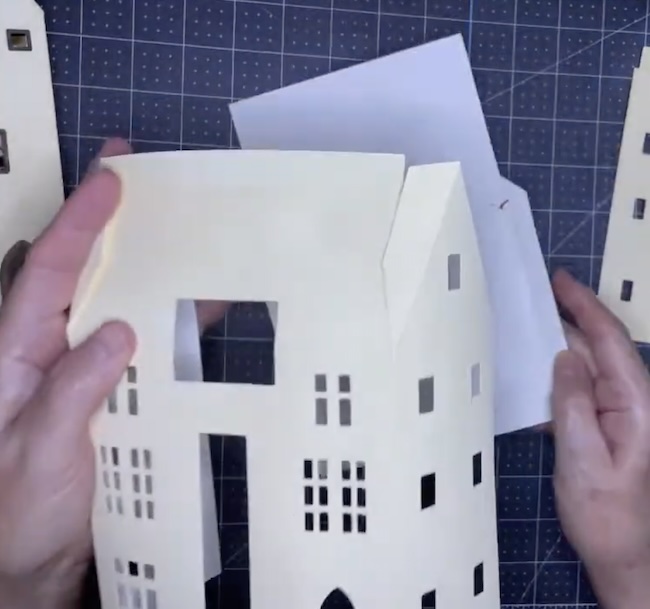
Also glue down the roof tabs to the roof flaps.
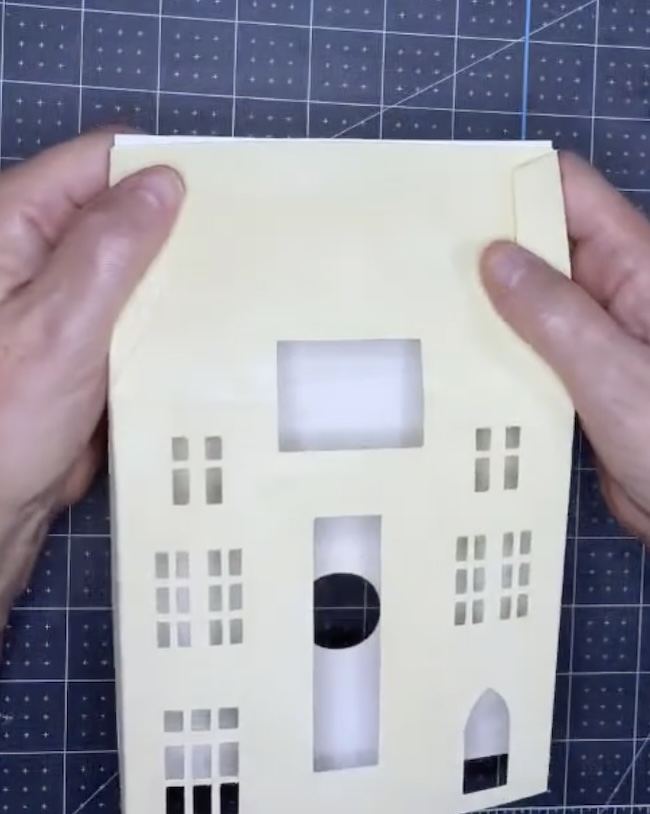
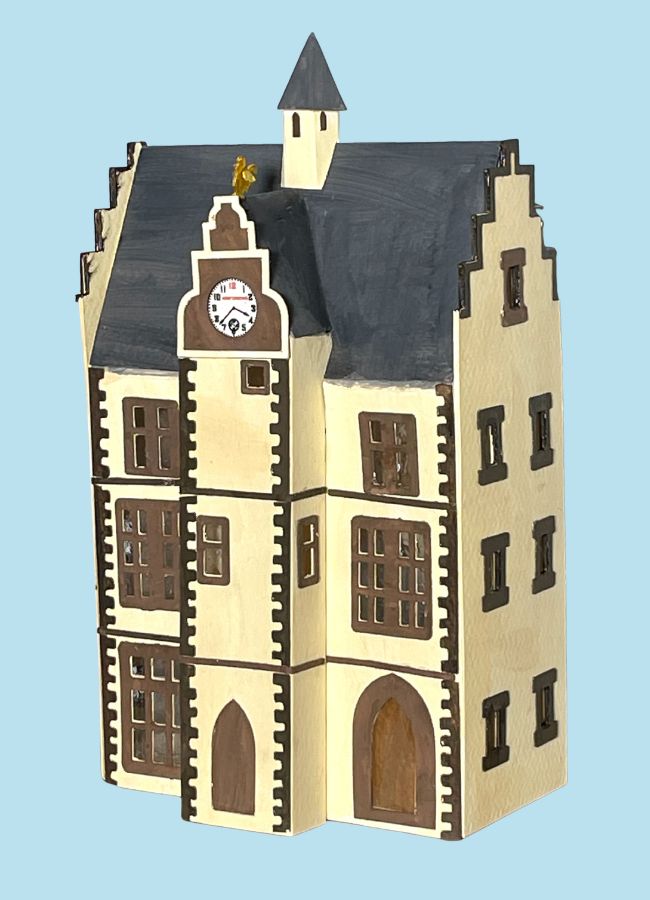
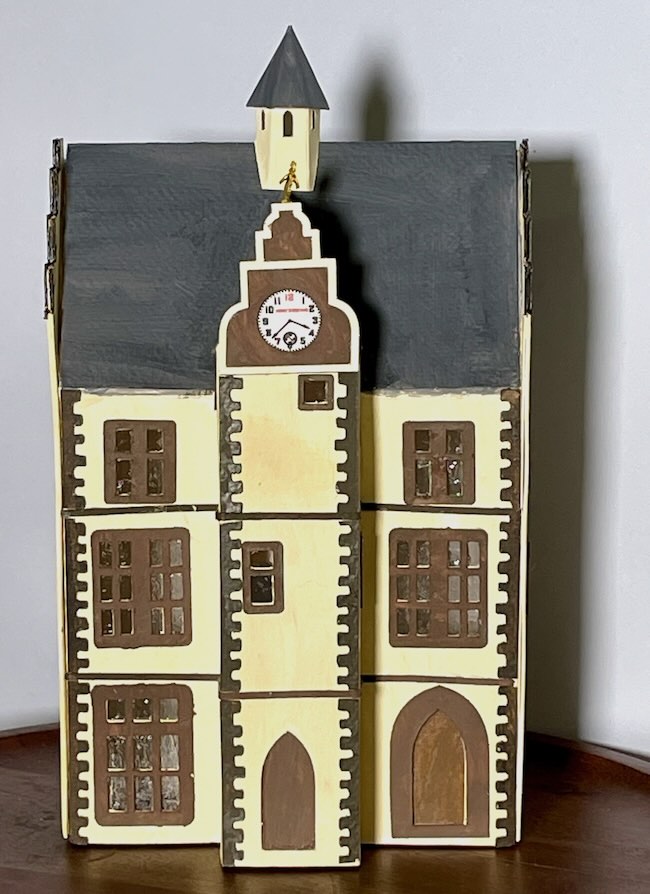
This is how it looks when the windows, doors, and trim have been added and the structure is complete.
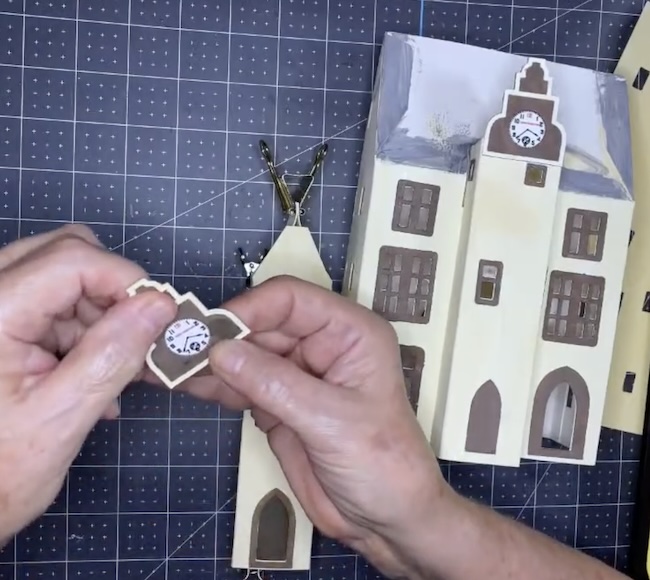
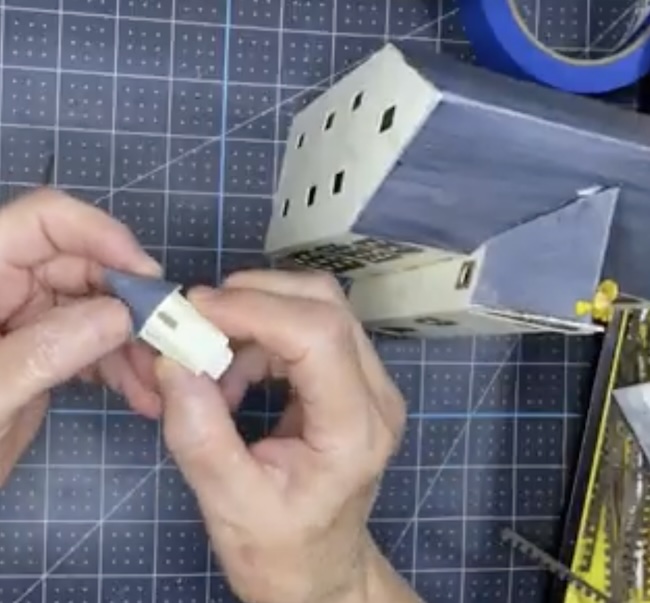
7. Assemble the smaller pieces
Make the smaller pieces like the front tower trim, the chicken, and the small cupola that goes on top of the town hall.
Glue the clock cutout behind the circular cut on the front tower trim. I used the free clock graphics from the Cardboard Christmas website for this clock.
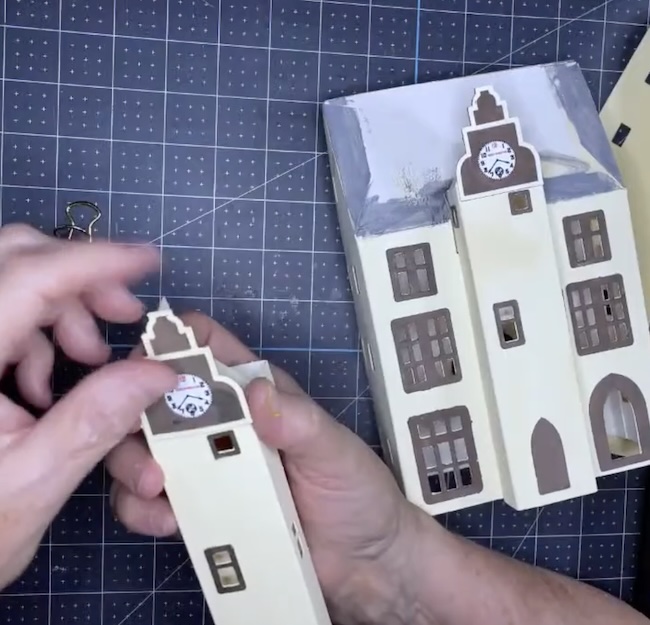
Glue the front trim with the clock to the top of the front tower.
8. Add shingles to the roof if desired
This is an optional step, but it is much easier to add shingles at this time rather than once the house is constructed.
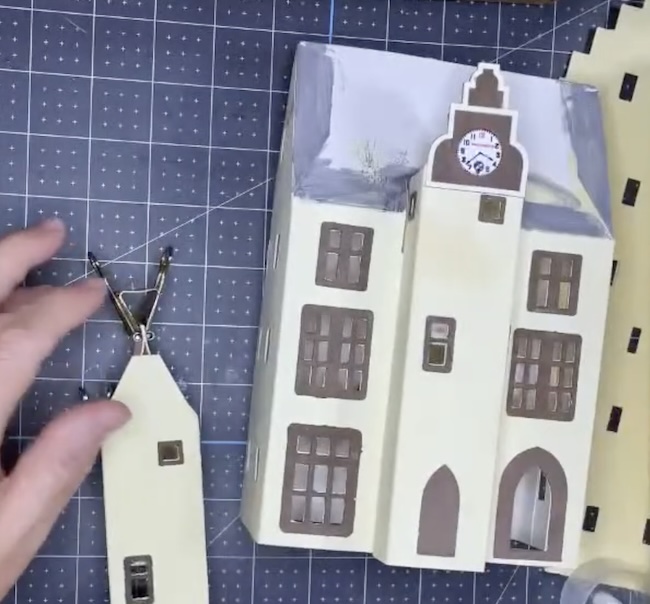
9. Glue the front tower to the front of the Town Hall
10. When the front tower is secure, glue on the roof
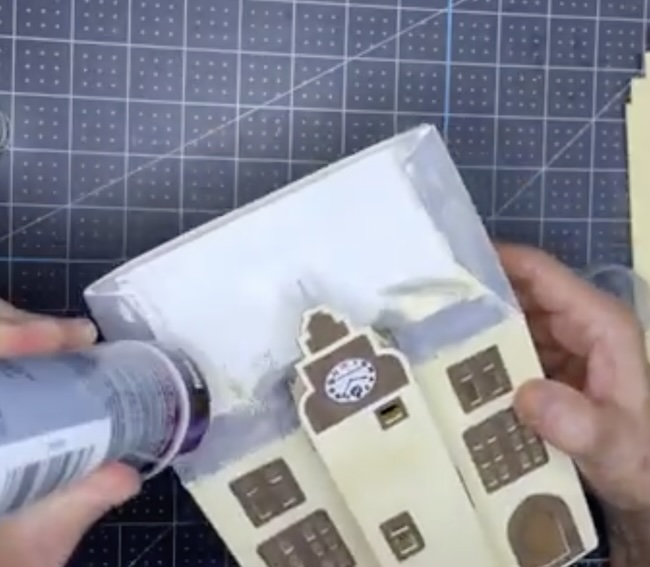
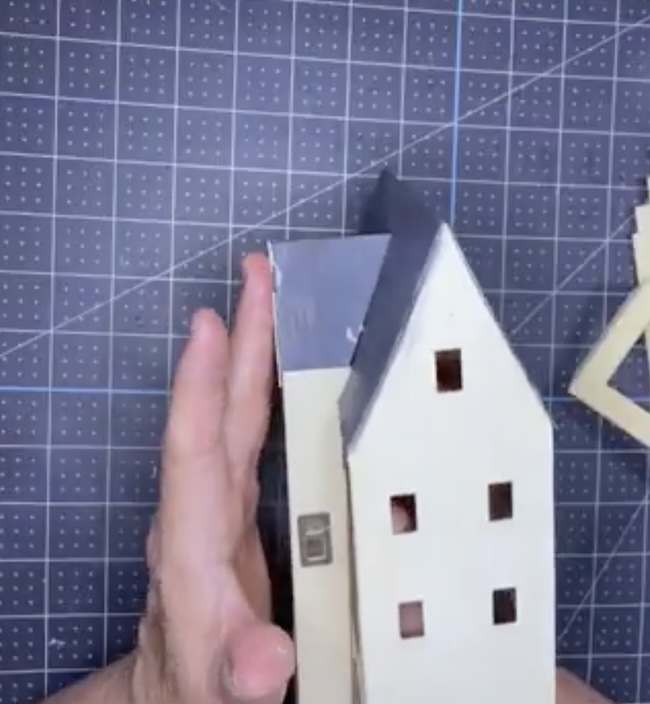
11. Finally, glue the small roof to the front extension.
Apply some pressure in front of the tower and behind to make sure the roof adheres well.
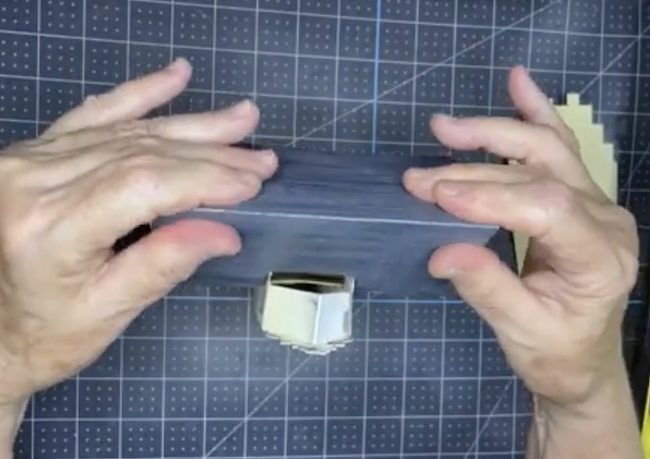
12. Adhere the cupola to the roof
Sometimes you have to trim the cupola just as tiny bit so it fits over the roof of the front tower.
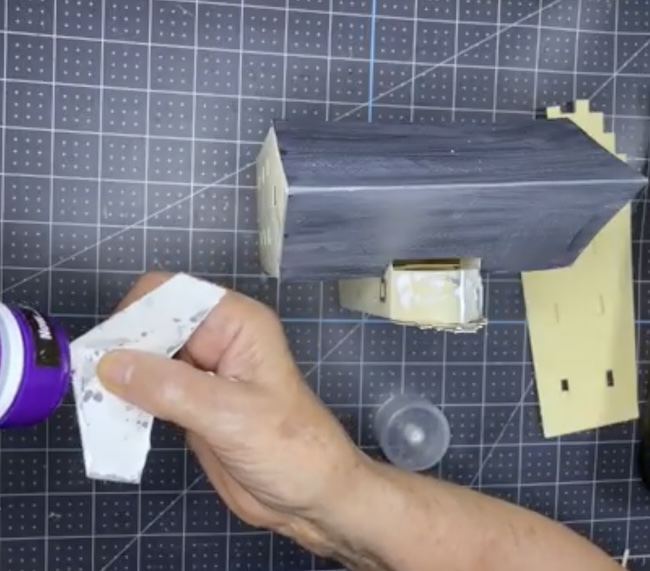
13. Glue base insert in the bottom to keep your structure square
14. If desired, make the famous Marburg Chicken to adhere to the top of the front tower
I must admit that the Marburg chicken is kind of fiddly to make and to adhere to the castle tower roof, he is a famous part of the Town Hall.
Remember you can see the video to see the complete construction of the European Town Hall.
If you have any questions, please let me know. I am always happy to help.
I hope you enjoy this project.
Lucy
Leave a Reply