

There is something wonderfully spooky about opening an old book and discovering a tiny Halloween world hidden inside. A Halloween book diorama combines the look of an antique book with a miniature haunted scene, making it a fun project for Halloween decorating. You know I love stuff like this. I hope you do too.
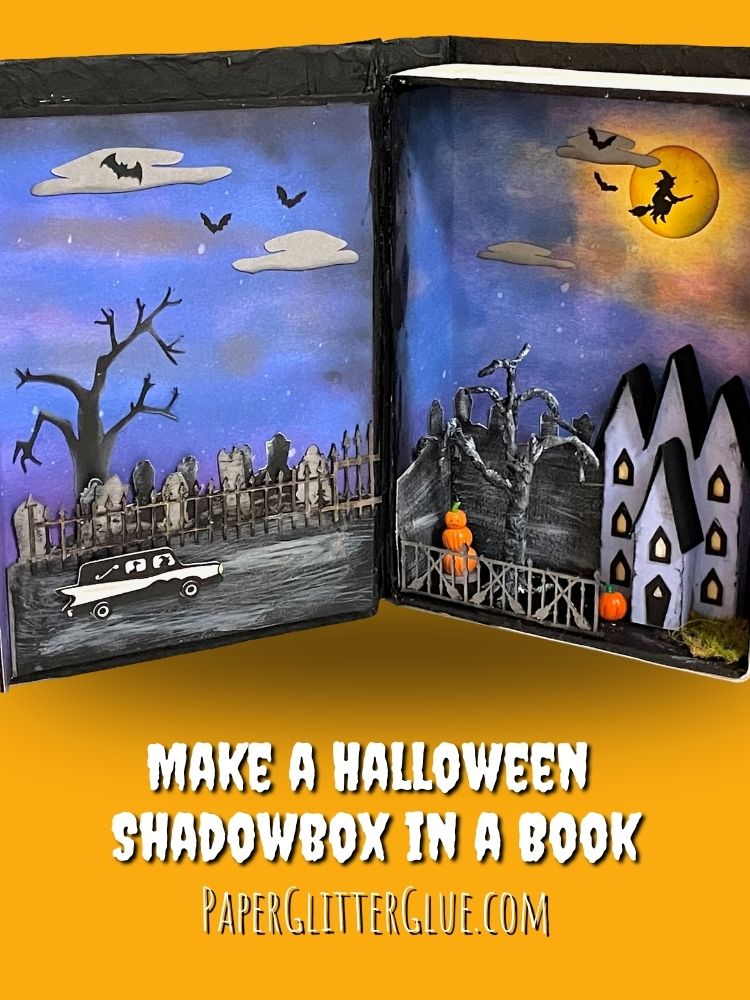
The best part is that you can customize pretty much every detail—from the cover and title to the haunted house, dark inky sky, trees, bats, and other spooky details. In this tutorial, I'll show you how to turn a simple box into a miniature Halloween book and fill it with a spooky 3D scene.
Supplies for Making the Halloween Book Diorama or Shadowbox
- Cardboard for book cover
- Cardstock to various elements
- Crumpled paper to make leather-like cover on book
- Mod Podge
- Clamshell box (with a lid that opens like a book)
- Paint - Black Gesso paint for book cover and priming the book box
- Ink or various colors of paint to make background for the Diorama
- Glue to adhere background and elements to inside of book
- Hot glue
- Scoring board for making book edges
- Scoring stylus
- Halloween elements - trees, bats, clouds for example
- Velcro dots to keep book cover closed
- Foam dots to add dimension to elements
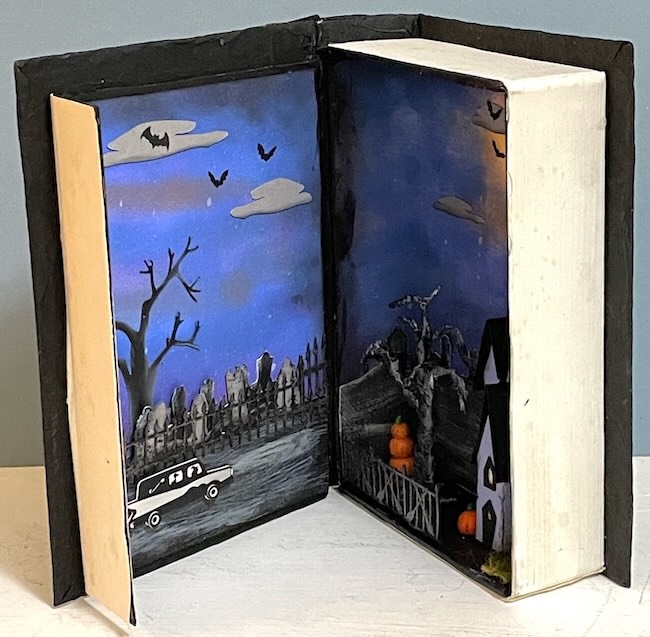
Steps for Making a Halloween Book Diorama
- Download the free pattern Design No. 220 from the Paper Glitter Glue library
- Make the Book section of the diorama
- Choose a box that opens like a book
- Make book cover with crumpled paper and cardboard
- Paint the box black
- Paint the book cover to mimic leather
- Stamp or cut out a title for your book
- Make the background pieces
- Ink or paint or cut out pieces for the background
- Cut to fit background inside the book
- Construct a Halloween House to fit inside the diorama
- Add other 3D Halloween elements
- Assemble the book
- Decorate the inside of the book
Download the free pattern for the Halloween Book Diorama or Shadowbox - Design No. 220
You can access this file from my library if you have the password. And if you don't have the password, just subscribe to my newsletter with the form below and you will get the password right away. It's also at the bottom of every one of my emails.
I've included SVG and PDF files for this shadowbox project.
Make the Book Section of the Diorama
Make the Book Structure
The first step is creating the structure that will become your book. For this project, I used a clamshell-style box, the type of shallow box that opens along a hinge just like a book does. The box gives you a sturdy foundation for the diorama while providing the depth you need for the miniature scene.
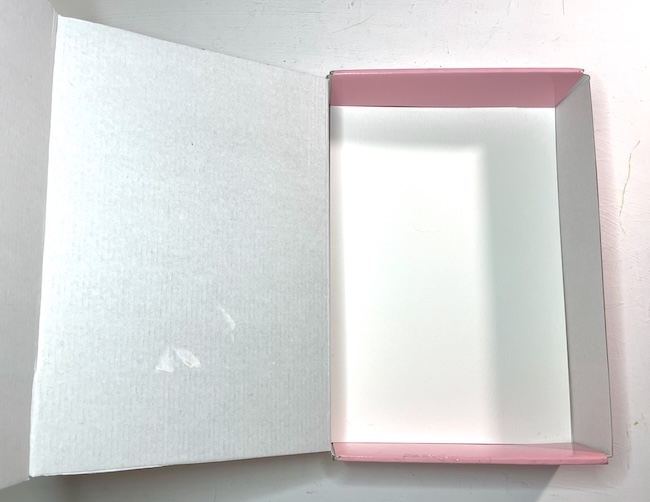
Choose a box deep enough to fit the Halloween house you have chosen along with your other decorative elements. The box I used is about 2 inches deep because my little house fits well in this size box.
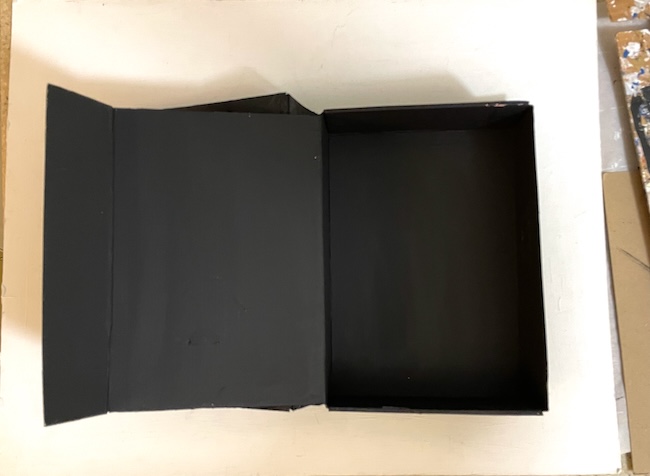
Before assembling everything, paint the clamshell box black. This is an important detail because any edges or gaps that are visible inside the finished diorama will recede into the shadows rather than standing out against the background.
Make the book cover
Next, make the book cover from cardboard. You'll need three pieces: one for the front cover, one for the back cover, and a narrower piece for the spine.
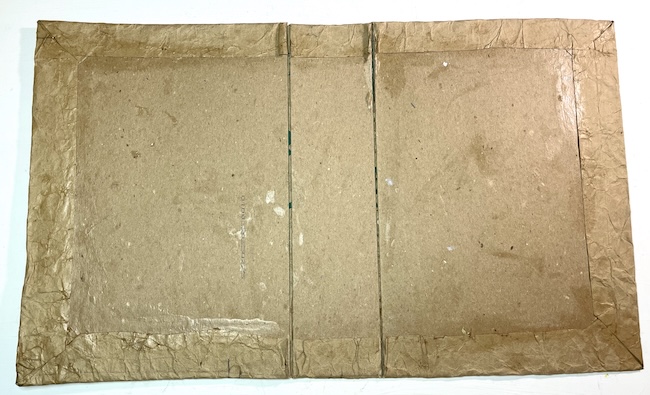
The spine should be just barely wider than the thickness of your book box.
Cut the covers slightly larger than the box so they extend beyond the edges and give the finished project the proportions of an old book.
Cover the cardboard pieces with paper to create the appearance of old wrinkled leather. You can use textured paper, cardstock, kraft paper, or another material that will take paint well. Once the pieces are covered, paint and distress them to give the book an old, worn appearance. I pretty much always stick to black for leather, but you can use other colors.
Important: When you glue the covers and the spine in place on the paper leave a large enough space to fold the covers into a book shape.
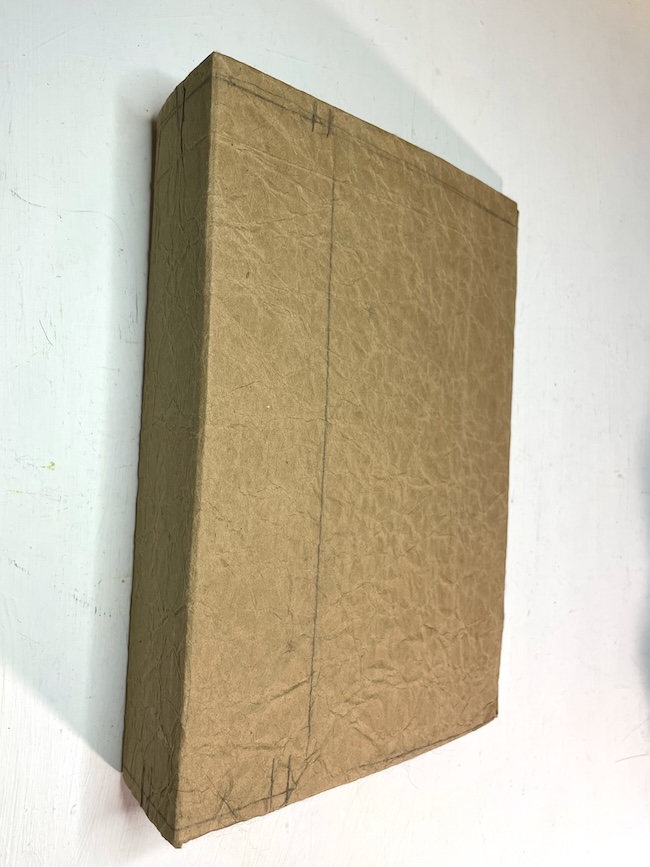
Cut the top cover of the clamshell box off and glue it separately to the outside cover of the book so the book will open easily.
Score paper to mimic the edges of the book pages
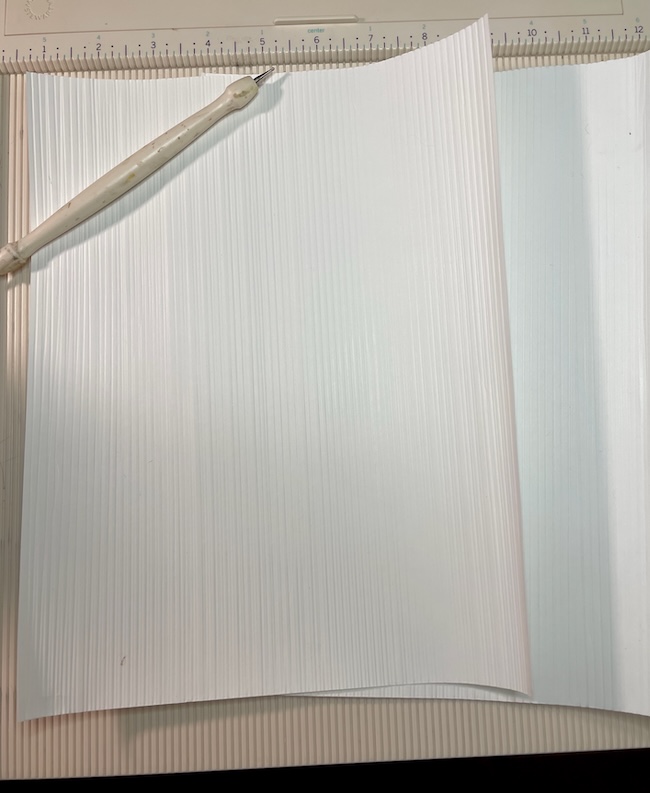
Also score a piece of plain paper with evenly spaced lines to mimic the edges of old book pages. This important detail helps reinforce the idea that the entire scene is tucked inside an antique book.
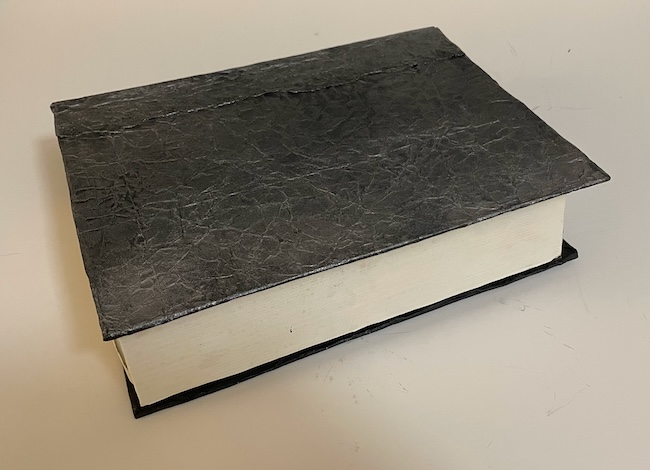
Here's a side view of the book so you can see the scored pages as well as the leather effect on the cover.
Finally, give your book a title. You can cut letters from paper or cardstock, use a stamp, or create a decorative label to attach to the cover. Something appropriately mysterious—such as The Haunted Village, The Book of Shadows, or Tales from the Graveyard—can make the finished project feel like a real book. I haven't done that yet. I have to figure out the perfect title.
Create the Background for the Diorama
Now it's time to create the Halloween design inside your book. I had fun with this step.
Start by deciding what you want the background to look like. You can paint or ink a background directly onto paper, or create separate layers from cut paper and cardstock. Hills, mountains, a distant tree line, clouds, and other silhouettes can be layered to give the scene depth.
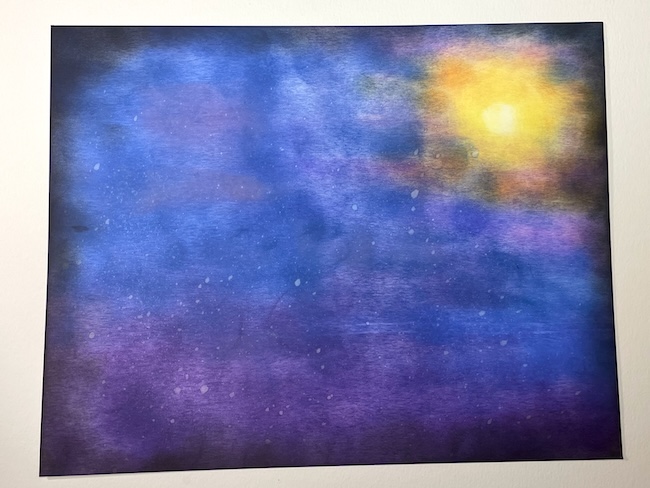
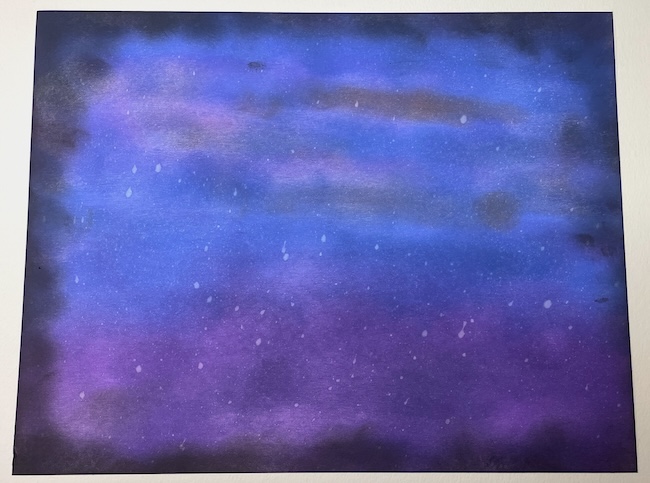
I show you how to make the background for this diorama or shadowbox in this video.
Make the Halloween Elements to Decorate Your Shadowbox
For a Halloween scene, consider adding elements such as:
- A large full moon
- Halloween house
- Bats flying across the sky
- Wispy clouds
- Bare or twisted trees
- Distant hills
- A spooky forest
- Graveyard silhouettes
- Miniature ghosts
- Flying birds or other nighttime shapes
I've included a number of Halloween elements in Design file no. 220 that you can use to decorate the shadowbox.
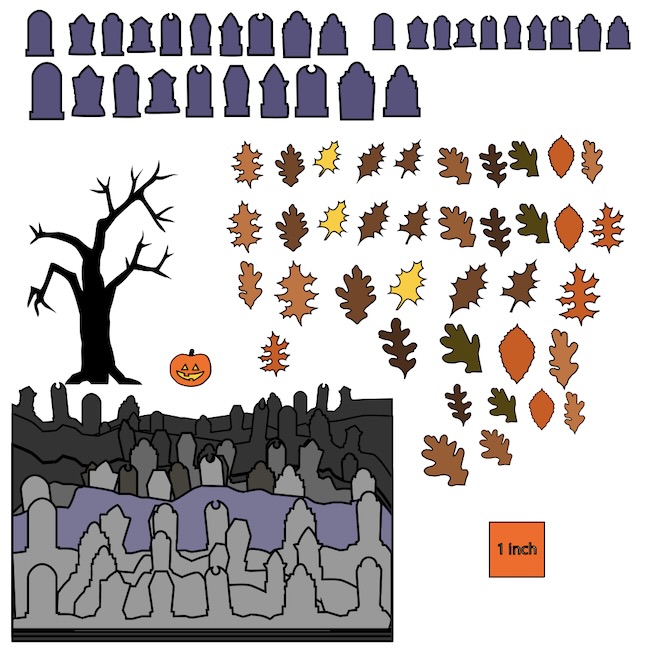
The photo below shows a few elements I considered for my Halloween scene.
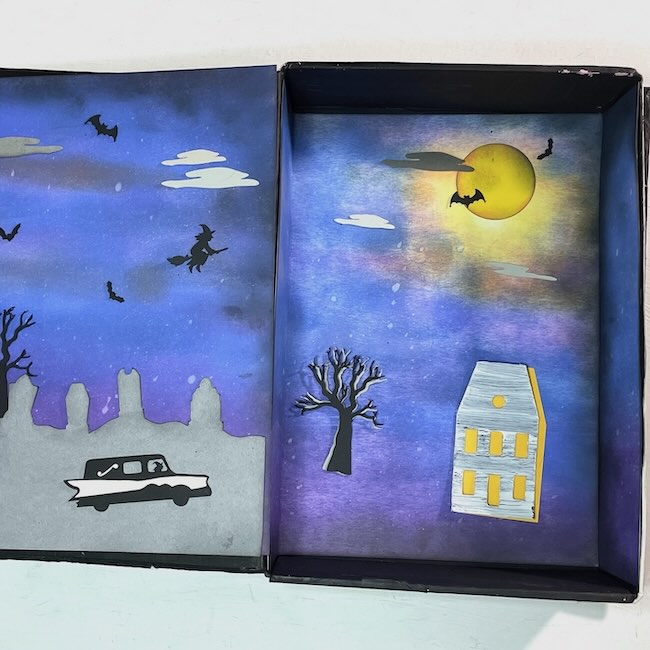
Don't glue everything down yet. One of the most enjoyable parts of making a diorama or shadowbox is experimenting with the arrangement. Move the pieces around and try different combinations until you find a composition you like.
Once you've decided on the arrangement, cut the main background paper to fit inside the book. I extended the background to the inner spine area.
Make the Halloween House
The haunted house is the main focal point of the diorama, so this is a good time to build it before permanently attaching the background.
For my project, I'm using the Triple Gable Gothic Halloween House pattern from my Paper Glitter Glue library. The original pattern is designed as a miniature Halloween house, but I've modified the proportions so the house will fit inside the book. You can find the pattern as Design No. 219 in the free Paper Glitter Glue library.
The Triple Gable Gothic is especially appropriate for a Halloween diorama because of its tall, dramatic roofline and gothic appearance, BUT it is very fiddly to make.
I've modified another Halloween house that works better I think. I've added Minerva's Halloween house No. 9 to the file.
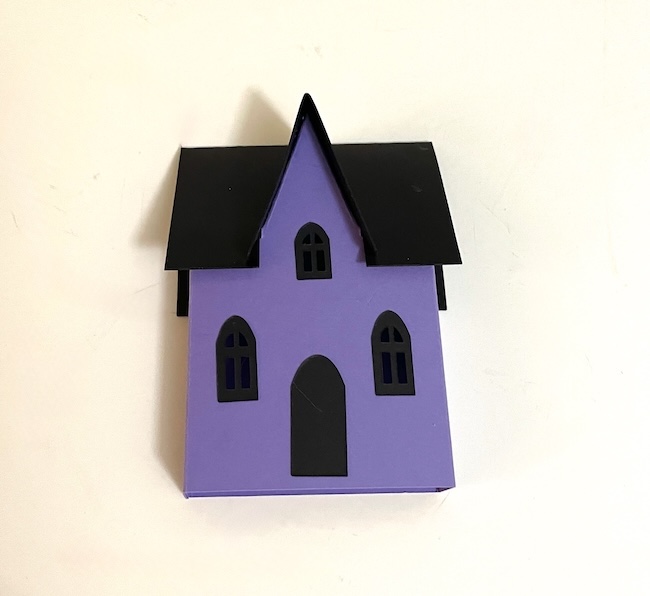
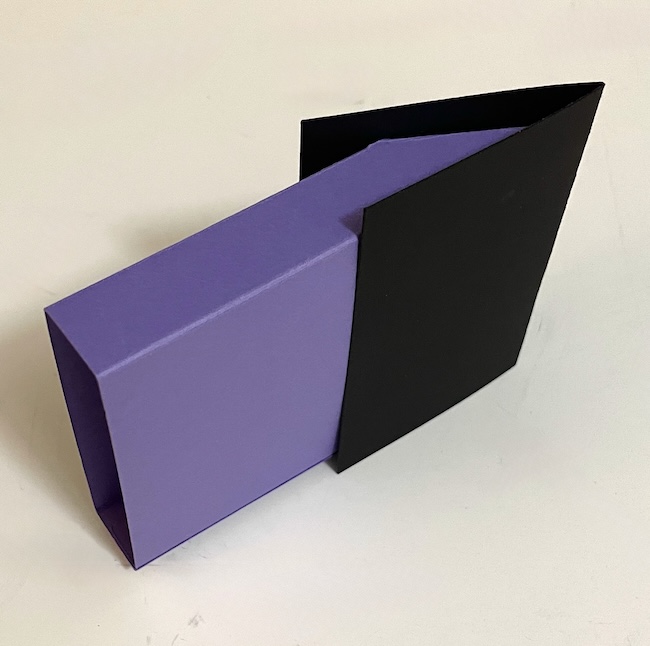
When adapting a house pattern for your book, remember to consider both its height and its depth to make sure it fits in your book shadowbox.
Add Other 3D Elements
Once the house is finished, think about what else belongs in your Halloween scene. A few carefully chosen three-dimensional elements can make the diorama feel much more immersive.
A twisted, leafless tree is a particularly good addition. I have a good tutorial for making miniature twisted trees from wire and paper, which creates wonderfully crooked branches for a spooky scene.
Here's a video to show you how I make the twisted trees.
You could also add tiny pumpkins, tombstones, fences, mushrooms, gravestones, a signpost, or other miniature Halloween decorations. Just keep the scale in mind. Because the book is relatively small, even a tiny object can become a prominent feature.
I've made some really cute miniature ghosts and little pumpkin people that you can see in this video.
Assemble the Book
Once the book cover pieces and the inside components are ready, it's time to assemble the main structure.
Start by attaching the spine to the back of the clamshell box. I like to use hot glue for this step because it grabs quickly and creates a strong bond between the cardboard spine and the box.
Next, attach the back cover to the appropriate sides of the box. Take your time with this step and make sure the back cover is aligned before the glue sets.
Finally glue the front cover of the clamshell box to the outside front book cover being sure to leave enough room to fully open the book.
Now you have a book structure with an open space inside for your Halloween scene.
Add the title and any other decorations to the front cover. You can also distress the cover with additional paint, ink, or other details to make it look older and more weathered.
Decorate the Inside of the Book
Now comes the really fun part—turning the empty book box into a miniature Halloween world.
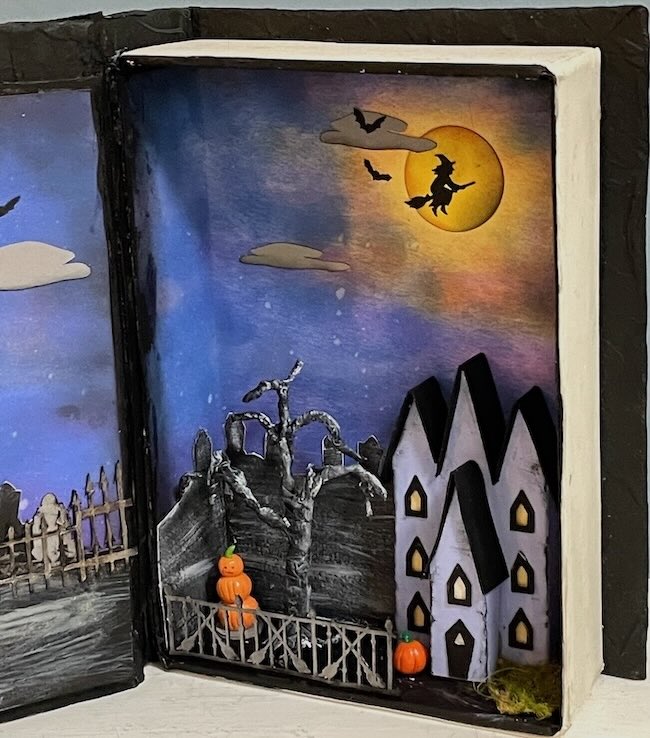
Begin by gluing the background pieces to the inside of the book. If you've created multiple layers, work from the back toward the front so that each layer builds on the one it is on top of.
Once the background is in place, start adding your decorative elements. Attach the moon, clouds, bats, trees, and other silhouettes to the background. Some elements can be glued flat, while others can be attached with small foam spacers to give them a more dimension on the background.
Finally, position the larger three-dimensional pieces, such as the haunted house and a twisted tree, for example. Before gluing them permanently, close the book carefully to make sure nothing interferes with closing the book.
Keep adding details until the scene feels complete, but don't feel like you need to fill every bit of space. Leaving some dark, empty areas can actually make a Halloween diorama feel more mysterious and visually interesting.
Enjoy Your Miniature Halloween Diorama
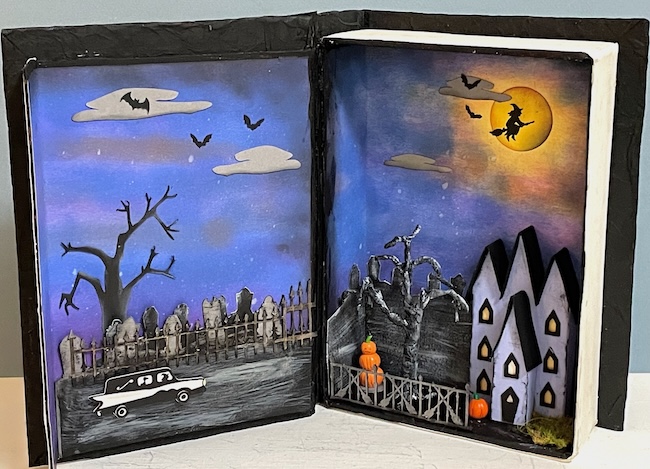
Once everything is securely attached, your Halloween book diorama is finished! What started as a simple clamshell box has been transformed into an old, mysterious book containing a spooky little scene.
Remember that there are endless ways to personalize it. Change the house, create a different landscape, add a glowing moon, build a graveyard, or give your book a completely different story. You can even make several books and create an entire collection of miniature Halloween vignettes.
So gather your cardboard, paper, paint, glue, and Halloween embellishments—and start creating a spooky little vignette of your own.
Questions?
If you have any questions, leave a comment here or email me - Lucy@paperglitterglue.com and I am always happy to help.
Leave a Reply