

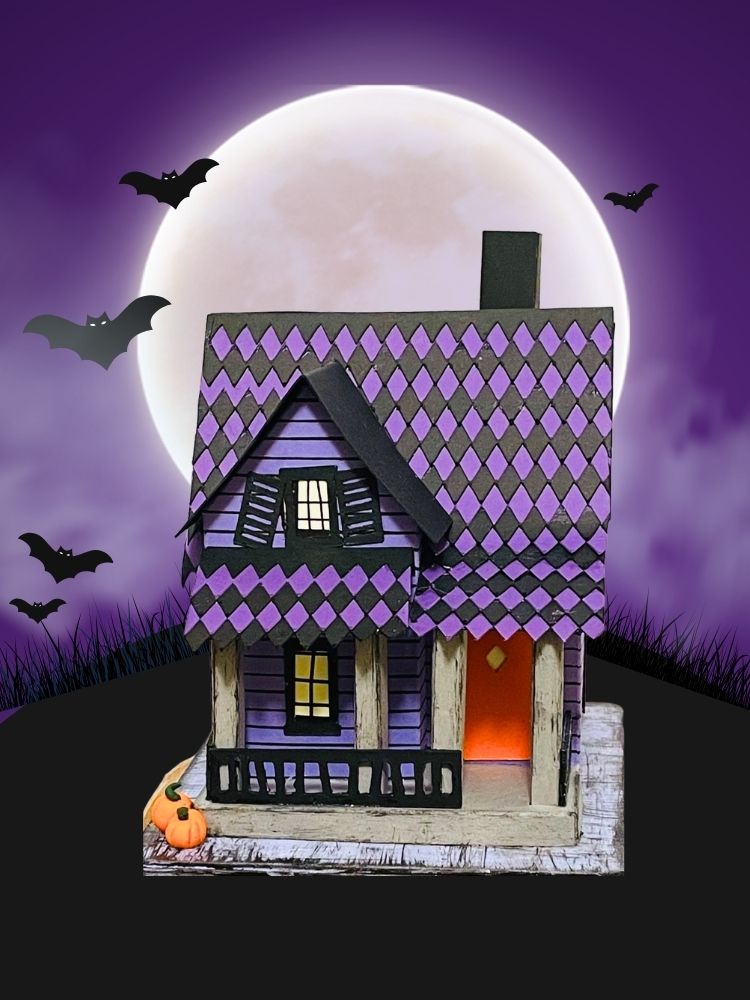
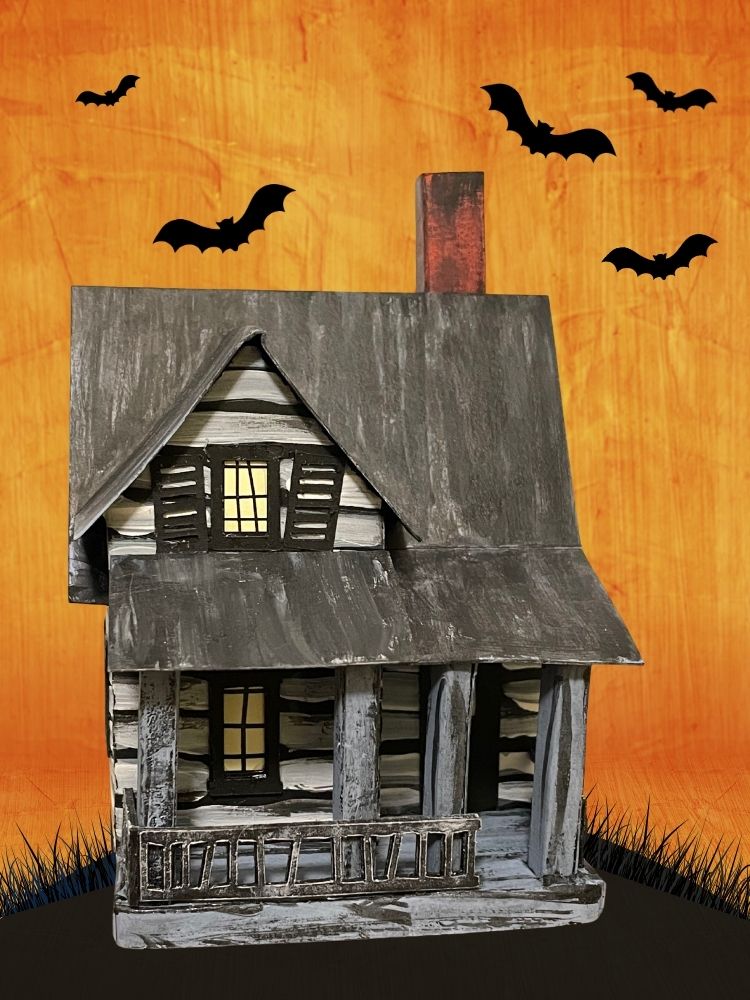
This little haunted cabin is one of my favorite designs because it's a small house but packed with lots of details that make it perfect for Halloween - a cool front porch, lots of windows for decorating, wonky shutters, a big roof expanse for distressed shingles or an extremely rusted roof. The pattern for this Haunted House with Porch even includes a crooked picket fence.
The Haunted House with Porch pattern is Design No. 222 in the free Paper Glitter Glue library. If you have the password, then just go to this page and click the big orange button to go the password page. Type in the password to get into the library.
I originally made the Haunted House with Porch pattern in 2023, but now I would like to share it with you.
If you don't have the password to my library, simply subscribe to my newsletter with the form below and you will get the password right away.
Let's get started making this Haunted Cabin with a Porch.
This post contains some affiliate links for your convenience. Click here to read my full disclosure policy.
Supplies to make the Haunted House with Porch - Design No. 222
Make the Haunted House with Porch
- Heavyweight Cardstock (110#) or Watercolor Paper (140# or 300 gsm) or Cardboard (I like this 22 pt cardboard)
- Acrylic Paint, if desired
- Bearly Art Glue for the most
- Aleene's Quick Dry Tacky Glue
- Painter's tape
- Cutting machine (I used my Maker, it also works with the Cricut Explore Machines and the Cricut Joy Extra.)
- Fine Point Cutting Blade
- Standard Cutting Mat
- Scoring Tool or Scoring wheel
- Foil Tool for scoring if using a Cricut Joy Extra
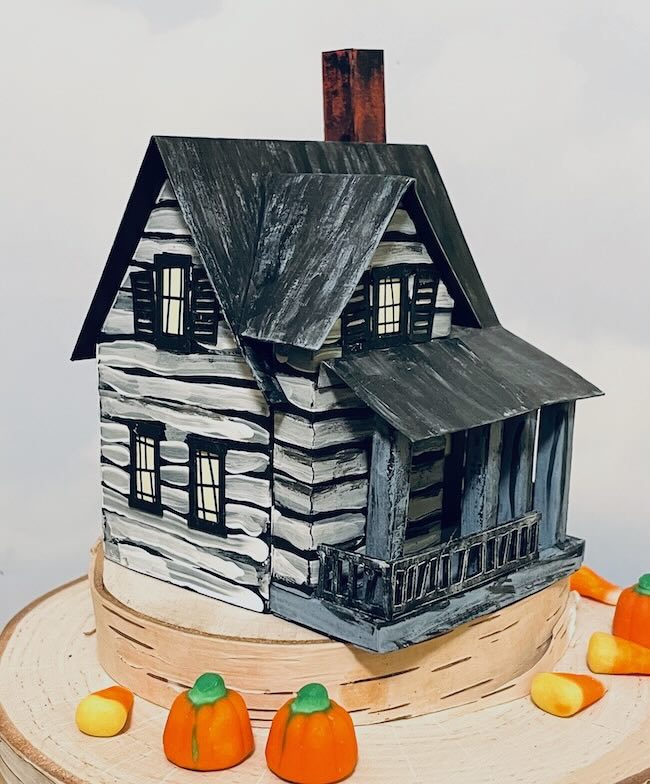
The version below has painted on siding.
Supplies to Make the Base for the Haunted House with Porch
- Corrugated Cardboard - 3- 4 layers
- Packing paper, newspaper, brown paper bag to cover the cardboard - in other words, recycled paper
- ModPodge
- Gesso
- Acrylic Paint - this is the brand I use
- Fence Pattern to decorate the base
Outline of Directions to make the Haunted House with Porch
1. Download and cut out all the pieces
- Download the pattern for the Haunted House with Porch - Design No. 222 in the Paper Glitter Glue library
- Cut out the pieces for the Haunted House with Porch
- Fold along all the score lines on the house pieces with score lines - the house front and back, the roof pieces, the columns, and chimney
2. Decorate the house pieces
- Paint the house if desired. Or you can make crackle paint siding for the little house
- Glue the decorative windows and the door on the structural pieces
- Glue the printed window inserts inside the house structure before you glue the house structure together
3. Make the house structures
- Make the main structure for the house - glue the tabs on the back piece inside the sides of the front piece
- Glue the roof tabs to the roof flaps on the main house piece
- Make the front extension
- Construct the porch base and the 4 porch columns
- Decorate the roof pieces with shingles or make a metal roof or paint before you glue it to the house
4. Put the house pieces together
- Glue the porch base to the Haunted house
- Glue the front extension to the Haunted House so that it sits on top of the porch base
- Insert the 4 porch columns into the porch base, apply glue to the bottom of the columns so they start to stay in place before you add the roof pieces
- Glue the large roof piece in place centering it over the house
- Next adhere the small roof piece below the window on the front extension
- Apply glue to the top of the columns and the tab on the column to adhere to the roof pieces
- Align the columns in a straight line. Let dry
- When the porch columns are dry, glue the baluster to the porch pieces. Cut to size for side pieces if desired
- Apply glue to the top of the columns and the tab on the column to adhere to the roof pieces
5. Make a base for your Haunted House with Porch
- Make a base for your little Haunted Cabin and add a fence if desired
Now let's go into more detail on how to make the Haunted House with Porch. Check out this video to see how it is made.
1. First, download the pieces for the Haunted Cabin with Porch - Design No. 222
The Haunted House with the porch is Design No. 222 in the Paper Glitter Glue library. Click on the library page, then click the big orange button to go to the password page. Type in the password if you already have it, but if you don't, simply subscribe to my newsletter and I will send you the password right away. And remember that I will never send you any spam and you can unsubscribe at any time.
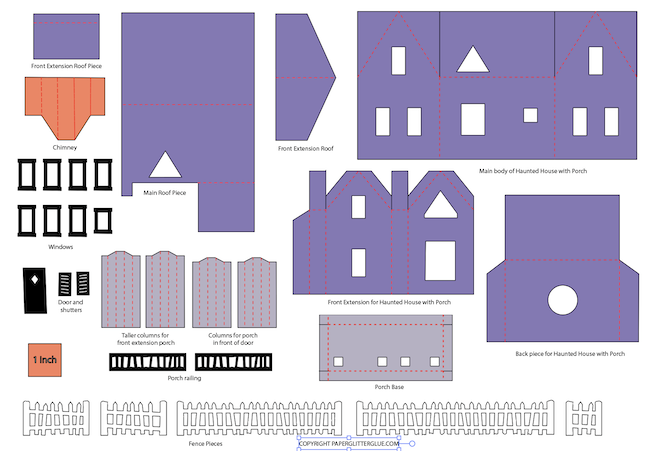
The photo below shows all the pieces for the Haunted House with Porch. The shingles are in a separate file though.
The Haunted House wth Porch file is in a zipped format (compressed file).
So in order to use the files, you have unzip the folder. On a Mac, you simply click on the zipped folder and it will be unzipped automatically.
On a Windows-based machine, you have to extract the file. Here are instructions from Microsoft.
To unzip files on a Windows-based folder
To unzip a single file or folder, double-click the zipped folder to open it. Then, drag or copy the item from the zipped folder to a new location.
Open File Explorer and find the zipped folder.
To unzip the entire folder, right-click to select Extract All, and then follow the instructions.
Cutting the pieces with your cutting machine
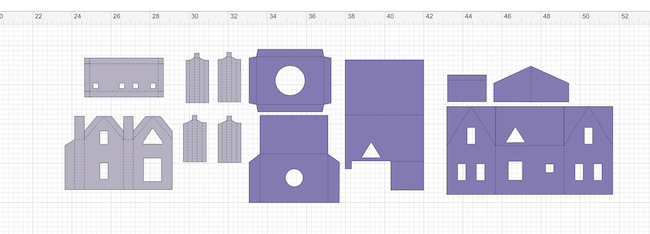
The most important thing to do is select the score lines and convert them to score and then attach them to the pieces they belong to. These are all the pieces with score lines attached in Cricut Design Space.
I use heavier weight card stock or watercolor paper for making the Haunted House, but cardboard would work well too.
Before you paint or decorate the house, be sure to fold along all the score lines because paint obscures the score lines.
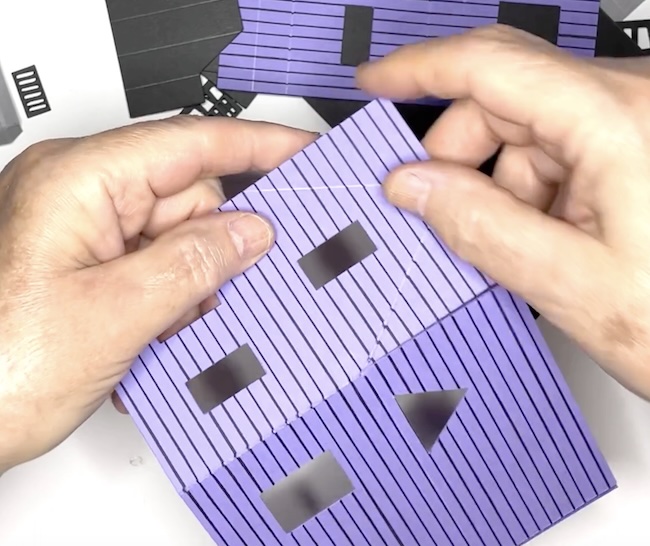
2. Decorate the house pieces
Glue the windows and the door to the house before you assemble the house structure.
Decorate the house pieces in whatever style you like such as using crackle paint siding as shown below.
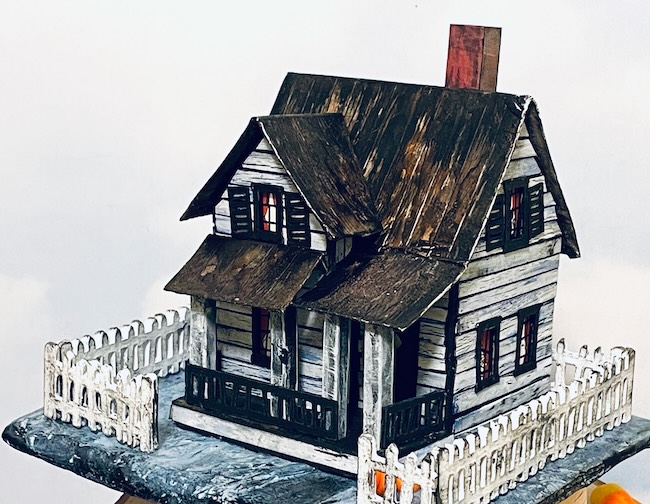
Or you can paint the siding on the house.
Or just use colorful cardstock with siding drawn on the cardstock.
Glue the window inserts behind the house pieces before you construct the house. You can find these pieces in the PDF section of the pattern file.
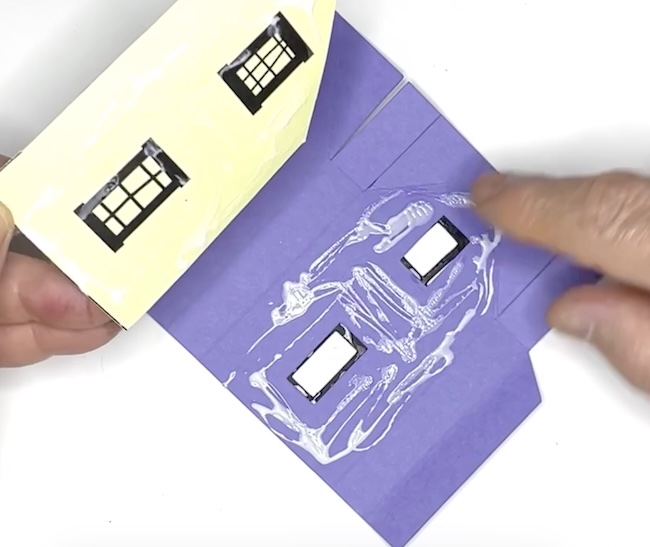
Some of the window pieces have cats and other fun decorative options for the windows.
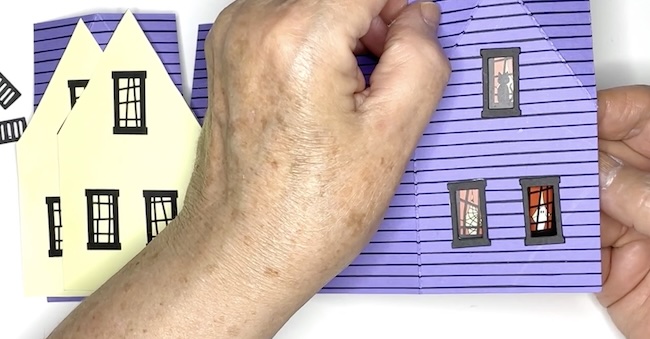
3. Make the house structures
After you have decorated the house, make the main structure by gluing the back piece inside the main piece of the house.
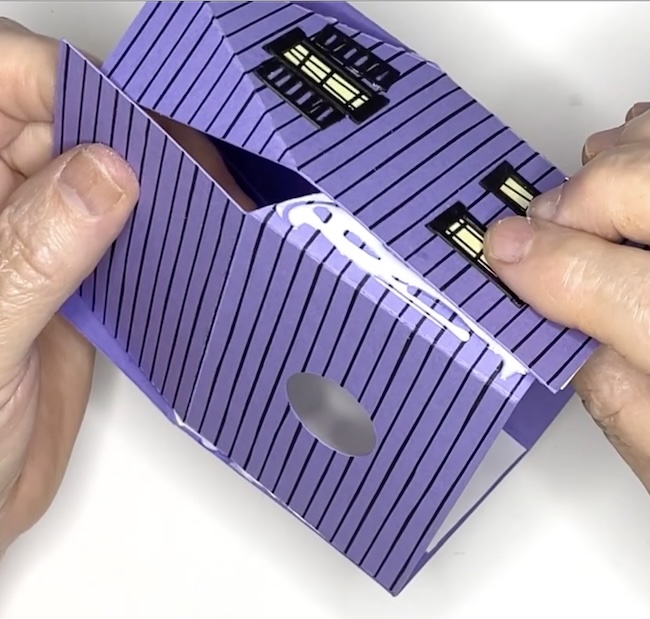
Next, glue. the roof tabs to the roof flaps to finish the structure of main house piece.
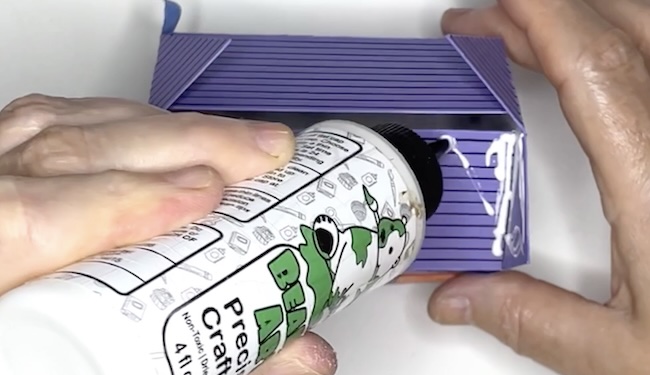
You make the front extension the same way. It's really just a flat little house.
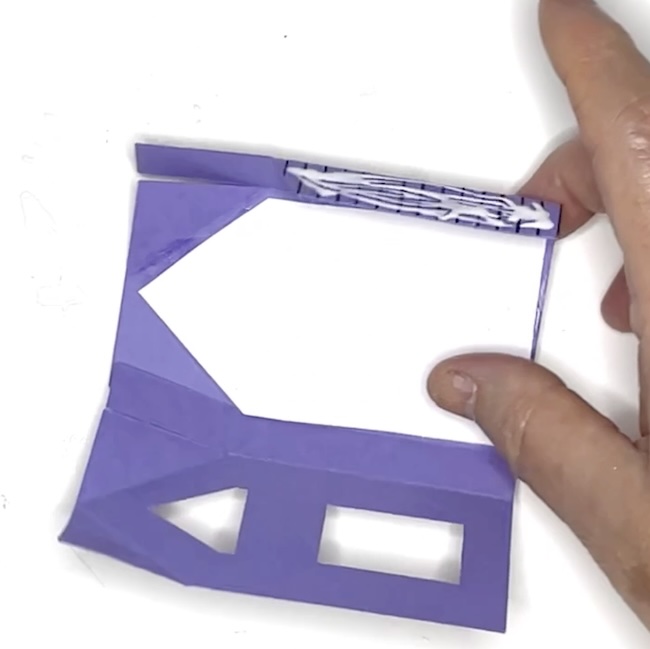
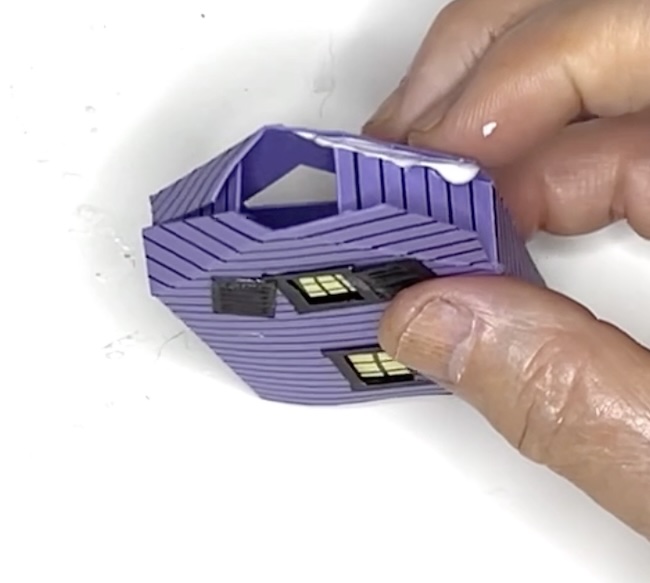
Next make the porch base and 4 columns. I had to use some painters tape to help hold the little flaps down while the glue dried.
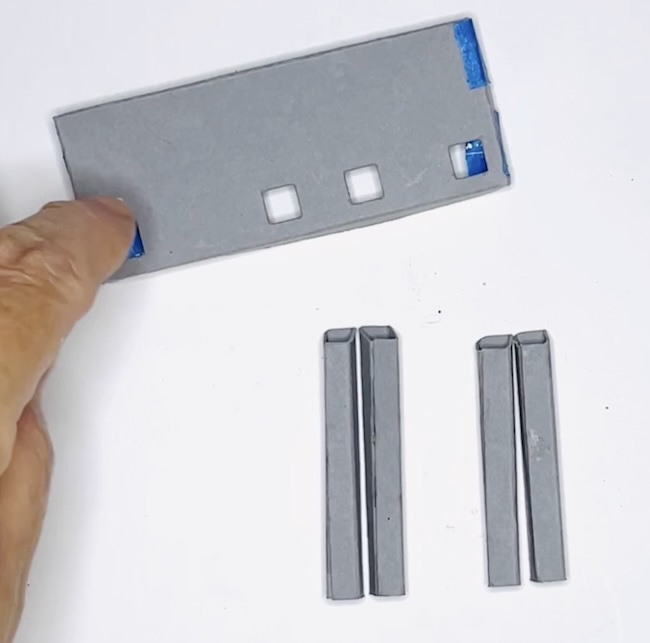
Be sure to put the two taller columns on the left side of the house which has the front extension. The roof that sits on these pieces is higher up than the roof on the right side.
Next, get the two roof pieces ready by decorating them with shingles on a rusted roof or by painting.
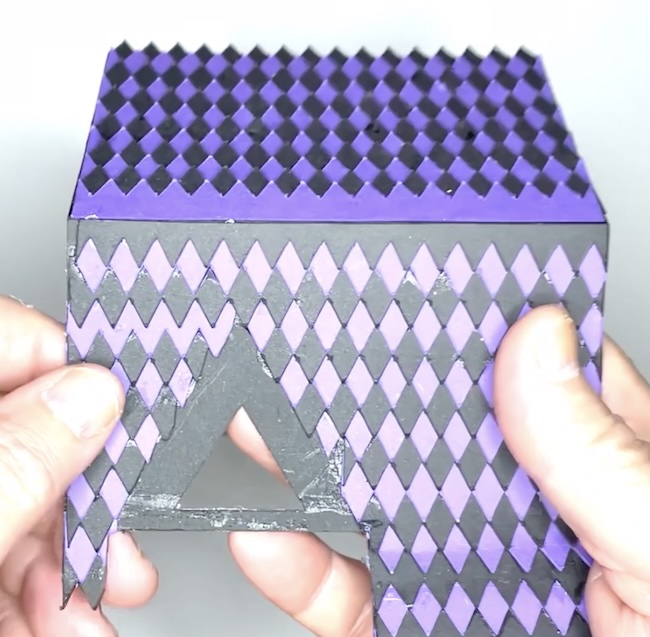
4. Put the house pieces together
Now that you have the main pieces constructed, it's time to put them together. First, glue the porch to the main house structure.
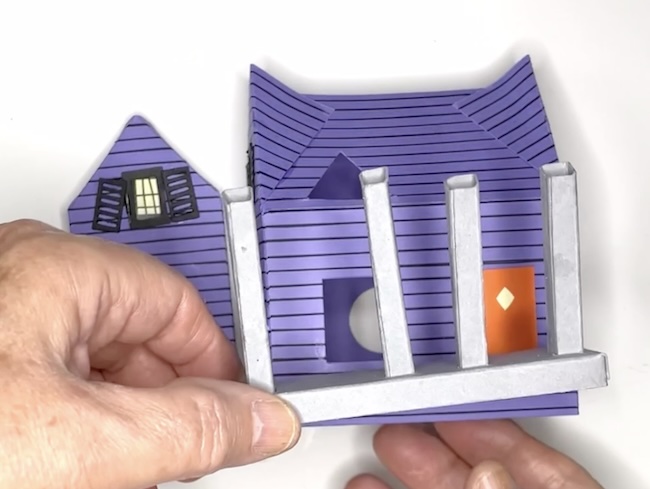
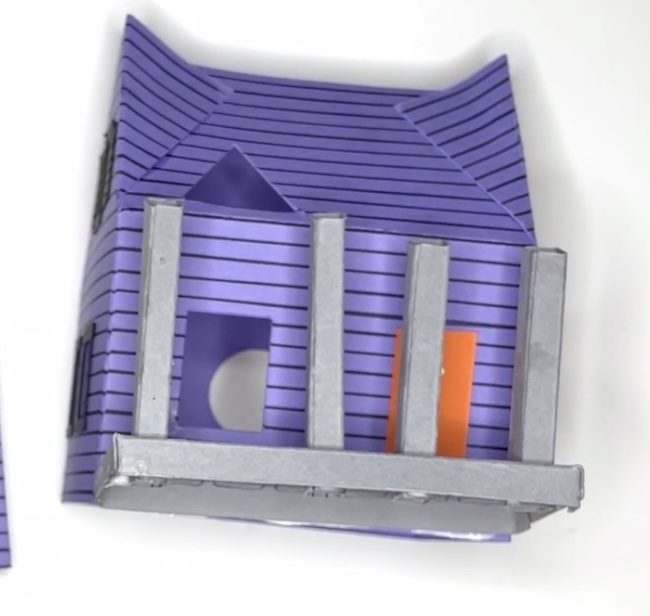
Glue the front extension to the Haunted House so that it sits on top of the porch base.
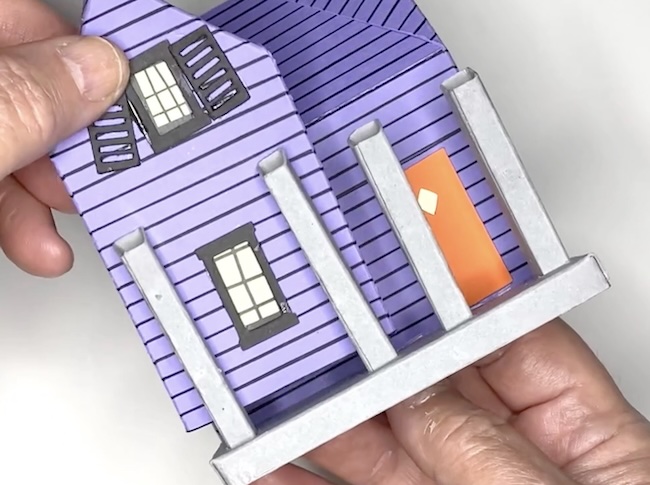
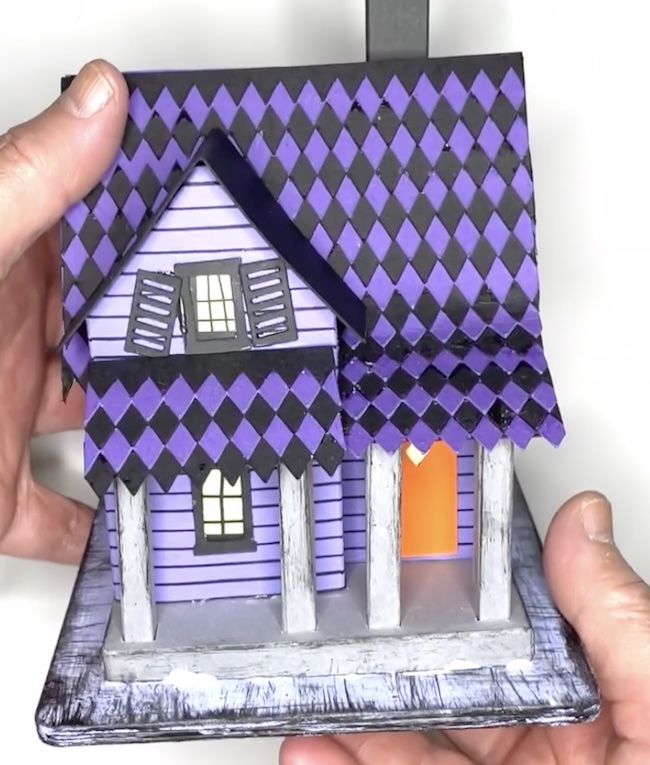
Now you can glue the large roof piece in place centering it over the house. This piece shows how it fits. The photo after that shows the roof with the shingles being applied to the house.
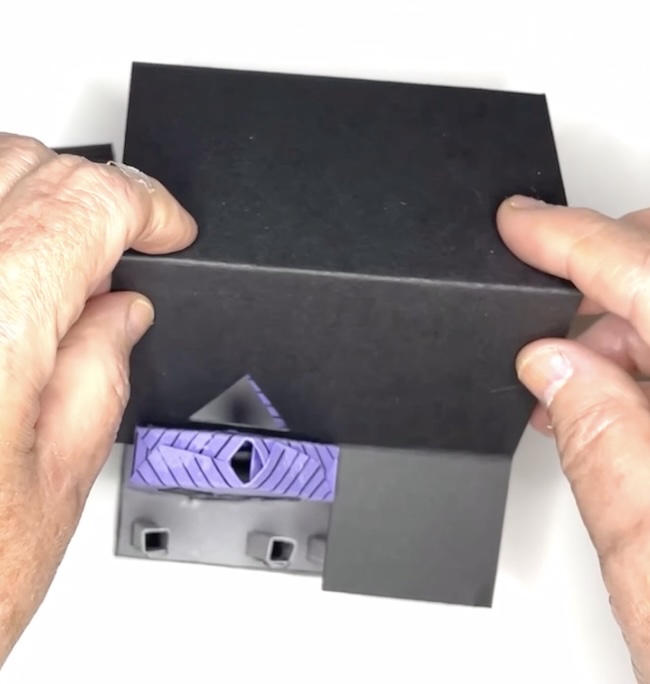
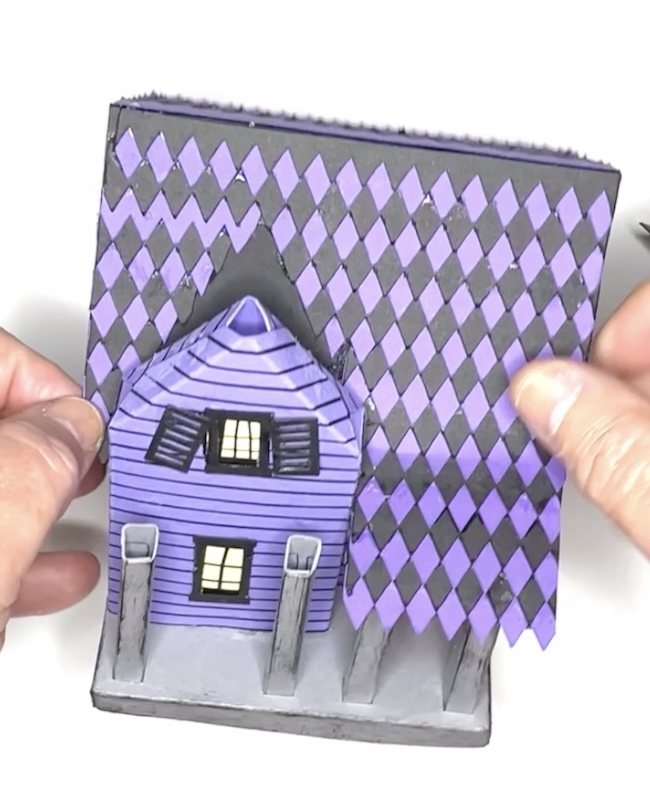
Glue the roof that fits on the front extension in place.
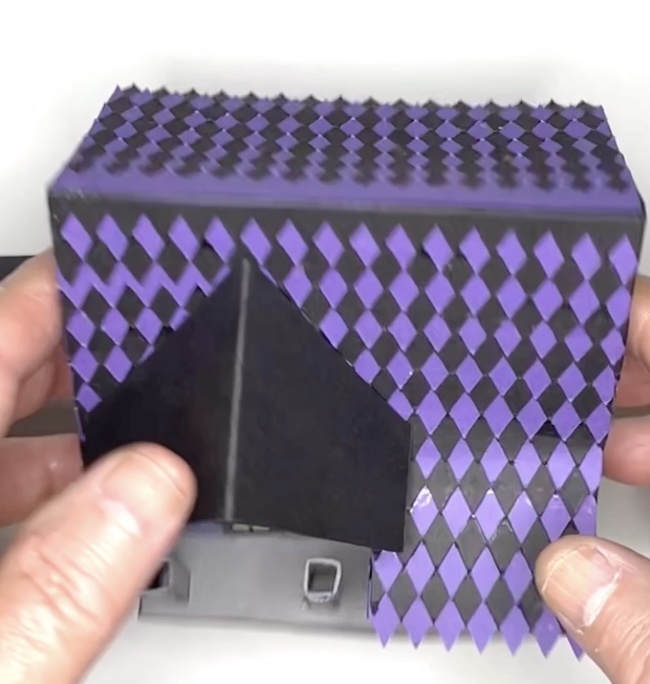
Next. glue the small roof piece that goes on the front extension.
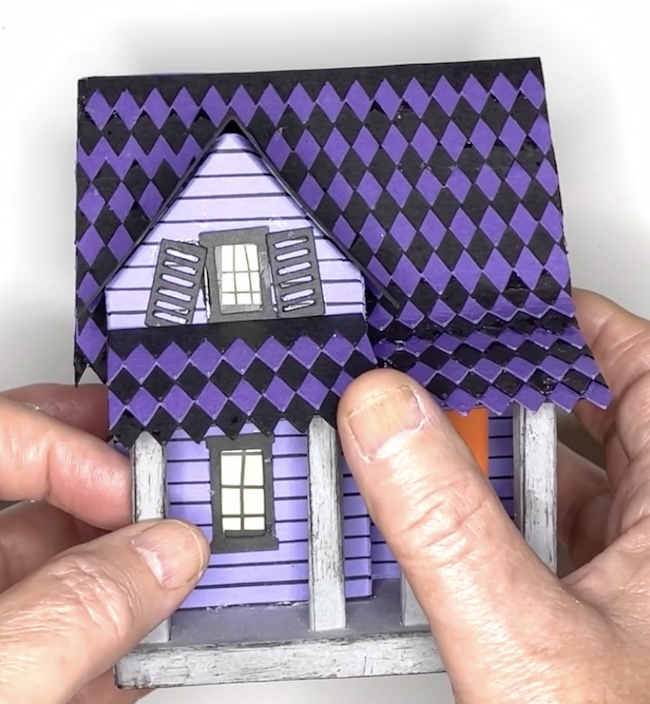
Apply glue to the top of the columns and the tab on the column to adhere to the roof pieces. Be sure to align the columns in a straight line. Let the columns dry before you do other stuff because they will shift if you move them too soon.
When the porch columns are dry, glue the baluster to the porch pieces. Cut to size for side pieces if desired
To complete the house, glue the chimney to the roof.
5. Make a base for your Haunted House with Porch
I like to make bases for my houses because it protects them and adds a nice decorative dimension. One simple base pattern is included in the file.
Questions?
Let me know if you have any questions. I am always happy to help.
Lucy
Leave a Reply