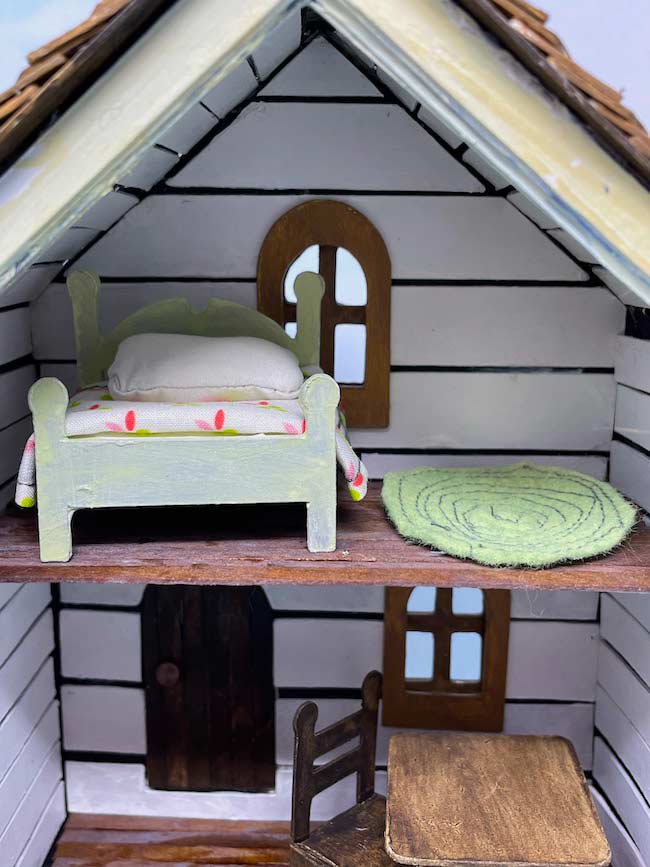
You know I like to make little houses - all kinds of little houses. Sometimes the houses are like dollhouses and dollhouses need decor. And some of that decor includes tiny furniture. In this post I am going to show you how to easily make a few pieces of furniture with your Cricut or other cutting machines.
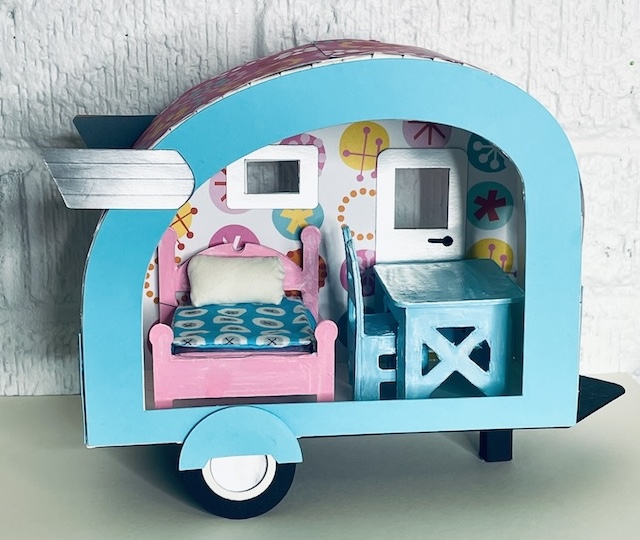
In this Design File no. 190, I've included a tiny bed, a table and chair, and a picnic table with a bench. These designs are sized for a miniature camper I made for a special event, but you can enlarge or reduce these pieces to a size you like.
See the video below for construction of the tiny pieces of furniture.
Materials to make the Tiny Furniture - Design No. 190
- Free Design file no. 190 from the Paper Glitter Glue library
- Cardboard (my favorite) or cardstock - heavier cardstock like 110# cardstock works best.
- Paint if using cardboard
- Glue - Bearly Art Glue is my favorite for cardstock
- Aleene's Quick Dry Tacky Glue is my favorite for cardboard
- Binder clips to hold down the tiny tabs while the glue is drying
Directions to make the Tiny Furniture
- Download the craft file - Design No. 190 from the library
- Cut out all the pieces for the Tiny Furniture
- Follow the specific directions for each piece of furniture
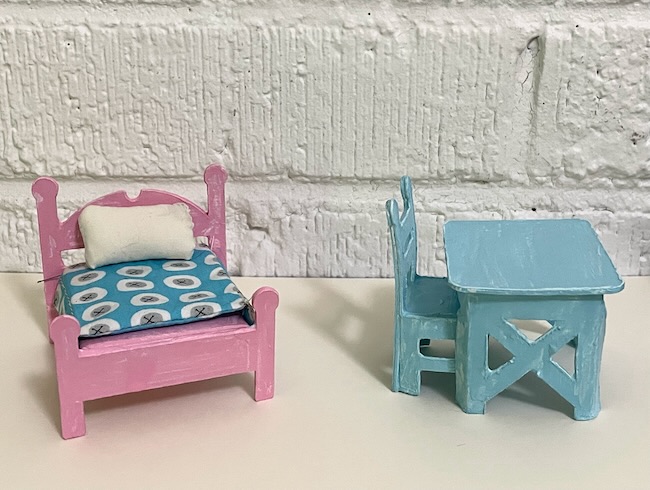
Make a Tiny Table
- I recommend cutting out two pieces of the table top to make it more sturdy
- Fold along all the score lines for the table base
- Then fold the table base into a rectangle shape
- Apply glue to the side tab on one leg of the table base
- Adhere the side tab to the table leg to make the rectangular base of the table
- Fold down the tabs at the top of the table. These provide extra glue surface to adhere the table top
- Apply glue along the tabs and the top of the table base
- Center the table top on the table base and apply pressure to glue them together
- Turn the table upside down so you can help the table top adhere to the table base
- If using cardboard, paint the table when the glue is dry
How to Make a Tiny Chair
- I added an extra back piece for the chair to make it stronger. I didn't show that in the video and I updated the pattern to include it.
- Fold along all the score lines on the chair piece
- Important note - be sure to make sharp folds along the chair. I use the back of my craft knife and a metal ruler to make sure the score lines are narrow and will fold easily
- Glue the extra back piece in place
- Apply glue to the side tab on the base of the chair
- Let the dry for a moment before you adhere the chair seat in place
- Apply glue to the tab on the chair seat and glue to the back of the chair
- Allow glue to dry
- Paint if using cardboard
Make a Tiny Bed
- Glue two or three extra pieces of the headboard and footboard together. These pieces need to be strong to support the bed
- Fold along all the score lines of the "mattress" part of the bed
- Glue the tabs together to make a shallow box as the mattress of the bed
- Next, apply glue to one side of the mattress to adhere it to the headboard. Line up the top of the mattress with the cutout portion of the headboard as shown in the video.
- Do the same thing on the footboard part of the bed.
- I sewed a tiny pillow and coverlet for the bed - no pattern needed for that.
Make a Tiny Picnic Table and Bench
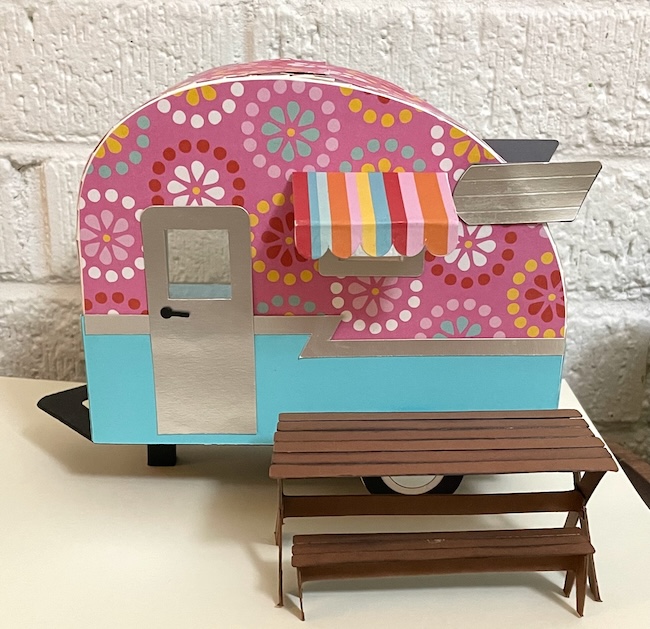
- Fold along all the score lines for the picnic table base and the extra leg supports as well as the picnic table cross piece support.
- Glue the extra leg pieces to the inside of the table legs.
- Make the cross piece support by folding it in half and gluing the sides together. This makes it much stronger. Use binder clips to help glue the sides down.
- Adhere the cross piece support to the x-shaped intersection of the legs.
- Once the table is dry, apply the table top boards in place.
- The picnic table bench is made in the same way.
Questions? Need Help?
If you have any questions, please email me - [email protected]. I am always happy to help.
Lucy
Leave a Reply