
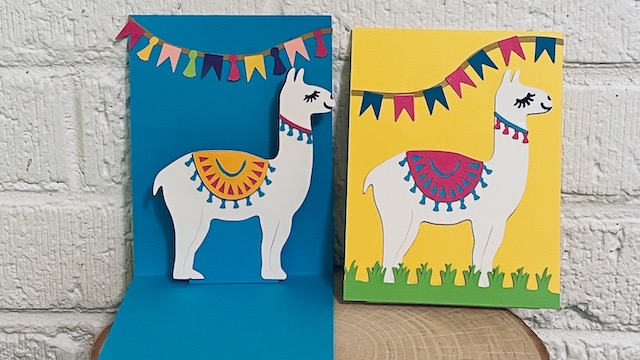
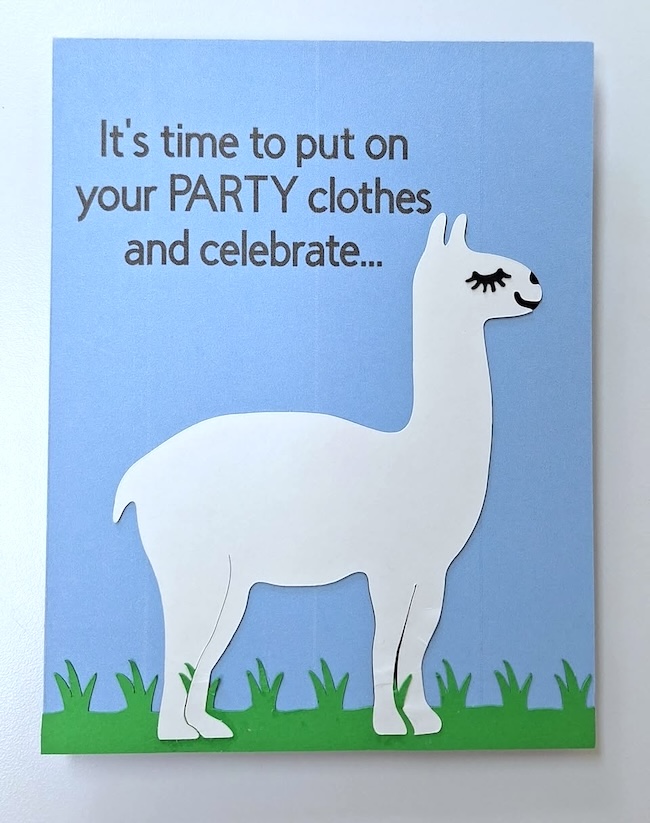
There’s nothing quite as charming as opening a handmade card and seeing a little llama pop-up to say hello! Or use another cut out for the pop-up portion. This Llama Pop-Up Card is fun, festive, and simple to make with your cutting machine. Whether you're making this for a birthday, a thank-you card, or as a surprise for a friend, this interactive 3-D card is sure to delight anyone you send it to.
In this step-by-step tutorial, I’ll show you what you need to create your own delightful pop-up card in the details below.
Be sure to subscribe to my newsletter with the form below to keep up with my fun papercrafts.
This post contains some affiliate links for your convenience. Click here to read my full disclosure policy.
Materials for Making the Easy Pop-Up Card
- Llama Pop-Up Card SVG files - Design No. 189 in the free Paper Glitter Glue library
- Cardstock in a variety of colors - 65# cardstock works
- Glue - I like Bearly Art Glue for making cards
- Cricut cutting machine - I used my Cricut Maker, but you can make this project with a Cricut Joy, Cricut Joy Extra, Cricut Explore Air or Cricut Maker
- Standard Grip mat for your cutting machine
- Optional: embellishments like stickers or paper flowers or tiny pompoms
Instructions to Make the Easy Pop-Up Card - Design No. 189
- Download the files for the Easy Pop-Up Llama Card - Design No. 189 in the free Paper Glitter Glue library
- Upload the file to Cricut Design Space
- Designate and attach the score lines
- Cut out all the pieces
- Fold the card base along the score line
- Assemble the pop-up mechanism
- Make the llama figure for the pop-up card
- Decorate your llama figure
- Attach the llama to the pop-up mechanism
- Add decorative finishing touches
Here's the front of a card that Bonnie made for her sister.
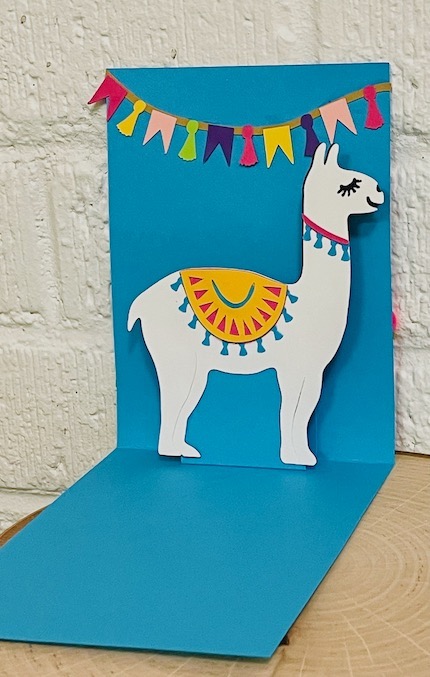
And here is the back of the inside pop-up llama in Bonnie's card.

For more details, read below.
Here's my YouTube LIVE to show you how I construct this card:
1. Download the Llama Pop-Up Card files - Design No. 189
First, download the SVG files for the Llama Pop-Up Card - Design No. 189 in the free Paper Glitter Glue library. Once downloaded, unzip the file to open up the folder.
If you don't have the password, just subscribe to my newsletter and I will send you the password right away.
If you need help learning how to unzip your files, see these instructions:
- Here's how to unzip a folder using an iPad or iPhone.
- To learn how to unzip a folder using a Windows computer, click here.
- To learn how to unzip a folder with an Android device, click here.
- To learn how to unzip a folder using a Mac, click here.
2. Upload the Easy Pop-Up Card SVG to Cricut Design Space
Open Cricut Design Space and upload the Llama Pop-Up Card SVG. Once uploaded, all the pieces of your card will appear on the Cricut Design Space canvas.

3. Designate and Attach the Score Lines
Score lines are essential if you want to make any 3-D project. In the main file, you have three pieces with score lines, the card base (the background piece) and two options for pop-up mechanisms which we glue on the card base.
In Cricut Design Space, make sure to:
- Change the appropriate layers to “Score.”
- Attach each set of score lines to the correct piece so your cutting machine understands that these score lines below to the appropriate piece.
4. Cut out all the Pieces
You can use 65 lb. cardstock because it works well - sturdy enough for a pop-up card, but still cuts and folds easily. Load your paper into the Cricut and cut out all the pieces.
5. Fold the Card Base
Take the main card base and fold it along the center score line. This creates the base structure of your pop-up card.
6. Assemble the Pop-Up Mechanism
Next, fold the pop-up support piece along the two score lines. It should form a small rectangular box-like shape. Glue the tabs to hold it in shape, then glue the finished support piece directly on the center crease inside the card base as shown in the photo below.
Please note that the file includes a second SVG page of different size pop-up mechanisms that you can use for other figures which may be sized differently from the llama.

7. Construct the Llama Figure
To construct the body of your llama:
- Glue the white llama cutout over the black background piece—this highlights the nose and mouth.
- Glue the eyelash piece onto the face.
8. Decorate your Llama Figure
Now it’s time to decorate your llama:
- Assemble the decorative saddle and neck pieces by layering them and gluing them together.
- Attach the saddle to the llama’s back.
9. Attach the Llama to the Pop-Up Mechanism
Once your llama is decorated, glue it to the front of the pop-up support. Position the feet just slightly above the fold line so it doesn't interfere with the pop-up mechanism when the card opens and closes.
But remember that instead of the llama included in your files, you can use any cut out figure on the pop-up mechanism as long as it fits on the card.
10. Add the Final Touches
You can add even more details to bring your pop-up card to life. Use the included garland cutouts or embellish with decorative paper, stickers, pompoms, or tiny paper flowers.
Your Llama Pop-Up Card is Ready to Send to Someone You Love
This simple project is designed as introduction to an easy pop-up mechanism - a starter pop-up project. In addition, it's a fun way to share your paper crafting skills. I hope the little llama brings joy to whoever receives it!
Finally, may your glue bottle stay free flowing. And may the dog or cat hair on your projects be easily removed.
Lucy
P.S. Let me know if you have any questions. I am always happy to help. Email me - [email protected]
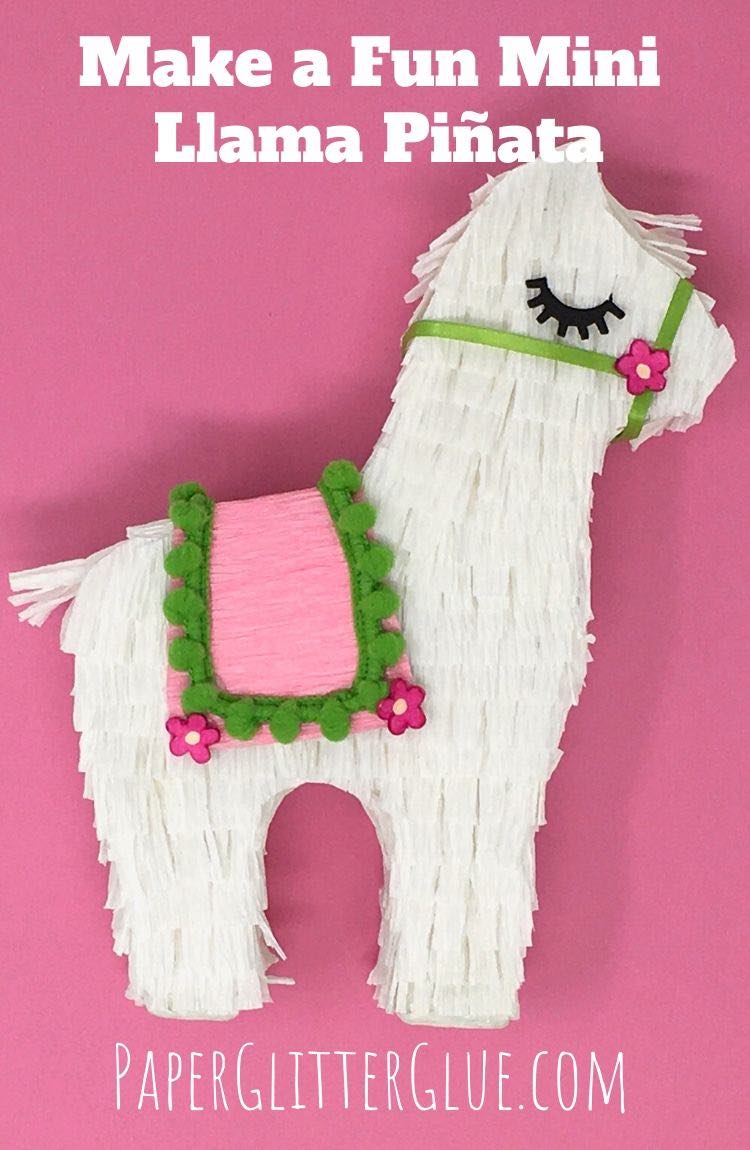
And if you love llama designs, you will love the mini llama piñata.
Leave a Reply