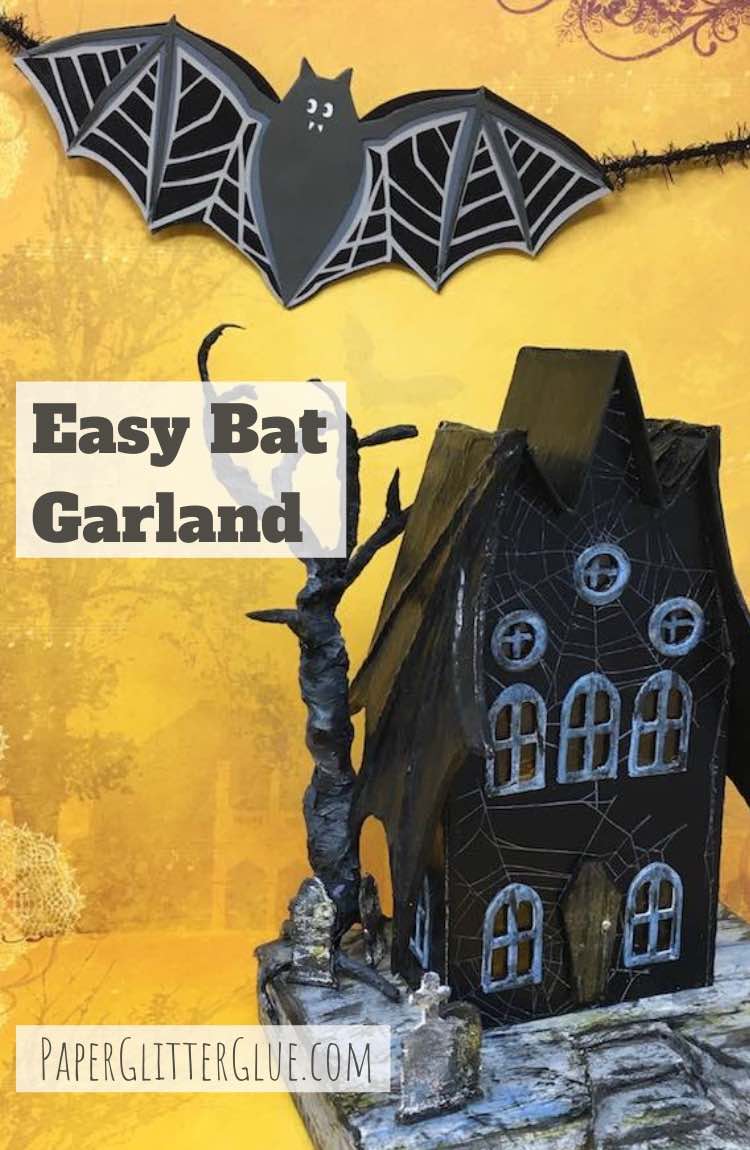
Here's how to make a cute Bat garland using this layered Bat SVG or if you prefer, using the printable Bat PDF. It makes a great addition for any Halloween decor. And it's easy, too.
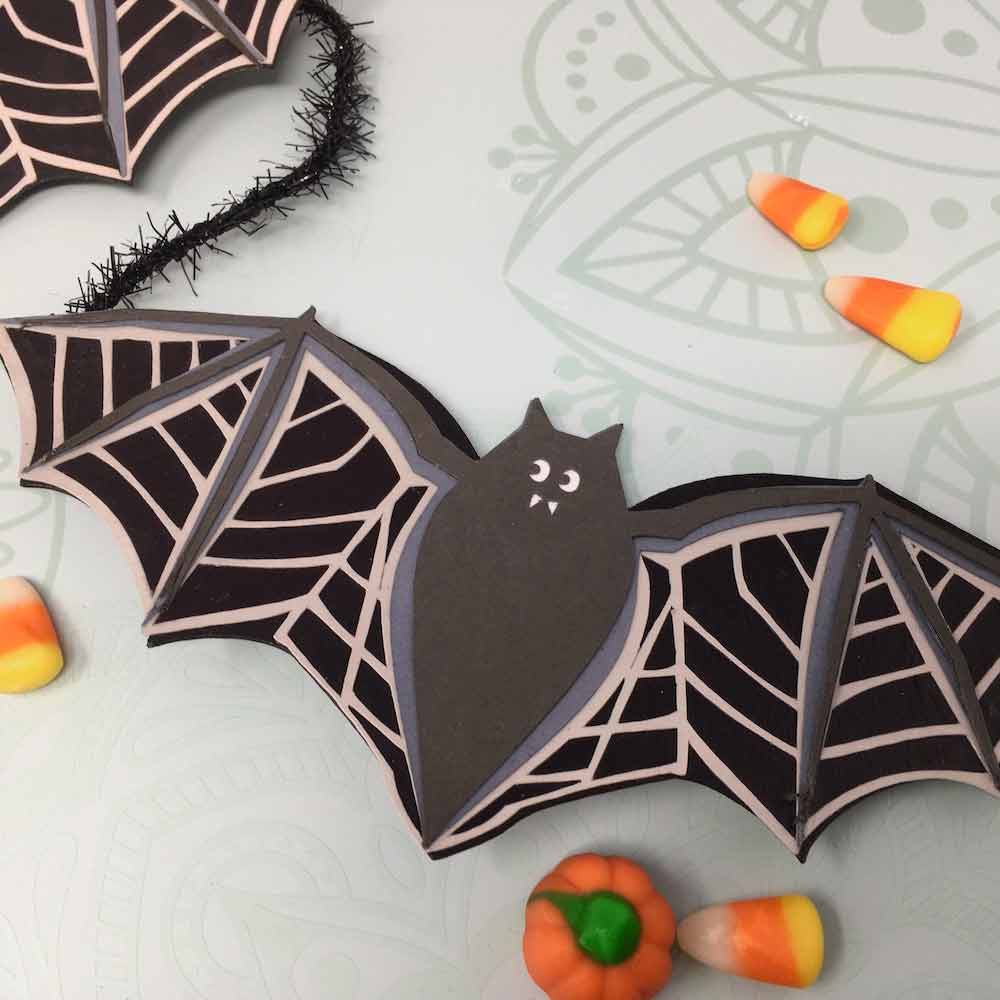
To make this file, I studied the anatomy of a bat on an x-ray. What is really interesting about the bat wing is that the bat's "hand" forms most of the wing structure. The long bones on the wing are the 3rd, 4th, and 5th fingers. The thumb is a little protrusion at the top of the wing. The forefinger is a thin bone at the top of the wing extending just past the thumb. I omitted that bone in the file. But I did include the webbed layer that mimics the veins on the bat wing.

So let's get started.
This post contains some affiliate links for your convenience. Click here to read my full disclosure policy.
Materials to make the Easy Bat Garland
-
- Cardstock - Grey colors 65# (not a great photo here, but it is what I used)
- Cardstock - Black 65# or 110#
- Glue - Mod Podge
- Bat pattern - Design No. 94 - printable version or SVG
- Scissors
- A way to cut out the pattern - I use my Cricut
- Standard grip mat, if using a cutting machine
- Optional: Googly eyes and tacky glue
- Hot glue
- String or Ribbon
Directions to make the Easy Bat Garland
- Get the pattern - Design No. 94 - to make the layered bats
- Cut out the bat layers
- Glue the bat layers together
- Use hot glue to glue bat to string or ribbon
- Or make the Easy Bat Garland PDF version
- Optional: Glue Googly Eyes on
First, get the pattern to make the layered bats
Ok, so the first thing you need is the download the pattern for the layered bat. If you cut the pattern by hand, use the printable PDF pattern. There are even printable layers for the bat, but the easiest thing to do is use the printable file that has the layers combined. So all you have to do is print the file if you use this method.
To get the free files, just subscribe to my newsletter with the form below and you will get the password to the Paper Glitter Glue library right away. All my files are saved in chronological order, so this file is in the October 2020 section of the library.

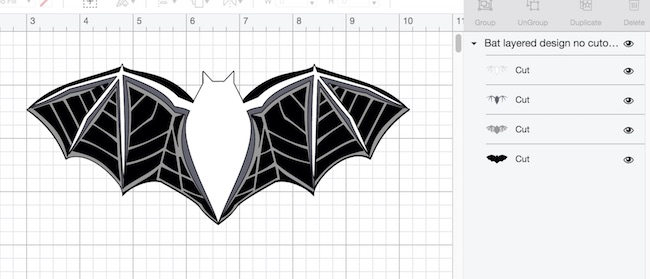
And here is how the file looks in Cricut's Design Space software.

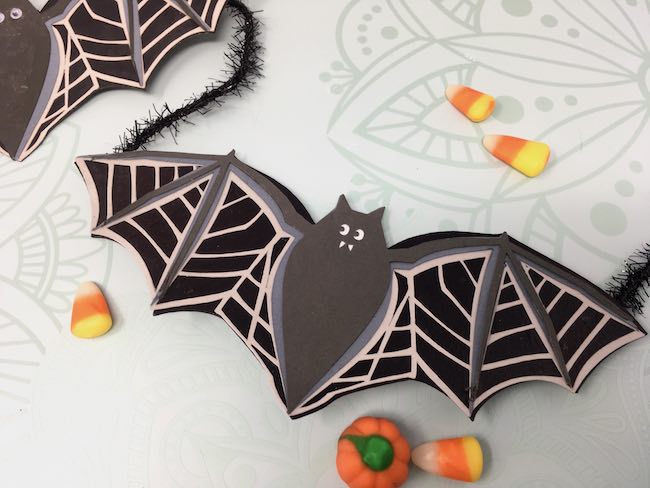
There are 4 layers for the layered bat - the solid black bottom layer, a lighter layer of veins, and then 2 upper layers composed of wing bones and the body of the bat. Of course, you can choose the colors you like for each layer. I included a small circle to go behind the face of the bat to make the eyes and fangs show up better. In addition, I made a file without the eyes and fangs if you like.
Next, cut out the Bat layers
Now, cut out the bat layers. I used 110# cardstock for the solid black bat-shaped layer. Sixty-five pound cardstock works well too. But the bats are sturdier with the heavier 110# cardstock. If you like the shape, you can just use that plain bat shape without worrying about the other layers. To cut this 110# simple shape, I used the Heavy Cardstock setting on my Cricut.
For the layer with the veins I used a light grey 65# cardstock which I cut on the Cardstock (for intricate cuts) setting on my Cricut. Be sure to use a sticky mat when you make intricate cuts on cardstock. Otherwise, the paper will lift up and tear during the cutting.
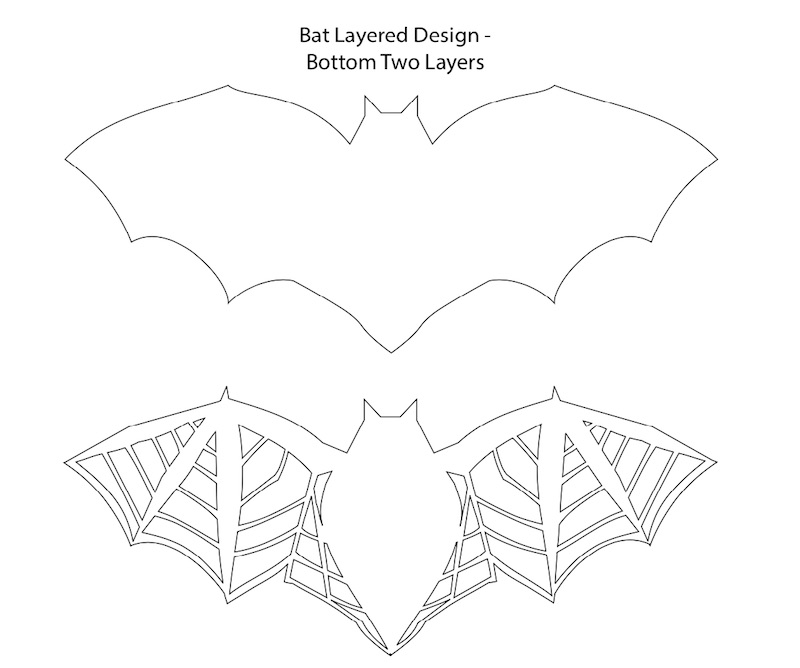
Next, for the layer over the veins I used a medium grey 65# cardstock. The photo below shows the top two layers. They may look identical, but they are different. Basically the 3rd layer frames the bones on the top layer.

And finally for the top layer, I used a dark grey - almost black - 65# cardstock. This layer is the hardest to cut because the bones on the wings are very thin. Really, you need a sticky mat for this layer, too.
Three bat shapes (of one layer) fit on one per 8.5" x 11" sheet of paper.

Glue the Bat Layers together
If you are going to print the PDF to make your easy bat garland, I suggest that you glue the printed PDF to a piece of either 65# or 110# black cardstock before you cut it out. In addition, it is easy to glue to the cardstock by applying Mod Podge to cardstock, then apply the printed page with bats on it.
So the challenge gluing these delicate layers together is applying glue to the back of the these thin pieces of cardstock.
But the solution I chose is pretty simple. Just paint the front side of the bottom layer with Mod Podge and apply the next layer on top. It's easy and quick. The little foam adhesive tabs won't work because the cuts are just too thin.
If you use the pattern with the eyes and fangs, cut a small scrap of white paper to fit behind the head so they will stand out better. I included a small circle in the pattern for that.
After you complete your bat, it's time to make your bat garland.
Note: If you are going to print the PDF to make your easy bat garland, I suggest that you glue the printed PDF to a piece of either 65# or 110# black cardstock before you cut it out. In addition, it is easy to glue to the cardstock by applying Mod Podge to cardstock, then apply the printed page with bats on it. When it is dry, cut out the bats.

Adhere the Bats to make the Easy Bat Garland
For the next step, heat up your glue gun and apply a line of glue to the back of the bat. I spaced the bat about 3 inches apart, but I think moving them closer together would be better.
Or Make the Printable PDF Version of the Easy Bat Garland
If you are going to print the PDF to make your easy bat garland, I suggest that you glue the printed PDF to a piece of either 65# or 110# black cardstock before you cut it out. In addition, it is easy to glue to the cardstock by applying Mod Podge to cardstock, then apply the printed page with bats on it. It often curls when it dries, but you can still cut it out. When it is dry, cut out the bats.
Glue Googly Eyes to Your Bats
Then glue googly eyes to the bats if you desired. The trick to glue goggly eyes in place is to apply glue to the back of the eyes or to the bat face with a toothpick. Don't bother with trying to put off the adhesive paper on the back. It's basically impossible - especially for tiny sets of googly eyes.

So this is an easy and quick Halloween craft. I hope you will try it. And have fun while you do it - FUN - that's important, isn't it?
Lucy
P.S. Be sure to pin to your favorite Pinterest board. And if you have any questions, just email me at [email protected].
Kathy
How cute it this bat! Thank you so much
Dawn
Thank you, Lucy. I found your blog from the Jennifer Maker Holiday Fest. I can't wait to make the Gingerbread House but first I am going to make these cute Bats. I just love your work. It makes me want to make a whole village of houses! I just wish I had the space haha.
Stephanie
Very cute. Once I get my cutting working again, I will make it.
Thanks for sharing.
Lucy
Thank you, Stephanie. I do hope you can get your cutting machine working again - SOON. Lucy