Here's how to make the Butterfly Vintage Print
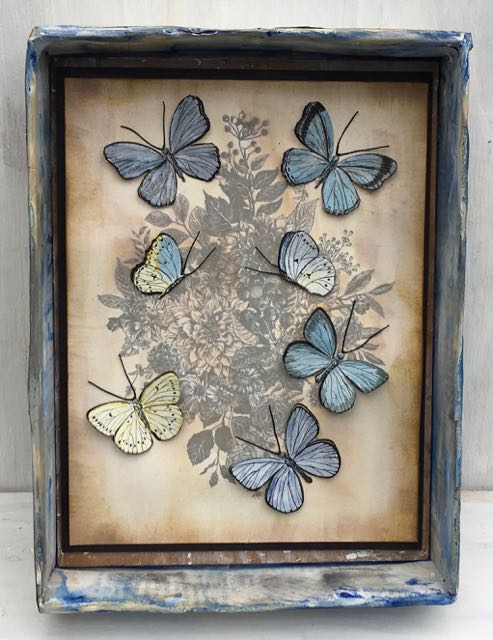 |
| Butterfly Vintage Print |
Inspiration for this Butterfly Vintage Project
There are three intersecting inspirations for the Butterfly Vintage Print. First, the main inspiration is a stunning book I found online called British Butterflies by James Duncan published in 1855. You can find the entire book on a site called biodiversitylibrary.org. This volume has the most beautiful vintage butterfly prints I have ever seen. These vintage drawings have inspired me ever since I first found them.
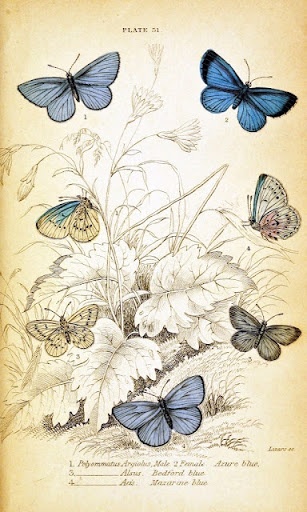 Butterfly Plate 31 from the British Butterflies book. Isn't it beautiful? |
| This post contains some affiliate links for your convenience. Click here to read my full disclosure policy.
The second inspiration is the gorgeous new stamp from Tim Holtz and Stampers Anonymous called Glorious Bouquet. I figured it would be a great background for the butterflies. Here is another variation for a butterfly background - Glorious Garden |
And then the final inspiration is this week's Monday challenge at Simon Says Stamp - Grunge It Up. All 3 of these percolated in my mind to come up with this particular vintage butterfly project.
I've made a Vintage Butterfly Print before. It is one of my favorite projects and is actually on the wall next to my computer right now.
 |
| My first Butterfly Vintage Print - I drew this background to mimic the one in the British Butterflies book |
Brief Summary of the steps to make this project:
- Print out vintage print from the British Butterfly book
- Stamp the Glorious Bouquet in a subtle ink to form the background
- Distress the background to look like it came from an old book
- Cut out butterflies with Tim Holtz Flutter set
- Cut out black background for butterflies
- Draw butterfly markings with permanent black ink
- Color butterflies
- Layer finished butterflies over the black butterfly background
- Glue butterflies to the print and the print to black cardstock
- Add antennae
- Distress box to function as a frame for the print
- Place butterfly print in the distress, grunged-up box
Print the Vintage Print You Choose
Stamp the Floral Background
Distress the Background
Die Cut the Butterflies
Cut out a black background for each butterfly
Draw Butterfly Markings in Black Permanent Ink
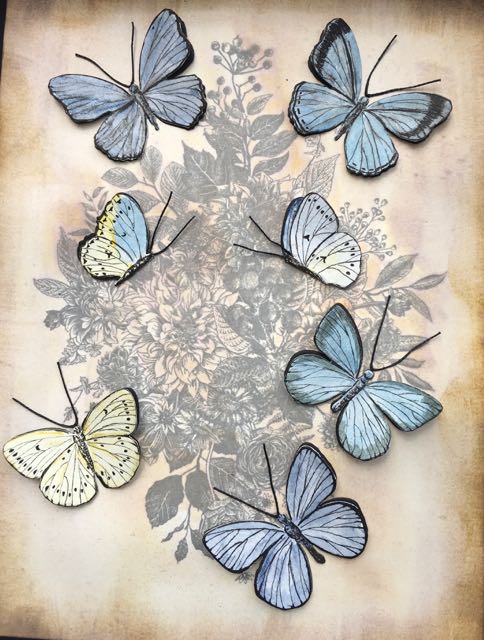
Close-up of the Butterflies on the vintage background.
Color the Butterflies
Layer the Butterflies on the Black Background
Glue the Butterflies to the Botanical Background
Glue Antennae on the Butterflies
Distress the box as a frame for the Butterfly Print
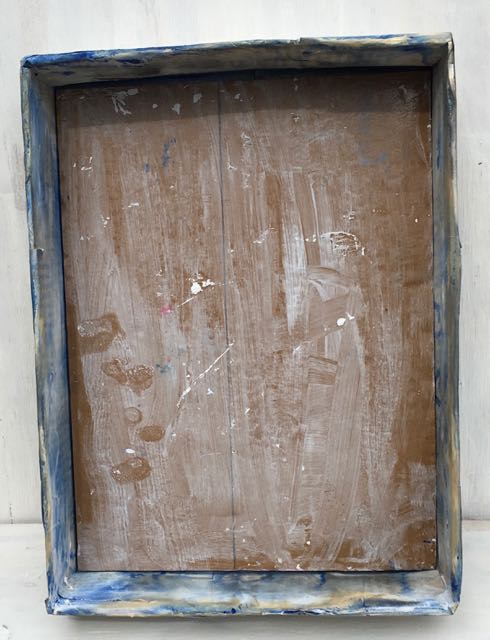 |
| Grunged up box for the Butterfly Vintage Print |
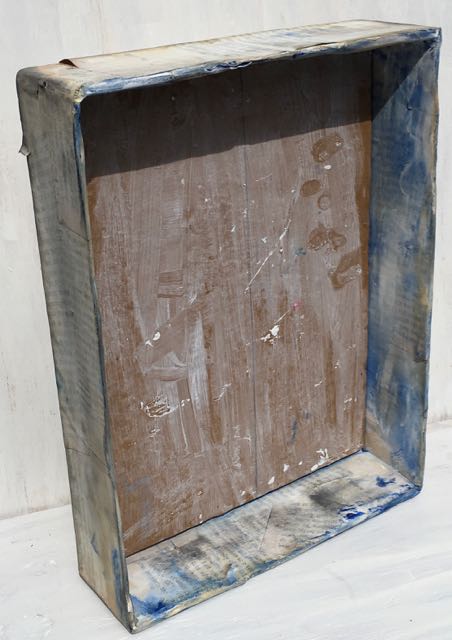 |
| Side view of the seriously distressed box for the vintage print. |
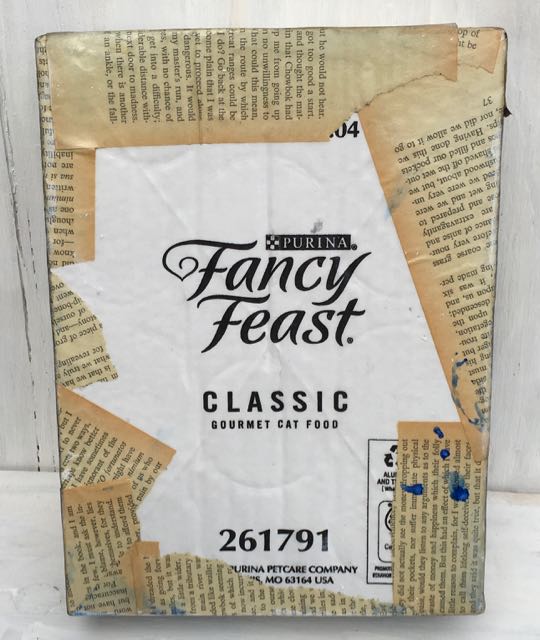 |
| It's a Fancy Feast box, alright. I'm not advertising for them. It's just what I have at home. |
Adhere the print to the Box Frame

Lucy
Lynn,
I am so glad you like this project. I just love butterflies and I love using them in projects. Thank you for stopping by my blog.
Lucy
Thank you for noticing my project on the Simon says Stamp challenge.
Lucy
Anne, it is always so nice to hear from you. Thank you for your kind words.
Lucy
Thank you, Zoey.
Lynn Koeppen
I love this project!
Proyectos Con Papel
Hi! I saw your entry for the simon says challenge and I think what you did its beautiful!!!
Redanne
I do love what you did with the print Lucy, the butterflies are just stunning and so is your frame/box, you have distressed it beautifully!
Zoey Emanuela Scarpelli
Woah, what a beautiful project! I love how you altered this! So creative!
Thank you for playing along with us over Simon Says Stamp Monday Challenge - we all hope to see you again soon!
x Zoey