

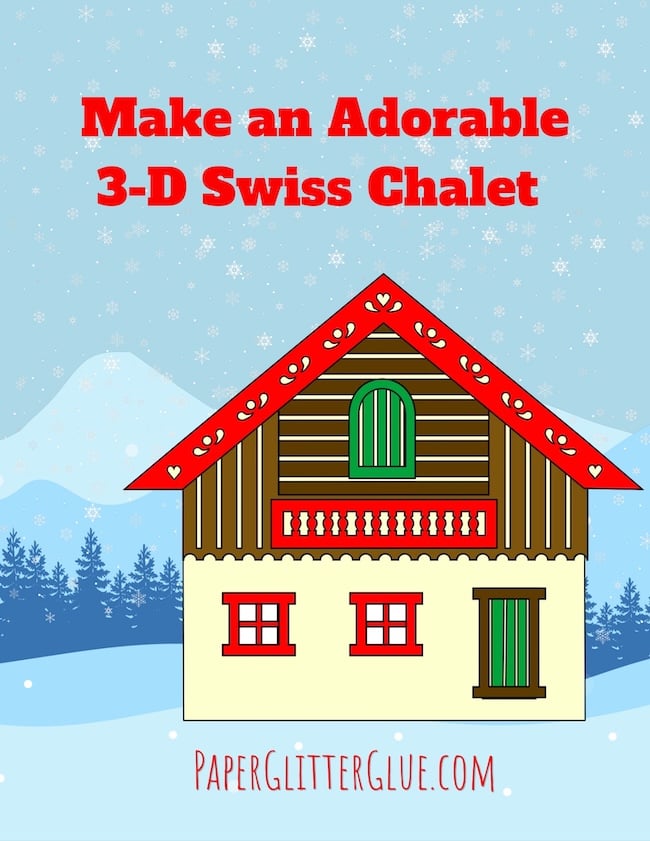
Introducing the Swiss Chalet for your crafting fun. During my time designing projects for this Paper Glitter Glue website, I've fallen in love with chalet style houses. So much so that this is probably the 3rd (and the best) chalet I've made. You can see the little chalets here.
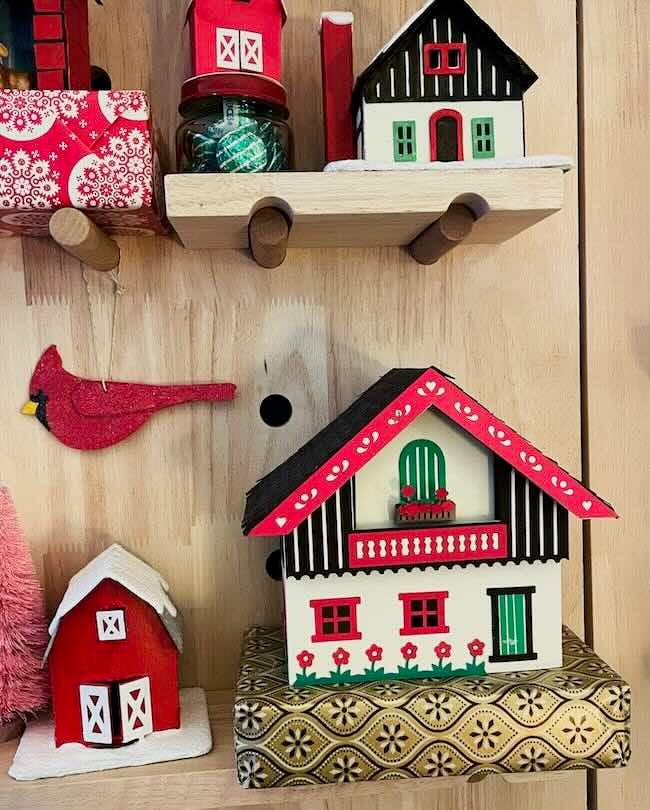
I've added several different details so you can decorate your chalet in a style that pleases you.
Here's the version with the flower in the front.
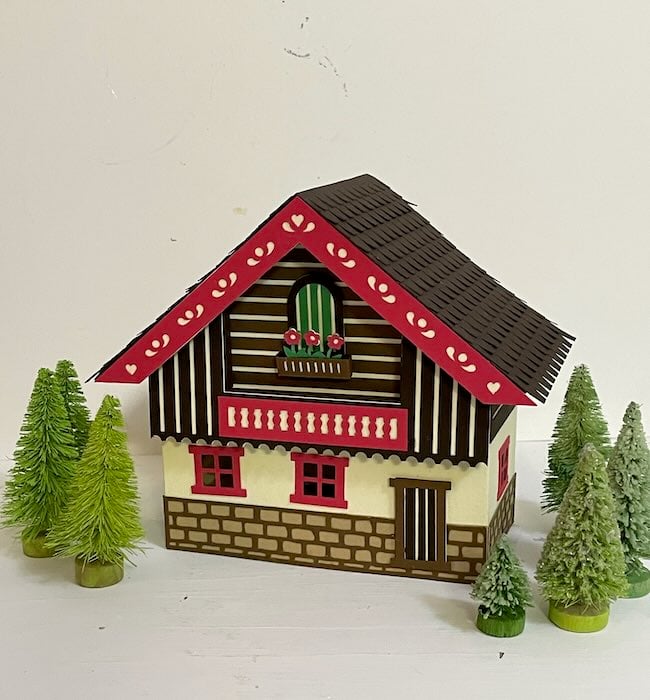
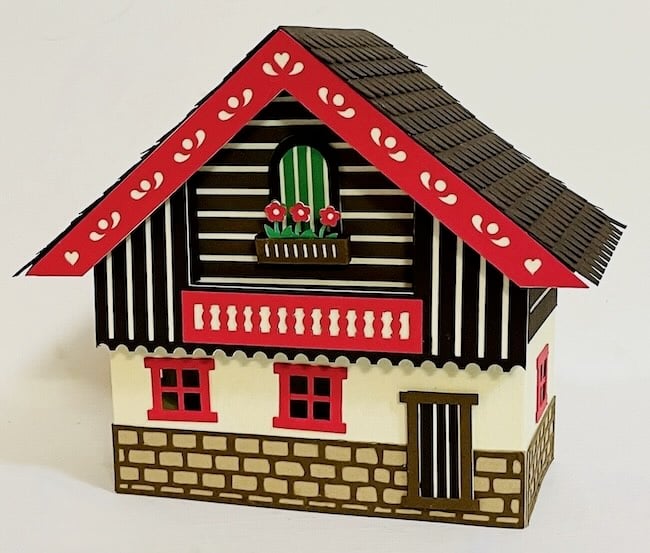
And here is the version with a stone wall.
The pattern is Design No. 223 in the free Paper Glitter Glue library. Simply click the big orange button to get to the password page. Type in the password and poof! you have access to all the files in the library.
Subscribe to get my newsletter and the password to the free Paper Glitter Glue library
If you don't have the password? Just subscribe to my newsletter with the form below and you will get the password right away.
This post contains some affiliate links for your convenience. Click here to read my full disclosure policy.
Materials to Make the 3D Swiss Chalet - Design No. 223 in the Paper Glitter Glue Library
- Card stock - I used either 65# or 110# card stock - either works, but I prefer heavier weight paper for the structure of the house
- Glue - Any PVA glue will work, but I generally use Bearly Art Glue
- Cutting method - I cut out the 3D Swiss Chalet with my Cricut Maker
- Standard Grip Mat
- Fine point blade
- Scoring Tool or Scoring Wheel
Directions for Making the 3D Swiss Chalet - Design No. 223 in the Paper Glitter Glue Library
- Download the pattern for the Swiss Chalet from the Paper Glitter Glue Library.
- Cut out the pieces for the Swiss Chalet.
One SVG contains all the elements for making the Swiss Chalet itself.
In an attempt to make this easier for you, I have also separated the pieces for this design into separate files so that the main file is not too overwhelming.
Also remember to designate the score lines as score lines rather than cut lines with your cutting machine and attach the score lines to the appropriate piece. - There are a number of PDF files included as well. These pieces can be helpful to show you exactly what each cut piece is.
Swiss Chalet Main Body Piece
Swiss Chalet Back Piece
Swiss Chalet Front Extension Pieces
Swiss Chalet Front Trim, Windows, and Doors
Swiss Chalet Gable Trim
Swiss Chalet Roof and Side Trim
Swiss Chalet Decorated Front Piece
Swiss Chalet Decorated Back Piece
Swiss Chalet Shingles - Decorate the house before you glue it together. We’ll start with the front extension.
- First choose whether you want to make the dimensional front piece. You can omit that and just decorate the front. It is much easier, but I think the front extension adds so much to this Swiss Chalet.
Let’s make the front extension first. Fold along all the score lines. Glue the decorative elements to the front extension. The yellow under layer piece goes on first. Then glue the brown exterior layer on top. After that, glue the decorative baluster piece on top. - After adding the decorative pieces to the front extension, glue down the front extension tabs to give it dimension.
- Now decorate the rest of the house. Decide if you want to include the gable trim with the vertical cutouts. You can omit it if you want.
Glue the yellow background piece to the back of the arched window. Next glue the frame around the arched window. Then glue to the house.
Next, glue the windows and the door to the front and to the sides of the house.
Decorate the back piece as well. - Glue the front extension to the front of the house lining up the edges with the angle of the roof line.
- Once the decorative pieces have been added, glue the house together. Apply glue to the glue tabs on the side of the back piece. Insert inside the front piece to make the structure of the house. Allow to dry.
- Once the house structure is dry, glue the roof tabs to the roof flaps.
- If you want shingles on the roof, it is much easier to apply them before you glue the roof to the house. Fold along the score lines of the roof, the folded part in the front is for the angled front decorative trim. When applying shingles fold this section underneath so you can cut the shingles to size after the shingles are adhered.
Layer the shingles starting at the bottom of each side. Cut the shingles to size, use the excess pieces to layer on the other side of the roof piece. Trim each side when you are done. - Glue the roof to the house.
- Now glue the trim to the front of the roof piece.
- Glue the bottom insert into the base of the Swiss Chalet.
- Proudly display your beautiful little Swiss Chalet.
Leave a Reply