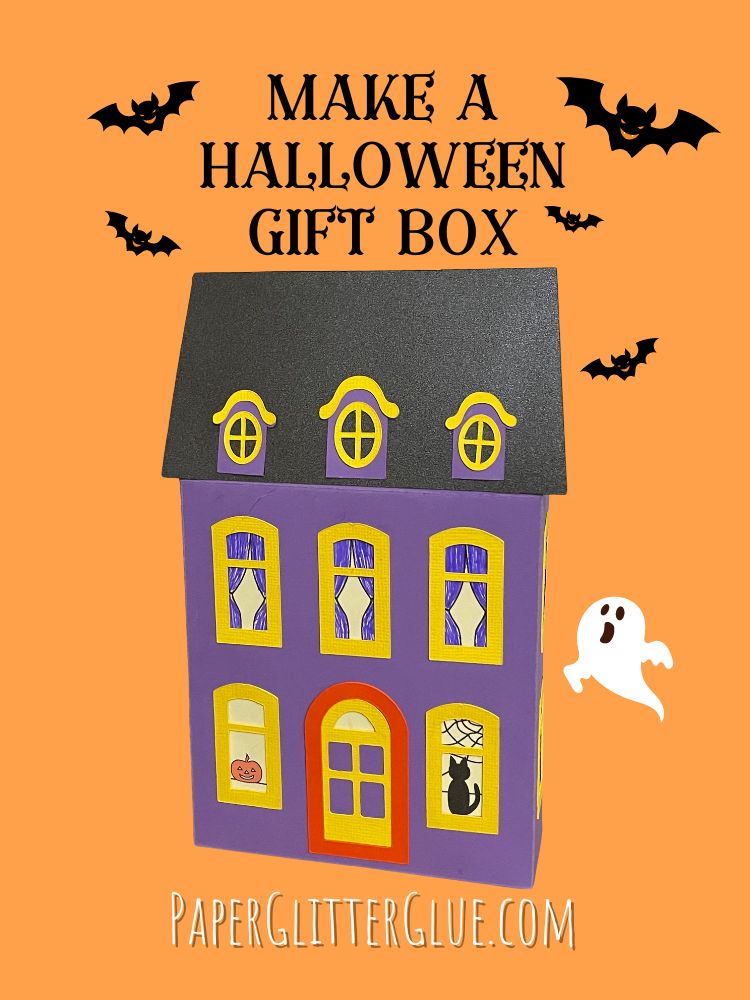
Here's how to make a great little Halloween Gift Box based on a French Country Manor. It's easy to make and it's perfect for little Halloween treats or candy. Let's get started.

This post contains some affiliate links for your convenience. Click here to read my full disclosure policy.
What do you need to make the Halloween French Country Manor Gift Box?
- Cardstock for this project
- Glue - I love Bearly Art Glue. You can get it from 12x12 Cardstock shop.
- More cardstock options
- A way to cut out the design - I used my Cricut Maker
- Other Cricut Machines that work with these designs:
- Fine Point Blade
- Standard Cutting Mat
- Scoring Tool
- Foil Tool for Cricut Joy Xtra score lines
Instructions for Making the Halloween Manor Gift Box
- Download the Halloween French Country Manor Gift Box SVG - Design No. 166 in the Paper Glitter Glue library.
- Upload to your cutting machine design software.
- Be sure to designate and attach the score lines to the main body of the house, the back piece, the roof tabs and the bottom flap in your cutting machine design software.
- Cut out the pieces for the Halloween French Country Manor Gift Box with your cutting machine.
- Print out the windows PDF file for the inside window designs.
- Fold along the score lines.
- Glue on the door pieces, window frames, and decorative pieces to the body of the house. Be sure to add the dormers to the front roof piece (which has the smaller tab on it)
- Choose which window options you like for the house. Color in the curtains as desired or draw your own figures for the windows.
- Next, glue the window pieces to the back side of the house body after all the windows and the door are glued on.
- Apply glue to the one side glue tab on the back piece of the Halloween Manor Gift Box.
- Glue the main piece and the back piece so that the bottom of each piece lines up perfectly.
- Next glue the other side tab on the back piece to the side of the main body of the house gift box.
- Make sure the house can fold flat. Let dry.
- Glue the extra bottom flap in place. This piece makes the bottom of the gift box much stronger. It allows you to add gifts without the bottom opening up.
- Fold the roof flaps inward.
- Apply the roof pieces to the top flaps lining up the bottom of the roof pieces with the crease of the roof flaps.
- Fill with candy or other Halloween treats.
My Great Halloween Spooktacular Kickoff Party shows you how to construct this gift box
MJK17
I really love doing these types of projects but I wish you would include pictures for every step.
Lucy
I'm sorry about that. I will add the photos, but I added this project as an additional, kind of bonus for the first day of the Great Halloween Spooktacular on the spur of the moment. So I didn't have time to write a detailed tutorial. Honestly, I will do that.
Lucy