Table of Contents
How to Make a Disc Bound Notebook Journal using your Automatic Cutting Machine
Have you ever wanted to make your own personalized planner or journal designed exactly the way you want it?
What if you can cut the perfect size page or divider on your own machine WITHOUT going to the store?
That's what I wanted to do for a garden journal. So I made a free template for you. It's design no. 55 in the Paper Glitter Glue library. Use this pattern I could make my own personal disc-bound journal notebook from scratch. I even included dividers with tabs in the pattern.
Decorate the cover with creative elements
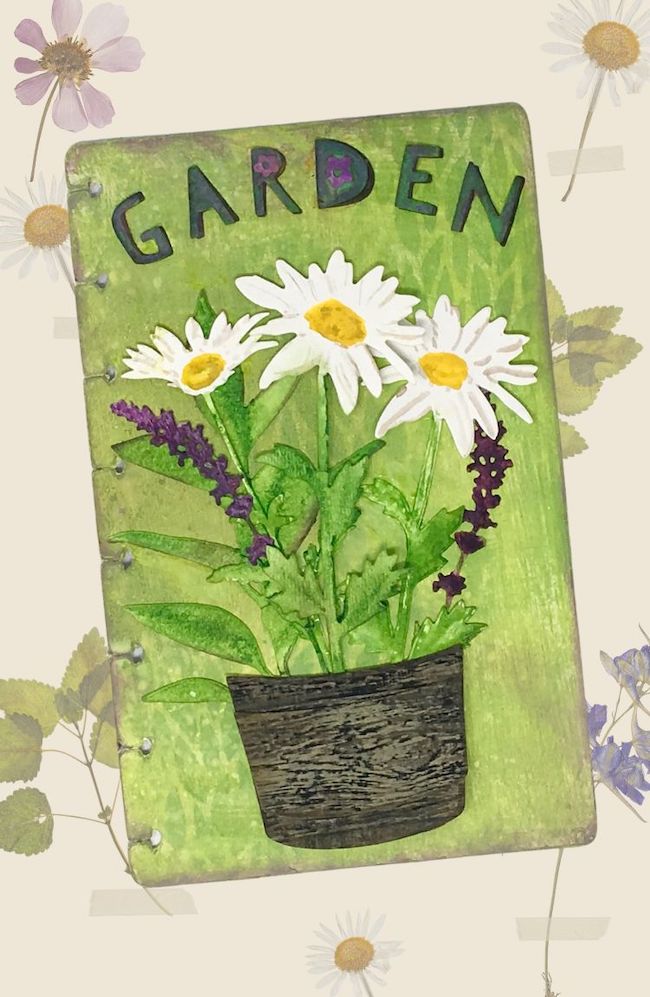
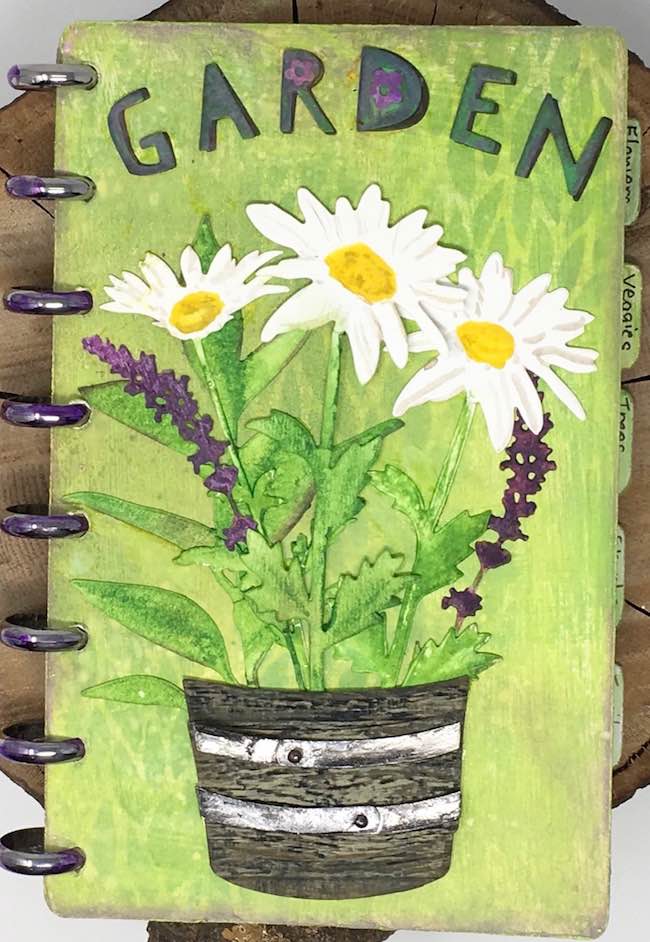
Then decorate the cover with whatever creative elements you like. I used these great Tim Holtz dies from Sizzix, Distress Paints, Distress Inks and crayons.
Books are fun to make
I have always enjoyed "making" books for my paper craft projects. Mostly I use the books as the base for my houses. But I've never made my own journal before.
Sometimes I make a book as a shadow box as I did for the Owl's House. And sometimes I make a book to function as the base for my little houses. The best book I made was the base for Gus the Ghost's House.
For this little book I have two online challenges where I can share this journal - A Vintage Journey's Book It Challenge and the Mini Album Maker's May Challenge.
This post contains some affiliate links for your convenience. Click here to read my full disclosure policy.
Materials for Your DIY Disc Bound Journal
- Pattern template from the Paper Glitter Glue library
- Cardboard for the cover and dividers
- Cardstock or copy paper for pages
- Gesso as primer for covers
- Discs for planners
- Garden Journal Cover Decorations:
- Tim Holtz Wildflower Stems #1
- Tim Holtz Large Stems
- Sizzix Potted Dies
- Sizzix Wildflowers Thinlits Die Set 661190
- Tim Holtz Alphanumeric Cutout Upper Thinlit Dies 663073
- Tim Holtz Sizzix - Bigz Die - Watering Can
- Stampers Anonymous Tim Holtz Layering Stencil "Leafy"
- Stampers Anonymous Tim Holtz Layering Stencil Floral THS077
- Sizzix 3-D Embossing Folder "Lumber"
- Ranger Texture Paste Opaque Matte
- Ranger Distress Paints:
- Ranger Distress Inks:
- Ranger Alcohol Inks:
- Gunmetal Mixative
- Silver Mixative
- Purple Twilight Alcohol Ink (on the discs)
Steps to make the Disc Bound Journal Notebook
As a paper craft this is an easy project because your automatic cutting machine does the work for you. I use either my Cricut Explore Air 2 or my Cricut Maker to make this project.
Step 1: Download the Notebook Journal file from the library - Design No. 55
If you already have subscribed to my newsletter, just type in the password and it will take you to the main part of the library. I always put the most recent files at the top of the library. Each file is numbered as well. These journal files are no. 55 in the library.
Subscribe to my newsletter with the form below. Just subscribe and you will get the password right away.
Download the Journal Notebook SVG Zip file from the Paper Glitter Glue Library. In order to make it download easily the file is in a zip format which compresses the file. You have to unzip it to open the file. On a Mac, all you do is double click the downloaded file and it automatically opens.
Here is a link to Microsoft support for how to unzip a folder.
Step 2: Upload the SVG file to your cutting machine design software
Now upload your file to the design software. There are 2 different sets of files in the folder. One is for the disc bound journal and the other is for a 3 hole notebook template. Choose whichever system works best for you.
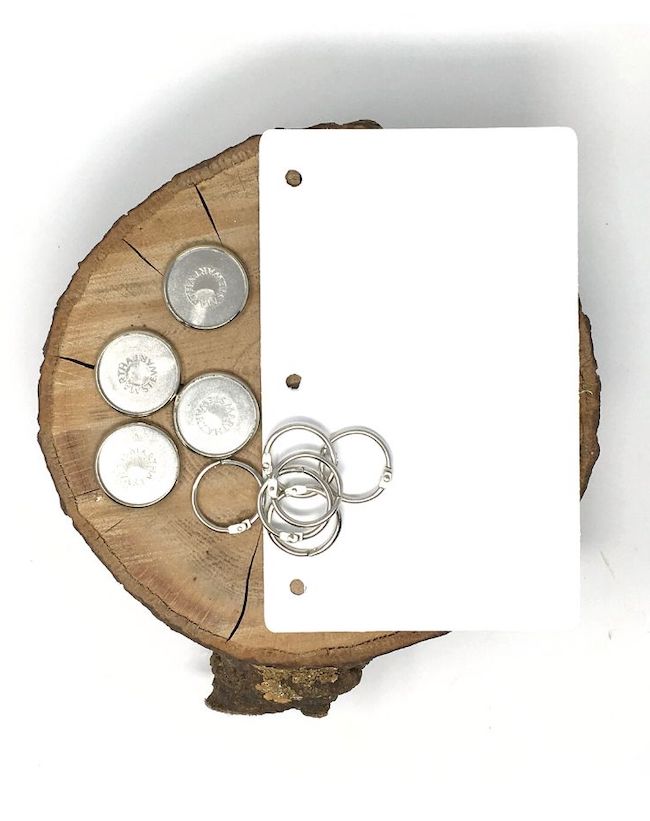
What I love about the disc bound system is that you can always add individual pages anywhere in the notebook easily at any time. But the advantage of using the 3 hole is that you can use loose leaf rings or ribbon or twine to hold your notebook together. And it is easy to find a hole punch for the 3 hole system.
Each journal template file includes:
- A front and back cover (5" x 8")
- Dividers with 6 staggered tabs - same size as the covers
- Regular pages which are slightly smaller than the covers and dividers (4.75" x 7.75")
- 4 insert pockets you can glue on the dividers or pages (4" x 2 ⅞")
There is also a PDF file so you can see what is involved if you don't have a cutting machine or you want to print out the templates. Later I'll talk a bit about options for cutting out the journal pieces by hand.
Step 3: Cut out your journal covers
Next cut out the components for your personalized journal. I used a lightweight cardboard for the covers and the dividers. You can use a heavier weight cardstock (110 lb) or watercolor paper to make your notebook. Since mine is going to be a garden journal I want it to be sturdy.
Here is the way the Notebook Journal pattern looks like in Cricut's Design Space. I did rearrange it so you can see the each component of the notebook:
- Covers - 2 cover pieces
- Dividers with tabs
- Page - the page is slightly smaller so it doesn't extend past the dividers. In addition the pages have narrower slots for the discs since the material for the pages is thinner material
- Insert pocket
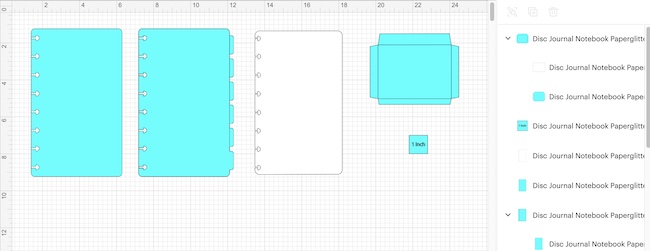
The only score lines are for the insert pockets. Be sure to designate the lines on the insert pocket as score lines and attach to the piece it is grouped with.
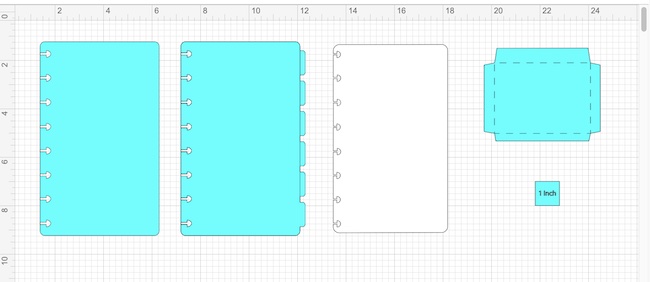
And here are the pages that are slightly smaller (4.75" x 7.75") than the notebook covers (5" x 8"). Please note that these are smaller than the commercial disc bound pages that you can buy. The advantage is that you can cut your own pages whenever you want, but if you want to a lot of pages it will take time to cut them 2 at a time.
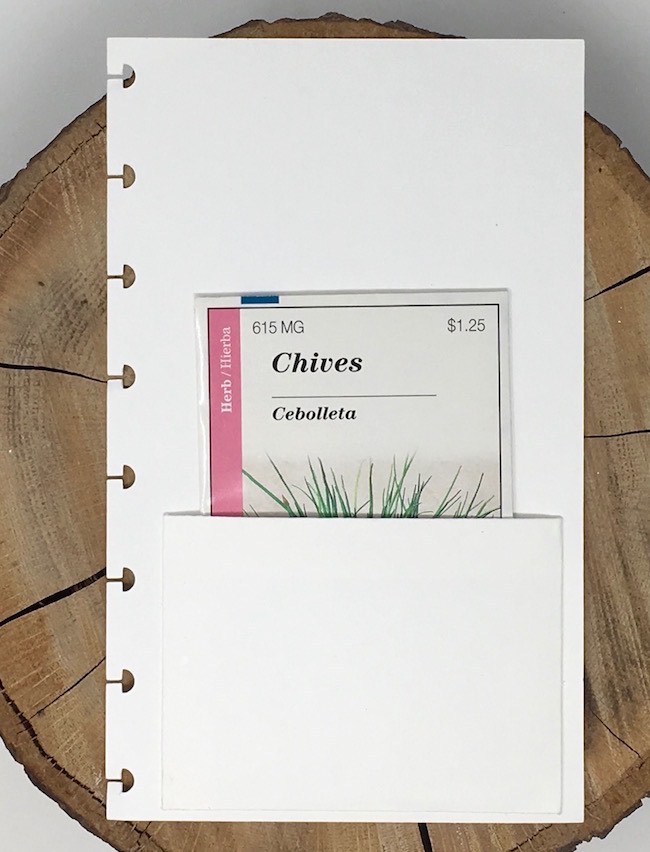
Finally, if you want an insert pocket you can use these to make some small pockets. I use them to hold seed packets and plant labels.
Make your DIY Disc Bound Notebook without an automatic cutting machine
You can still use the disc binding system if you don't have an automatic cutting machine, but it is a little more challenging. Your options are to buy a disc binding punch. Here are some options:
The simplest way to make your own notebook by hand is to simply use an 8.5" x 11" paper or cardboard, cut it in half and use a hole puncher for a 3-hole notebook.
Step 4: Personalize and Decorate Your Journal Cover
You knew I was just waiting for this step, didn't you? Indeed, it is my favorite part.
So there are 3 main steps for personalizing your journal cover - the background cover itself, design elements, and putting it all together.
First paint the background cover if using cardboard
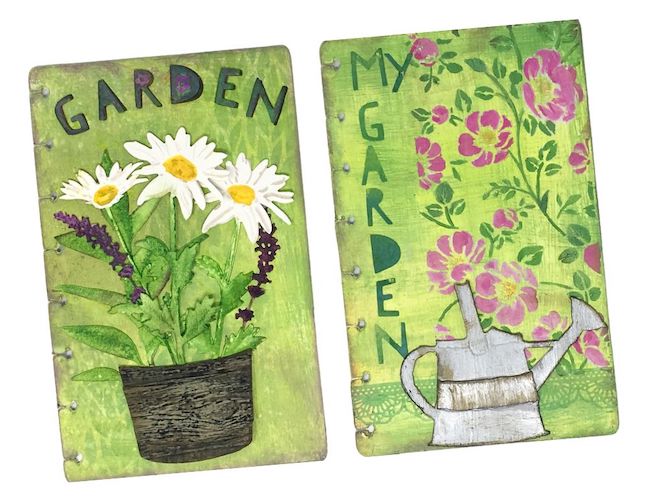
I used stencils to decorate my cardboard covers. Below is the leafy stenciled cover background. First I paint the cardboard with white gesso - the primer I use all the time. Then I painted it with Twisted Citron Distress Paint. It's a light, bright yellow green color that I didn't expect to love but I do.
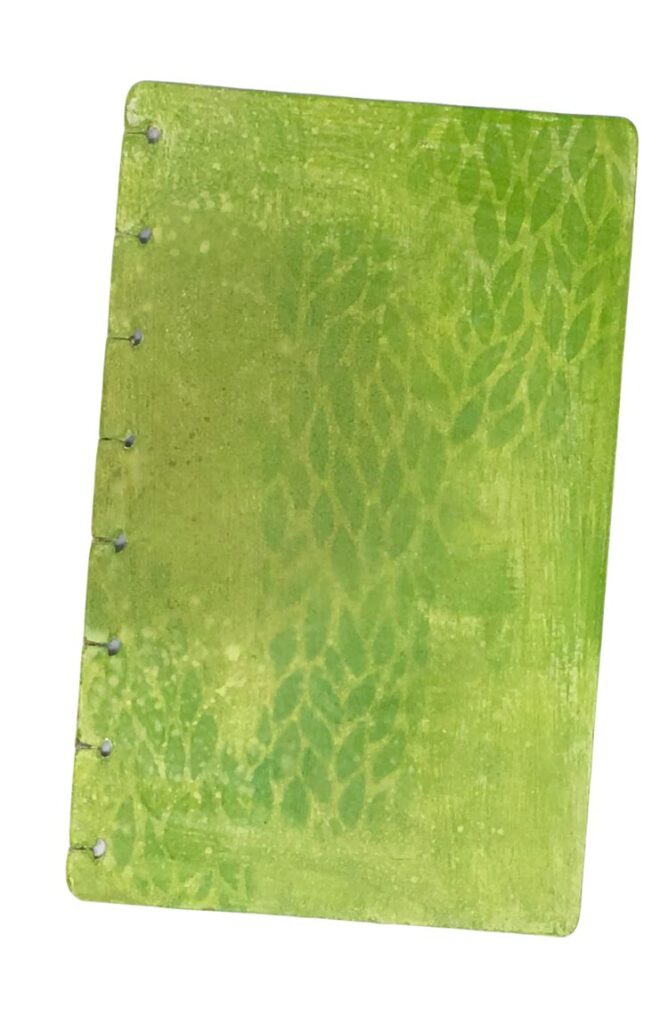
Next I dry brushed Mowed Lawn Distress Paint over the Twisted Citron layer. I followed that with a Stampers Anonymous stencil called Leafy inked with Mowed Lawn Distress Ink. Also I think there is some smeared Peeled Paint Distress Ink and then lightly spritzed with the Twisted Citron Distress Oxide Spray.
After this photo was taken I decided I needed more contrast so I inked the edges with Wilted Violet Distress Oxide ink.
The background for this cover is very similar with two layers of green paint. Then I used this beautiful Stampers Anonymous stencil called Floral with Ranger texture paste.
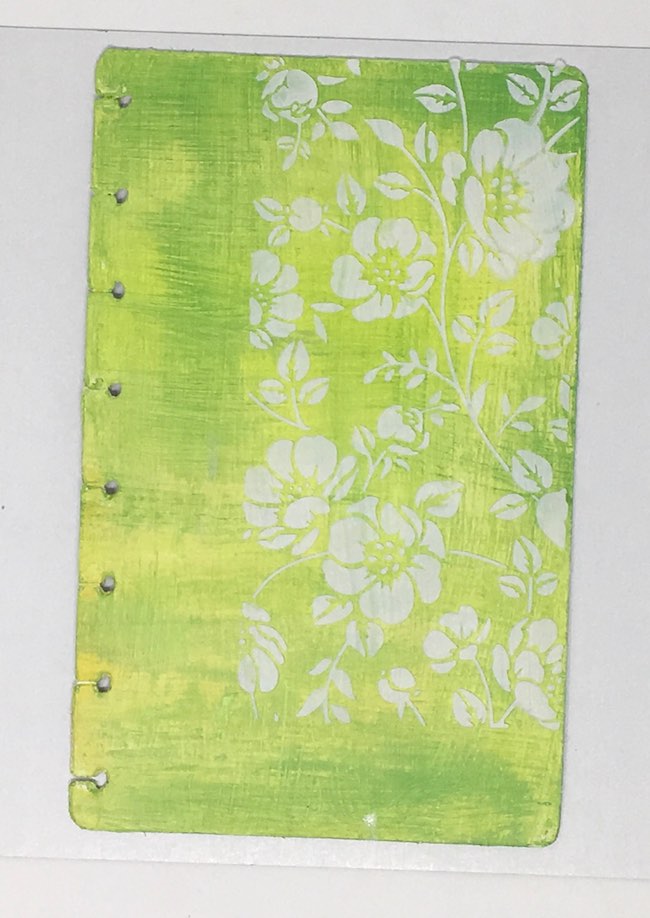
For the Floral background, I painted the leaves and flowers with Picked Raspberry and Mowed Lawn Distress Paints. The centers of the flowers are tinted yellow with some gold perfect pearls powder.
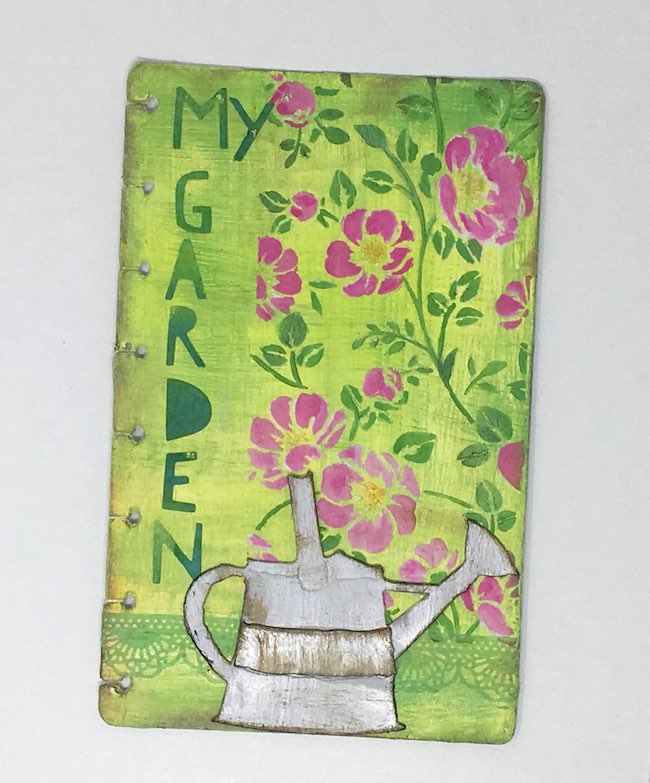
Design Elements for Your Personalized Journal Cover
Next make the design elements. Since I'm making a garden journal I used some of my favorite dies to decorate the cover.
There are alphanumeric dies for the Garden word. An offset darker version of the letters forms a drop shadow so they would show up better on the green background.
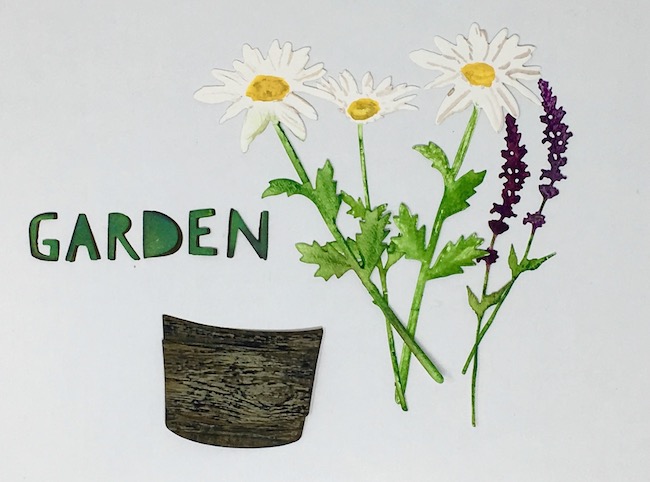
The embossed wooden barrel is from a new Tim Holtz Sizzix die called "Potted". I love this die.
The flowers were colored with various paints and inks. I even used the Mowed Lawn Distress Crayon for the leaves.
Next test the arrangement of the flowers, the words and the barrel.
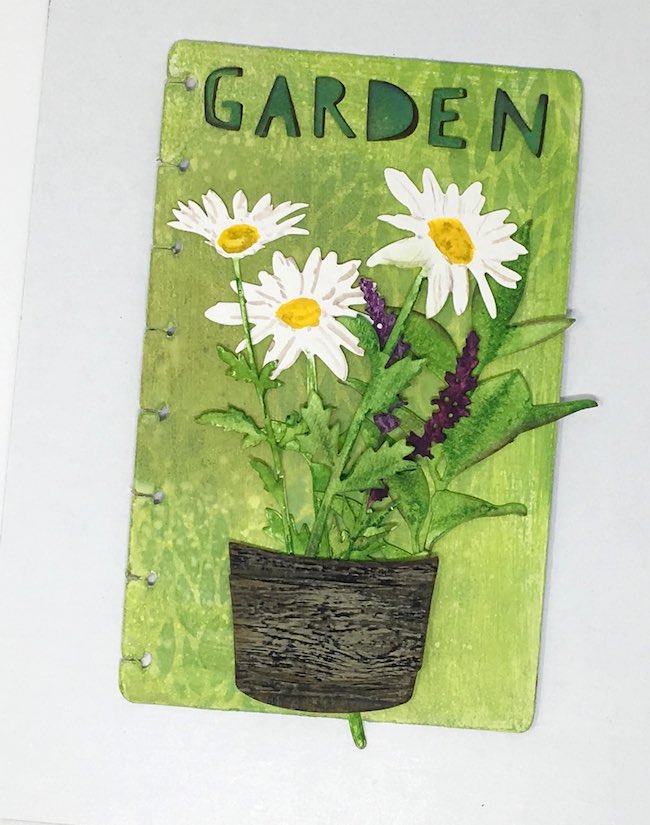
Actually I like this arrangement better than the one I ended up with. I changed the arrangement so the leaves would not go over the edge. Oh well.
Now Put it all together
Just use your favorite glue and glue your decorative elements to the front journal cover. I glued a piece of cardboard behind one of the daisies for extra dimension.
And I finally remembered to add the metal band to my wooden barrel. I colored the band with silver and gunmetal mixative distressed with some Black Soot Distress Paint.
One mistake I made was adding little purple flowers in the R and D letters of Garden. That just looks silly.
To give the edge of the notebook cover a little more definition I inked it with some Wilted Violet Distress Oxide Ink. I like that a lot.
The End Result - the Finished DIY Garden Journal Notebook
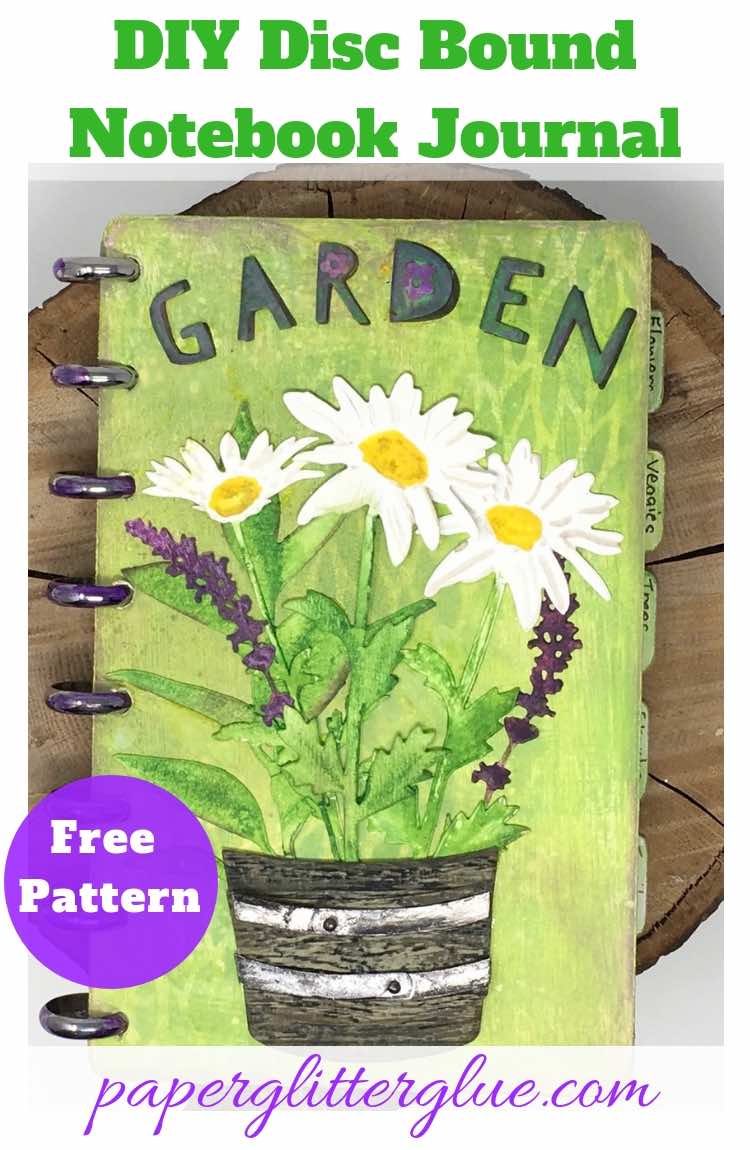
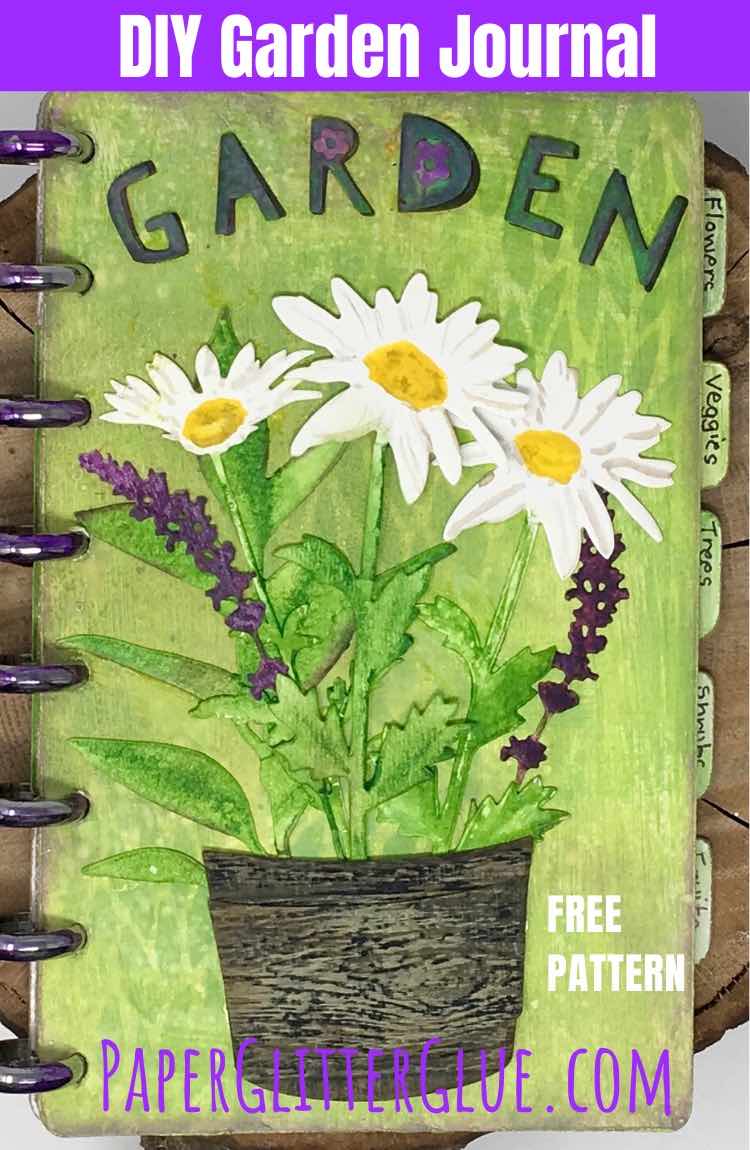
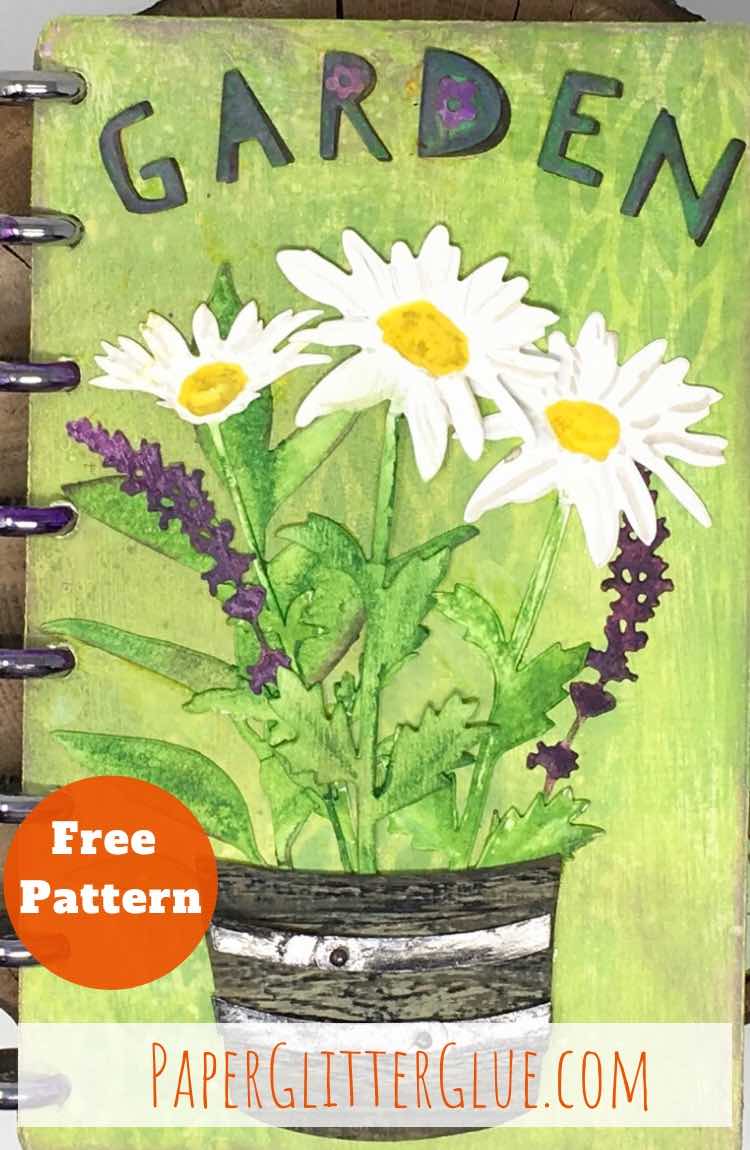
Here are the journal covers.
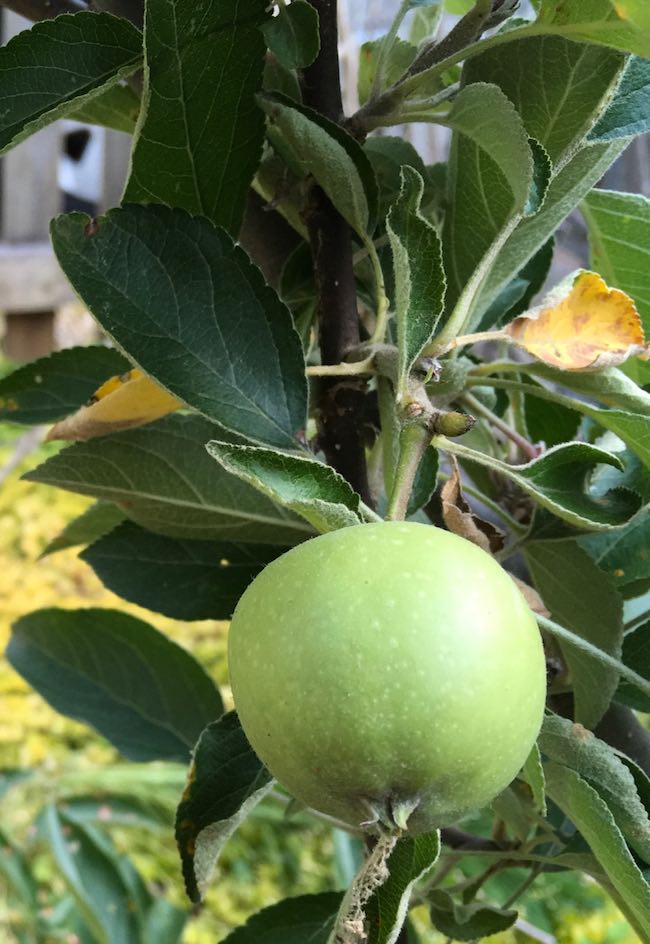
Oh, here is one photo I will to be sure to add to my journal - my first apple on one of my dwarf apple trees. It's about 2 inches in diameter right now. I hope I can wait until it is ripe but I know it will be difficult because I stare at it everyday.
And this is what the pocket insert looks like on a disc bound page.
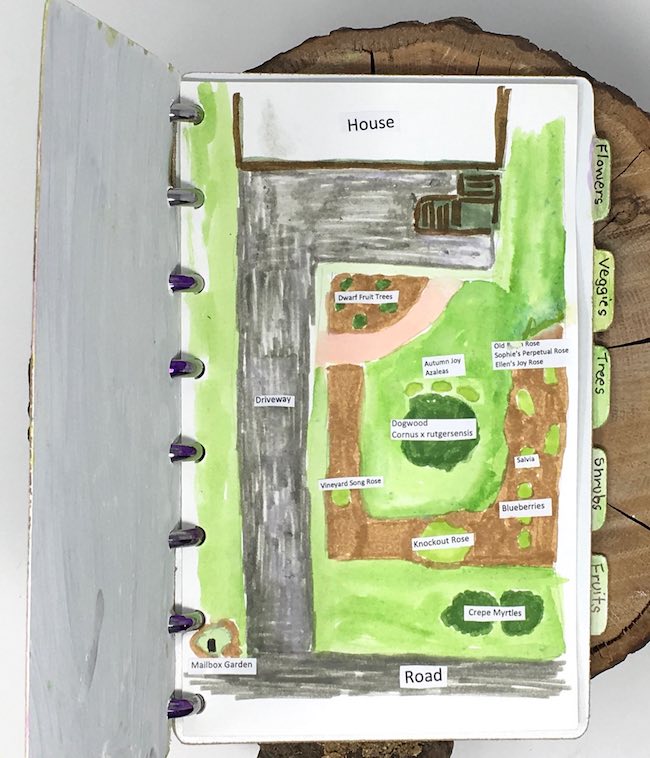
Finally, here is a sketch of my front yard garden - a rough sketch. I am going to do a lot of rearranging this fall probably.
Finally, this is what the pocket insert looks like on a disc bound page.
So that is how you make your very own personalized journal with an automatic cutting machine.
I hope you will try it out. Let me know if you have any questions - [email protected]. Thank you so much for stopping by.
Lucy
P.S. Be sure to pin this if you want to remember where to get the instructions.


Sara
Thank you so much for this tutorial! I just finished creating my own planner and could use my arc punch for the pages, but the thick chipboard I picked for the covers wouldn’t fit in the punch! But I just got a new Cricut Explore Air 2 for Christmas, so thanks to you I’ll be able to test it out! Thanks!
butterfly
This is fabulous - and such a detailed how-to post too, thank you. I just love your potted plants!
Alison x
Jodie
Thank you so much for the free files! Do they need to be resized in Cricut DS? After I cut mine out, the discs fit very tightly and some of the pages were slightly smaller. Did I do something wrong?
Thanks
Jodie
Lucy
Jodie,
Yes, the discs fit tightly. And yes, you can resize them in Design Space. The openings probably need to be a little bit bigger. Which means you did not do anything wrong. Maybe I should go back and enlarge the holes a little bit. I thought mine were tight because my cardboard was thick.
Lucy
Jodie,
The first set of patterns took me forever so when I noticed that the pages fit tightly around the discs I didn't worry about it. But you are right, they are too tight. So I re-did the patterns for the Disc Bound Journal and the covers work so much better with the discs now.
The pages are supposed to be slightly smaller than the covers so the covers protect the pages.
Email me at [email protected] if you have any other questions. Or you could join the Paper House Paper Crafts private Facebook group where it's a little easier to ask and answer questions.
Sara Emily Barker
Lucy, now you are talking my language! I love that you've made this functional, yet beautiful garden journal to record your progress. Your flower arrangement in the garden pot is gorgeous--the purple accents add so much to those sweet daisies! Loved seeing your lot diagram as well. Congrats on that apple! We used to have an orange tree, but sadly removed it when the kids were small, because of the thorns. Our garden this year has seen better days! Sending hugs!
While I'm here, I want to thank you for playing along at A Vintage Journey!
Annie
Your Garden Journal is beautiful and it was lovely to read the step by step x Love the background details on the cover and the embellishments are the perfect finish x
Lovely to have you join in with us for our Book It challenge at A Vintage Journey
Best Wishes
Annie x
Lucy
Thank you, Annie. Any time I have a project that fits with the A Vintage Journey theme, I love to share it there. I find such great inspiration on your challenges.
Maria Lillepruun
Charming and useful! Thank you for sharing with us at Mini Album Makers!
Anne R
Your garden journal is fantastic, you make me wish I had an electronic cutting machine, the result of yours is wonderful. The cover is really beautiful, those TH elements work so well. I just love your sketch of your garden too and I hope you get lots of apples from your beautiful tree!
Thanks so much for joining in with us at Mini Album Makers this month. Anne xxx
Lucy
Anne,
Sorry I am so late replying. I will only get one apple this year. But usually you have to wait several years to get any fruit from fruit trees so I am excited to watch this one grow.
I still feel kind of guilty about having an electronic cutting machine because I love dies so much. And it is not easy to design the files. I spend hours making them for my projects. But with time and practice you can make almost anything. Also I am getting older and my hands hurt sometimes so the machine definitely helps with that.
Lucy
Tracey
What a sweet garden journal, perfect for keeping all those gardening tips and planting dates to hand. Thank you for sharing with us over at Mini Album Makers. Best if Luck in the challenge. Tracey DT