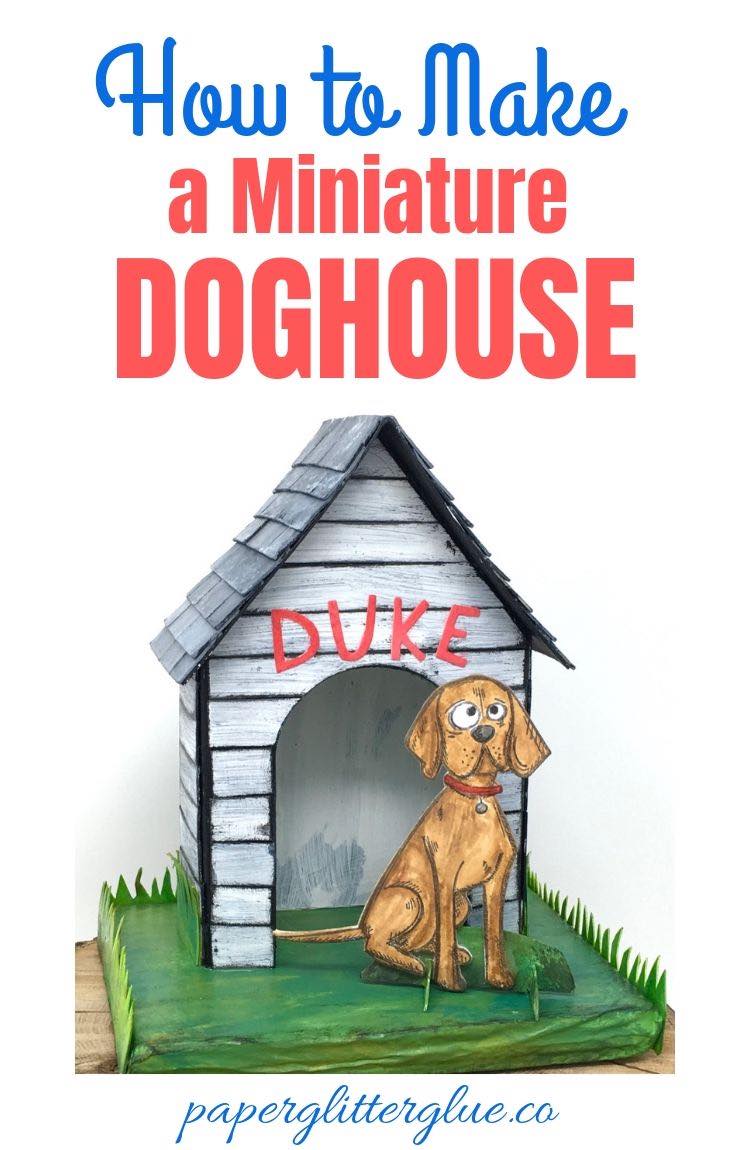
Learn How to Make this Easy Mini 3-D Paper Doghouse with this free pattern. You can even customize it with a photo of your own pet.
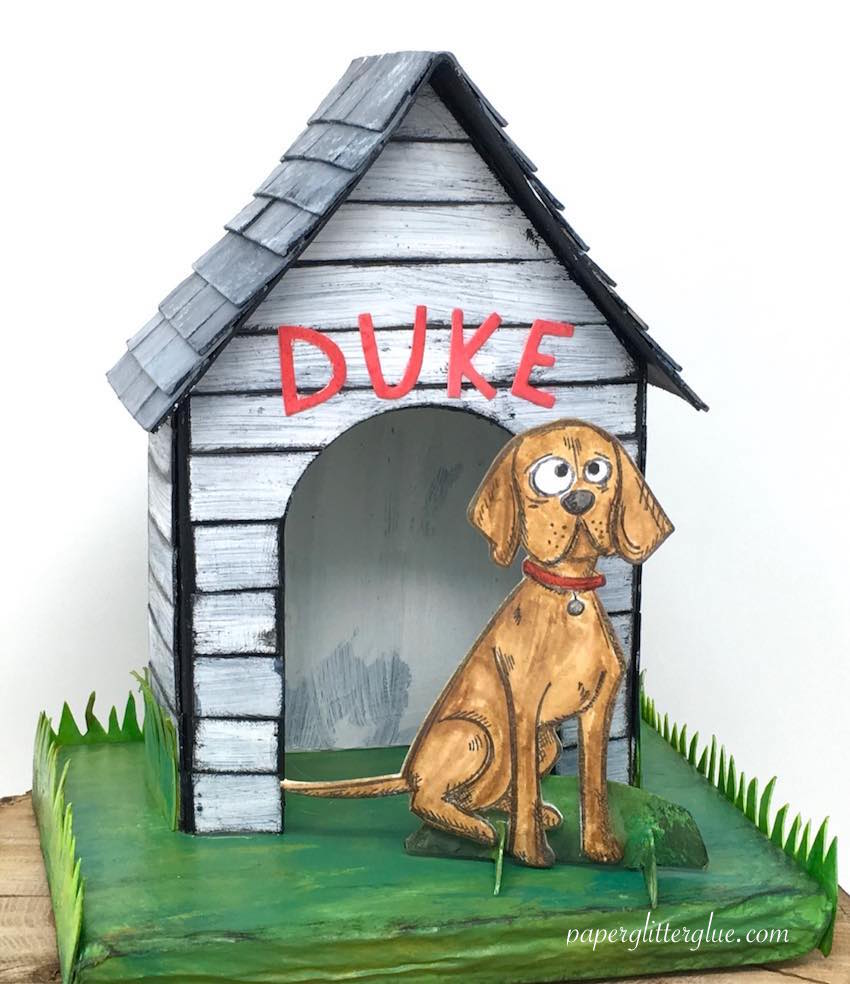
Well, you know I love to make houses, but I wanted to make a quick and easy project so this Mini 3-D Doghouse was born. And what makes a home sweeter than the family and pets we share it with? It is definitely easy to make and you can customize it for your very own favorite dog or cat.
This is design No. 56 in the Paper Glitter Glue library. Subscribe to get the password if you don't already have it.
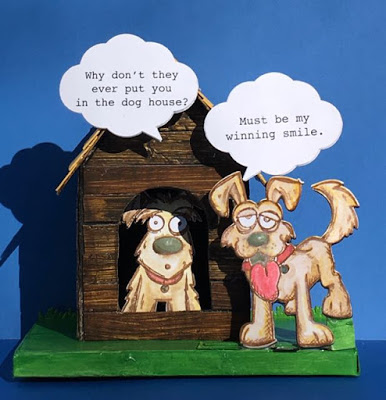
Here's a another version of the miniature doghouse using the Tim Holtz Crazy Dogs stamps and dies as well.
This post may contain some affiliate links for your convenience. Click here to read my full disclosure policy.
Materials to Make Your Own Mini Doghouse - Design No. 56
- Cardboard - Design No. 56 in the free Paper Glitter Glue library
- Strathmore Mixed Media Paper
- Corrugated Cardboard for the base
- Brown packing paper for the base
- Glue:
- Black Gesso Paint as primer
- Distress Paints:
- Distress Pens:
- Archival Ink Jet Black
- Sizzix Thinlits Die - Alphanumeric Cutout, Upper
- Tim Holtz Stampers Anonymous Crazy Dog Stamps and Sizzix Framelits
- 3-D Mini Doghouse Pattern - my free pattern Design No. 56 in the Paper Glitter Glue library
- Cutting Method - either an automatic cutting machine like a Cricut Maker or Silhouette Cameo or a craft knife and a craft cutting mat (my favorite cutting mat). This pattern is designed to be very easy to cut out by hand.
Summary of Steps to Make the 3-D Paper Doghouse
- Download the free pattern - Design No. 56 - from the Paper Glitter Glue library
- Cut out the pattern
- Prime all the cardboard pieces for the house
- Paint the wood siding and shingles
- Glue the house together
- Add the siding to the house
- Glue the shingles to the roof
- Glue the roof to the house
- Cut out name for the dog
- Make a base for the house
- Make the stamped dog image and cardboard support
So let's get started making the little cardboard doghouse.
1. Download the free pattern from the Paper Glitter Glue library - Design No. 56
You can get the doghouse pattern in the June 2019 section of the Paper Glitter Glue library. It's Design No. 56.
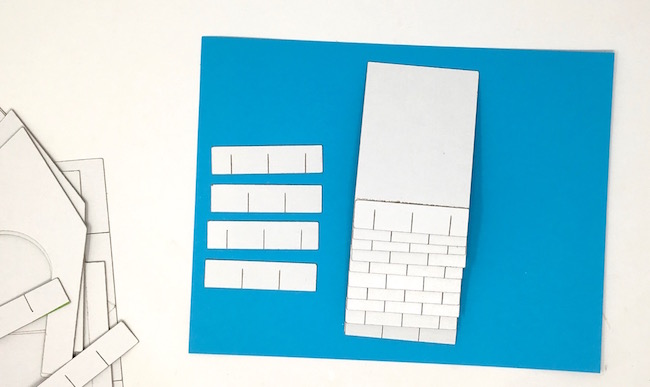
This photo shows all the pieces for the doghouse. I use the doghouse template pieces to make the siding. I just cut it to look like wood boards on the outside.

The doghouse paper template is available in the library in 2 formats - a printable PDF format and as an SVG pattern for automatic cutting machines. If you have the password for the library, then you can access the pattern right away.
Otherwise you can subscribe to my newsletter by just filling out the form below and you will immediately get the password to the library so you can download the pattern templates.
Also I always draw the score lines in red to help delineate them. So when you see red on the color box, go the operations menu next to the color box, choose score.
Below are some screen shots of the pattern pieces with the score lines already marked.
This screenshot shows all the pieces in Cricut Design Space with the score lines designated and attached to their correct pieces - the front piece, the back piece, and the roof.
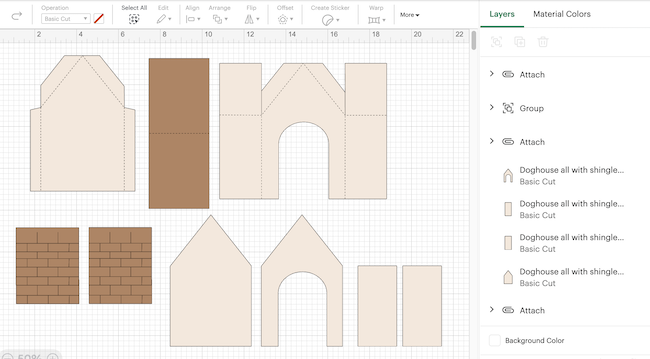
The cardboard cut outs to make the siding for the miniature cardboard doghouse are included in the pattern. These pieces are slightly reduced in size so they will fit on the side of the doghouse with minimal trimming.
2. Now cut out the 3-D Paper Doghouse
For the people who cut patterns and templates by hand, this is a very simple pattern. It's a great little cardboard house to make with kids because it is easy to cut out and construct.
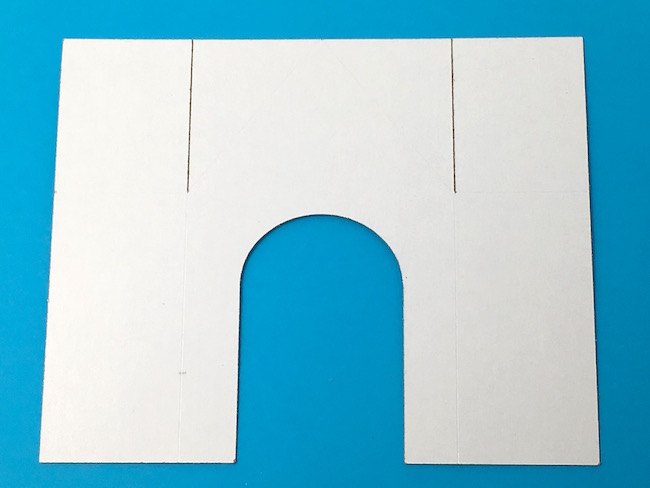
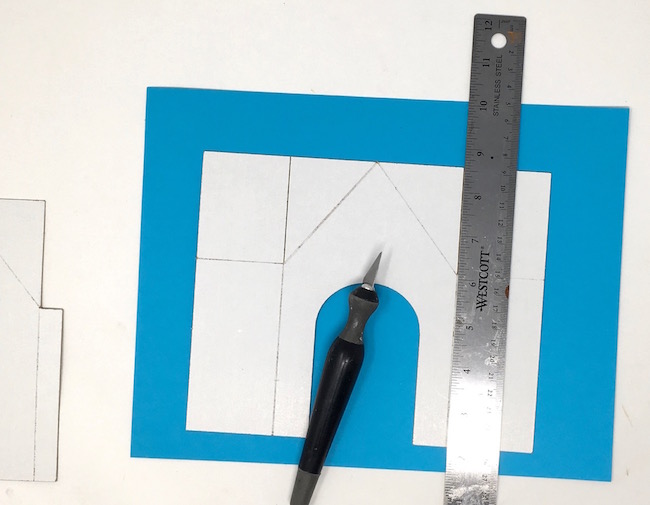
Here you see the simple front piece cut out. Basically, it's a rectangle with a doghouse doorway.
And here is the back piece of the doghouse. It fits inside the side walls of the dog house.

These two pieces will make the wood siding for the cardboard doghouse.

This is way the cut out shingles and roof piece look. Stagger the shingles when you glue them on.
My automatic cutting machine for this project is a Cricut Explore Air 2 which does an incredible job of cutting out the pattern, but not the greatest job scoring the lines. I often have to go over them especially with cardboard. If you have a Cricut Maker, it has a scoring wheel which does a much better job on the score lines (though I use the scoring stylus most often). Still as I said, this is a very simple pattern so hand scoring the few lines on the cardboard pattern isn't a big deal.
Manually improved score lines on the front piece shown below.
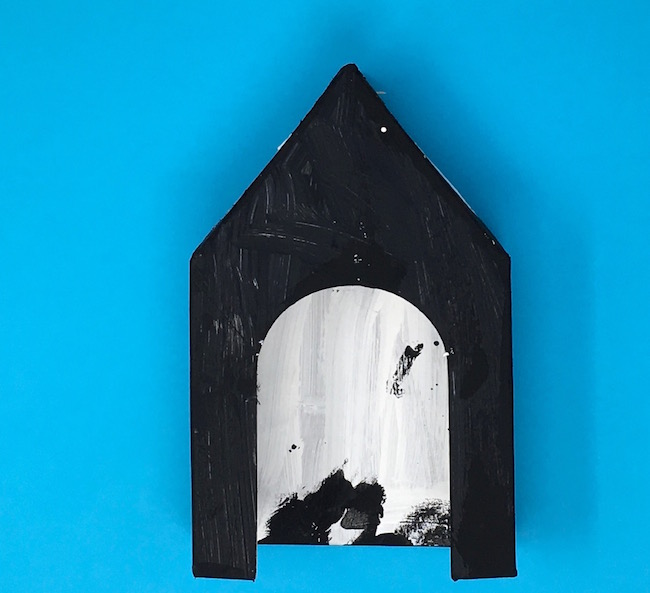
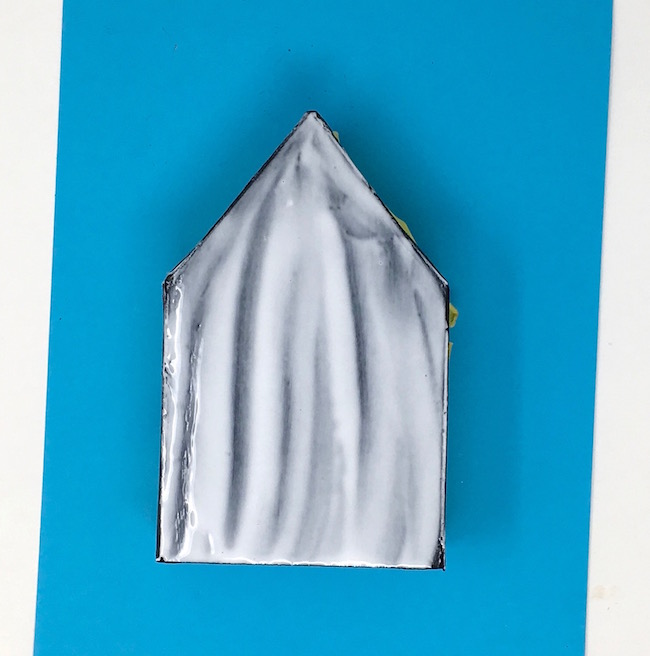
3. Next prime all the Doghouse Pattern Pieces with Gesso
Why gesso? And why black gesso? Because for this project the main pieces are recessed and in shadow. Even the siding works best with black gesso prime to give dimension to the white-washed wood siding.
Or if you are using cardstock, use a heavyweight black cardstock for the main structure of the house.
Please note that I painted the inside white so the little dog would show up better and that I painted over the black splotches as well.
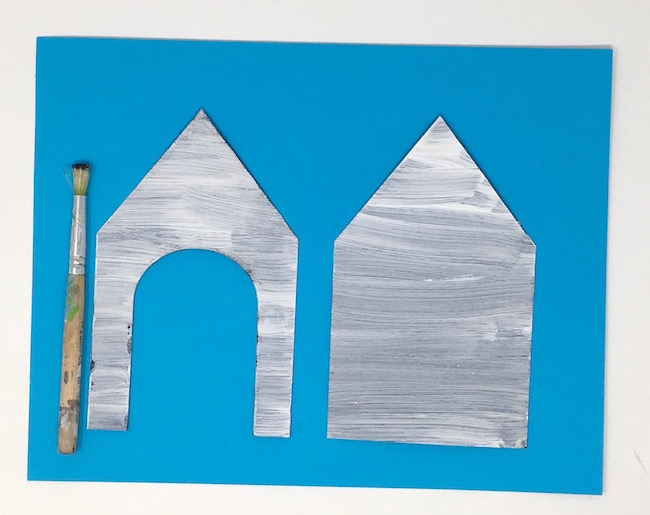
4. Now paint the siding and the shingles
This is such an easy way to make cardboard look like wood. Just paint over the black primed pieces of cardboard with a lighter color. I chose Picket Fence white paint so the little doghouse would look like it had been whitewashed. You might have to paint 2 layers to get the coverage you want. Try to leave a little bit of black showing to make the wood grain.
White paint over the black gesso makes the siding look like wood.
I paint the shingles the same way as the siding. Prime with black gesso, then paint Hickory Smoke Distress Paint on top, followed by some splotches of Weathered Wood Distress Paint which is a blue-grey color.

5. Glue the Doghouse together
Because this is a simple house, it is easy to glue together. Most of the little houses I make are from one piece of cardboard, but since this pattern is bigger, I make an inset back piece. The back piece has two tabs on it that fit inside the sides of the doghouse. Just glue them in place with a strong glue like Aleene's Quick Dry because it really does hold better.
I use binder clips to hold the bottom and a couple of pieces of painter's tape to hold the upper sides together.
6. Next, add the siding to the Mini Doghouse
Now cut the pieces of siding into strips. I did this on my guillotine cutter at about ½ inch intervals. Also you get much more dimension for the siding if you edge each piece of siding with black.
Paint the side of the doghouse with glue. For this step, I actually used a slightly less thick glue, Aleene's Quick Dry. It's much easier to get out of the bottle and I don't need the major holding power for the doghouse siding.
Then, just smush the siding pieces in place on the cardboard doghouse. Sometimes you have to trim the pieces a little bit so they don't extend past the sides depending on how closely you space the siding. The pattern for the siding is 2-3% smaller the sides of the doghouse to try to alleviate that problem though. Dab off any extra glue that might ooze through the edges of the siding.
I use painter's tape to hold down the edges of the siding so they won't pop up at the edge.

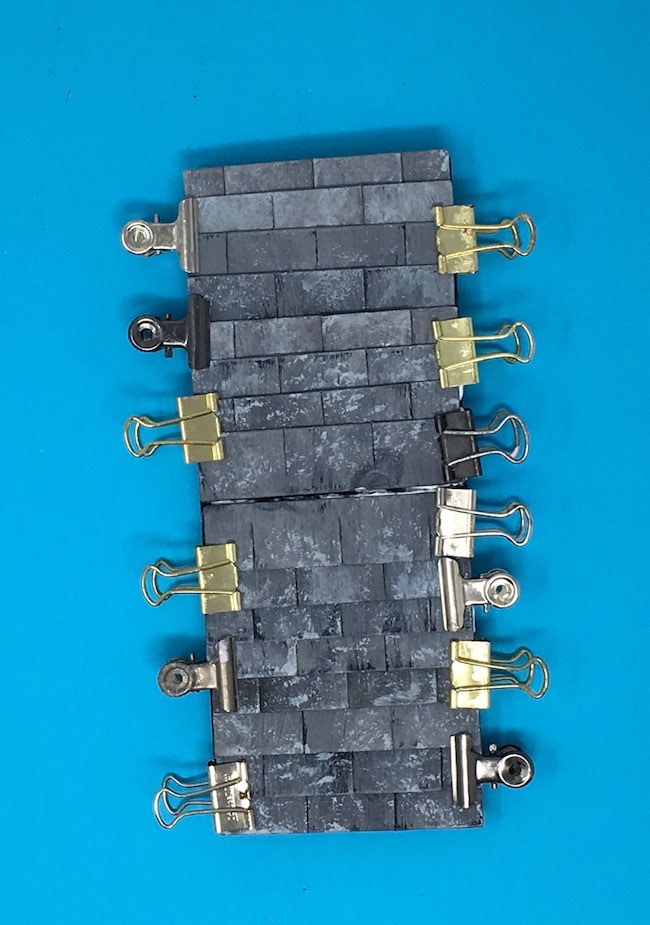
7. Glue the shingles to the roof
You can glue the shingles on now or after you have glued the roof on the doghouse. But for me on this house, it's easier to glue the shingles on before adhering the roof piece. If you have complicated rooflines or a chimney, you need to wait until the roof is glued on because you're going to have to fiddle with the shingles. It's just not necessary for this project.
8. Now glue the roof to the house
Using some painter's tape to hold the roof in place, apply a thick layer of glue to hold the roof on.
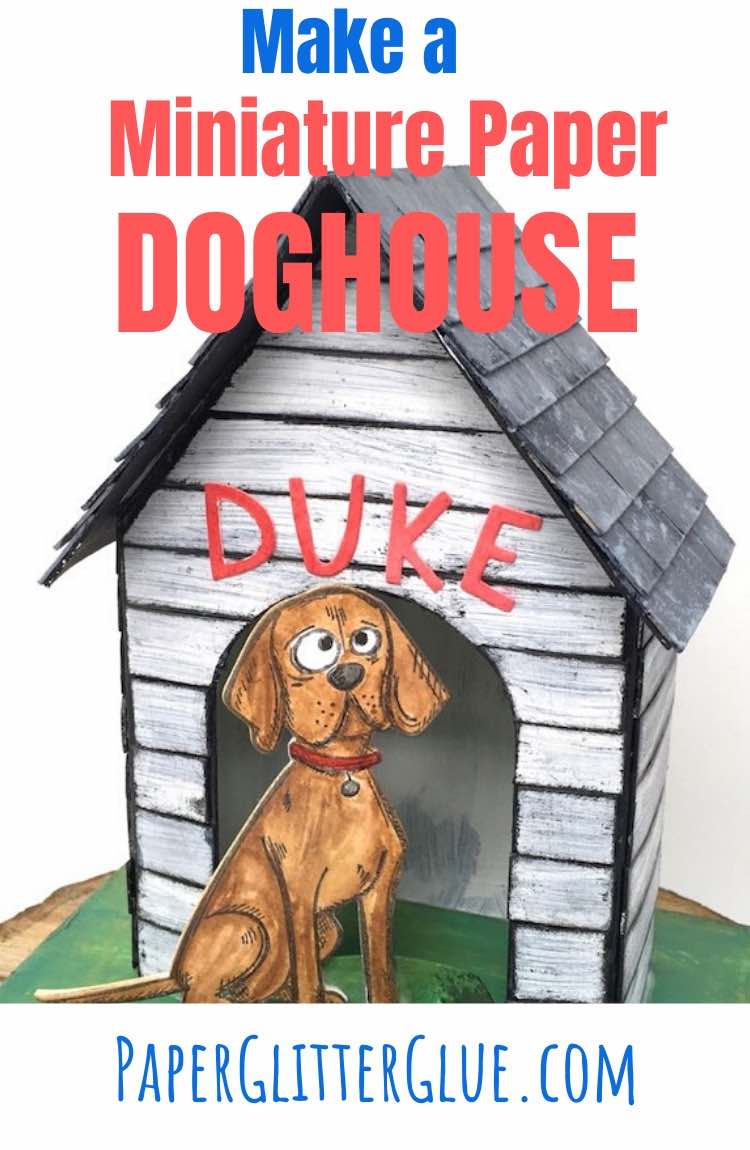
9. Cut out the name for your dog
I used a new upper case Alphanumeric font from Tim Holtz called "Cutout" which is perfect for the doghouse, but you can find fonts in Cricut Design Space to cut out. In case you are wondering, my name - Lucy -remains in the top 10 names for female dogs.
Adhere the letters to the front of the doghouse.
10. Make a simple cardboard base for your 3-D Paper Doghouse
Since I don't have to add lights or anything to this house, I just hot glued 4 layers of cardboard together, covered them with brown paper. Then paint with colors of your choice. I used a mixture of Mowed Lawn, Peeled Paint, and Evergreen Bough Distress Paints to make the doghouse lawn.
You can read about making cardboard bases for other houses like Putz houses and little glitterhouses here. They are made exactly the same way except I don't need to cut a hole in the base for an LED light.
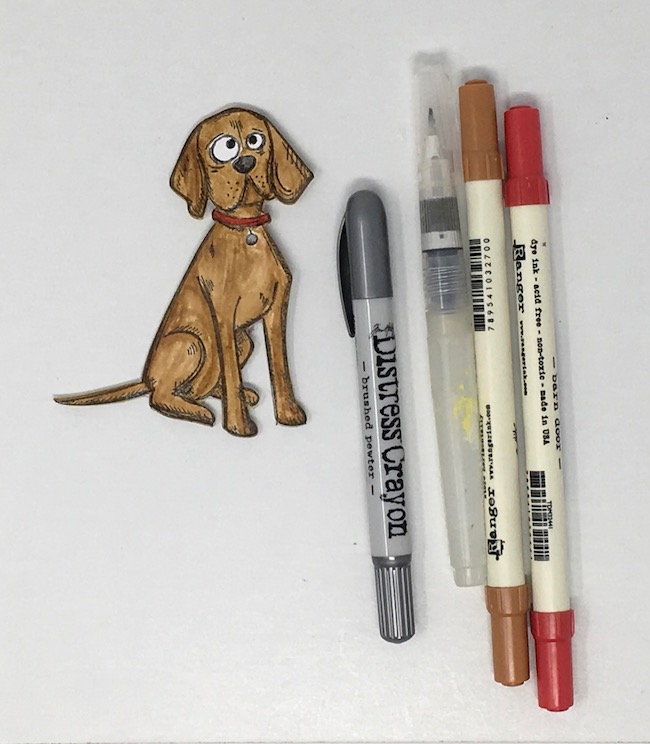
11. Now make your Doggie
For this step, I used one of Tim Holtz Crazy Dogs stamps and dies. First stamp the dog in Archival Ink on heavy mixed media paper, then color with Distress pens. Funny enough, the color that looked best to me was one called Tea Dye. I colored the nose with Black Soot and the collar with Barn Door. Just a tiny blob of a silver Distress crayon for the dog tag. And that completes the front of the dog.
Next, cut out several more dogs that you don't have to stamp. Glue them together with collage medium. I chose that glue here because it dries so fast and doesn't warp the paper. I probably used about 5 layers of paper to make the dog.
And finally, make a little stand so Duke can sit easily in front of the doghouse. You could glue him to the doghouse, but I just like the idea of being able to move Duke around. Also if you want to cut out a picture of your own dog, this is a fun way to display a photo of your doggie.
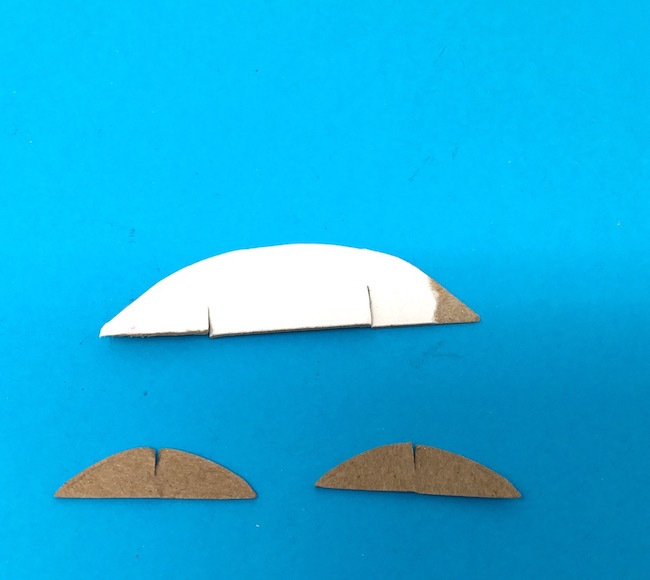
Cut a small piece about 2-2.5 inches wide as the main part of the base. I actually used some scrap cardboard leftover the front piece of the doghouse. Cut 2 little slits in the base about an inch or two apart. Then cut 2 more pieces with slots in them to hold up the main part of the base.
Put these pieces together as shown to function as the stand. Now glue your doggie to the front. Duke stands up nicely. Sometimes you have to play around with it a little bit to make sure the dog balances well. Different dies for the Crazy dogs need different sizes of the base so you can fit the feet around the support pieces.

That is how you make a 3-D Paper Doghouse
Get my free SVG files at the Paper Glitter Glue Library. Just subscribe to my newsletter so you get notified whenever I have a new pattern or craft project for you. You will immediately get the password to the library where all my free patterns and tutorials are located.
Questions? If so, you can ask me in my Facebook Group "Paper Houses and Paper Crafts hosted by Paper Glitter Glue" or email me at [email protected]. I love to help. Also you can share your projects on that Facebook page. We would love to see them.
Lucy
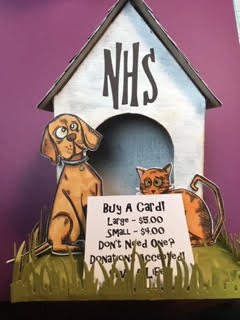
Connie made this little doghouse for a fundraiser for the Nebraska Humane Society. Didn't she do a great job?
P.S. Be sure to save this tutorial your favorite Pinterest board so you can remember where you found it.

Valerie P
Adorable project!
Lucy
Thank you, Valerie.
Sara Emily Barker
Lucy, Duke and his beautiful house tickled me pink! I loved reading your post and seeing how this all came together. Your siding and shingles look fabulous! So going to steal your method on the shingles, as I am in the process of making little houses myself, and roofs are not yet completed. Two great minds on the siding, though, my friend, I just took a different process and color. This is such a great idea and I truly appreciate all your hard work! I'm delighted you are our special Guest Designer at Frilly and Funkie! I'm sorry I didn't give you a proper intro when I wrote my challenge post, but didn't see your post scheduled on the blog yet.
Interesting to note that Lucy is the #2 girl dog name; we have a neighboring beagle named Lucy. Sending hugs your way! Sara Emily