• Skip to primary navigation
  • Skip to main content
  • Skip to primary sidebar
  • Skip to footer
Paper Glitter Glue
  • Shop
  • Favorite Supplies
  • Tutorials
  • About
  • Contact Me
  • Free Library
menu icon
go to homepage
search icon
Homepage link
  • Shop
  • Favorite Supplies
  • Tutorials
  • About
  • Contact Me
  • Free Library
×
Home » Cardboard house » Cardboard base » Making a Base for a Little Cardboard House

Making a Base for a Little Cardboard House

August 1, 2016 by Lucy 5 Comments

Be sure to Pin to your Favorite Pinterest Board!

13 shares
  • Share

A reader of my blog asked me how I make the bases for my houses. Here is a brief tutorial on making a base for a house. Most of my houses are Halloween houses so the base doesn't have to be perfect - it can be a little uneven. There are 3 very good tutorials online that talk about making bases in detail:

  • Howard Lamey's Little Glitter Houses
  • PapaTed's archive on Cardboard Christmas
  • Christmas Notebook

The way I am making them now is a hybrid version between Howard Lamey's and the Christmas notebook.

    Please note - I am kind of messy. I don't make the perfect bases that Howard Lamey does, but my bases are strong and sturdy and fairly easy to do.
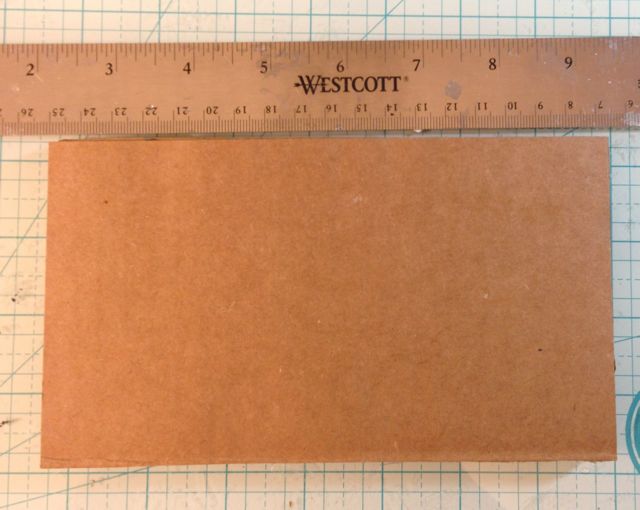
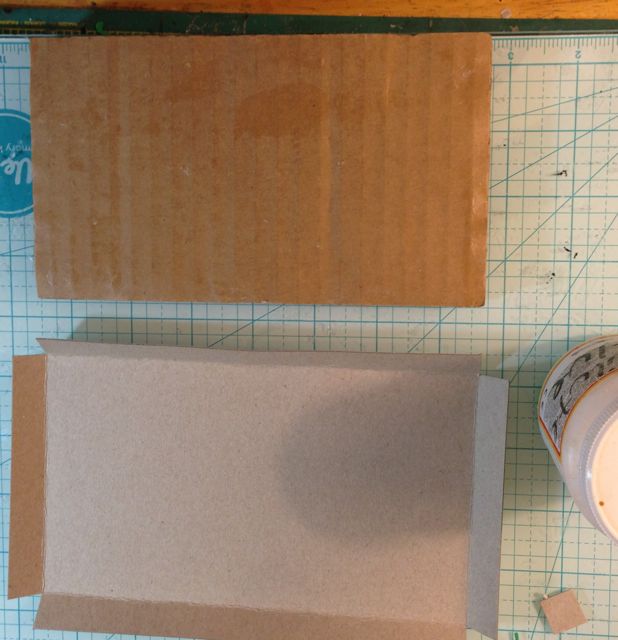
    Here is the start of a cardboard base - 4 layers of corrugated cardboard glued together. This size is about 4" x 7". Corrugated cardboard doesn't glue together perfectly, that's why I cover it with another piece of cardboard to make it smoother and less lumpy.
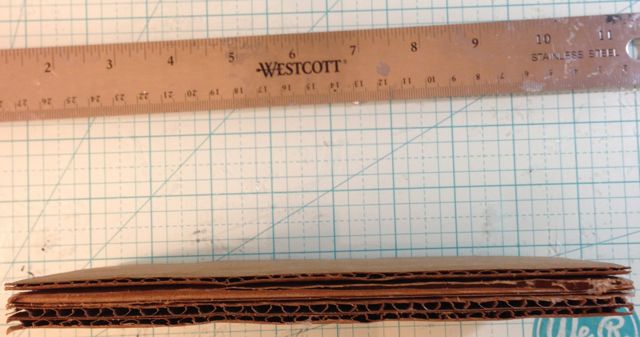
    Side view of the cardboard. You can see how it's a little uneven. That's why I cover it with another piece of cardboard.
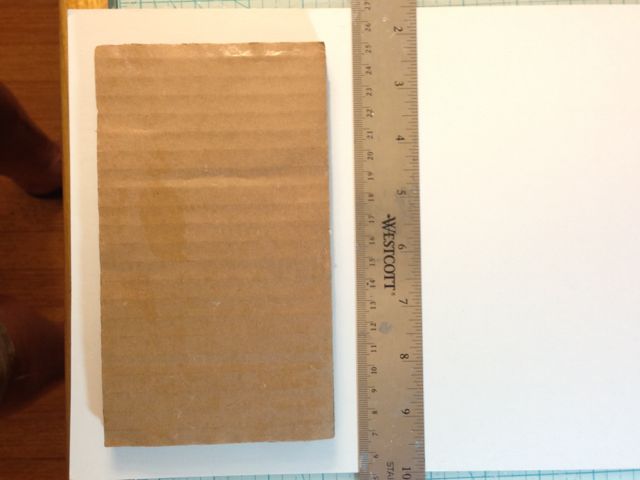
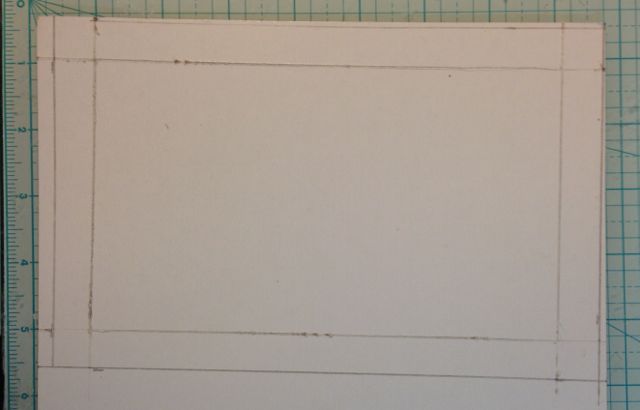
    Cardboard base on another piece of smooth cardboard which will form the sides and top of the little cardboard house base.
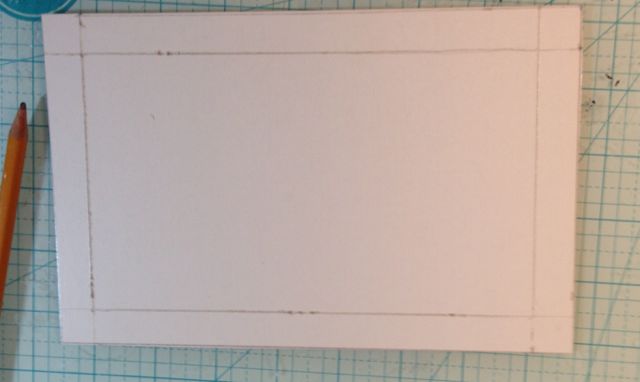
    Tracing around the base
    I scored the lines around the base.
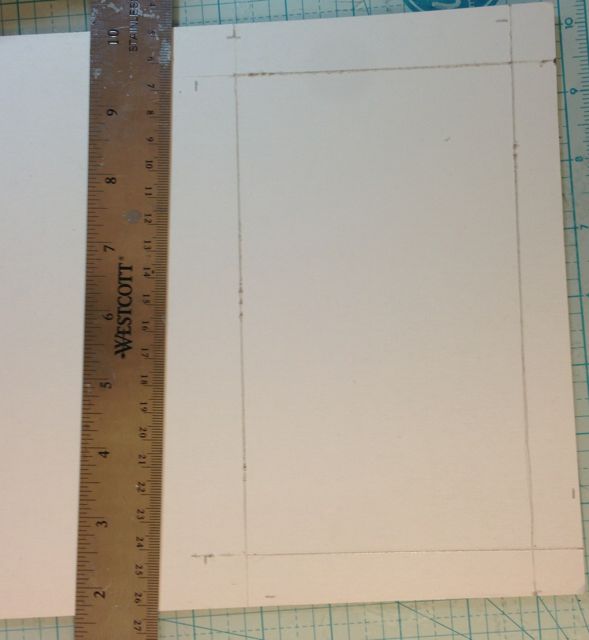
    Add ½ inches for the sides of the base. You have to measure your cardboard base and see how what the thickness is so you can add the appropriate amount. This one was just slightly over ½ inches actually.
    Cropped around the extra cardboard to form the sides.
    Cut out the corners.
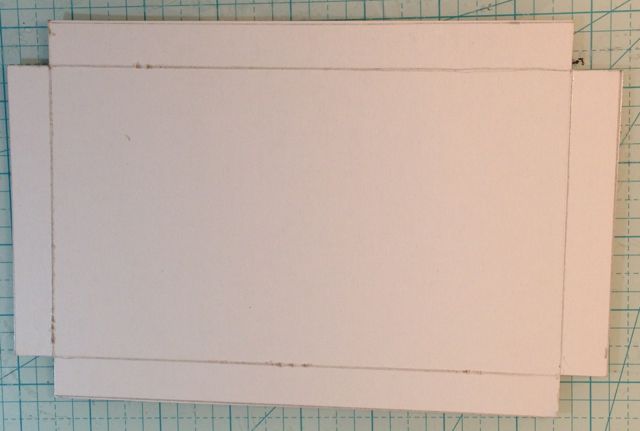
    Cardboard top scored and folded to fit on the corrugated cardboard base.
    I use Mod Podge to glue the pieces together. When I just squirted glue on, it hurt my hands because I used so much but more importantly, it made lumps. The Mod Podge makes a smoother bond. 
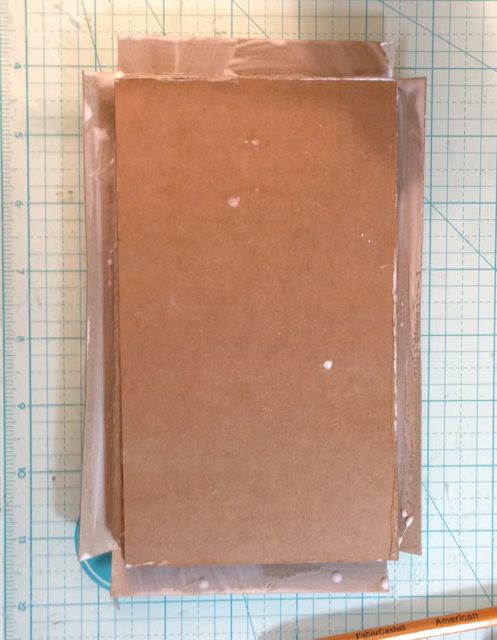
    Center the base on the cardboard top. 
    When I am in a hurry, I use painter's tape to hold down the edges. If I am not in a hurry, I rotate the edges on the table to firmly affix the top to the cardboard base, then maybe use a little bit of tape. I was in a hurry tonight so I used a lot of tape.
    Finished base. As I said, I was in a hurry so I got some glue on the painter's tape and made a mess. It pulled the finished layer off of the cardboard. It really doesn't matter because I will paint it with gesso and sometimes I mix sand with the gesso for more texture. But it doesn't look good when you are trying to write a tutorial.
    Side view of the base. This is one of the best reasons to cover a corrugated cardboard base as it makes much straighter, even sides with better corners.
    That's about it. I need to get to bed now. If you have questions, just leave a question in the comments box. I will be glad to try to answer any questions. 
    « Blossoms and Bookpages Challenge - Blooming Storybook House
    Tim Holtz Village Rooftops »

    Be sure to Pin to your Favorite Pinterest Board!

    13 shares
    • Share

    Reader Interactions

    Comments

      Leave a Reply Cancel reply

      Your email address will not be published. Required fields are marked *

    1. Bon

      December 02, 2018 at 4:57 am

      Love your easy to understand and follow directions! I just clicked the link on lighting up the houses and it brought me back here?

      Reply
      • Lucy

        December 02, 2018 at 5:25 am

        I don't know how the link is messed up, but I will try to fix it. Try this link and see if that is the one you want - https://paperglitterglue.com/how-to-add-light-to-your-little-houses/

        Let me know if it works. And thank you for telling me about the bad link. Lucy

        Reply
      • Lucy

        December 02, 2018 at 5:28 am

        Bonnie, I think I fixed it. Lucy

        Reply
    2. Lucy

      August 02, 2016 at 3:42 pm

      Yes, I use Mod Podge for gluing the layers together and yes, I use that much glue to glue the cardboard layers together. Sometimes I add a little extra Alene's Fast Tack glue on any edges that pop open.

      Reply
    3. Laney

      August 02, 2016 at 3:40 pm

      Great tutorial Lucy! The pictures really help. I see you use a healthy amount of Mod Podge on both the base and the cardboard. Do you use this much glue when you layer up the corrugated pieces? Do you use Mod Podge for that also? I've been using the Christmas Notebook method but would like to give this a try. Thanks.

      Reply

    Primary Sidebar

    Lucy holding a small putz house

    I'm Lucy - the paper architect behind the captivating tiny house designs at PaperGlitterGlue.com.

    While I am often found covered in glue and cat hair and obsessing about the details of my projects, I love sharing my designs so anyone can craft seriously awesome paper crafts.

    So look around and find something to MAKE.

    You can read more about me here.

    Want to make a beautiful Village Wreath?

    You can do it step-by-step with my Alpine Village Wreath Workshop. Just let your creativity flow as create your own little village proudly displayed on a wreath. You'll create a heirloom that your family will treasure for years.

    Wreath with alpine village houses and bottlebrush trees

    And if you are a Halloween fan - you'll love my Halloween book! 13 Handcrafted Halloween Houses

    This book contains 13 different Halloween designs with embellishments like crooked windows, fences, and shingles.

    13 Handcrafted Halloween Houses book cover

    What is a Putz House and How Do You Make One?

    Halloween house putz house

    Learn to make the best House Pop-Up Cards! with the Playful Pop-Up Houses book.

    Cover for Playful Pop-Up Houses book

    Footer

    You are welcome to link to PaperGlitterGlue.com or use a single image with a brief description and a link back to any post. Do not republish any post. That's not allowed. But I do like it when you share my photos to Pinterest.

    Amazon Associates Disclosure

    Lucy Foxworth of PaperGlitterGlue.com is a participant in the Amazon Services LLC Associates Program, an affiliate advertising programs designed to provide a means for sites to earn advertising fees by advertising and linking to Amazon.com. So as an Amazon Associate I earn from qualifying purchases. Thank you.

    Footer

    ↑ back to top

    About

    • Privacy Policy
    • Disclaimer

    Newsletter

    • Sign up with the form below for emails and updates.

    Contact

    • Contact

    As an Amazon Associate I earn from qualifying purchases.

    Copyright © 2023 Paper Glitter Glue