Rusted Roof Widow's Walk Putz House is a simple gable house with a mansard-type metal roof, a widow's walk on top and a porch out front and a tongue-twister name. It might be easier to call it Wusted Woof Widow's Walk.
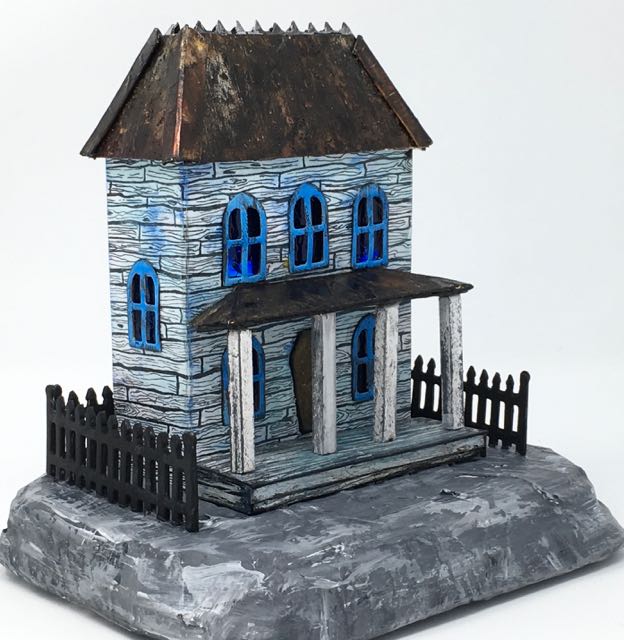
Front view of the Rusted Roof Widow's Walk house showing the front porch and the coffin-shaped doorway
Halloween Houses for Habitat Series
This house is another one for the Halloween Houses for Habitat series to be sold in October. I think it's the 6th house I've built specifically for this year's fundraiser which means I am behind compared what I built last year. In other words, I need to start building the little houses faster.
I've made a Widow's Walk house before and wanted to make a similar one but with a rusted roof. You know why that flat space on the roof is called a Widow's Walk? It is a railed rooftop platform most often found on New England houses to provide an expansive view of the sea. I didn't really include rails on this one - just teeth-like projections since it is a Halloween house.
I outlined the method for making the rusted roof on this blog post which made me want to make another house with a rusted roof.
I've also written a PDF called 8 Essential Tools for Making Your Glitter House if you want to know what tools you need to start making these little houses. You can download this information from my free paperglitterglue library. Just sign up below to receive my free newsletter and I will send you the password to the library.
Making the Rusted Roof Widow's Walk House
Pattern for the House
First, I drew a simple pattern for the house. I will make this pattern available when it is scanned into the computer. This one is pretty simple. Certainly much simpler than the Davenport houses with curved gables and a flat roof at the top.

The paper pattern is pretty easy transfer to cardboard and to cut out. The only funky thing is the little extension on the roof, but that can actually be made a number of different ways.
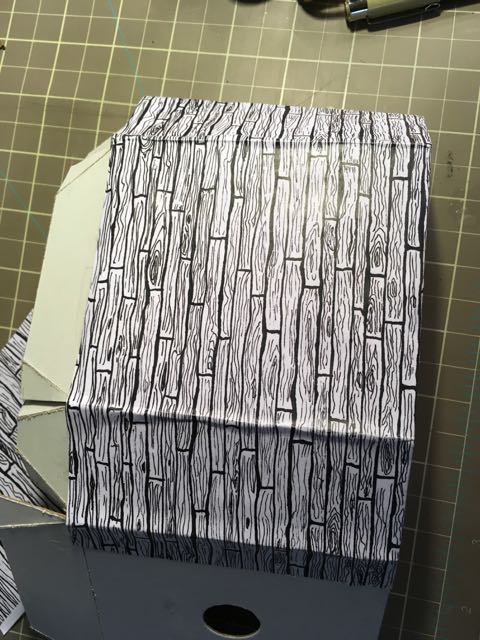
Cover the house with paper drawn to look like old boards
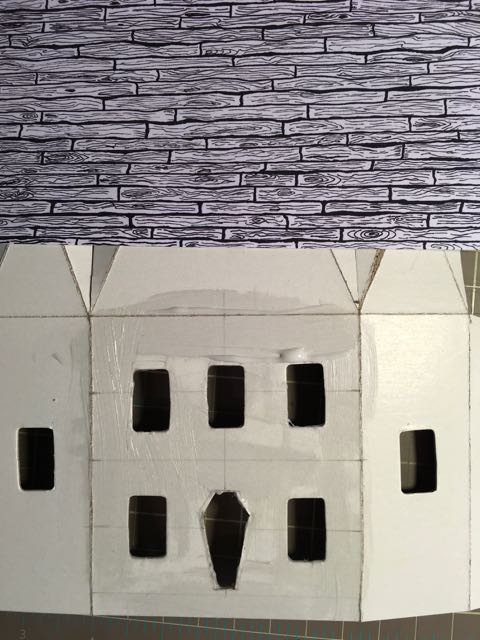
I drew this paper to mimic old siding on a house. It's another way to add detail to the little house. Coat the house with collage medium to adhere the paper.
One important detail when you are covering a 3-D object like a house with paper is that you can't just glue it down flat. The corners will tear. I glue the paper on one side at a time which gives the paper room to fold around each corner.
Glue on one side of the patterned paper at a time.
The front piece of paper has been glued on. The rest of the paper is folded back to make a sharp corner and collage medium painted on. I copied the back side on my paper by accident. The back of the paper normally would be white.
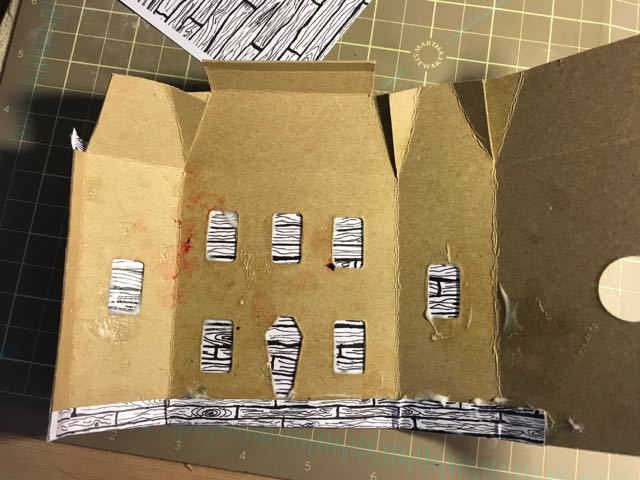
Here you can see how the paper is adhered to 3 sides of the little house.
The back of the house is not supposed to be red. I think I cut myself. Often there is more of my DNA in the house than I intend. Most often it's cat DNA though, from those fine little hairs they distribute everywhere. The cats like to come around when the glue is still wet.
Front view of the Halloween house after the paper has been adhered with collage medium. Windows and the door need to be cut out of the paper covering. Also the back piece of paper needs to be adhered.
Glue the house together

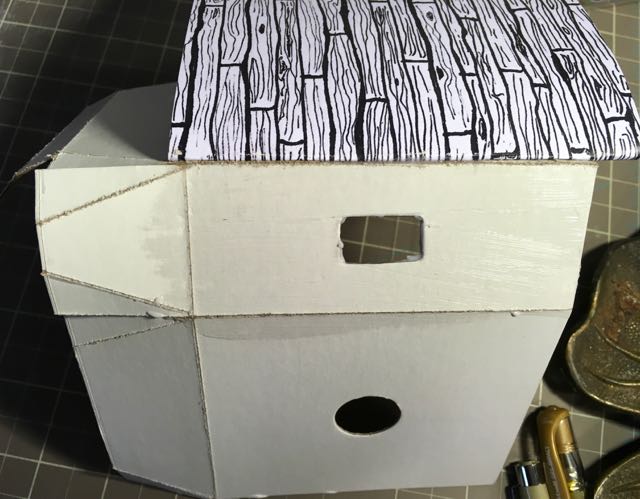
Back side of the house with the light hole cut out and the binder clip holding the house together

Gluing the roof pieces together to form the widow's walk at the top.
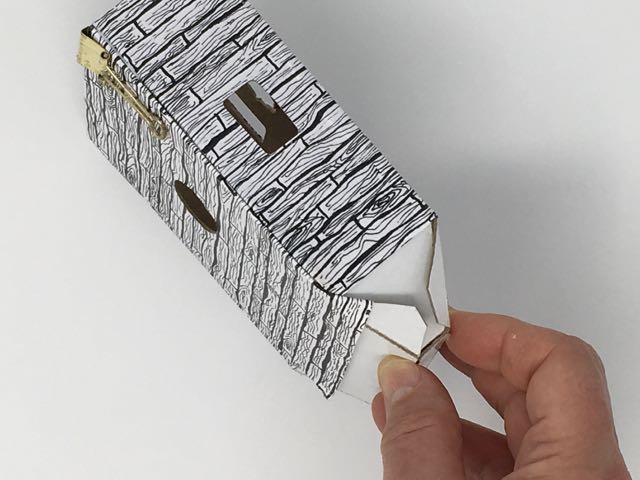
Glue roof flaps down
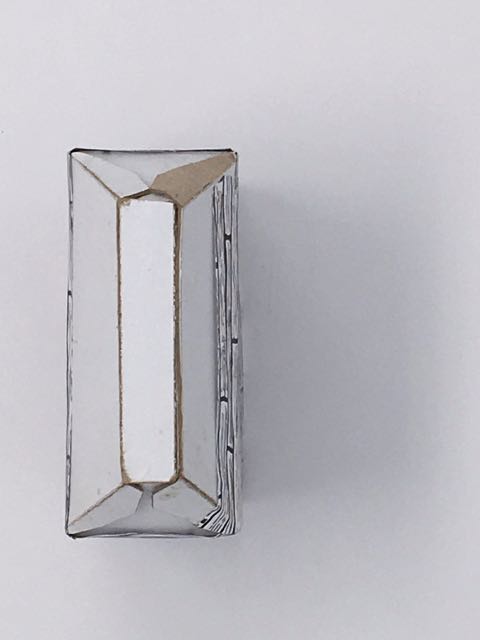
Top view of the Widow's Walk house showing how the flaps go together
After the house was glued together I added the windows. The same technique as always - Ranger alcohol inks on leftover acetate packaging material glued in the windows. And as usual, I added glossy accents to make the material look like wavy glass.
Add the details to house - the Rusted Roof
Sometimes I remember to take photos during every step but I did not this time. To make the rusted roof, I cut out 4 pieces to overlay on the roof. Each one was covered with metallic tape that I've talked about before - real true metallic DUCT tape that you get at the home improvement store - not DUCK tape. The rough texture is from Ranger Distress texture paste mixed with sand. I would have used the Distress Grit paste because its texture is so wonderful, but I used it all up.
I followed the steps outlined in the Rusted Tin Roof tutorial to make the rusted roof. The angled side pieces cover up the seams between the 4 trapezoidal pieces of the roof. The spiky outline of the widow's walk itself is a leftover portion of a die cut that I always save because I find so many places to use it. I glued that piece down before I adhered the roof pieces.
Glue on the Porch

Basic structure of the house done. Need to add the porch and the coffin-shaped door.
You can see a little bit of the wavy glass in the windows. I used a dark blue alcohol ink that is just a little too dark.
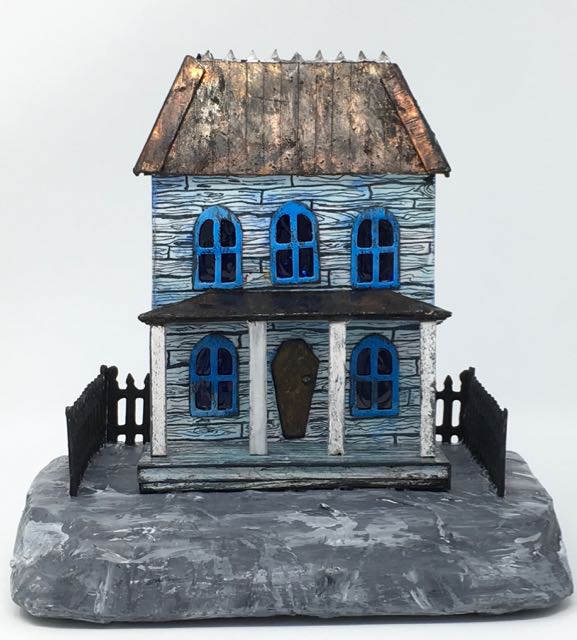
Front view of the Rusted Roof Widow's Walk house showing the final porch and the coffin door.
Extra Details to be Added
I haven't gotten out all of my cool Halloween embellishments yet. All of the current crop of houses need more Halloween details which I will add a little later. I really want to make some more sisal trees in funky Halloween colors. And I want to make another pumpkin tree like I did on the Spiky Shingled house. That was a fun detail for me.
What went right and what went wrong?
Every time I make a house, I kind of go over what went right and what went wrong. I may not always write about it on the blog, but I do it in my head. I think the roof is a little too small - kind of like a big man with a hat that is too small. It just looks funny. When I make the pattern I will include a deeper overhang for the roof pieces. And then the big mistake - the porch roof. It angles upward because I made the porch columns too tall. I didn't notice it until the house was finished. Porches are a real challenge for me.
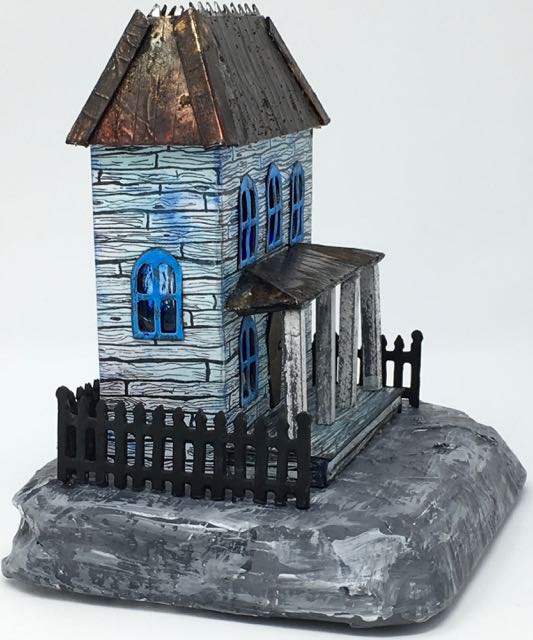
Rusted Roof Widow's Walk side view. You can see a bit of what I am talking about with the porch roof angling upward. Porch columns aren't straight, but they're ok for Halloween house.
But still despite what I call errors, I love this house. The blue colors on the windows and the blue tint on the siding are very appealing to me. I still think it is a pretty cool little Halloween house that someone will enjoy having in their collection.
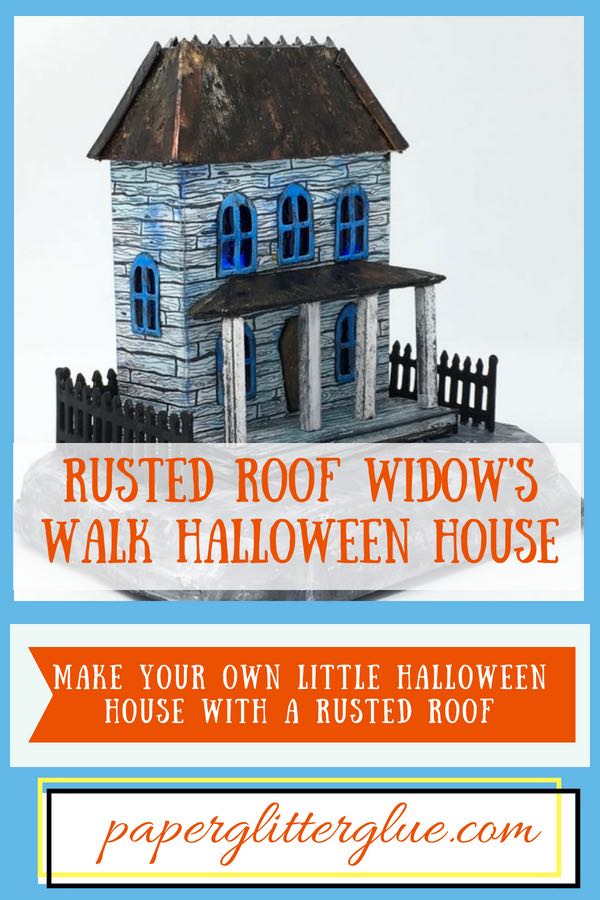
Pin the Rusted Roof Widow's Walk Halloween House to your favorite Halloween board
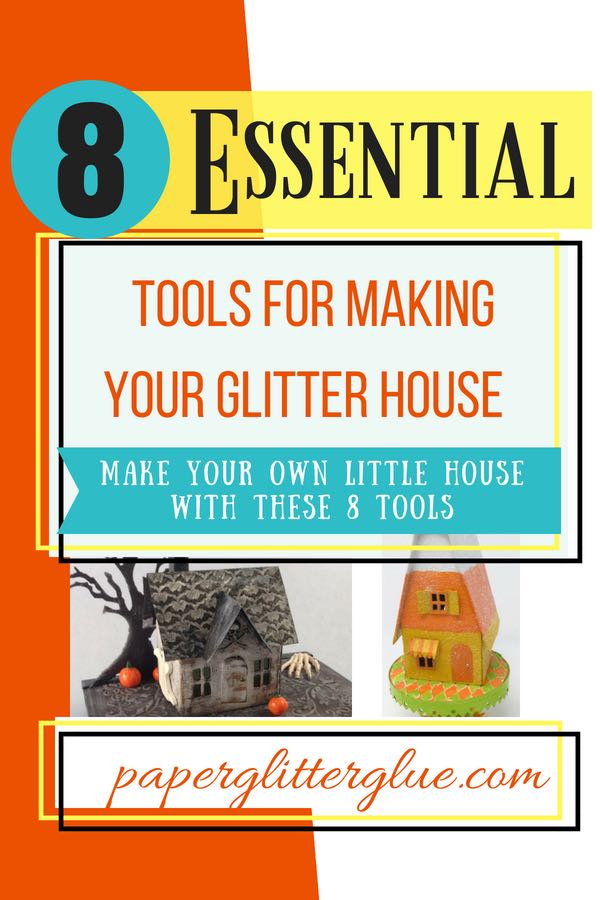
Download a free copy of this pdf from the paperglitterglue library
Sara Emily Barker
Lucy, there's just that perfect haunted house blue tinge on your Wusted Woof Widow’s Walk haunted house. I am loving that wusted woof! We had a house that looked very similar in our little neck of the woods up north on a much larger scale with the widow's walk. We passed it whenever we went to town and I always thought it was haunted. Tee Hee! I think that's what made me love Halloween so much! Sending hugs!
Anne R
Lucy your Wusted Woof Widows Walk (definitely easier to say!) is fabulous!! I really love the detail of the roof and the coffin shaped door really made me smile - perfect for a Halloween house. The blue is very pleasing to the eye, and, as always, I very much enjoyed seeing how you brought the whole house together - it is wonderful! Anne x
Lucy
Thank you, Anne. This house is pretty simple one, but it was fun to make. I've done a coffin shaped door on a few houses, but for some reason it seems to show up better on this one.
Mary W
Another wonderful or should I say Spooky house. So many tips and helpful directions. I'm just starting and have seen a few or your pieces and learn so much that I'm going to go backwards and learn and turn green with envy at all of your blog. It's people like you that make learning and making so much fun. Thanks again, Mary