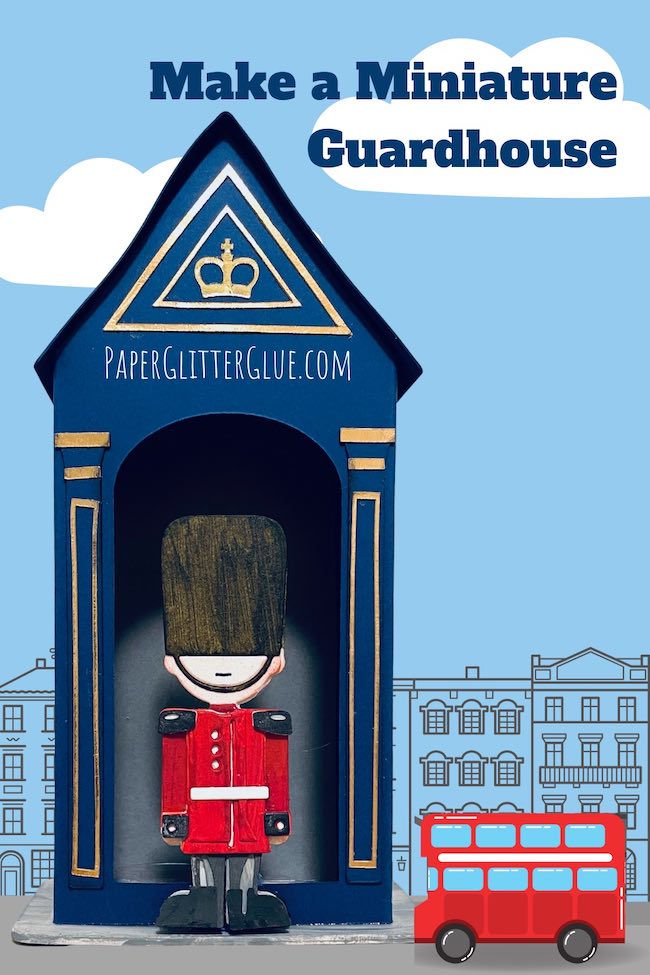
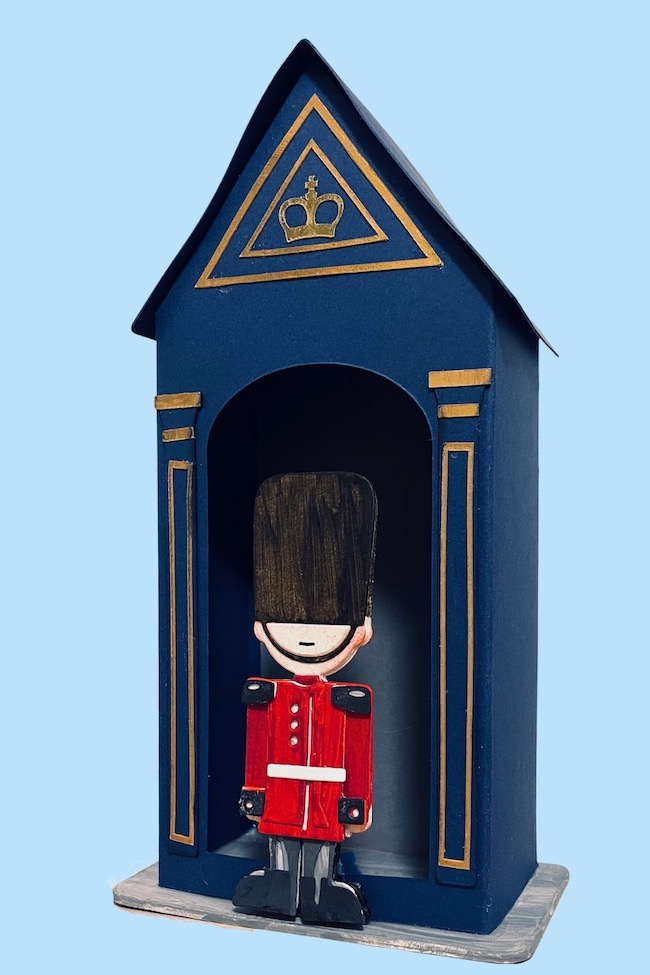
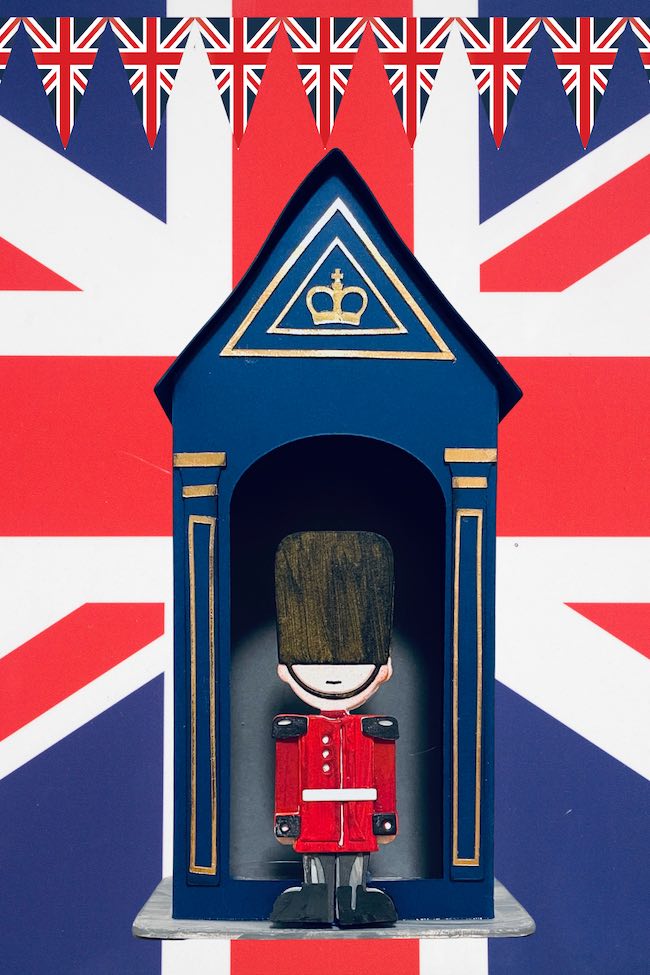
To celebrate the coronation of King Charles, I made a miniature British guardhouse. And I needed a way to showcase Harvey, a Tim Holtz die. He's the cutest little guard and he needs his guardhouse.
You can see a pretty good view of a British Guardhouse in this photo of the Changing of the Guard.
So let's get to the good part and start making it.
This post contains some affiliate links for your convenience. Click here to read my full disclosure policy.
Table of Contents
Materials to Make the Miniature British Guardhouse
- Card stock in deep blue and gold, plus any colors for the Harvey figure
- Cardboard option
- Paints for cardboard option
- Glue - this is the one that I use
- Harvey, the colorful guard
- Cricut Maker or Cricut Explore Air
I used Distress paint for this character for more vibrant colors. Normally I would use Distress Inks but they were a little flat-looking.
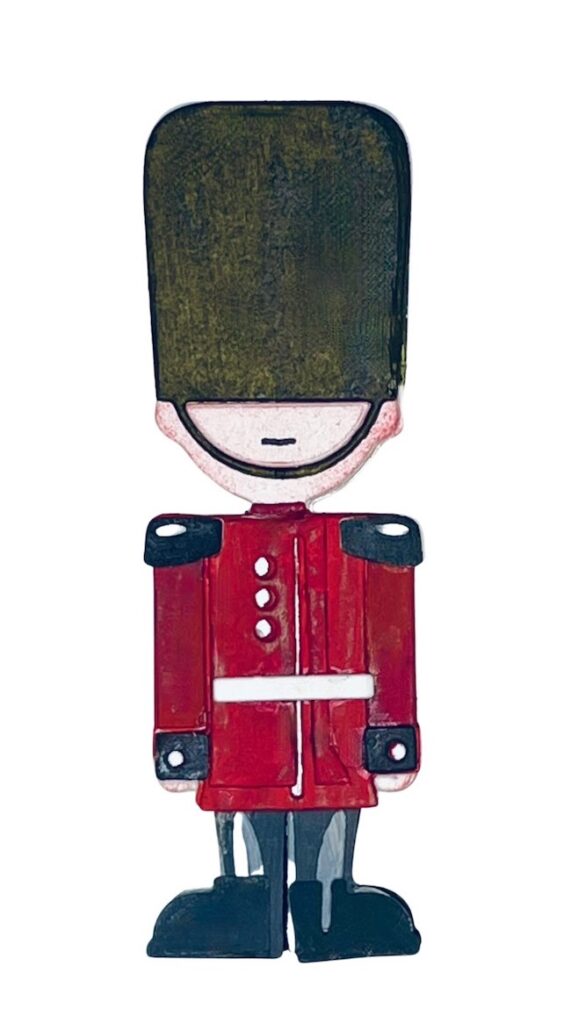
Here's an inked version of Harvey for comparison.
To learn how to put Harvey together, follow this video from Sizzix.
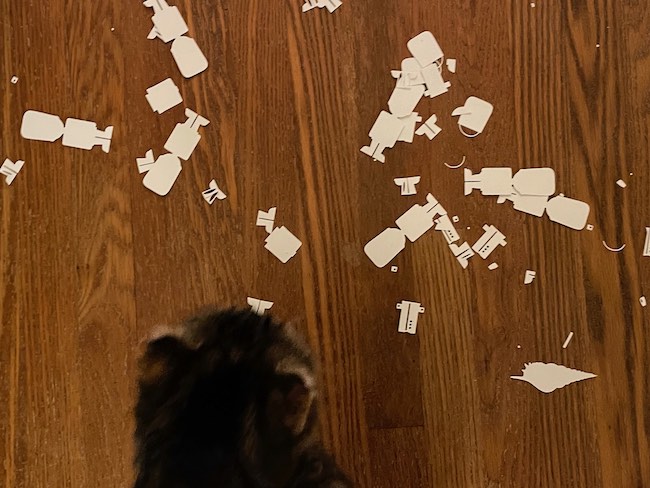
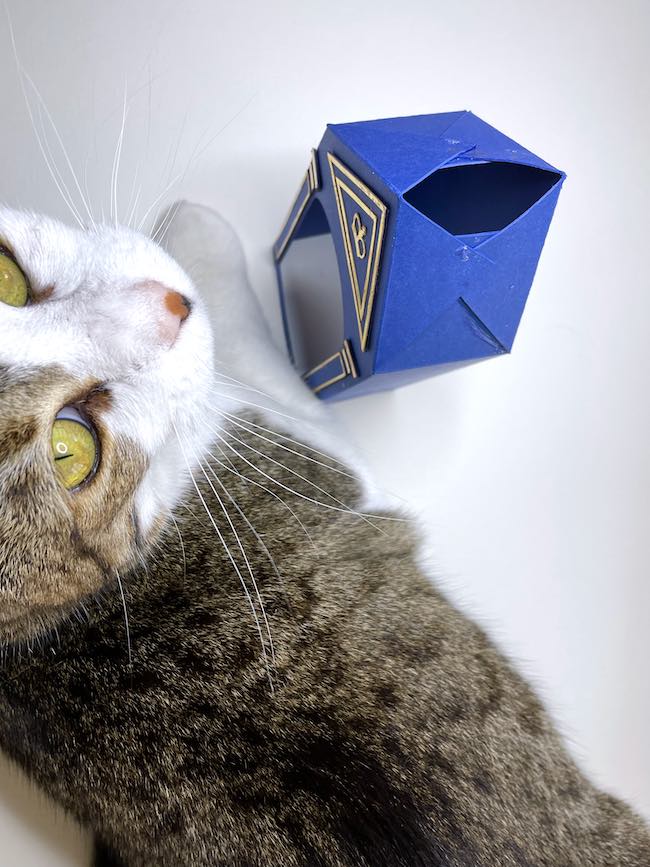
And here's a behind the scenes photo while I was making Harvey. That's Katarina as the guilty party. It's a Cat-astrophe.
Steps to Make the Miniature British Guardhouse
- Download the pattern for the Miniature British Guardhouse from the Paper Glitter Glue library - Design No. 144
- Cut out the pattern pieces for the guardhouse
- Fold along all the score lines
- For card stock, glue the decorative pieces to the base pieces for the front of the guardhouse
- Glue the decorative pieces to the guardhouse
- If using cardboard, prime and paint the guardhouse before assembly
- Assemble the guardhouse
- First, apply glue to the side tab for assembly of the guardhouse
- Glue the roof tabs to the roof flaps
- Glue the roof on
- Insert light-colored background into house - optional
- Adhere the little house to the base
- Glue Harvey or other decorative figure to the front of your guardhouse
Now let's go into more detail about making the British guardhouse for Harvey.

YouTube Video showing how to construct the Guardhouse
1. Download the free pattern from the Paper Glitter Glue library
For the free British guardhouse pattern, go to the About the Paper Glitter Glue library page, click the orange CLICK HERE button on that page. On the password page, type in the password for the Paper Glitter Glue library.
To get the password, just subscribe to my newsletter with the form below and you will get the password right away.
The miniature British guardhouse is Design No. 144 in the May 2023 section of the library. It is available in two formats: printable PDF patterns and SVG cut files.

2. Cut out the pattern pieces
The main body of the guardhouse is very easy to cut out by hand or with a machine. The gold trim would be challenging to cut out by hand, but is super easy with a cutting machine like a Cricut Maker or Explore Air.
To make the guardhouse by hand, I suggest painting the gold trim rather than trying to cut it out. I have included a link to gold pens that seem perfect for drawing the gold trim.
Cut out pieces by hand
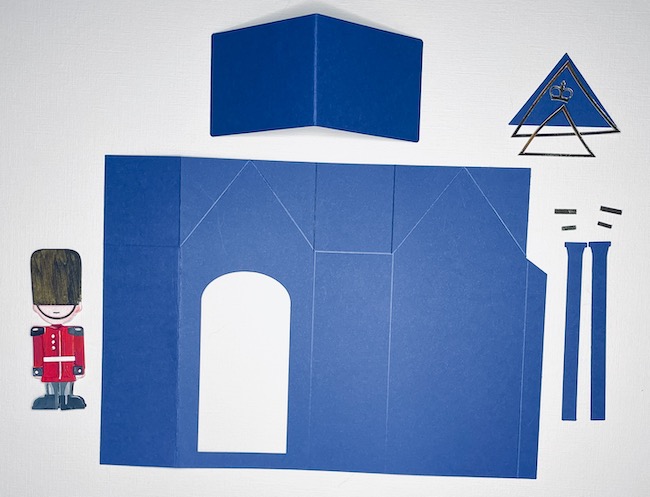
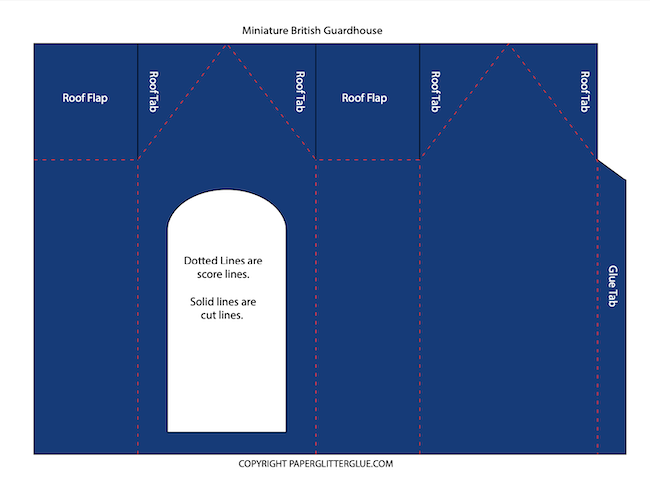
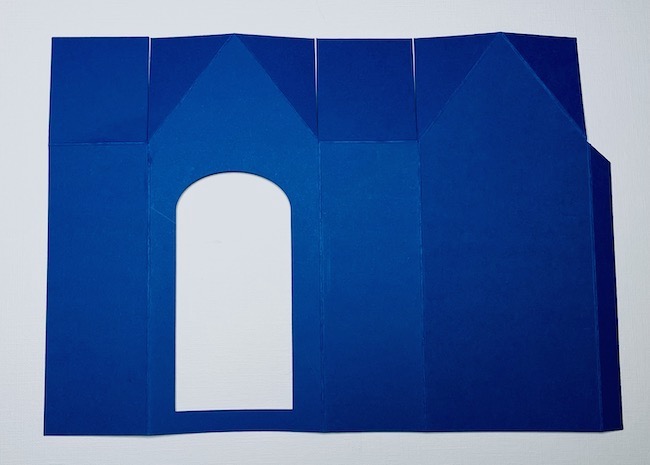
The PDF pattern shows you the pieces for the guardhouse. Often it is easier to see how the all the pieces fit together in the PDF files.
This page shows the main body of the guardhouse.
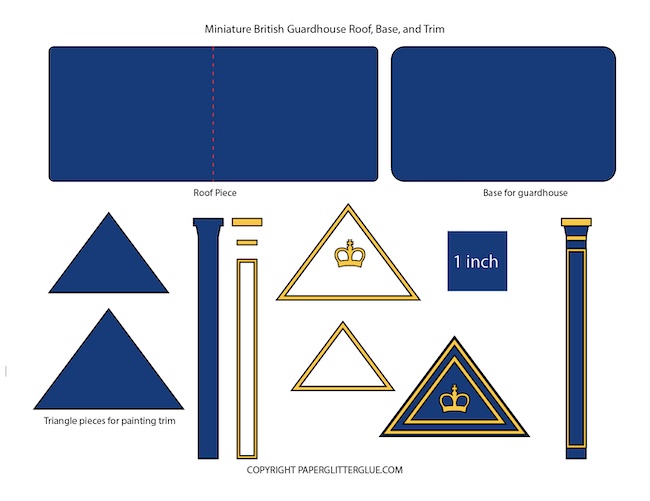
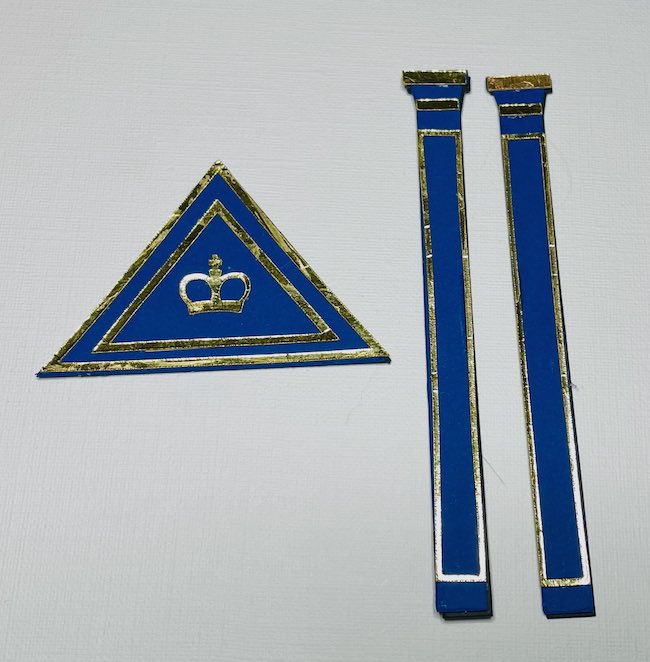
And this PDF shows the trim pieces for the guardhouse. I've added the triangle pieces so you paint the gold on these pieces rather than on the house itself. That way if the painting messes up, you can just cut out another triangle rather than the entire house.
Structurally it is very similar to the little doghouse if you want to check that out.
British Guardhouse in Cricut Design Space
See how the pattern looks in Cricut Design Space. I've rearranged the pieces so you can see all of them.
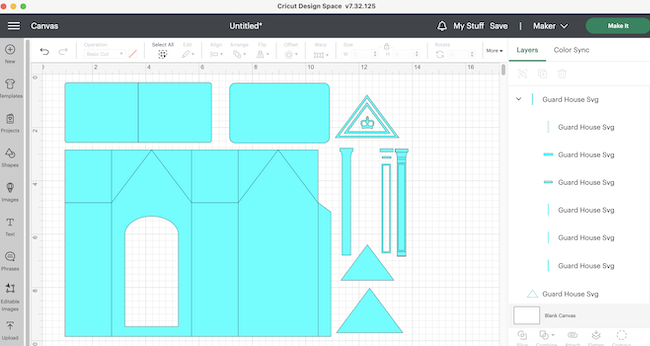
Be sure to select the score lines and attach them to the pieces they are grouped with.
For example, here is the roof score line selected. Change it to score in the Operations menu in the upper left hand corner of Design Space.
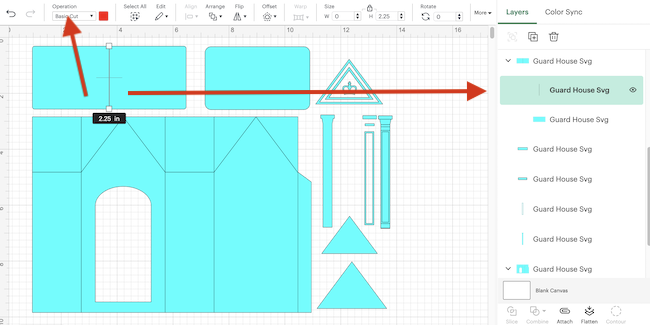
Click Score under the operations menu.

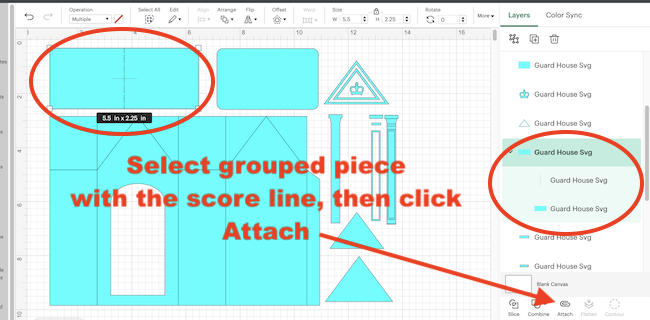
It is important to attach the score line to the piece it is grouped with. That way your Cricut knows what piece the score line belongs to.
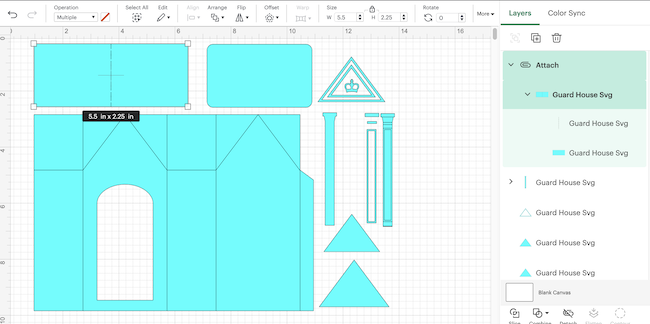
Here's how the roof piece looks when the score line is attached.
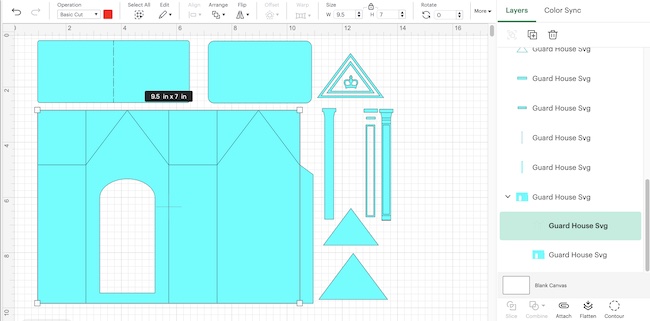
Do the same thing with main body of the guardhouse. All the score lines are grouped so you only have to select one set of score lines for the main body of the guardhouse. Again, be sure to attach so your machine knows that the score lines belong to the piece it is grouped with.
3. Fold along all the score lines
First, fold along all the score lines. If you need help folding along the lines, use a steel ruler to hold the along the line and then fold.
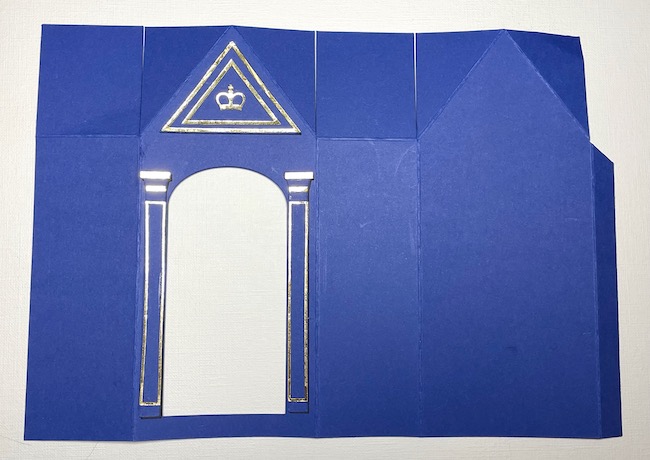
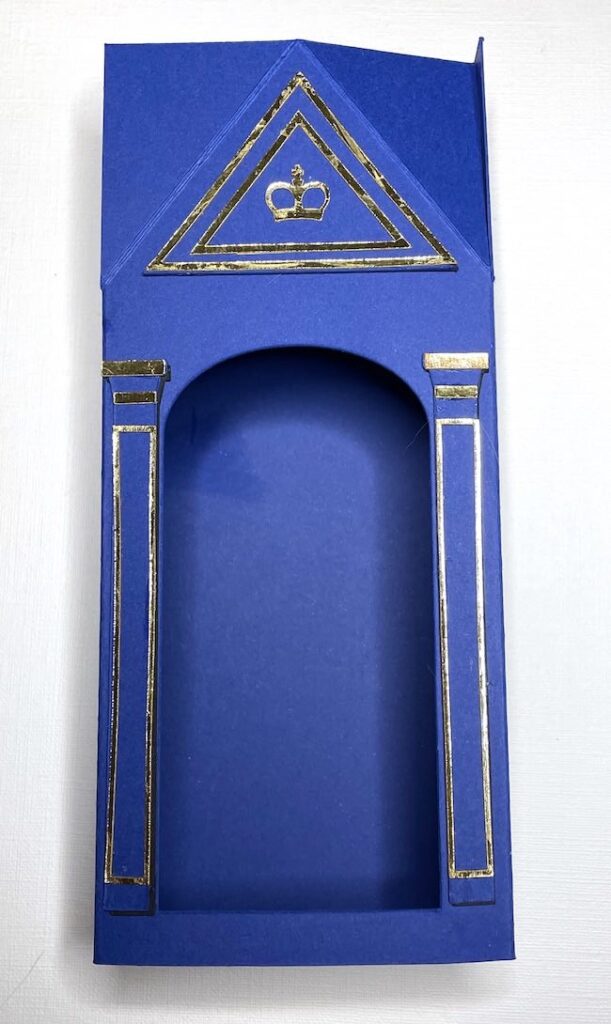
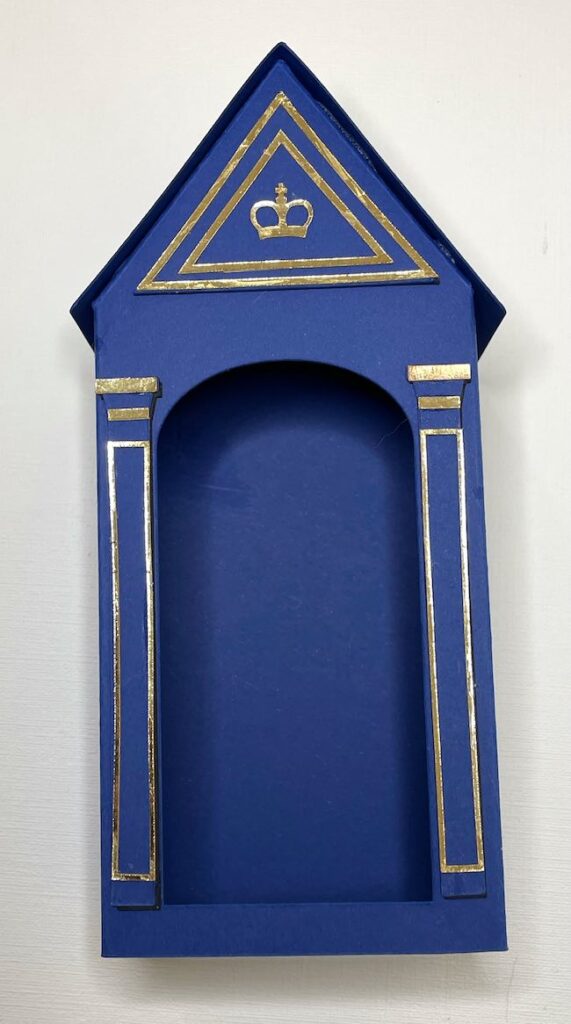
4. For card stock, glue the decorative pieces to the base pieces on the front of the guardhouse
It's much easier to glue the trim to the house when it is still flat. And if you paint the trim, it is also much easier to paint when the house is flat.
You might be able to see that I backed the trim pieces with black card stock pieces that are slightly offset. I did that to give a little more dimension. It's not dramatic, but it does give them just a more dimension.
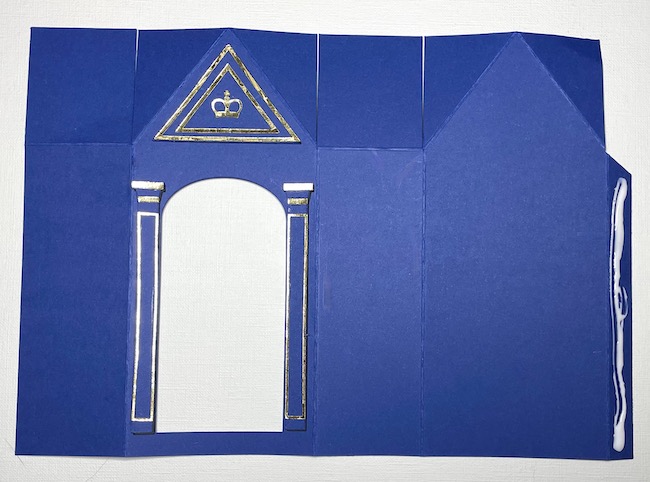
5. Glue the decorative pieces to the Miniature British guardhouse
Just apply glue to the back of the trim pieces and glue to the front of the guardhouse.
6. If using cardboard, prime and paint the cardboard before assembly
Prime the cardboard with gesso so the paint will adhere well. Then paint the guardhouse with a deep blue. I combined Ranger's Prize Ribbon and Black Soot to make a grayish blue.
Then paint the trim on the cardboard.
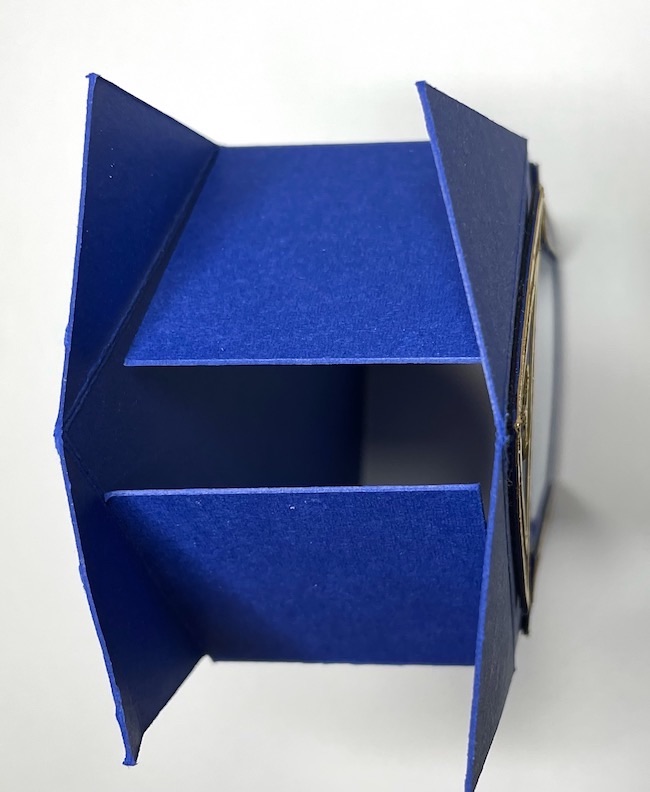
7. Assemble the Miniature guardhouse
First, apply glue to the side tab for assembly of the guardhouse
Fold along the score lines to make a 3-D rectangular structure. Let the glue dry.
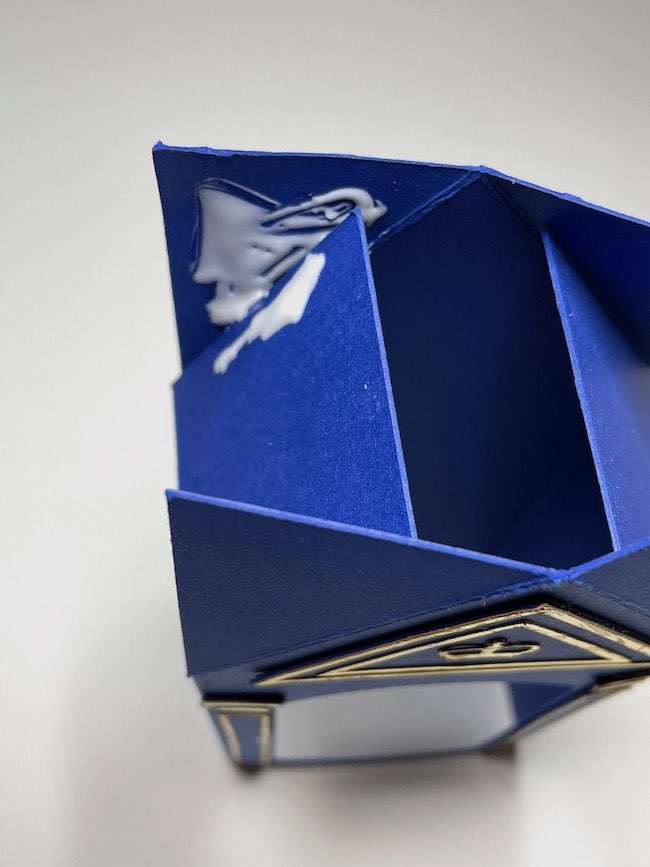
Glue the roof tabs to the roof flaps
This next step is what makes the guardhouse really sturdy. The two rectangular flaps at the top of the guardhouse are called roof flaps as shown in the PDF photo of the main body of the house.
These roof flaps provide a gluing surface for the roof tabs and support for the roof itself.
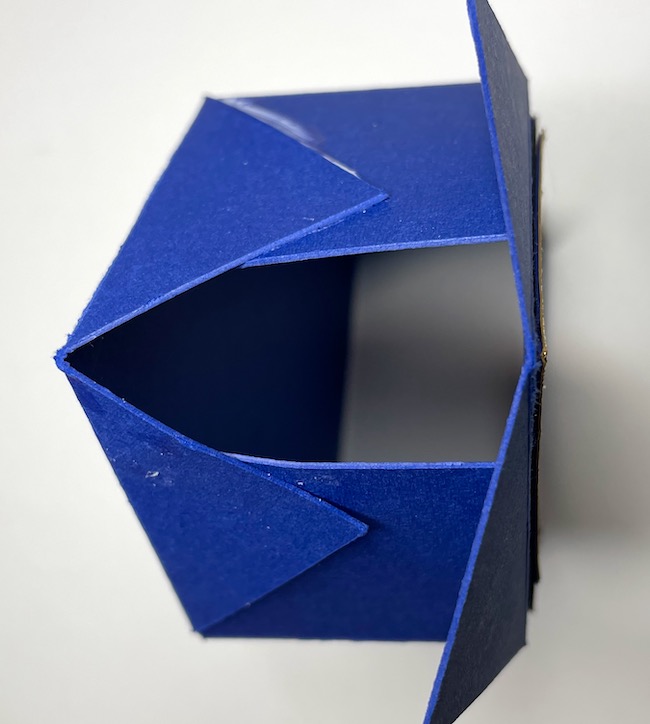
Fold the roof flaps inward as shown in the photo below.
Glue the roof tabs to the roof flaps.
It's easier to glue down one roof tab at a time. Apply pressure to make the tab adhere.
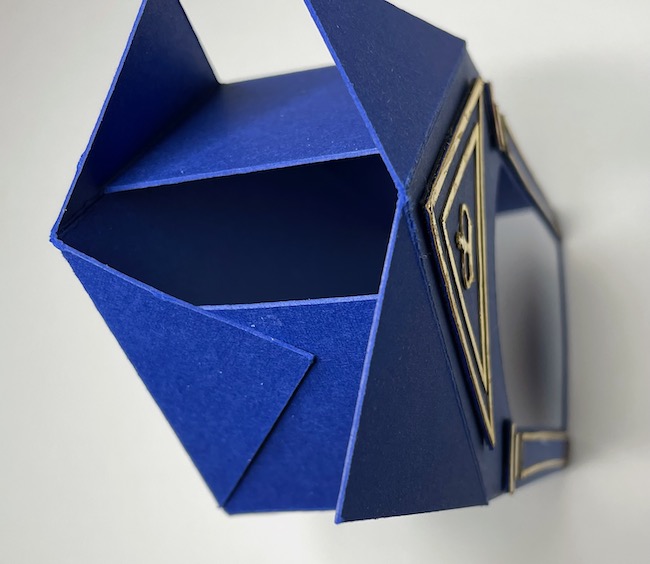
And finally, glue the last two tabs down. Try to keep your cat away because - cat hairs. It can be a challenge.
Glue the roof on
Apply glue to the top of the house. I tend to over-glue - put too much glue down, but I must say that my little houses are very sturdy.
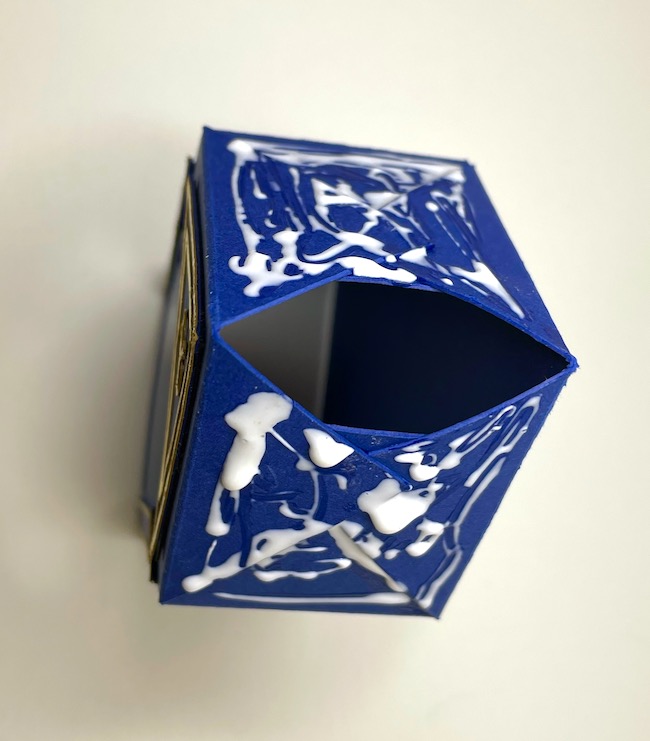
Next, center the roof over the house and apply pressure so it adheres.
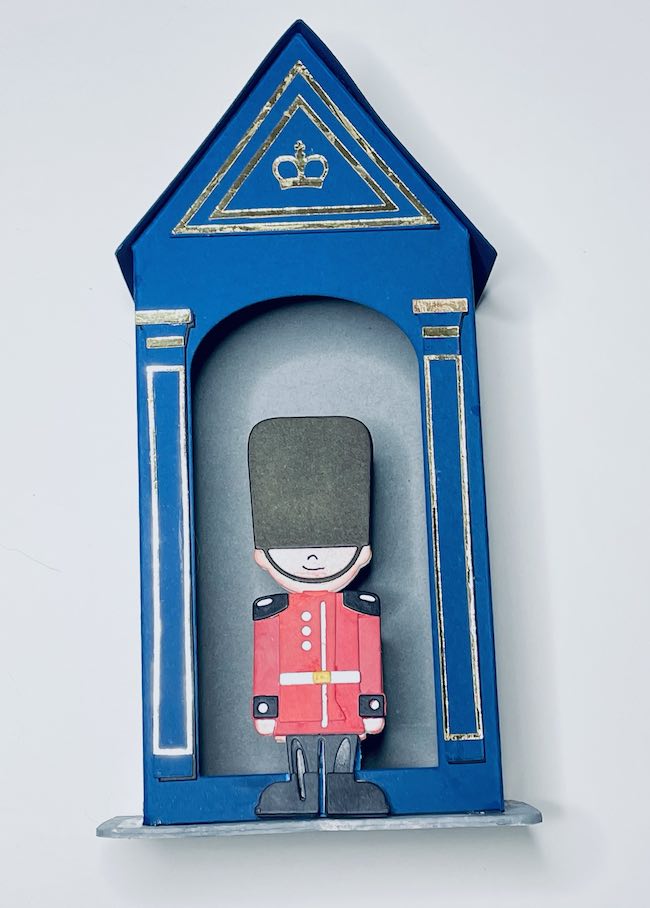
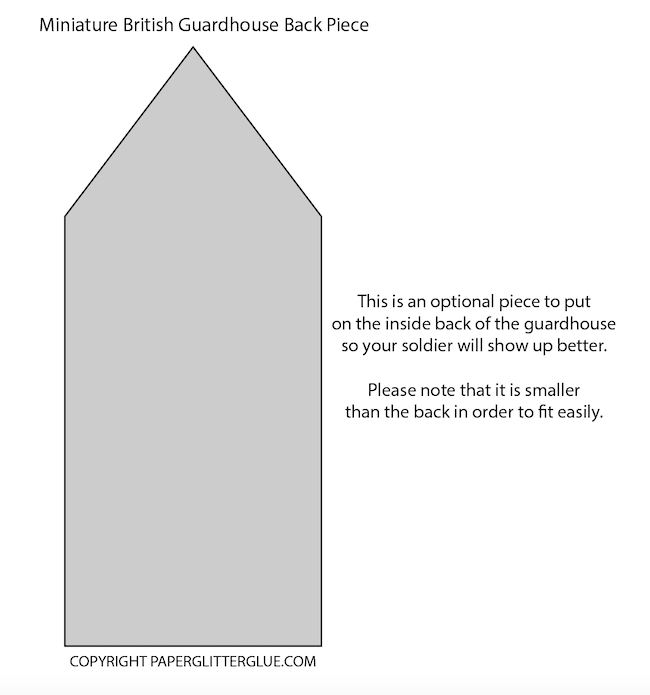
Here is the optional grey back piece which I added to help my little figure stand out better. You don't have to use it, but I think it helps.
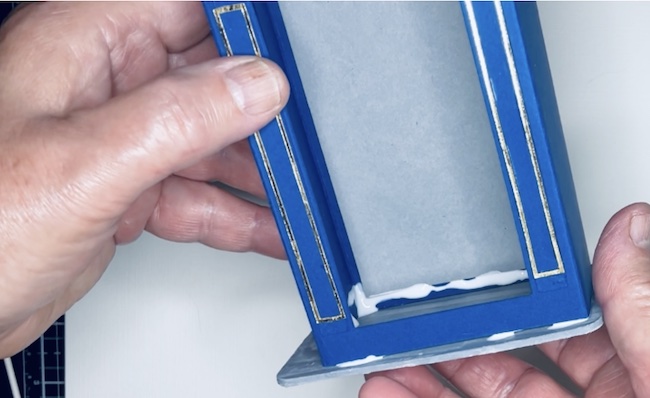
Adhere the little British Guardhouse to the cardboard base
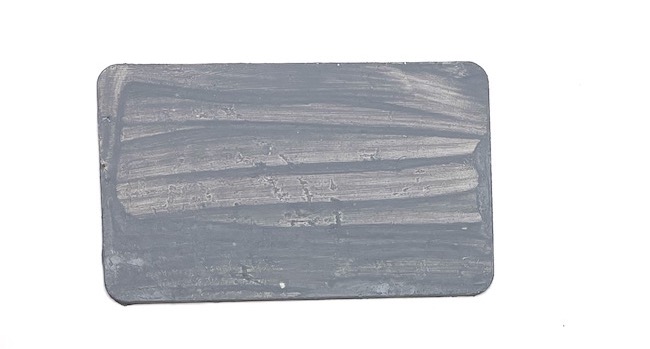
I made the base by gluing 2 layers of cardboard together then painting the base grey. I didn't really worry about painting the grey color evenly because it barely shows.
Simply apply glue to the base of the guardhouse and place on the grey base.

Apply gentle pressure to make the guardhouse stick to the base.
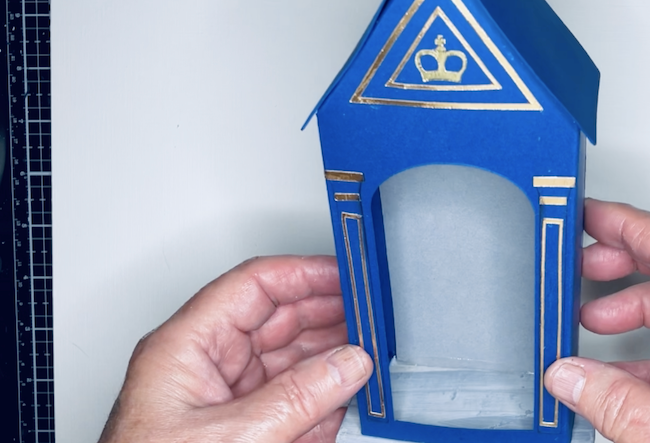
Here's how it looks when the glue has dried.
Glue Harvey or other figure to the front of the Guardhouse
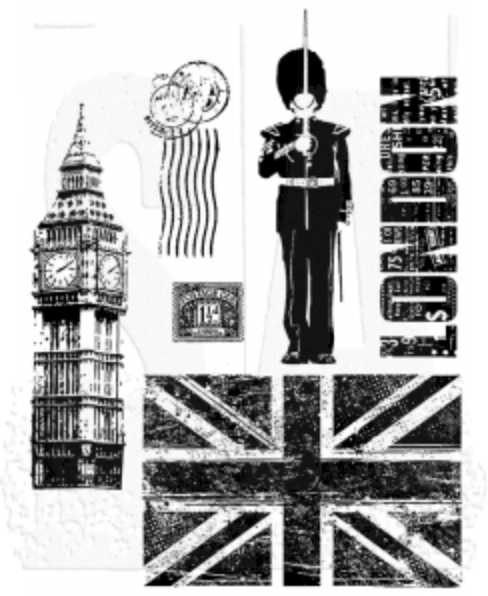
I used Tim Holtz' Harvey from Sizzix to adhere to the front of the guardhouse, but there are other options. You could fussy cut around a stamped image. Here's an example of a Stamp set called London sightings. That figure is about 4 inches tall. I'm sure you could find some other dies or SVGs to go in front as well.
But my favorite is Harvey.
And that's how you make the Miniature British Guardhouse. Be sure to save a photo to Pinterest so you can remember where you found this tutorial. Please share with me when make one, too.
Questions?
Remember you can always ask me any questions. Just email me at this address - [email protected]. I will be happy to help.
Thank you for stopping by.
Kristine
I love to see your creations!
Lucy
Thank you so much, Kristine.
I have so much fun coming up with stuff to craft. It's just plain fun for me. Pattern-making is a bit of a pain, but it's important to me to make the pattern as simple as possible for everyone to make. And every time I make a pattern, I learn how to do it better.
Thank you again for the kind words.
Lucy
Deanna
Ooops I forgot to check the auto correct! OH MY GOODNESS!!
I hope you can edit it for me 😳
Lucy
I did edit your comments. But I want to thank you for taking the time to write. It means a lot.
Lucy
Deanna Baker
Oh my goodness! What a remarkable story piece you have made! I’m so excited for you! Your pieces are ART WORK!
Thanks for thinking of me!