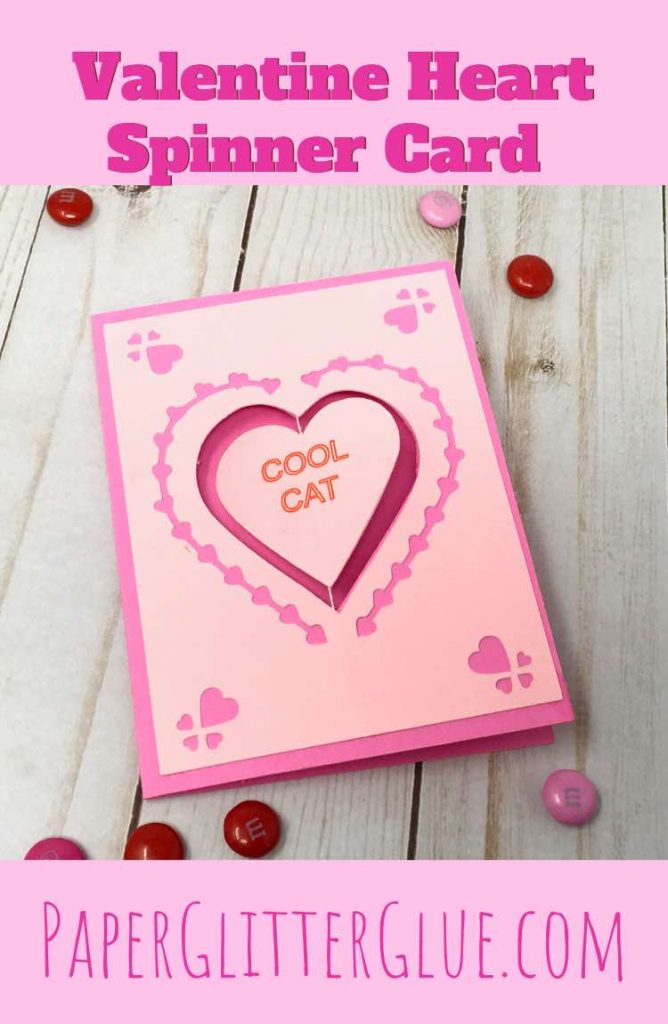
I love to make Holiday cards and I like to make them unique for each holiday. So for Valentine's Day, I came up with a fun spinning heart based on the iconic conversation hearts candy that comes out every year at this time of year. Here's how to make a Valentine Heart Spinner Card that will delight anyone who receives it. And the nice thing is that this interactive card is very easy and quick to make. So the free pattern includes a number of sayings similar to those on conversation heart candies so you can choose your favorites.
This post contains some affiliate links for your convenience. Click here to read my full disclosure policy.
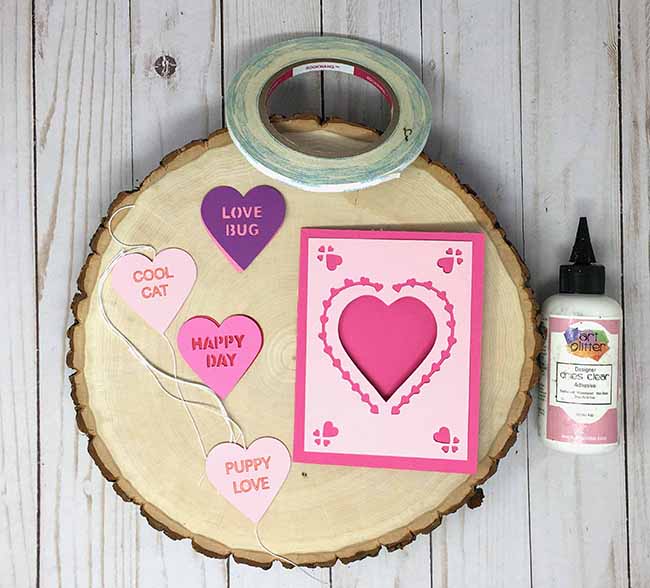
What do you need to make the Valentine Heart Spinner Card?:
- Card stock in 2-3 colors - 65# or 110#
- Glue - Art Glitter Glue works well
- String - heavy thread like buttonhole thread, fishing line
- Scor-tape or other strong scrapbook tape
- Free Pattern - Design No. 111 - from the Paper Glitter Glue library
How to Make the Valentine Heart Spinner Card:
- Download the free Valentine Heart Spinner Card template - Design No. 111 - from the library
- Cut out the pattern pieces - I used my Cricut Explore Air 2
- Glue hearts together with string in the middle
- Adhere the hearts on the string to the front of the card
- Glue the heart overlay on the front of the card
- Make an envelope to fit your spinner card
- Twist the heart so it will spin when your recipient receives the card.
- Put it in an envelope and send your card to your friend
Ready? Let's get started. Below are more details on how to make this Valentine Heart Spinner Card.
First, download the pattern for the Valentine Spinner Card - Design No. 111
All of the patterns for this Valentine card are in the free Paper Glitter Glue library. So how do you get the pattern? Well, it's easy. Just go to the library in and type in the password. What? But you don't have the password? Just subscribe with the form below and you will get the password right away.
The pattern is listed in the library under January 2021.
Also, the pattern is available in two formats - a PDF printable format and the SVG format for cutting machines.
For this card, there are 4 different pieces in the folders:
- The main body of the Valentine card and overlay
- The envelope
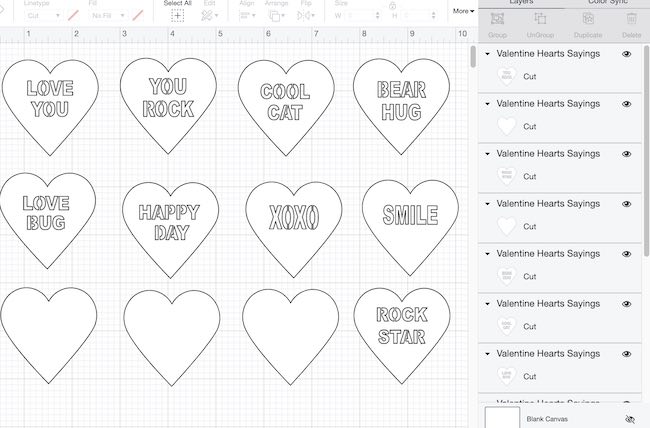
- Valentine Hearts with the letters cut out and
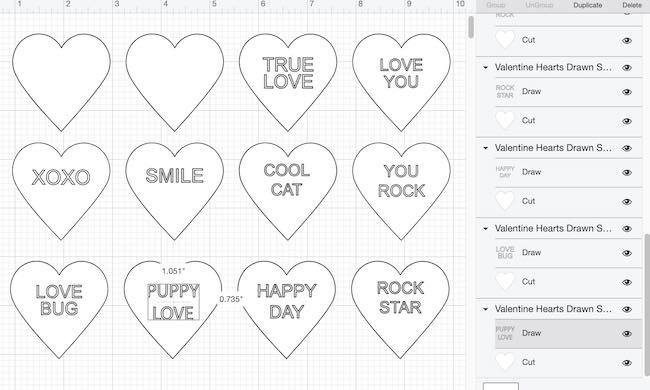
- Valentine Hearts with the letters drawn on (see the two variations below)

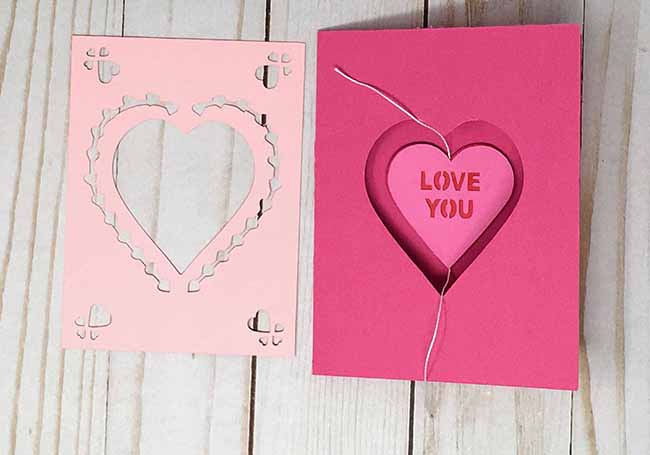
Next, cut out the card stock pieces for the card
For this step I use my Cricut to cut out the pattern. If you simplify the overlay piece, you can easily cut it out by hand. In the photo below you can see the overlay piece (2 pieces, actually) and the main piece of the card.
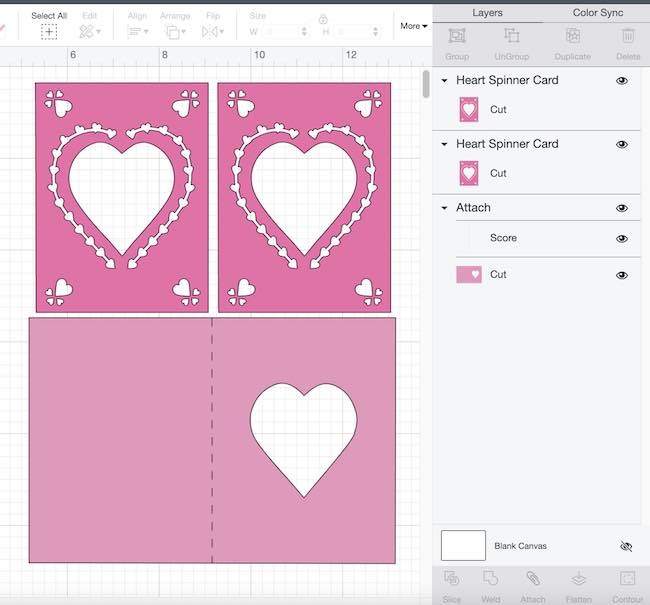
If you use a Cricut, be sure to designate the single score line for the card as a score line and attach it to the piece it belongs to.
Two Choices for the Spinning Hearts
For the hearts, you have two choices. You can cut out the words for the hearts and glue the front heart piece to a contrasting color of card stock. Or you can use the draw function on your cutting machine to write the words. Since they are made differently, there are two different patterns.
In the cut out pattern, there are 3 plain hearts for background pieces, duplicate as many as you need. And you don't have to group or designate any special lines for this particular pattern.
If you choose the drawn hearts, then you are going to have to specify that the words need to be drawn rather than cut out. Note that the linetype has been changed to draw.
Make the Spinning Heart
After you have all the pieces cut out, assemble the heart with the string suspended between two hearts.
Now about the choices of string to suspend the heart on, I like to use a heavy thread like a button hole thread, but you can use fishing line or a thin string.
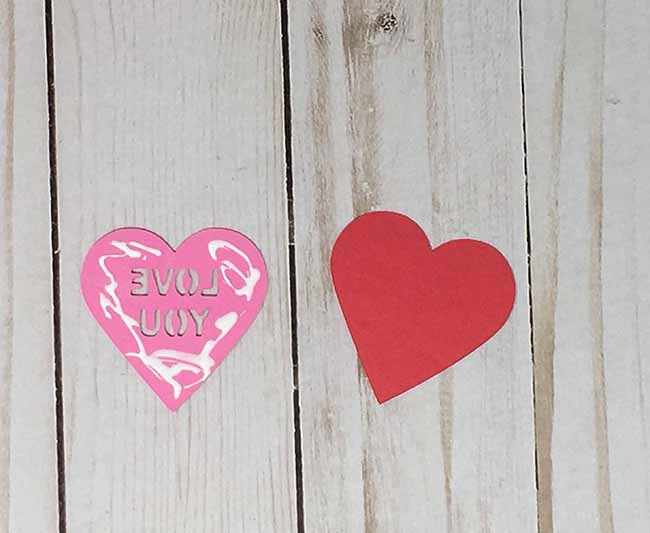
If you use the cut out hearts, you need a contrasting backing for the words, since the little conversation heart candies are all written in red, that the color I used for most of my hearts.

Then apply glue around the letters and adhere the two hearts together.
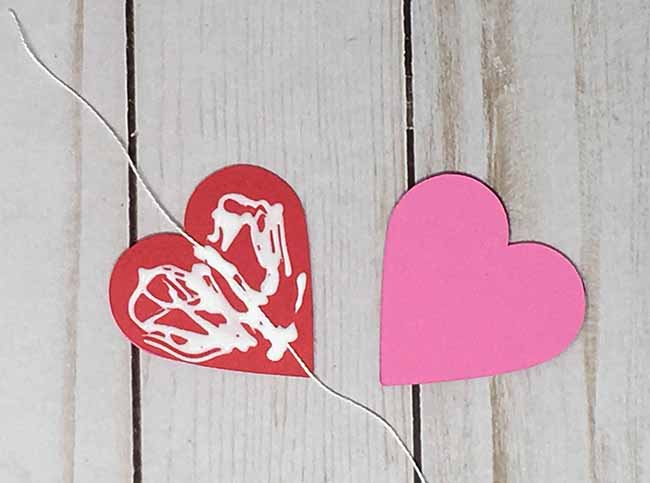
Now to hide the string you need to glue two complete sets of hearts together with the string in the middle of "heart sandwich".

Apply a good layer of glue to hold the hearts together. And make sure the string is held in place before you glue it to the front of the card.
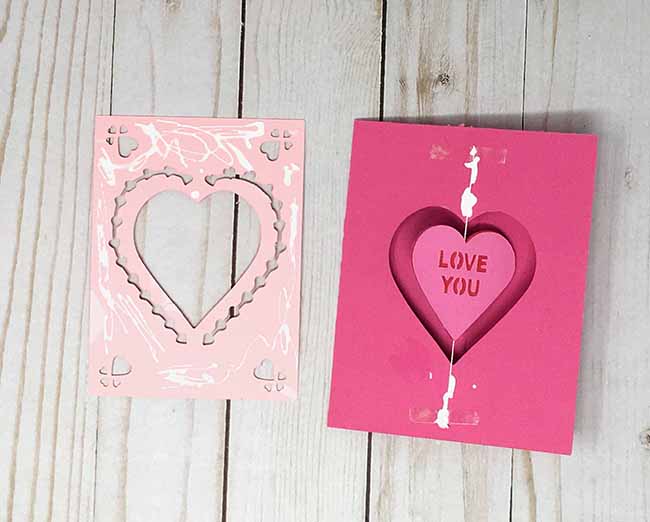
Next glue the suspended Valentine Heart to the front of the spinner card
Here is where you need to use some tape so you can suspend the heart in place with a bit of tension on the string. I used Scor-Tape which is a strong tape which holds well. You can use other tapes as long as they will hold the string in place without it sliding when you pull the string taut.
Next, tape the string to the top of the card where it won't show when the overlay is in place. Place it about ½ inch down from the top. You can see where the tape has been placed on the photo below.

Now, trim the string so it won't stick out beyond the overlay. The overlay piece is less than ¼ inch smaller than the front of the card.
In addition, I reinforce the string with some glue to make sure it is secure. That's an optional step if you trust your double-sided tape.
Adhere the overlay to the front of the Valentine card
Apply glue to the back of the overlay so the glue won't show through the cut out sections.
And that's it for making the card itself.
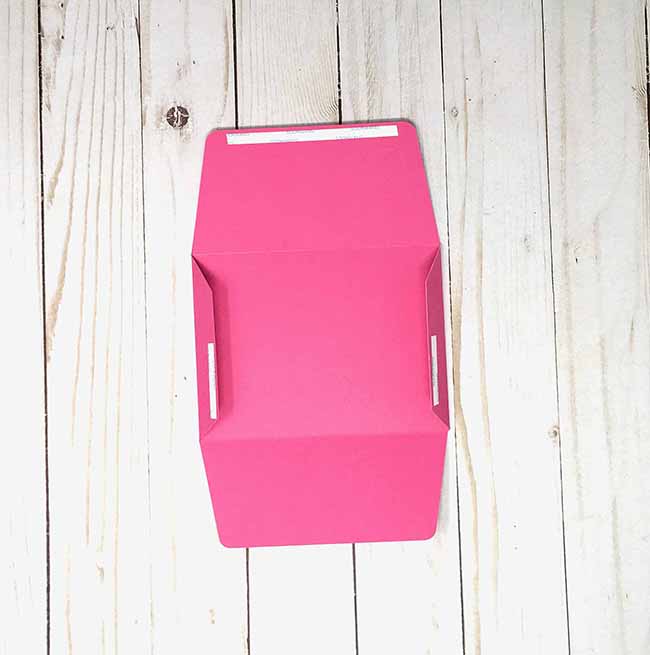
Make an Envelope for Your Spinner Card
Next, make an envelope that fits your card perfectly. It's easy. Just cut out the pattern included in the file. Fold along the score lines. To make it as simple as possible, I used Scar-Tape to glue down the flaps. You could just a glue stick just as easily. But the important thing to remember is to avoid gluing the flaps to the back of the envelope so your card won't fit.
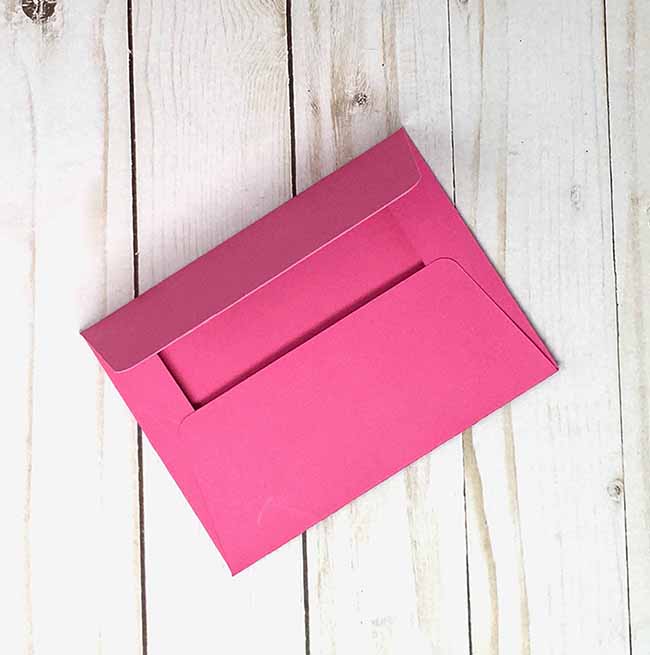
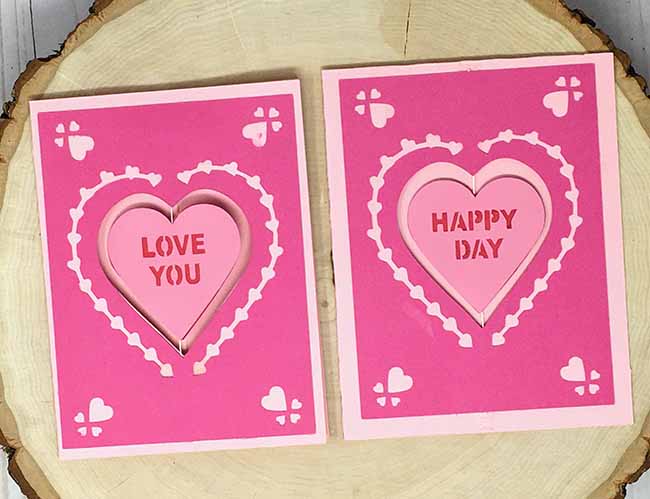
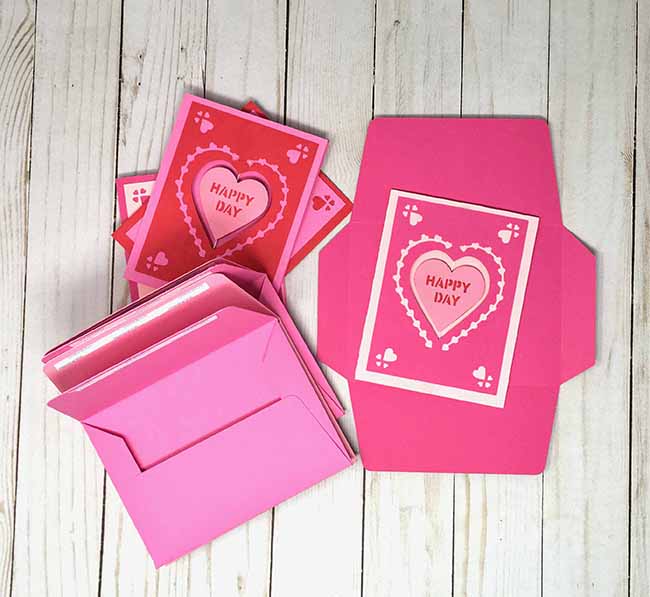
Send your adorable Valentine cards to your friends
And here are the cards ready for mailing.
So happy crafting! If you have any questions, just email me at [email protected]. I am always happy to help
Gail Beam
Thank you Lucy for this awesome heart card!
Judith Smith
I made this card today for my husband. I don't have a Cricut so did it by hand. Overlaid some of the design & letters with glitter glue!! Turned out great!! Thank you so much for sharing!!
Lucy
I am so glad you like it and that it worked out. Thank you for letting me know.
Lucy
Brigitte
Thank you so much for this cute pattern and the very clear instructions. I made three cards so far. One of them is a cream and teal Valentine/birthday card for one of my sons who was born on 14th February, 39 years ago, with kind words on both sides of the heart.
Lucy
I am so happy to hear that. And I am so glad you found it to be an easy card to make. Thank you so much.
Pat Hillman
Thank you for the fast response!!
Pat Hillman
Is there a reason there are 2 card fronts in the file??
Lucy
Yes, one is made with cut out letters and the other is made with drawn letters. Just choose the way you would like to make the letters.
Oh, I re-read your comment and I realize that you were asking about 2 card fronts - the overlay. No, I just left it that way because that fits on one piece of 8.5" x 11" cardstock perfectly. So if you are only going to make one card, then delete the other card front.
Sandy Wootten
This is such a fun card. Thank you for your generosity. We are so lucky
Lucy
Thank you so much, Sandy. That is so nice. I am the lucky one.
Lucy