
Looking for a fun and eye-catching way to display your favorite paper crafts? This fake cake makes the perfect centerpiece for showcasing everything from whimsical toppers like the Flamingo Cake Topper to seasonal treats and sweet paper cookie displays. Follow this step-by-step tutorial to build your own paper-based cake that’s as delightful to make as it is to display!
This is the another fun fake cake prototype that I've made. I'm working on getting the sides smooth. As a messy (really messy) crafter, that is a challenge for me. The prototype cake below just had painted sides not covered with the lightweight spackling compound.
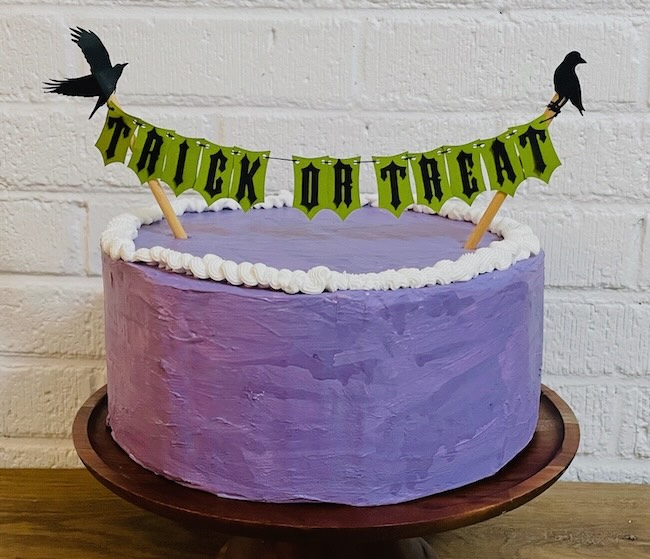
This is a fake cake prototype that I made for my Halloween Spooktacular event. It's so fun to have this for display.
Check out m YouTube live video where you can see how to make a fake cake. You can see my mistakes as well.
Here are the instructions to making the fun fake cake from scratch, meaning that you make it from recycled cardboard, but there are other options.
Craft stores have paper mache box sets that would work great for this. And the advantage is that these boxes open up so you can put something inside. Another option is to use styrofoam rounds which are inexpensive. Then you can decorate them the same way I'm decorating my made from scratch, recycled cardboard cakes.
This post contains some affiliate links for your convenience. Click here to read my full disclosure policy.
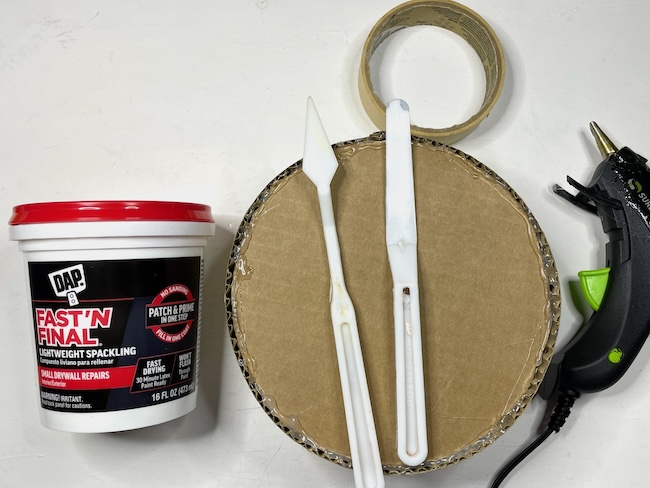
Materials to make the Fake Cake:
- Corrugated cardboard
- Masking tape
- Hot glue
- Acrylic Paint
- Drywall compound also called Lightweight Spackling (this one will probably cover 2 cakes or one large cake)
- Piping bag
- Piping tips
- Miniature banner (optional)
- Dowels for miniature banner
- Parchment paper or waxed paper to practice piping
- Optional - these Paper Mache Cake boxes will work perfectly for the fake cake with much less mess
Steps to make the Fun Fake Cake
- Gather cardboard (or purchase paper mache boxes or styrofoam for the cake base)
- Cut out the size and shape you choose for your cake. I like the round shape.
- Cut corrugated cardboard strips to go around the cake. Make sure the corrugations are vertical so you can curve the cardboard easily.
- Using masking tape, attach the side strip to the cake to get started.
- Next use hot glue to adhere the side strip the top of the cake.
- You can prime your cardboard, but the drywall compound or lightweight spackling will function as the white color. In this example, I'm making a 3-layered white cake so I'm skipping the painting step. If you want to color your cake, mix paint with the drywall compound or spackle.
- Next use a palette knife, coat your cake boxes with spackle.
- Smooth it just like you would a regular coat.
- Next put your spackle medium in a disposable piping bag and practice piping the designs you want on your cake onto parchment paper or waxed paper. If the spackle is still moist you can re-use it.
- Pipe your design on your cake. Check out the designs on Lambeth cakes for inspiration. Here's an incredible example of a real cake that has over the top decorations.
- Be sure to check out the Flamingo Cake Topper to decorate your fake cake.
Leave a Reply