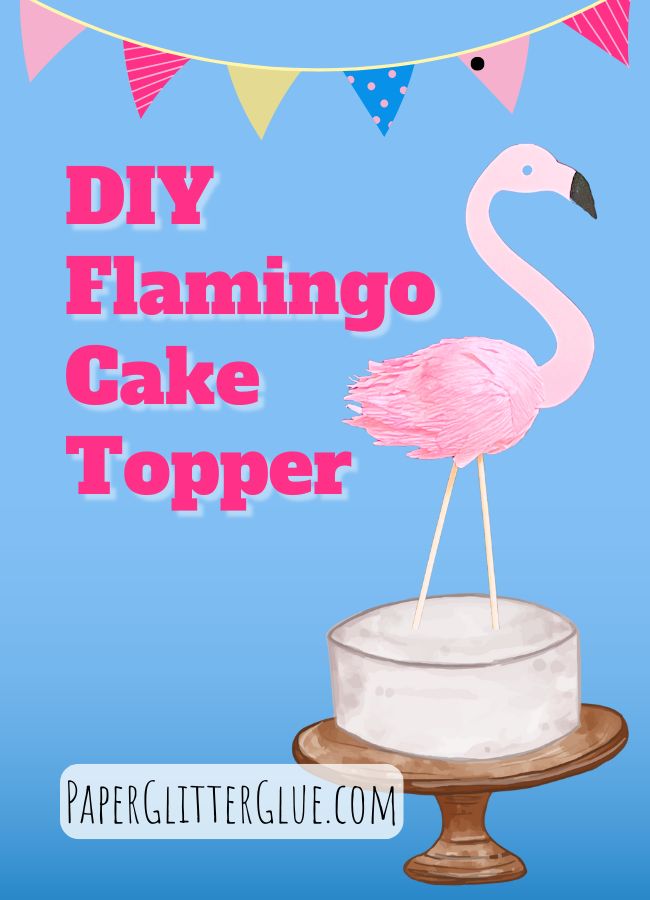
Today we’re going to add a pop of pink and a whole lot of personality to your cake! I’m showing you how to make an adorable Flamingo Cake Topper that looks fancy but is surprisingly easy to create. I’ll walk you through two cute versions—a super simple cutout style and a slightly more detailed version with crepe paper feathers. Both are charming, festive, and perfect for making any cake feel extra special.
Subscribe to my newsletter
Subscribe with the form below to get my crafty newsletter and to get the free files for the DIY Flamingo Cake Topper - Design No. 207 in the Paper Glitter Glue free library.
This post contains some affiliate links for your convenience. Click here to read my full disclosure policy.
Materials to Make the Flamingo Cake Topper
- Design No. 207 from the free Paper Glitter Glue library
- Pink cardstock - shades of pink
- Long toothpicks or skinny dowels
- Foam or styrofoam balls (about 1 inch in diameter for the small flamingo)
- Craft knife for cutting the foam ball
- Pink crepe paper for feathers (optional)
- Pink archival ink to add dimension to the feathers and flamingo
- Glue - Bearly Art Glue and Aleene's Turbo Tacky Glue work well
- Scissors to cut the crepe paper
- Cutting machine to cut out the flamingo
- 2 inch Half wooden balls as bases for the flamingos (optional). You will need a drill to make a small hole for flamingo legs to fit. You could use half styrofoam balls instead. No drilling needed for the styrofoam balls
Materials for making the Flamingo Cake Topper

This is my video showing you how to make the Flamingo Cake Topper.
Steps to Make the Flamingo Cake Topper
- Download the pattern for the flamingo - Design No. 207
- Cut out the flamingo from cardstock - choose either the complete flamingo or just the neck for the version with the styrofoam ball body
- Adhere the black circle for eye behind eye cutout
- Glue 2 layers together to make the flamingo more sturdy
- Adhere the black beak cutout to the front of the flamingo's beak
- For the simple version, glue 1 or 2 long toothpicks or dowels to one side of the flamingo. Then glue another mirror image piece to the other side.
- Cut strips of crepe paper about 1 inch thick. Fold in half to cut out the V-shaped feather design
- For the 3-D flamingo, make a vertical cut in the foam ball to insert the flamingo's head and neck
- Apply a blob of glue to the back of the styrofoam ball to start adding feathers the flamingo body
- Wind the feathery crepe paper in a circular manner around the back of the ball to make the rear feathers. Make sure to adhere the crepe paper well.
- Continue to add glue and apply strips of crepe paper around the ball up to the neck.
- Ink the edges of the feathers for more color and dimension
- Make two small holes in the bottom of the crepe paper covered ball to insert the two legs
- Insert into your cake or into a base

Flamingo inspiration
I used this photo from Wikipedia for help in drawing the flamingo shape and coloration. Notice that the only black part on the beak is at the end of the beak. To simplify things I used a cutout for the eye so just glue a black circle behind the eye.

Also notice all the variation in color on the flamingo. That's one reason I used a darker pink ink on the crepe paper to give dimension to the flamingo.
1. Download the pattern for the flamingo - Design No. 207
The pattern for the Flamingo Cake Topper is Design No. 207 and is a free file in my Paper Glitter Glue library. The folder contains both SVG files and PDF files.
To get access to the library, simply go to this page, click the big orange "CLICK HERE " button on the library page. That takes you to the password page - the door way to the library itself.
On the password page, type in the password and poof! you have access to all the free files in the library.
Subscribe to my newsletter and you will get the password right away.
2. Cut out the flamingo from cardstock - choose either the complete flamingo or just the neck for the version with the styrofoam ball body
These are the threes sizes to choose from for the simple version of the flamingo.

Or if you want to make the more dimensional flamingo (my favorite version), use this pattern with just the next pieces. Choose the size you like. I actually like the smallest size the best.

Remember to Match Color of flamingo neck with crepe paper on the body if you are making the more dimensional version

Try to match the colors more closely with your crepe paper color. I was successful with the second one.
3. Adhere the black circle for eye behind eye cutout
Before I glued the eye on, I inked around the body of the flamingo to give it more dimension and more like real flamingos.

4. Glue 2 layers together to make the flamingo more sturdy
I always like to make my paper projects stronger by gluing layers of cardstock together.
5. Adhere the black beak cutout to the front of the flamingo's beak
Glue the black beak to the flamingo's beak. Line up the longer curved side of the beak to the front edge of the beak.

6. For the simple version, glue 1 or 2 long toothpicks or dowels to one side of the flamingo. Then glue another mirror image piece to the other side.

You can choose one or two legs though flamingos really like to stand on one leg.

7. Cut strips of crepe paper about 1 inch thick. Fold to cut out the V-shaped feather design
Fold the crepe paper several times to cut out the feather shape. It's much easier.

8. For the 3-D flamingo, make a vertical cut in the foam ball to insert the flamingo's head and neck

Insert the head and neck piece about ½ inch into the styrofoam ball.

9. Apply a blob of glue to the back of the styrofoam ball to start adding crepe paper the flamingo body

10. Wind the feathery crepe paper in a circular manner around the back of the ball to make the rear feathers. Make sure to adhere the crepe paper well.
It can be a little challenging to get the crepe paper to stick at first. Sometimes it helps to roll up a little so it's more substantial.

11. Continue to add glue and apply strips of crepe paper around the ball up to the neck.

Work your way around the body of the flamingo adding glue and crepe paper as you go.


12. Ink Edges of flamingo feathers to give more color and dimension to crepe paper feathers
It may not be easy to see here, but I inked the edges of the feathers with an archival ink (archival is waterproof, we don't want the feathers to get wet and run on your cake). It gives more dimension to the feathers, much like what you see on a real flamingo.

13. Make two small holes in the bottom of the crepe paper covered ball to insert the two legs

Insert the small dowels to make the legs of the flamingo.

When you like the placement of the legs, apply a dot of glue on the top of the dowel and insert into the body.

Questions?
If you have any questions, just let me know. You can email me - [email protected] or leave a comment here. I'm happy to help.

Leave a Reply