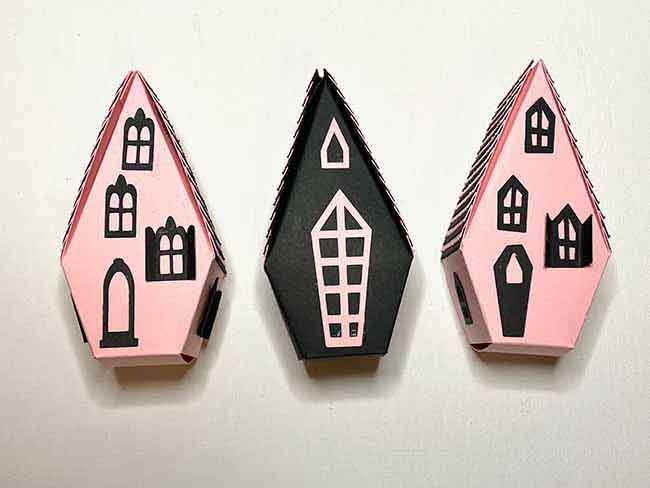
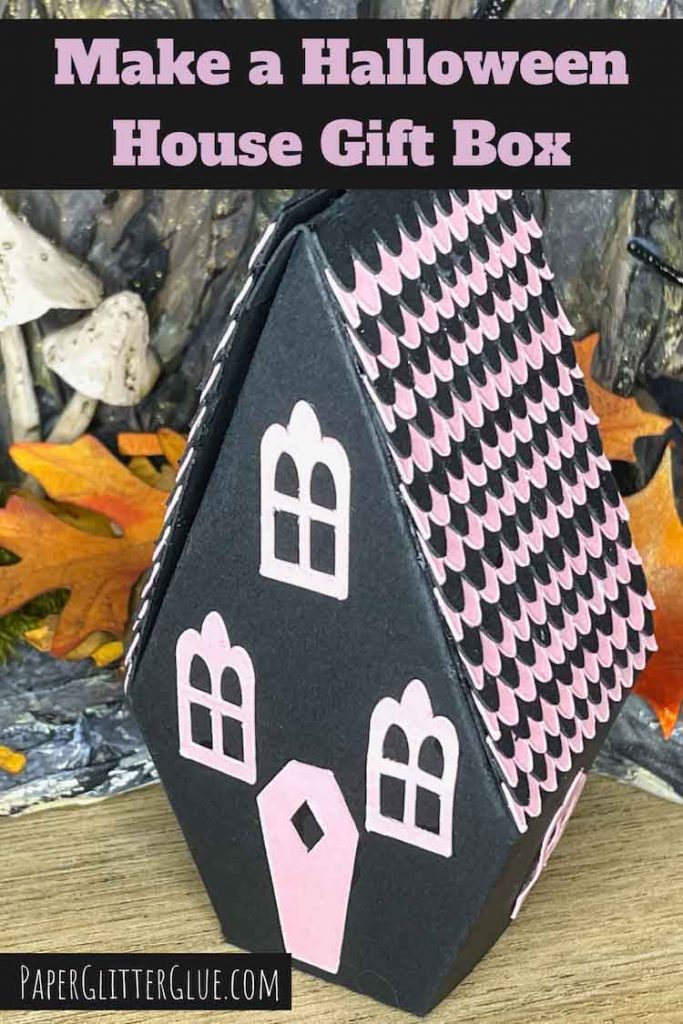
This delightful little Gothic Halloween house gift box can hold candy or treats. It's another fun paper craft project for Halloween that you can make quickly. But remember you can always change the colors to make it suitable for another season.
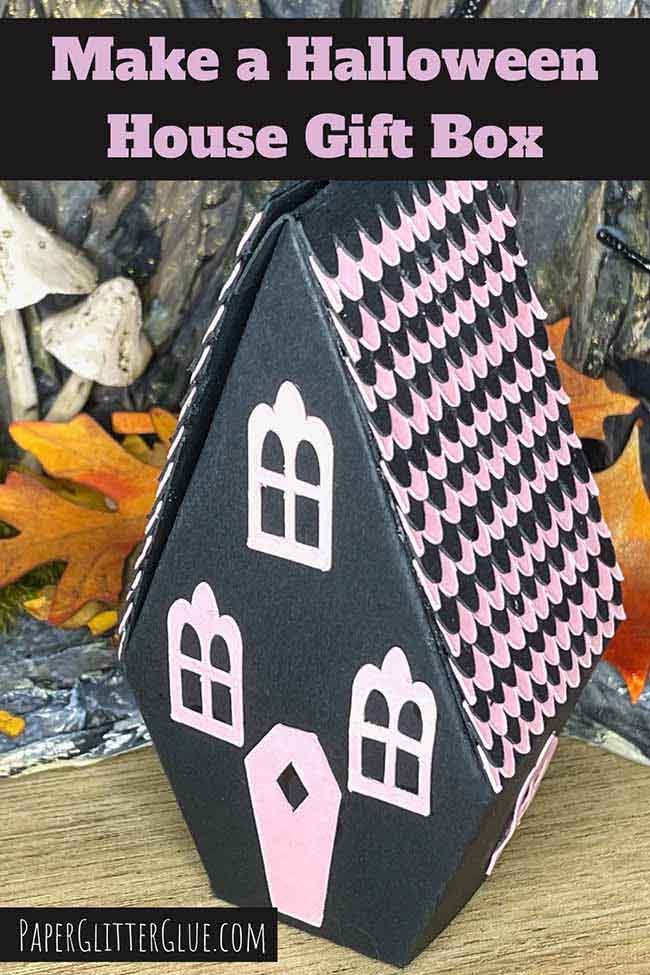
This is the third house in my series of candy boxes or gift boxes. I call it a Gothic Halloween house because of the exaggerated angle of the roof.
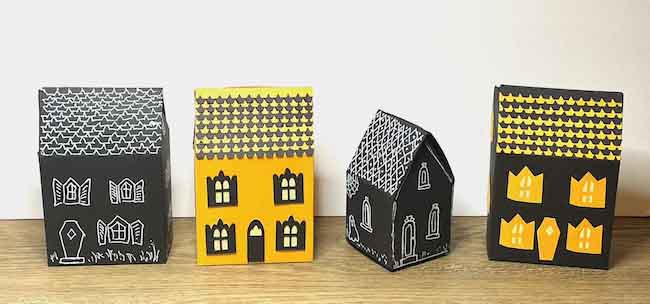
Here's a link to the first candy box. And here is a link to the second version of the candy box. What I like best is the roof shingles. There are a several choices for windows and doors. You can also draw the windows and doors if you like.
This post contains some affiliate links for your convenience. Click here to read my full disclosure policy.
Table of Contents
Supplies to make the Gothic Halloween House Gift Box
- Cardstock in two different colors - I prefer 110# cardstock, but 65# cardstock works too.
- Quick-drying white glue - this is what I used
- White pen like the Uniball Signo gel pen
- A way to cut out the pattern - I used my Cricut Maker, but other cutting machines work too
- Fill with candy or treats
Steps to make the Gothic Halloween House Gift Box
- Download the free pattern - Design No. 127 - from the Paper Glitter Glue library
- Cut out the pattern for the Gothic Halloween House Gift Box
- Decorate the Gothic Halloween House Gift box by gluing on windows and the door or decorate with gel pen
- Glue on roof shingles, if desired
- Assemble the house with the 3 tabs
- Fill the gift box with candy or treats
For more details on making this little paper gift box, read below.
Here's a short video on how to make the Gothic Halloween House Gift Box.
Download the free pattern for the gift box
Ok, here is how to find the pattern from the Paper Glitter Glue library. I put the patterns in the library in chronological order as I add them. So the Gothic Halloween House pattern - Design No. 127 - is located in the October 2021 section of the library.
I've made the pattern in two formats - a printable PDF format and as an SVG pattern for cutting machines like the Cricut Maker.
But you do need the password to get access. Just subscribe to my email newsletter where I send you information about my newest crafts. The password is included in every newsletter.
Cut out the pattern
Fortunately, the pattern for the house itself is pretty easy to cut out by hand. But I used my Cricut Maker because that makes cutting out all the shingles and windows and doors easier. Other cutting machines like the Silhouette Cameo and the Scan N'Cut work as well.
Here are the steps to using the SVG pattern in Cricut's Design Space. That's the cutting machine software that I am familiar with.
Upload SVG pattern to Cricut Design Space
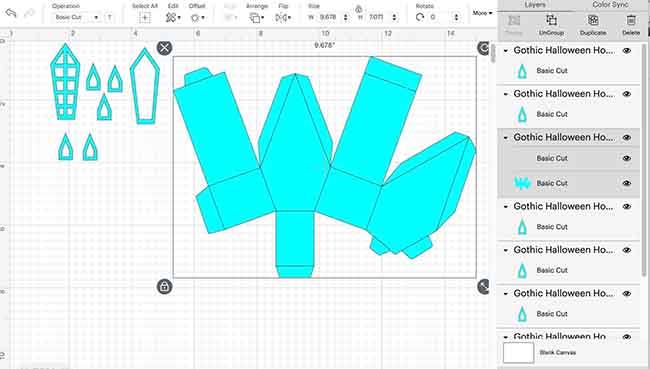
In the photo below you can see how the pattern looks in Cricut's Design Space. When any SVG pattern is uploaded, everything is automatically grouped together. That is very helpful if you are going to re-size the design because you can resize everything together. If not, just ungroup.
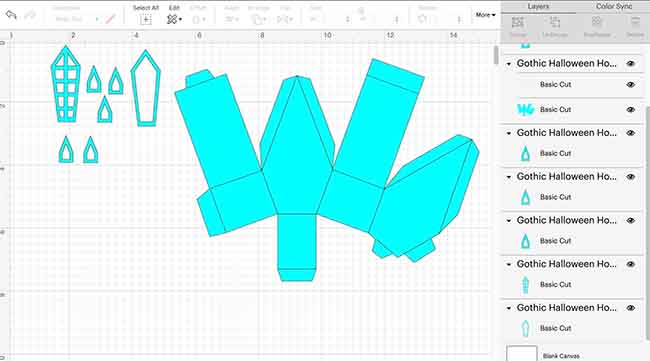
But the house piece and the score lines for it are still grouped because I designed the pattern that way to make it easier for you.
Group the windows and door options together
Because I designed the windows and doors to be cut in a different color, I group them together, and hide them until I put in a different color cardstock on a mat. You can hide them by clicking the little eye icon on the Layers panel on the right. When you are ready to cut them out, just unclick the eye so they are no longer hidden.
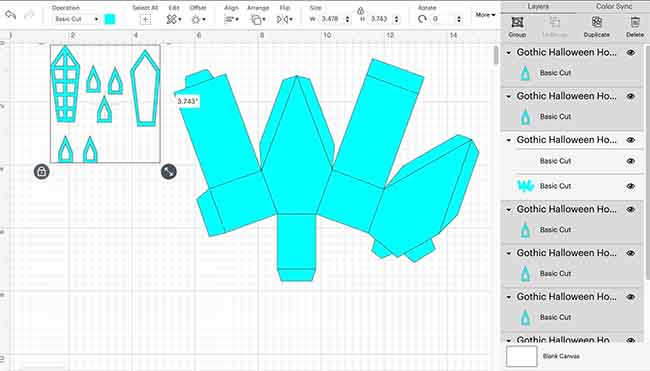
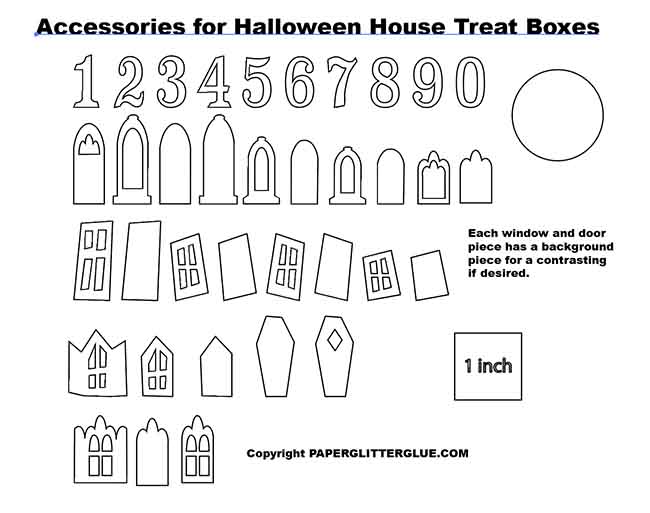
But you have an additional set of options in both the SVG and PDF folders to choose from. Be sure to cut out as many windows as you think you need. So duplicate enough windows for your design.
Select the Gothic Halloween House piece
Next, select the actual shape of the paper Halloween house. You can tell is is selected because of the box around it.
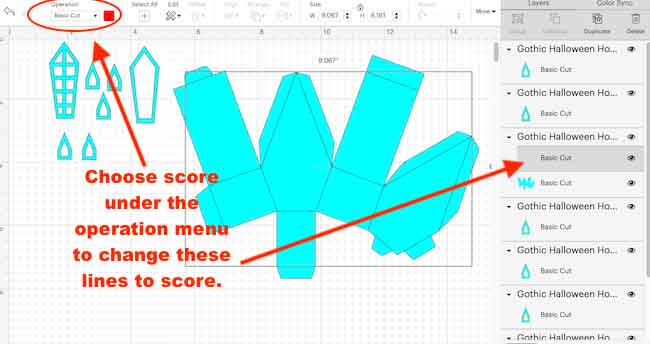
Choose the score lines and change them to score under the operations panel
Within the group of the Gothic Halloween house pieces, click on the first part where it says basic cut. You can't really see them clearly at all, but these are the score lines.
After you click on the score lines, go to the operation menu in the left upper portion of design space and scroll to choose score.
When the score lines are properly designated, the lines turn into dotted lines.
Here's how the score lines look when they are properly designated. Next, attach these lines to the house piece. To attach, click the paper clip symbol in the bottom right hand corner Design Space.
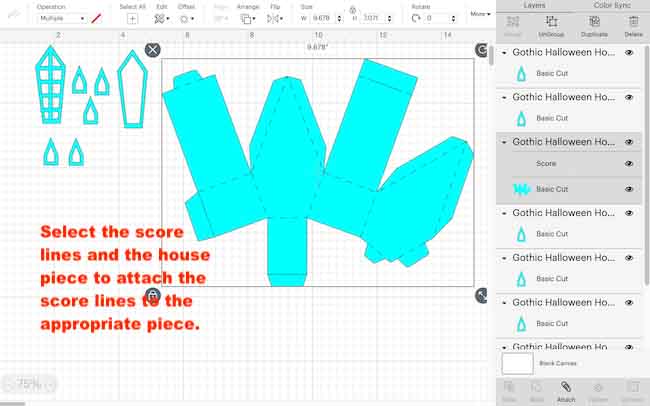
Now the score lines and the house piece are attached
Now, Cricut's Design Space understands the score lines go with the house piece and it will properly cut out the house pattern as you can see below. Note that the grey section is the top of the layers panel on the right. That shows that they two pieces are attached.
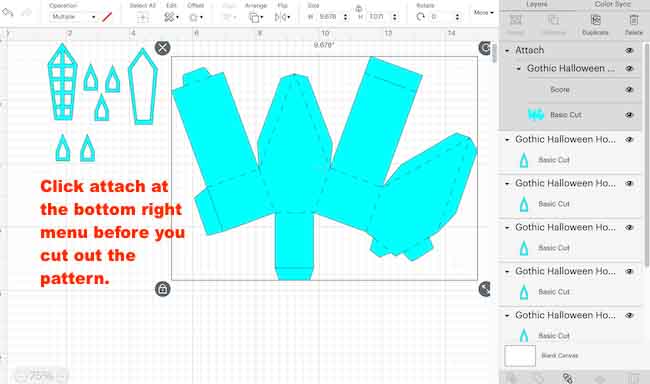
Now you can cut out the paper Gothic Halloween House so you can decorate it.
Cut out lots for shingles for this house
If you want to decorate your house with contrasting shingles, you need to cut out lots of shingles. Cut one full set of shingles as show below in two different colors.
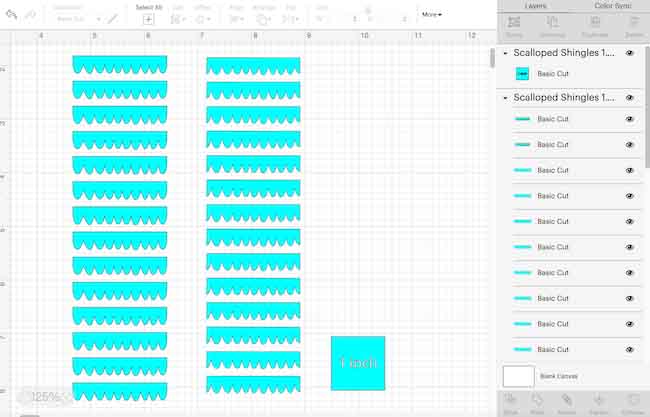
If you don't have an electronic cutting machine like the Cricut, just use some specialty scissors with scalloped edges to cut out the shingles. Here is an inexpensive option and here is a better option for specialty scissors that will last longer.
Decorate your little paper house box
The two main methods I use to decorate these little paper gift boxes is by gluing on windows and doors that I've cut out or by drawing the windows and doors. Choose whichever method you like. I think both options are fun.
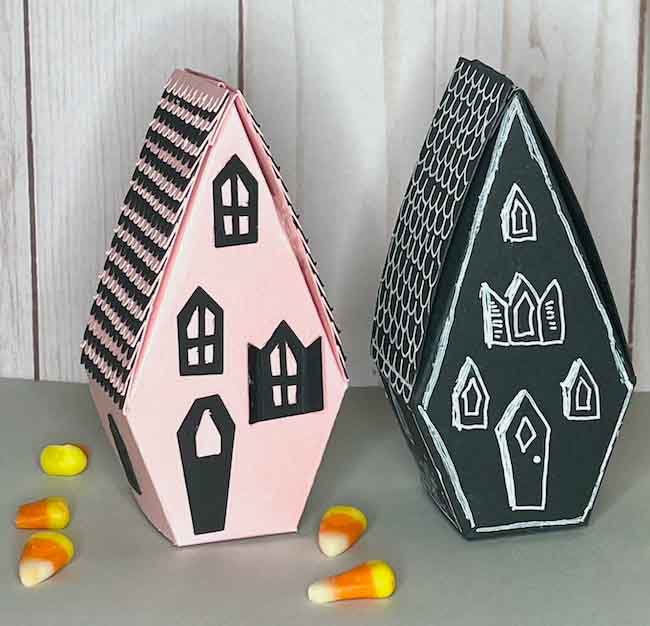
Fold along the score lines before you decorate your house
It is much simpler to decorate the house when you can see where the score lines are. When I do this step first, I find it easier to center the door and windows.
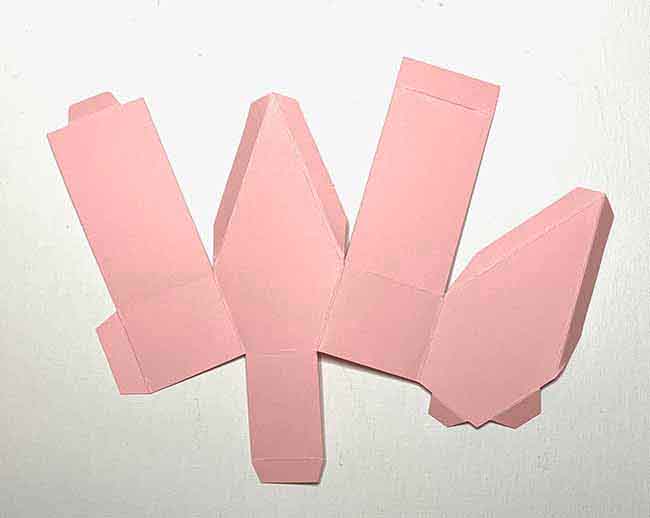
Option one, glue on windows and doors cut from contrasting colors of cardstock
For the first option, cut out the windows and doors from a contrasting color of cardstock and glue them in place. In the photo below, see some of the options for the windows and doors.
The roof shingles make the house, I think. The shingles for this house are 1.75 inches long.
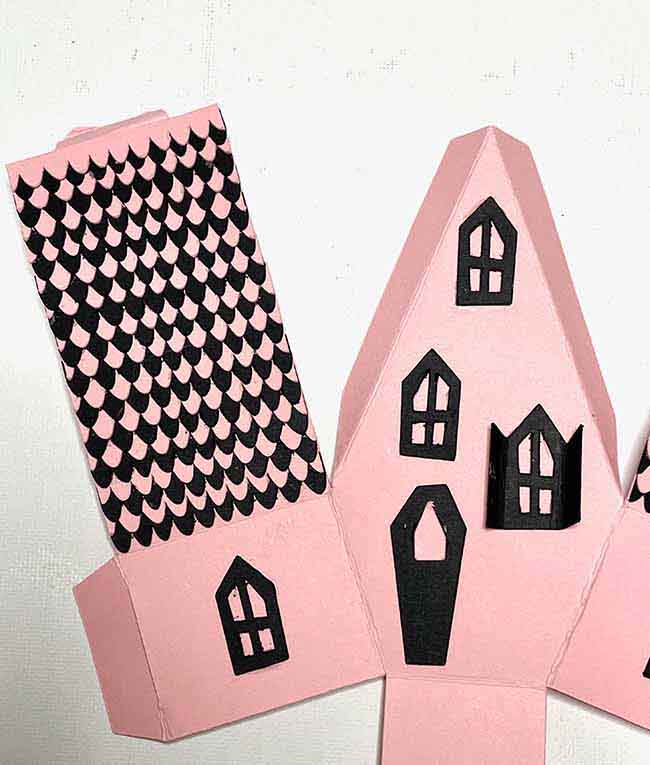
But you do have to cut out a LOT of shingles for the Gothic Halloween house. I cut two full sets of shingles for each house - about 26 shingles for each color on each side.
Option two, color the door and windows on the paper house
Using a white gel pen, I drew the door and windows on the black cardstock version of the Gothic Halloween house. This is fun and an option that children enjoy.
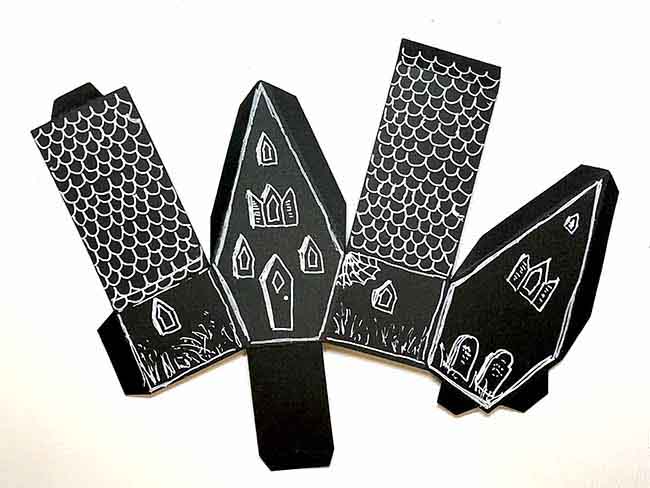
The nice thing about this option is that you don't have to be precise. Just have fun drawing funky little windows and the door. I know I always mention it, but the Uniball Signo white gel pen works so beautifully on black (or dark) cardstock.
Assemble Your Paper Halloween House Gift Box
Well, this gift box is a little different because of the angles on the sides. That means if you glue the side tab down, it won't lay flat. To solve that problem, I made an interlocking tab on the side rather than a glue tab.
First, insert the side tab in the corresponding slit on the opposite side tab. Next, insert the bottom tab into the slit on the bottom flap of the house. And finally, fold the sides of the roof to the middle and insert the tab into the corresponding slit on the other side of the roof flaps.
Now what? Candy or treats, of course!!
And for the final step, we need candy or treats in the little paper gift box! If you fill them with a candy like candy corn, wrap them in cellophane so they spill out all over. Mini Snickers work fine without being wrapped.
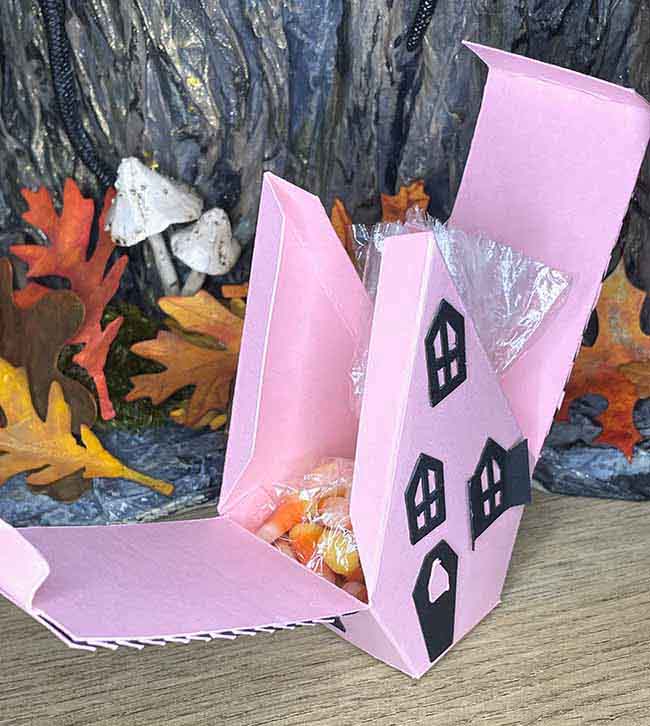
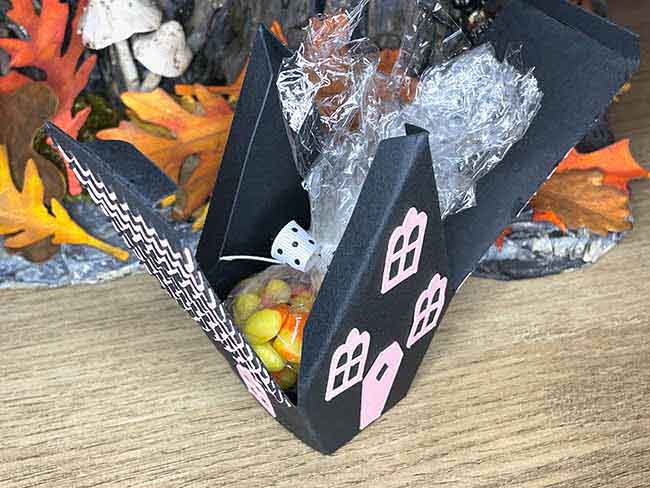
Wouldn't you love to get a fun gift like this? Fun to make and fun to give, perfect, I think.
Share the Gothic Halloween House Gift Box
If you like this idea, please share it on Pinterest. That way you can remember where you found the pattern for this gift box.
Questions?
If you have any questions, please email me at [email protected]. I am always happy to help if I can.
And thank you for being here. I do appreciate it. I hope you have a great day. Remember to include creativity in your life. Creativity just makes life better.
Lucy



Stephanie Sheridan
Enjoyed this pattern. I need to cut this set out. As always, Thank you for sharing.
Lucy
Thank you, Stephanie. This one was a little more difficult to engineer as a pattern, but I like the steep roof so I am very pleased with how it turned out. I would love to see a photo if you do make it.
Lucy