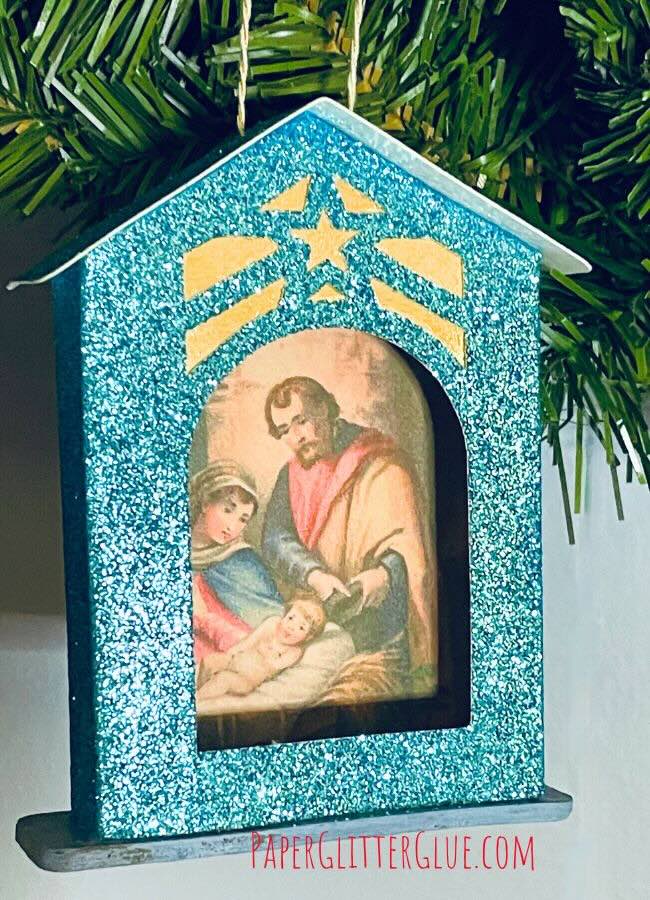
Create a charming vintage-inspired ornament with this easy tutorial! Learn how to make a small house-shaped ornament featuring a glittery front opening that frames a graphic or photo for a nostalgic display. Perfect for your tree or as a unique gift, this craft is simple, fun, and full of vintage charm!
To make this display ornament, I used 65# glitter cardstock and gold foil cardstock. The base is made of cardboard.
This post contains some affiliate links for your convenience. Click here to read my full disclosure policy.
Table of Contents
Materials to make the Vintage Christmas Paper Ornaments - Design No. 181
- Vintage Christmas Paper Ornament Pattern from the Paper Glitter Glue library - Design No. 181
- Glitter Card Stock
- Foil Card Stock (this is a gold example of Recollections which works well)
- Glue - PVA glue like Bearly Art Glue
- Metal hanger or thread

Steps for Making the Vintage Display Ornament
- Download pattern no. 181 from the Paper Glitter Glue library
- Choose your graphic cutout or photo
- Cut out the pattern pieces
- Fold along the score lines
- Glue the foil and graphic image in place
- Assemble the body of the ornament
- Adhere the roof to the paper ornament
- Add a thread so you can hang your beautiful ornament
- Display your creation!
For more details on making the Vintage Display Ornament, read below.
Here's the YouTube video showing you how I made the ornament.
1. First, download the pattern for the Vintage Display Ornament
Get the Pattern from the Paper Glitter Glue library - Design No. 181
To get the pattern, just go to the free Paper Glitter Glue library, type in the password and get the pattern (Design No. 181) from the December 2021 section of the library. The patterns are available in 2 formats - as printable PDFs and as SVG cut files. Choose which one works for you.
If you don't have the password, you can get it by subscribing to my Paper Glitter Glue newsletter with the form below. You will get the password right away when you subscribe.
2. Choose your graphic or photo
I wanted to include a vintage graphic element to match the vintage design of the ornament so I went to the Graphics Fairy website to search for free vintage images.
Here are some links for vintage Nativity images and for images of Madonna and child.
This is a photo of one of the image to give you an idea.

As you know, I use my Cricut to cut out the pattern. So here are the most important tips to cutting out the ornament with Cricut Design Space.
3. Cut out your ornament pieces
As you know, I use my Cricut to cut out the pattern. So here are the most important tips to cutting out the ornament with Cricut Design Space.
Upload the SVG design to Cricut Design Space
Now designate score lines
For this pattern, there are only 2 pieces with score lines - the main body of the little display house and one score line on the roof pice.
Select the score line grouped with each piece, go to the operations menu, choose score, then attach the score line to the piece it is grouped with. Now your cutting machine knows to keep that score line with the piece it is attached to.
You know the score line has been chosen when you see dashed lines on the piece itself and you see score under the layers menu.
4. Fold along the score lines
After all your pieces are cut out, fold along all the score lines. Make sure the lines are well-folded.
To make sure I get straight lines, I often fold along the score lines using a straight edge. First, fold towards yourself then away from yourself.
5. Next, glue the decorative pieces in place
Gold foil cardstock makes the star shine.
Apply glue to the inside of the ornament and let it get a little tacky before you apply the foil cardstock. You don't want to smear the foil cardstock with glue if you can help it.
Next, cut your image to size using the template in the file. I cut my image by hand just because I think it's easier. Glue to the back of the ornament.
6. Assemble the body of the ornament together
To assemble the main body of the ornament, simply glue the side tab to the other side of the ornament. Let dry. It's important to let the ornament get dry before you try to glue the down roof tabs to the roof flaps. The cardstock ornament will tend to shift if you don't wait for it to dry.
Just a note here, glue doesn't really like to stick to glitter paper. That means that you have to get decent glue coverage on the glitter paper. If you apply the glue and let it dry just a bit, it will get tacky and adhere better. Still you may have to hold the glue tab in place for a minute or so to make sure it adheres.
7. Adhere the roof to the Christmas ornament
Once your ornament is dry, fold along the roof score line and adhere to the top of the ornament. Again, let the glue get a little tacky before you try to glue down the roof.
8. Sew a thread in the roof so you can hang the ornament
Use a large needle sew a decorative thread through the holes on the roof and make a hanging loop for your ornament.
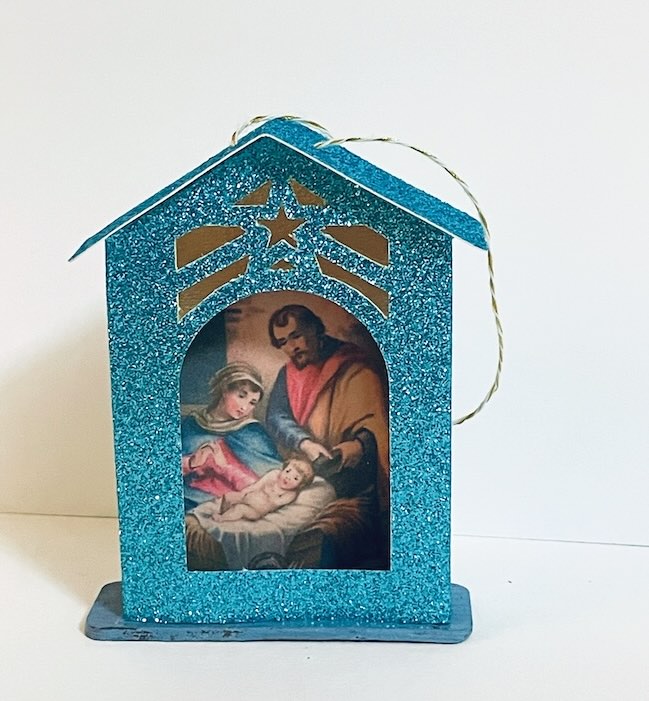
9. Now find the perfect place to display your delightful vintage ornament
If you have any questions about making this ornament, please email me at [email protected].
Thank you for reading and crafting with me.
Lucy
P.S. Be sure to pin this to your favorite Pinterest board so you can remember where you found it.
Leave a Reply