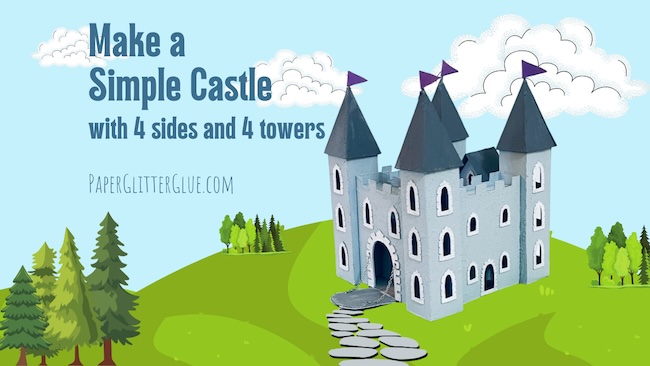
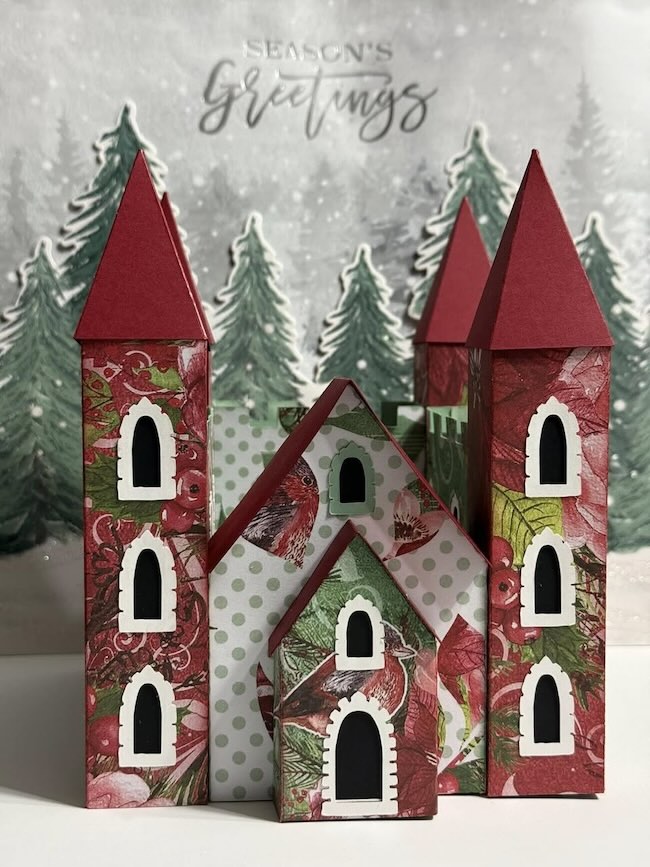
Let's make something fun and easy - a simple castle with 4 sides and 4 towers. It's so easy to put together since you make each component separately and they are all rectangles or square shapes. You also have options for different doors to the castle including a drawbridge.
And you can choose to make it out of cardboard or cardstock - whichever suits your crafting style best.
Subscribe to my newsletter!
Subscribe to my Paper Glitter Glue newsletter to get the password to my free library and to keep up with all my crafting goodies. Don't worry I will never send you any spam and you can unsubscribe at any time.
This post contains some affiliate links for your convenience. Click here to read my full disclosure policy.
What do you need to make this Simple Paper Castle?
GENERAL SUPPLIES FOR MAKING THIS SIMPLE CASTLE
- Self-healing cutting mat if cutting by hand
- Glass mat for painting, stencils. etc. - I LOVE my glass mat
- Craft knife - X-acto is the classic brand - for cutting by hand or trimming bits
- Craft knife - blades (It's recommended that you change blades for each project when you cut out the patterns by hand)
- Painters Tape - I use painter's tape for almost all my projects
- PVA Glue - for lighter materials I use Bearly Art Glue
- PVA Glue - for thicker materials like cardboard I use Quick Dry Tacky Glue

CUTTING MACHINES TO MAKE THE SIMPLE CASTLE
- Cricut Joy with a Foil tool for scoring (use the smaller pattern with the Cricut Joy)
- Cricut Joy Xtra with a Foil tool - the Cricut Joy Xtra cuts the regular pattern all
- Cricut Explore Air 2 or Cricut Explore Air 3 with Scoring Stylus
- Cricut Maker (original) or Cricut Maker 3 with a Scoring Stylus or Scoring Wheel (I think a scoring stylus is much simpler to use though it does not score as deeply.)
- Fine Point Blade - it works with my 22 pt cardboard
Cricut is the brand I am most familiar with, but there are other cutting machines - the Silhouette Cameo and the Brother Scan N Cut.
MATERIALS FOR THE CASTLE STRUCTURE
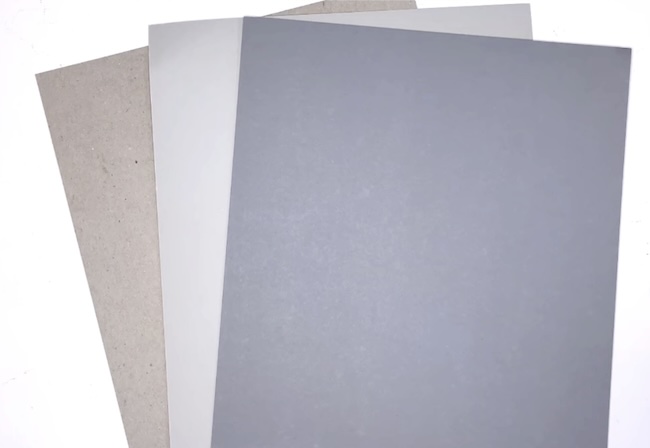
- Card stock - 65# card stock (176 gsm) and 110# (300 gsm)
- Cardboard - 22 point cardboard (0.5588 mm), 50 point cardboard (about 1.27 mm)
- Poster board is an option - most poster board is about 22 pt (0.5588 mm)
- Cereal box cardboard - also about 22 pt (0.5588 mm)
- Corrugated cardboard - for bases
- Single face corrugated cardboard - makes great trim for your castle
WHAT TO USE TO DECORATE YOUR SIMPLE CASTLE
- Stencils
- Embossing folders like this
- Grit Paste - this is my favorite
- Texture Paste
- Inks
- Paint - My favorite is Ranger's Distress Paint, but any acrylic craft paint will work
- Optional Acetate or vellum for window background if desired (I left my windows kind of naked so you could see into the castle.)
How do you make this simple castle?
Here is an overview of the steps to make the Simple Castle - Design No. 184.
- Download the Make a Castle pattern - Design No. 184 - in the January 2025 section of the Paper Glitter Glue library
- Choose what kind of opening you want to your castle such as the drawbridge or the more formal door opening or both
- Cut out the Castle pattern in either card stock or cardboard
- Decorate your Castle pieces - stencil or paint stone, glue on windows and the door
- Optional - glue on window backing, if desired, before assembling the castle.
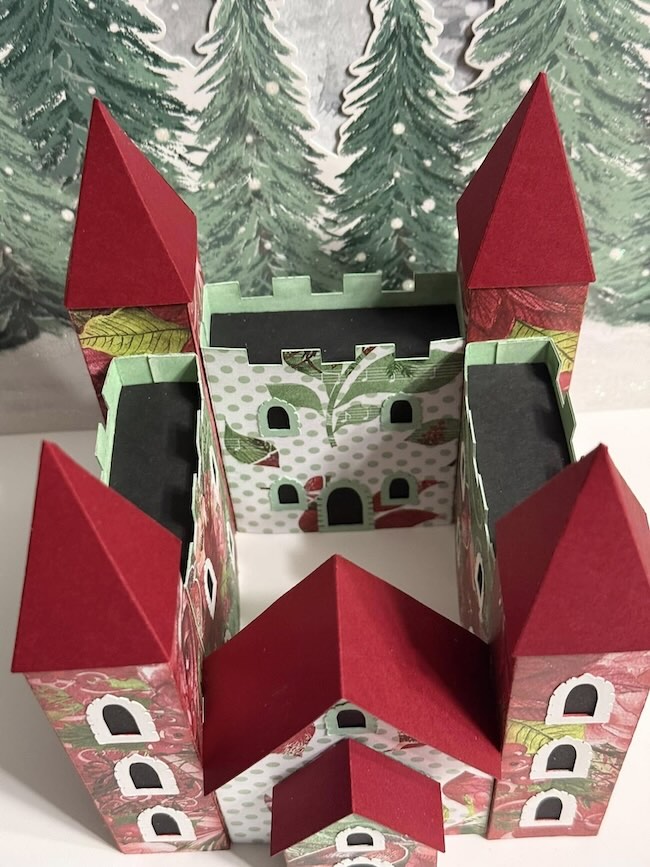
- Assemble the 4 rectangular sections for the castle.
- Make the 4 square towers with steeples.
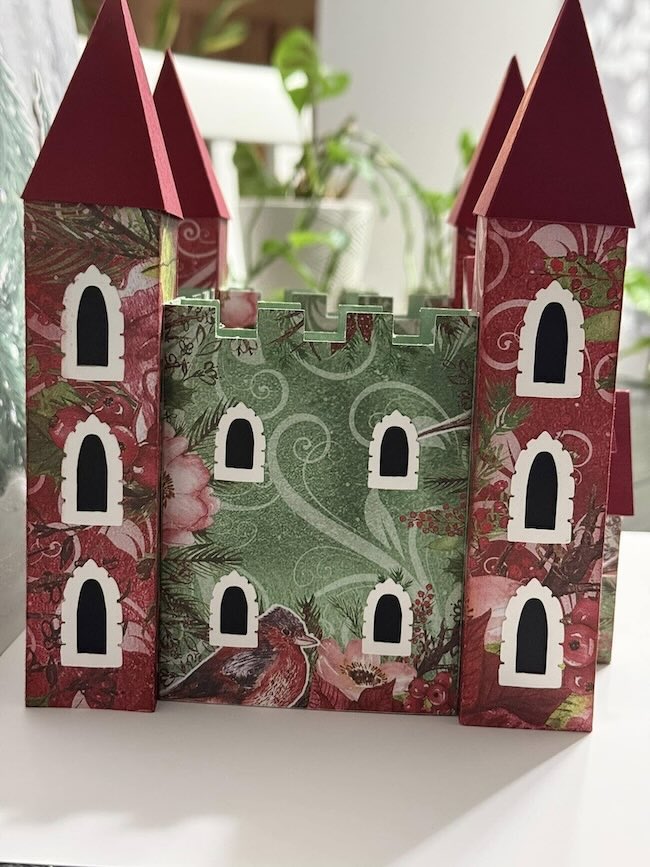
- Make the front facade of the castle with the central piece and tower on each side.
- Assemble the back of the castle with a central piece and a tower on each side. Then connect the front and back of the castle with rectangular middle piece.
- Make a cardboard base. Glue the castle to the base.
- Decorate the base as desired.
1. Download the Make a Castle pattern - Design No. 184
The simple castle pattern is design no. 184 in the Paper Glitter Glue library.
Just click the big orange CLICK HERE on that page and it will take you to the password page. Enter the password and the library will open up. Files are added chronologically so the most recent files are at the top of the list.
If you don't have the password, simply subscribe to my newsletter with the form below and you will get the password right away. Remember I will never send you any spam and you can unsubscribe at any time.
2. Choose the type of sides you want for your castle
Choose what kind of opening you want to your castle such as the drawbridge or the more formal door opening or both
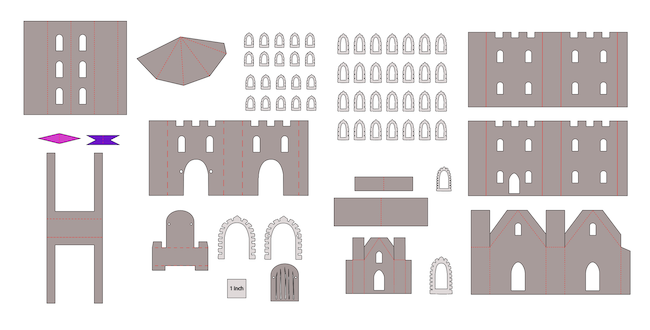
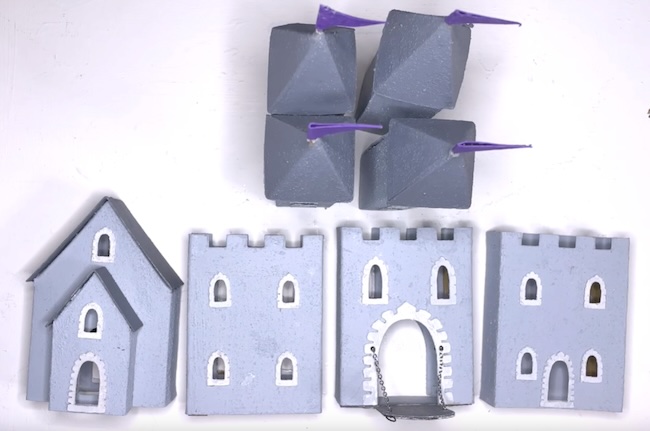
These are the 4 different sides you can choose from:
- Drawbridge
- Church-like entrance
- Plain side with door
- Plain side no door
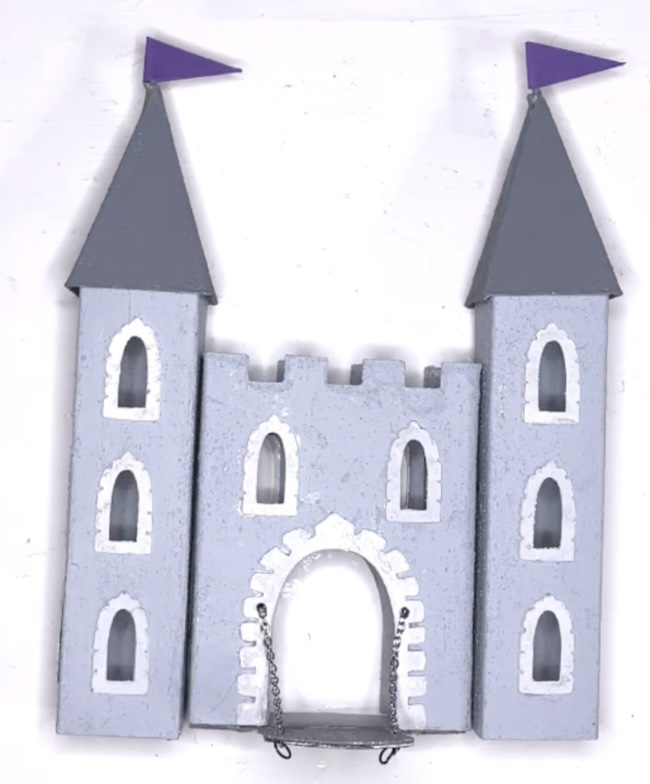
Here's the drawbridge version.
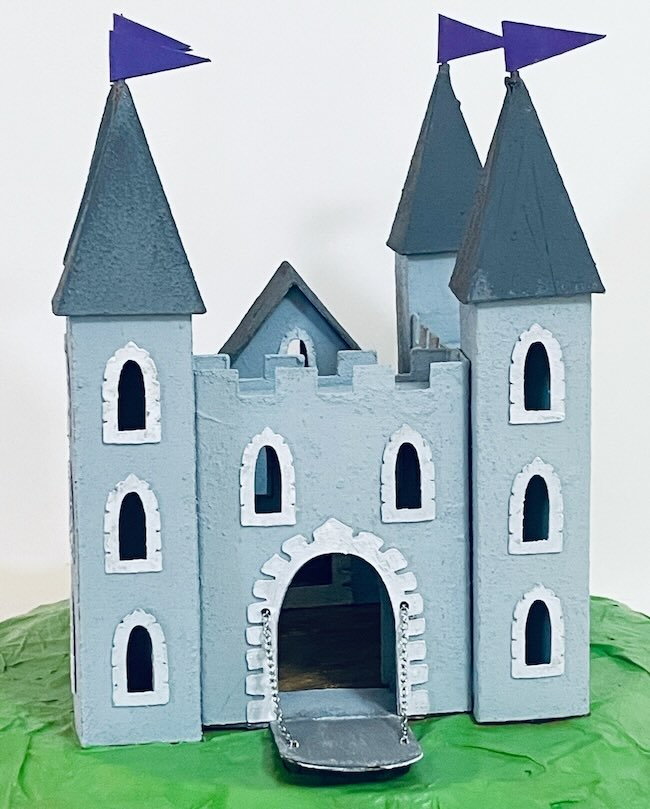
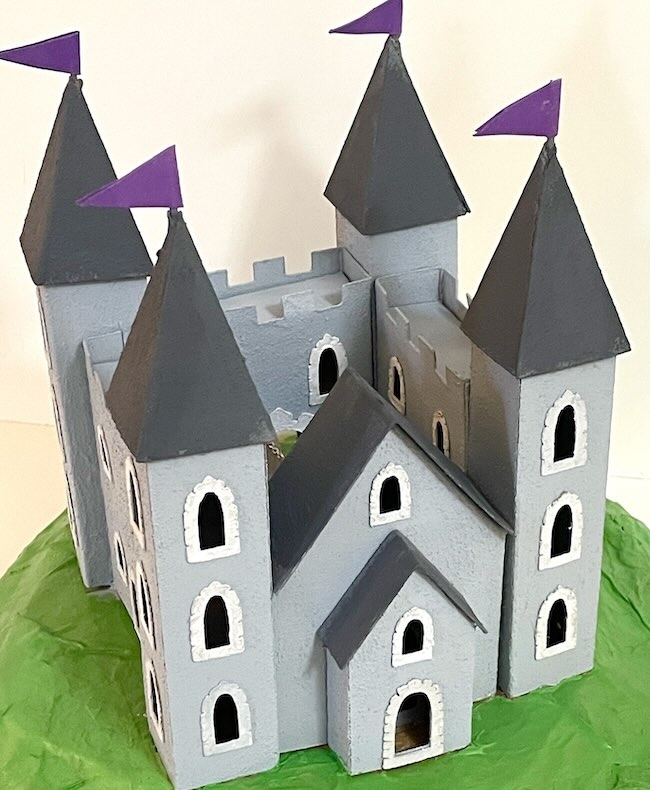
Here's what I call the church-like entrance.
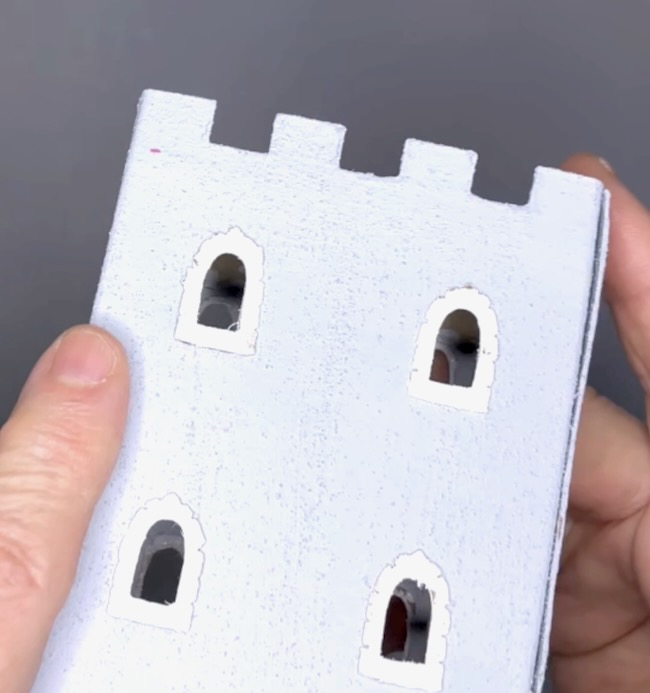
And here is one of the plain sides with a single small door in the middle. The final option just has 4 windows and no door.

3. Cut out the Castle pattern in either card stock or cardboard
I've made the castle out of both materials - card stock or cardboard. My favorite is using cardboard. Most of my photos are of the cardboard version which is my favorite material for little houses.
The photo below shows all the pieces for the castle. The red lines are score lines. Be sure to change them to score lines in your cutting machine software and attach them to the piece they are grouped with.
4. Decorate your Castle pieces - stencil or paint stone, glue on windows and any doors for your side pieces
Before you decorate your castle piece, be sure to fold along all the score lines. When you paint your castle, it can obscure the score lines. Also I find it easier to glue on windows and doors before I assemble the pieces.
For my cardboard version, I painted the surface with grey paint mixed with sand.

This castle side piece shows the sand texture.
5. Optional - glue on window backing, if desired, before assembling the castle.
I think the castle looks better without windows. Because a castle is basically for defense, it seems like the windows need to be open. But you may choose to add window backing.
6. Assemble the 4 rectangular middle sections for the castle.
To assemble the 4 rectangular middle sections, glue them together along the side glue tab.
The church-like version is made just like any of my little houses.
In addition, use the H-shaped pieces to provide the structure and make the walkway on top of the middle pieces - except for the church-like option because it already has a roof.

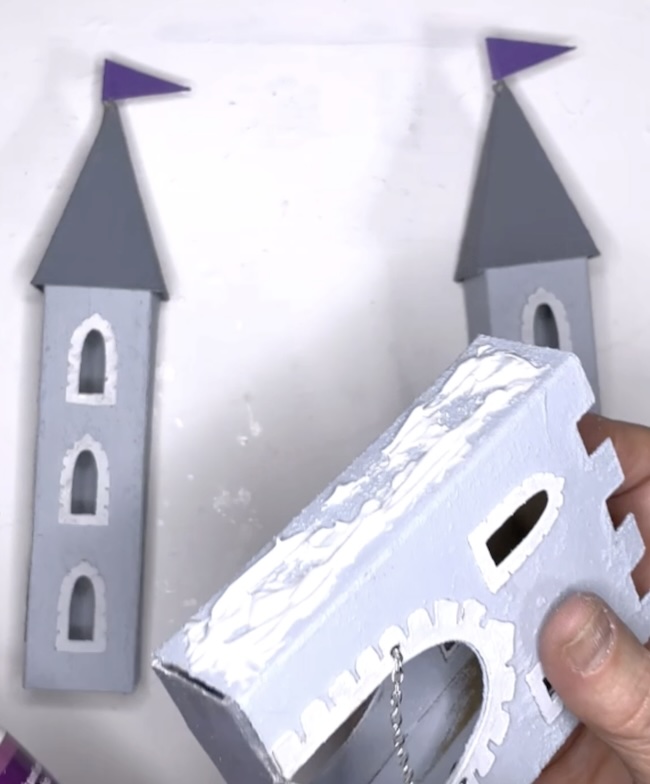
7. Make the 4 square towers with steeples.
Just like you glue the side pieces together, glue the towers together by applying glue to the side tab and adhering to make the tower.

Apply glue to the top of the tower to adhere the steeple.

Adhere the steeple to the top of the tower.

8. Make the front facade of the castle with the central piece and tower on each side.
Apply glue to the side of the middle piece and adhere the towers to each side.
Be sure to line up the two towers and the middle piece so they line up flat in the back.

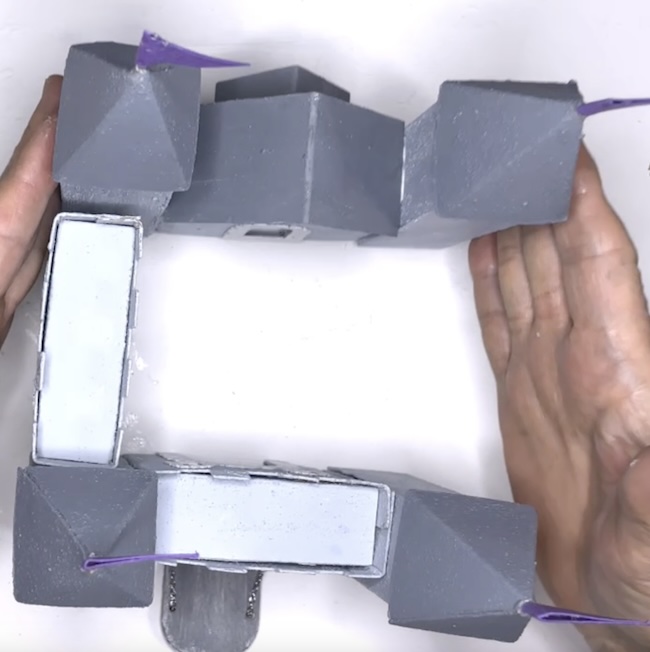
9. Assemble the back of the castle with a central piece and a tower on each side.
Do the same with the back of the castle, then connect the two pieces with another middle piece.
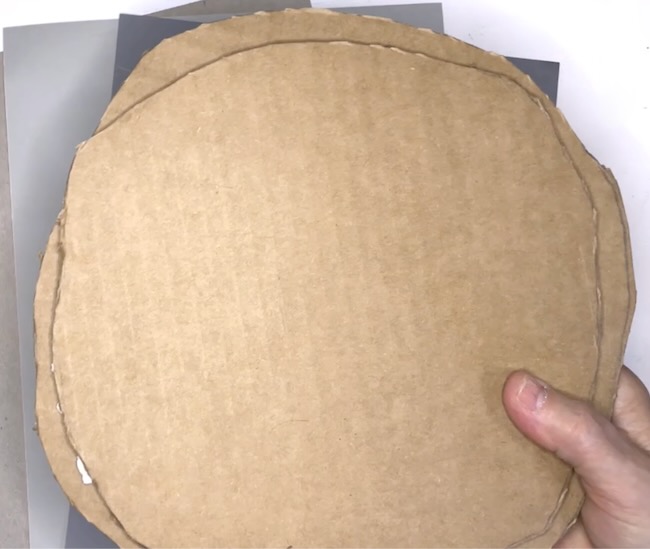
10. Make a base and glue the castle to the base
I used 2-3 layers of cardboard to make a base for the castle.

Examples of the Simple Castle
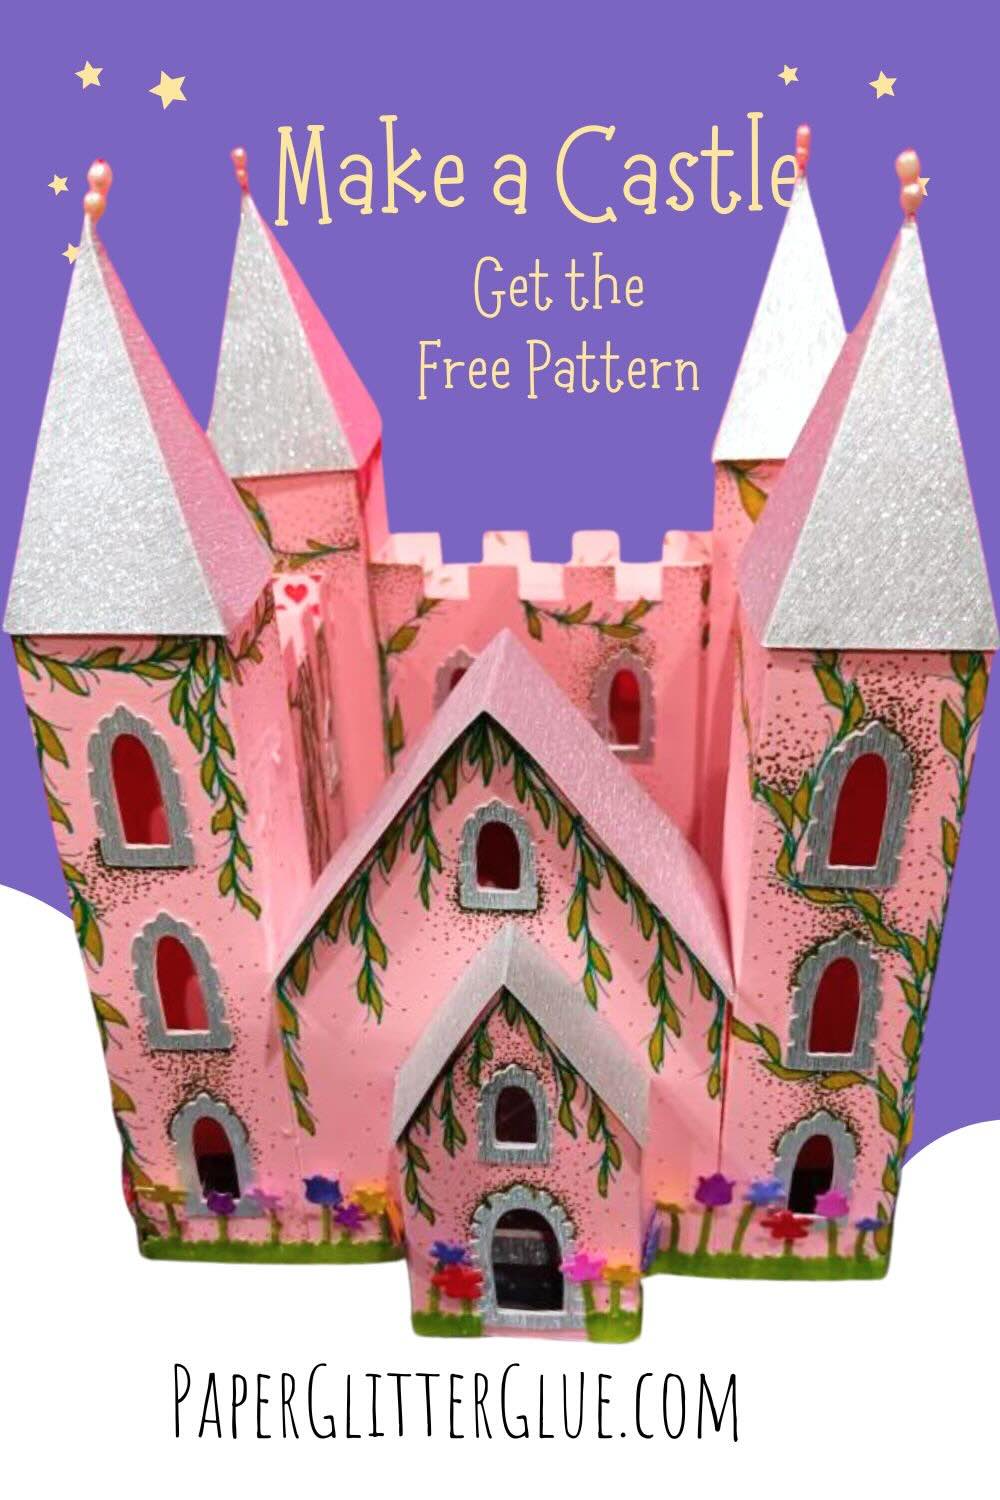
One of my favorite things is when someone takes my designs and elevates it. Irene's and Cheryl's versions of the Simple Castle are great examples of that. I am so impressed with their colorful versions.
Irene's niece painted the vines on each side of her castle. I think it's an incredible detail to add to the castle. Cheryl is so bold in her color choices.
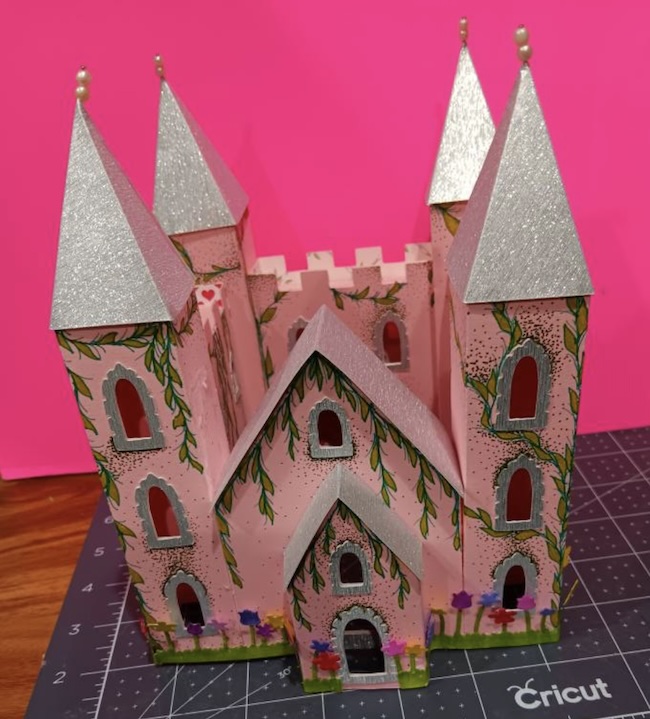
Don't you just love the painted vine details on this castle?

Cheryl's color choices are so bold. I love this Christmas castle.
Be sure to pin to your favorite Pinterest Board.
And then be sure to make the castle. I would love to see your version.
Leave a Reply