• Skip to primary navigation
  • Skip to main content
  • Skip to primary sidebar
  • Skip to footer
Paper Glitter Glue
  • Shop
  • Favorite Supplies
  • Tutorials
  • About
  • Contact Me
  • Free Library
menu icon
go to homepage
search icon
Homepage link
  • Shop
  • Favorite Supplies
  • Tutorials
  • About
  • Contact Me
  • Free Library
×
Home » Dollhouse » Make a Castle Dollhouse

Make a Castle Dollhouse

November 9, 2022 by Lucy 1 Comment

Be sure to Pin to your Favorite Pinterest Board!

7 shares
  • Share

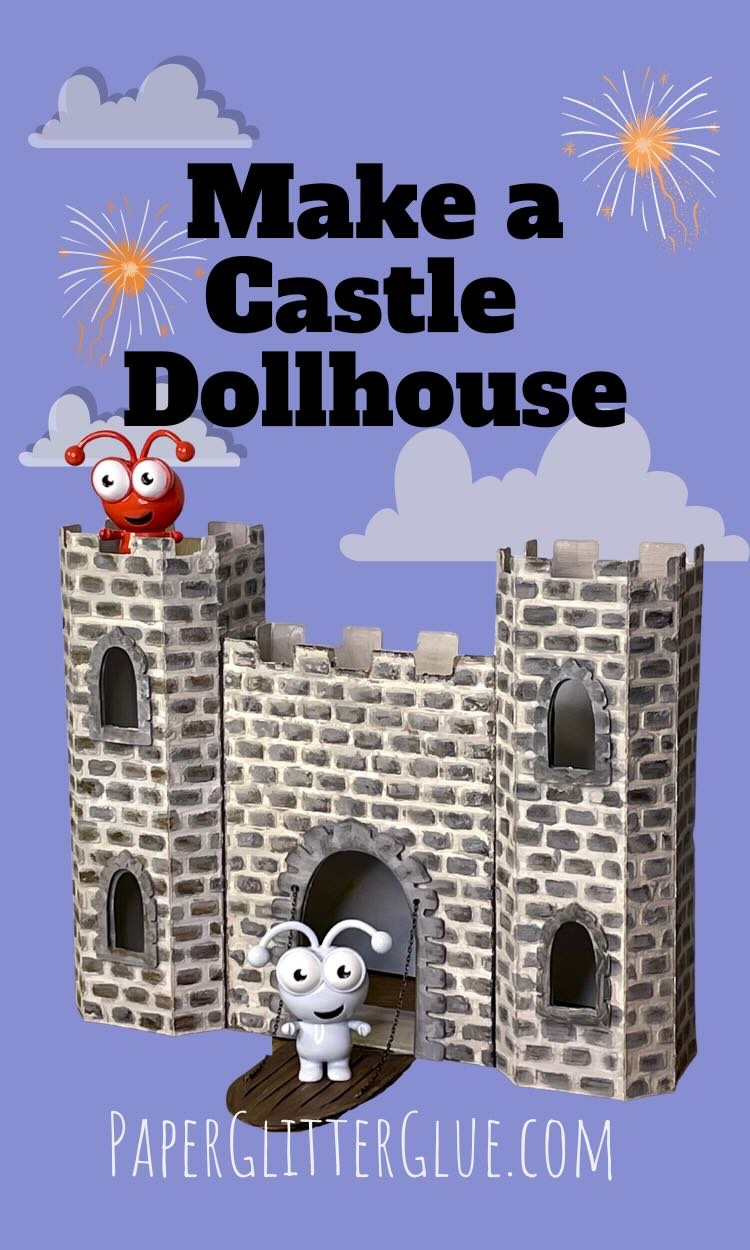
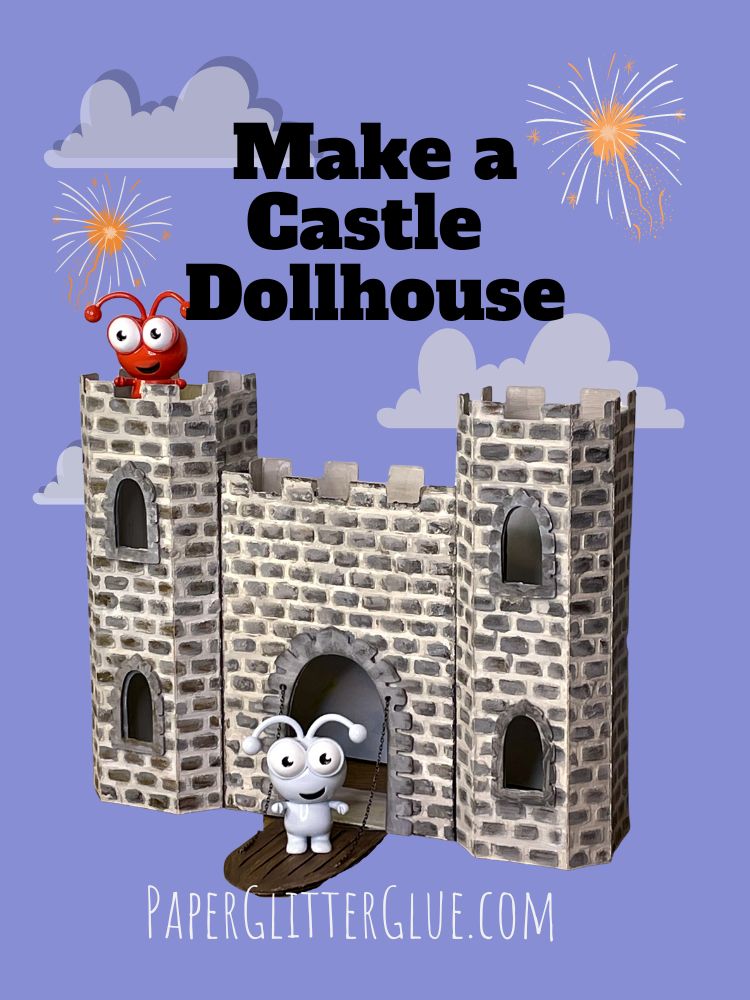
Create a charming miniature castle dollhouse using simple materials like cardboard or card stock, paint, and glue! This easy and fun DIY project is perfect for kids, sparking their imagination as they build and decorate their own mini fairy-tale fortress. Gather your supplies and get ready for a creative crafting adventure.

Subscribe to get the free pattern for the Castle Dollhouse

This post contains some affiliate links for your convenience. Click here to read my full disclosure policy.

Castle-shaped dollhouse with drawbridge down

Materials to Make the Castle Dollhouse

  • Cricut Maker or Cricut Explore Air or Cricut Joy Xtra or other cutting machine. You can cut it out by hand as well. Design No. 167
  • Standard Grip Mat
  • Cricut Scoring Wheel or Scoring Stylus (I prefer the scoring stylus)
  • 110# Card stock for the structure of the house
  • 22 pt cardboard (optional)
  • Scrapbook paper (optional)
  • Glue - I use Bearly Art Glue for the cardstock option
  • Aleene's Quick Dry Tacky Glue - if using cardboard
  • Acrylic Paint if painting cardboard
  • Painter's Tape
  • Scissors
Grey castle dollhouse with open drawbridge

Directions to Make the Castle Dollhouse

Upload the Castle pattern and cut out the design

1. Upload the Castle Dollhouse template (free pattern!) to your cutting machine software - Design No. 167
2. Ungroup the design and select the score lines and attach to the appropriate piece
3. Cut out the design in cardstock or cardboard

Stencil the Stone pattern if desired. Paint if using cardboard.

4. Stencil stone to the surface if you like.
5. Optional - Prime and paint the house if using cardboard for house structure

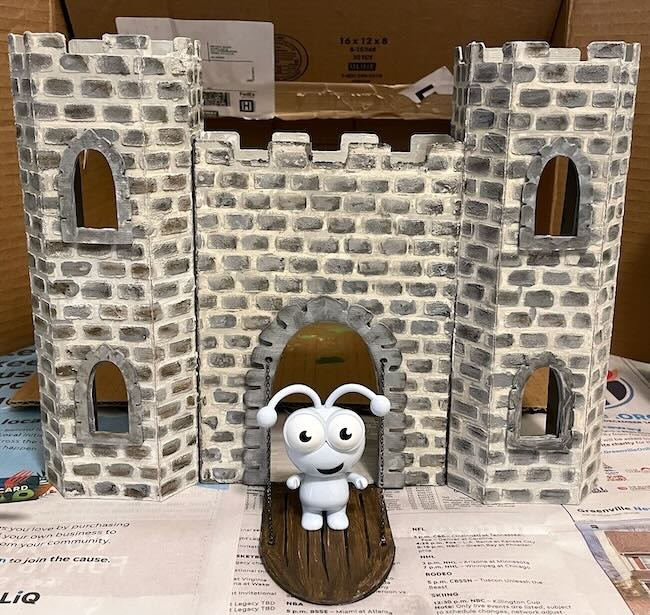
Assemble the Castle structure

6. Fold along score lines.
7. Glue on the castle windows before assembling the structural pieces.
8. Assemble the 3 layers of the drawbridge together.
9. Next, assemble the 3 main castle structure structures - 2 towers and the center drawbridge piece by inserting the back piece within the front piece and glue together.
10. Insert the floor piece at the bottom of each of the 3 pieces.
11. Insert the top floor to each of the 3 main pieces.
12. Glue the 3 pieces together with the shorter center drawbridge section in the middle.

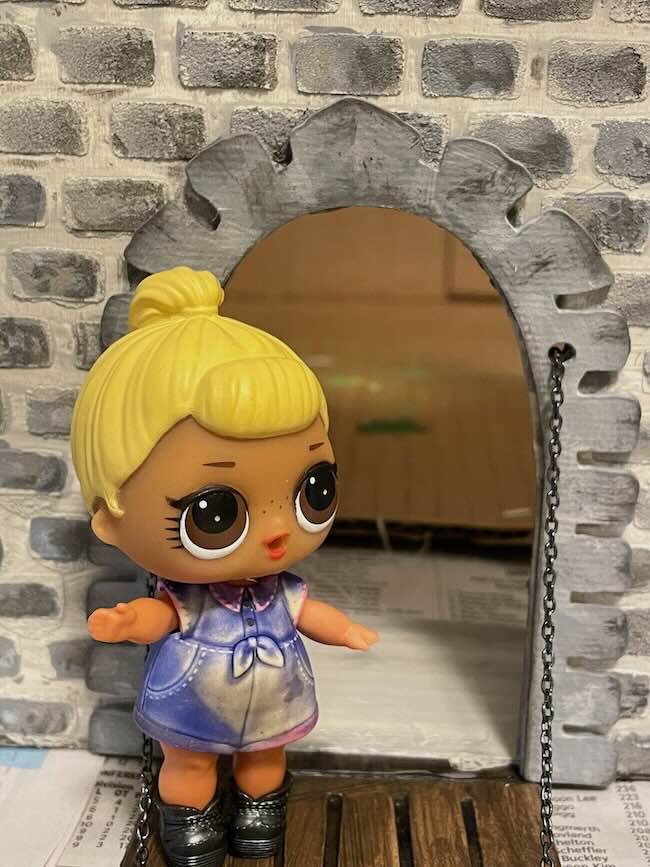
Assemble the Working Drawbridge, if desired

13. To assemble the drawbridge, glue the 3 layers together with the tab section in the middle.
14. Adhere the drawbridge to the castle, by gluing the bottom tab of the drawbridge door to the bottom on the center section of the castle. Line it up with the opening on the center section.
15. If you want to make a working drawbridge, thread a string or chain through outside circular cutout of the drawbridge. Then thread it through the circular cutout on the center pieces and back to the drawbridge.
16. Measure your string or chain to see how much you need to allow the drawbridge to fully open.
17. Cut the string or chain to length. Sometimes it helps to leave a little extra that you can trim later.
18. Secure the string or chain with jump rings or knots or glue.
19. I added a small brad to hold the chain when the drawbridge is closed.

Share your delightful creation.

Here's my YouTube video showing how to make the Castle Dollhouse.

Questions?

If you have any questions, I am always happy to help. Please email me - [email protected].


I hope your day is happy and creative.

Lucy

« Castle Pop-Up Card for the Card Makers Success Summit
Make a Cricut Cutie House »

Be sure to Pin to your Favorite Pinterest Board!

7 shares
  • Share

Reader Interactions

Comments

    Leave a Reply Cancel reply

    Your email address will not be published. Required fields are marked *

  1. Ann Joplin

    October 24, 2024 at 12:08 pm

    Lucy, I have used a laminated pouch for my stencils. It seem to work fine in my Silhouette Cameo. I run the pouch through the laminator first with nothing inside the pouch so that the whole pouch sticks together.

    Reply

Primary Sidebar

Lucy holding a small putz house

I'm Lucy - the paper architect behind the captivating tiny house designs at PaperGlitterGlue.com.

While I am often found covered in glue and cat hair and obsessing about the details of my projects, I love sharing my designs so anyone can craft seriously awesome paper crafts.

So look around and find something to MAKE.

You can read more about me here.

Want to make a beautiful Village Wreath?

You can do it step-by-step with my Alpine Village Wreath Workshop. Just let your creativity flow as create your own little village proudly displayed on a wreath. You'll create a heirloom that your family will treasure for years.

Wreath with alpine village houses and bottlebrush trees

And if you are a Halloween fan - you'll love my Halloween book! 13 Handcrafted Halloween Houses

This book contains 13 different Halloween designs with embellishments like crooked windows, fences, and shingles.

13 Handcrafted Halloween Houses book cover

What is a Putz House and How Do You Make One?

Halloween house putz house

Learn to make the best House Pop-Up Cards! with the Playful Pop-Up Houses book.

Cover for Playful Pop-Up Houses book

Footer

You are welcome to link to PaperGlitterGlue.com or use a single image with a brief description and a link back to any post. Do not republish any post. That's not allowed. But I do like it when you share my photos to Pinterest.

Amazon Associates Disclosure

Lucy Foxworth of PaperGlitterGlue.com is a participant in the Amazon Services LLC Associates Program, an affiliate advertising programs designed to provide a means for sites to earn advertising fees by advertising and linking to Amazon.com. So as an Amazon Associate I earn from qualifying purchases. Thank you.

Footer

↑ back to top

About

  • Privacy Policy
  • Disclaimer

Newsletter

  • Sign up with the form below for emails and updates.

Contact

  • Contact

As an Amazon Associate I earn from qualifying purchases.

Copyright © 2023 Paper Glitter Glue