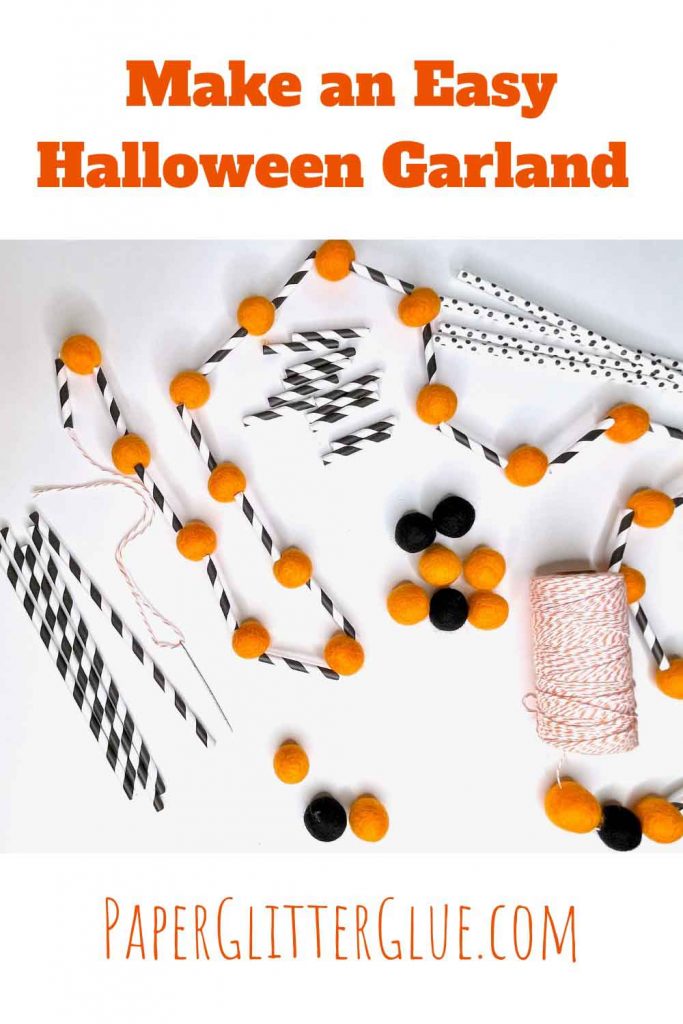
I need a simple Halloween garland for displaying some of my Halloween crafts. One thing I love to use are these little felt balls for my crafts. But the only thing is that they don't exactly work for making little houses which is what I make the most. So I have to find different ways to use them. Fortunately, the little felt balls are perfect for this easy Halloween Felt Ball Garland.
And since this is such an easy craft, it's a good one for kids to do - much like stringing cranberries and popcorn for a Christmas garland.
This is a quick craft. Really, you can make a garland in about 10 minutes.
This post contains some affiliate links for your convenience. Click here to read my full disclosure policy.
Table of Contents
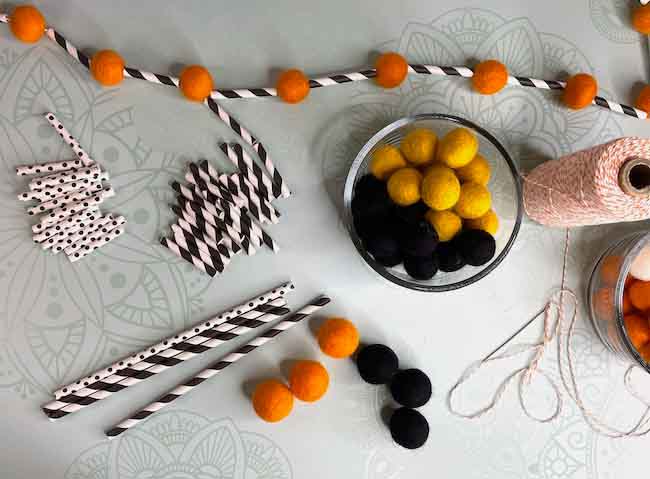
Here's what you need to make the Halloween Felt Ball Garland:
- 2 cm Felt balls, but you could also use pom poms or wooden beads
- Baker's Twine or Yarn
- Paper Straws in cool colors
- Longer Needle (mine is 2.75 inches long - you don't need it quite that long)
- Optional - pom pom maker - this is the best brand
Directions to Make the Halloween Felt Ball Garland
- Cut the paper straws into about 2 inch pieces
- Thread the needle with baker's twine
- Decide on what colors to repeat on the garland
- Insert the needle in the felt ball and pull through
- Alternate paper straw segments with felt balls
- Repeat until you get the length you like
- Tie a knot at both ends
For more detailed directions, see below. And if you learn better by watching a video - I've made a YouTube video to show you how to make this Halloween project. Subscribe to my channel so you will know when I post a new project. There are always new projects in the works.
Subscribe to the Paper Glitter Glue Newsletter
And if you want to subscribe to my newsletter because I have so many cool crafts that you need to know about, subscribe with the form below.
You'll also get the password to my Paper Glitter Glue library where I have a bunch of great patterns for a variety of crafts.
First, cut the paper straws into 2 inch pieces
All of the paper straws I found are 7.75 inches long or about 19 cm. So I just cut them into roughly 2 inch pieces. They aren't perfectly even, but it doesn't matter. It's not like we're constructing a building.
And just use regular scissors. While the paper straws get squashed a bit on one end during the cutting, it doesn't matter. You can smooth it out when you thread the needle through.
To make a 4 foot garland, you only need about 4-5 straws depending on how many felt balls you add.
Next, thread the needle with baker's twine
But first a word about the needle. I've used darning needles in the past with yarn, but it is much harder to get the needle through the felt balls because darning needles are a little blunt on the end.
You need a needle that is longer than your straw piece. That's why for this project I used a 2.75 inch long, relatively narrow needle similar to these needles and Baker's Twine, it goes through the felt ball much easier.
These needles are similar but with a larger eye that are so easy to thread.
Why Baker's Twine? For this project, I like the strength and the colors of Baker's Twine. It's fun and easy to use. And you can use it for all sorts of other crafts, too.
Usually I don't cut the thread until I am finished so I can adjust the length to fit my pattern.
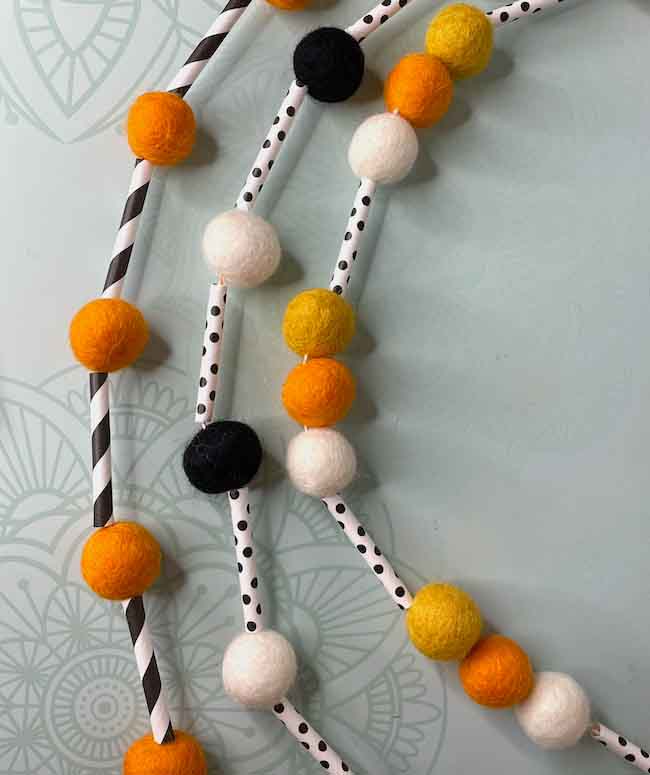
Decide on the colors and pattern for your Halloween Felt Ball Garland
Simply choose a simple repeating pattern that is easy to remember.
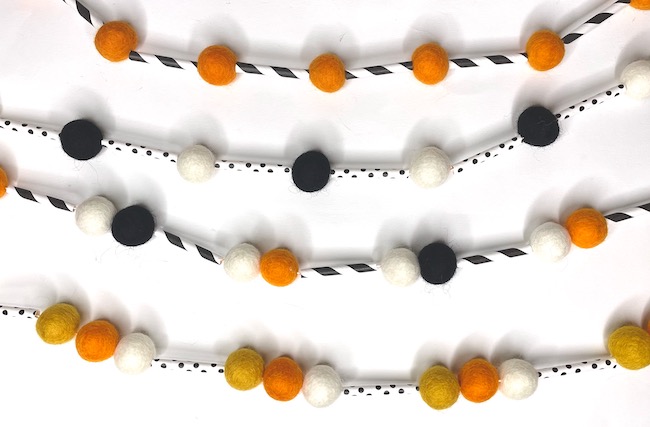
These are the patterns I've done. Or you could even do random. That works too.
Insert the needle through a felt ball
Since the felt ball doesn't slide like the straw pieces do, start with a felt ball to function as the end of your garland. Often I put several balls on the end so I can find the end easily when the garlands are stored.
Some felt balls are denser than others and a little harder to push the needle through. When it's like that, I just push the back of the needle against a firm surface and pull. It's not too difficult with a relatively slender needle and baker's twine as the thread. Yarn and a thicker needle require more force.
Alternate paper straws with felt balls
Next, thread a paper straw section, followed by a felt ball or two or three. You know, use whatever pattern you have chosen.
Repeat until you get the length you like
Continue until you get the Halloween garland to the length you like. I think 4 feet is a pretty good length. When you make a really long garland, it tends to get tangled in storage.
Always finish with a felt ball (or two or three). As I said in the beginning, I like to have more felt balls at the end so I can always find out where the garland ends. It's kind of like these balls frame the garland.
Tie a knot at each end
To finish your Halloween Felt Ball Garland, just tie a knot at each end so your decorations won't slide off.
And that is it. Truly a very simple way to make a garland that adds lots of fun to your Halloween decor. Soon I'll show you some decorations you can hang from the garland. Thank you for stopping by today.
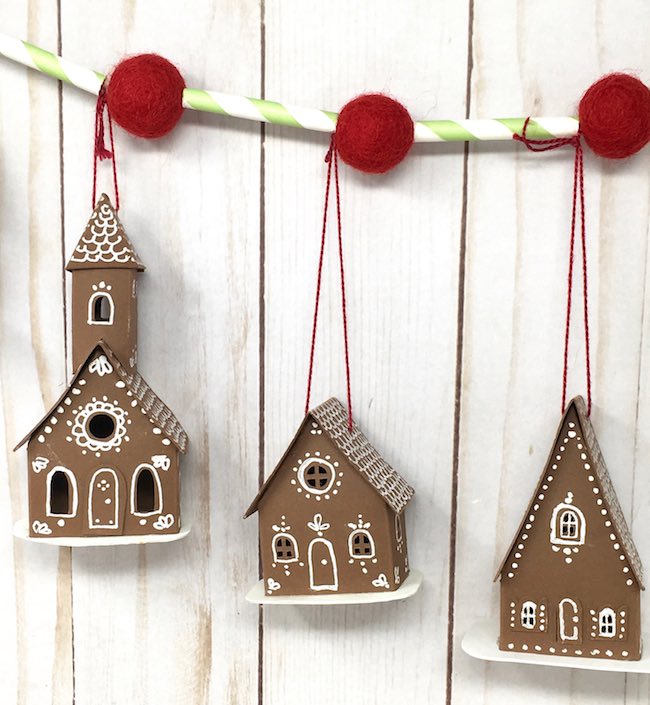
Here's how I used a Christmas garland to display some Christmas tiny houses. I plan on doing the same thing with my Halloween garlands.
Lucy
P.S. Remember to pin this to your favorite Pinterest Board so you remember where you found this craft.
Leave a Reply