Really, ice cream cone earrings?
Yes, ice cream cone earrings are a fast, easy craft you can make with cardboard and card stock. What a fun summertime gift!
One of my friends, Amy, designed these adorable ice cream cone earrings that you can make on your Cricut. I knew I had to make them as well.
But my friend made them using materials like vinyl and faux leather that I don't have. My craft stash consists almost exclusively of cardboard and card stock rather than vinyl. So that means I had to experiment to make these earrings with the supplies I have on hand.
Fortunately, I am happy to report that my experiment worked beautifully. Cardboard and card stock make great earrings. They may not last as long as the ones that Amy made, but they sure are fun paper craft for summer.
You can get the free pattern for these earrings on Amy Romeu's blog here. Below I've detailed how I made them with card stock and cardboard.
This post contains some affiliate links for your convenience. Click here to read my full disclosure policy.
Tools and Materials to make the Ice Cream Cone Earrings
- Cardboard
- Card stock - light brown, dark brown, ice cream color of your choice
- Colorful scrapbook paper
- Ice cream cone earring template
- A way to cut the earrings - I used my Cricut to do that
- Glue - this is a nice glue for the earrings
- Earring hooks
- 6 mm jump rings
- Small jewelry pliers
- 1/16 paper punch
- Glossy Accents
Instructions to make the Ice Cream Cone Earrings
- Download the pattern for the ice cream cone earrings
- Cut out the earrings in cardboard and card stock
- Glue light brown cone template to cardboard
- Glue darker cross hatch cone detail to template
- Add ice cream scoop to cone
- Punch the hole to hang the earrings
- Place the jump ring and earring hooks
- Glossy Accents for shine and durability (optional)
Now let's get started on how to make these earrings.
Download the pattern for the Ice Cream Earrings
Just go to my friend's website, AmyRomeu.com, to get the pattern. She has detailed instructions on how to download the pattern.
Cut out the earrings in cardboard and card stock
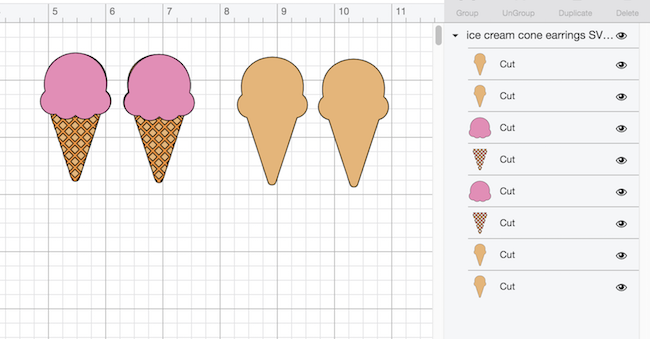
Here's how the earring pattern looks in Cricut's Design Space.
Ok, my friend made these with vinyl and faux leather, but it's easier for me to make them with card stock and cardboard since these are my favorite materials.
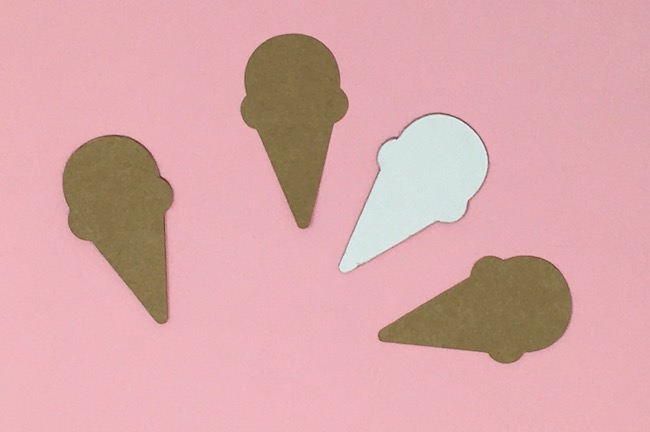
Here are the pieces you need to cut out:
- 2 base layers of the entire cone shape in cardboard
- Light brown card stock copies of the entire cone shape - 4 pieces
- Ice cream cone lattice pieces in darker brown - 4 pieces
- Ice cream scoops in the ice cream color of your choice - 4 pieces
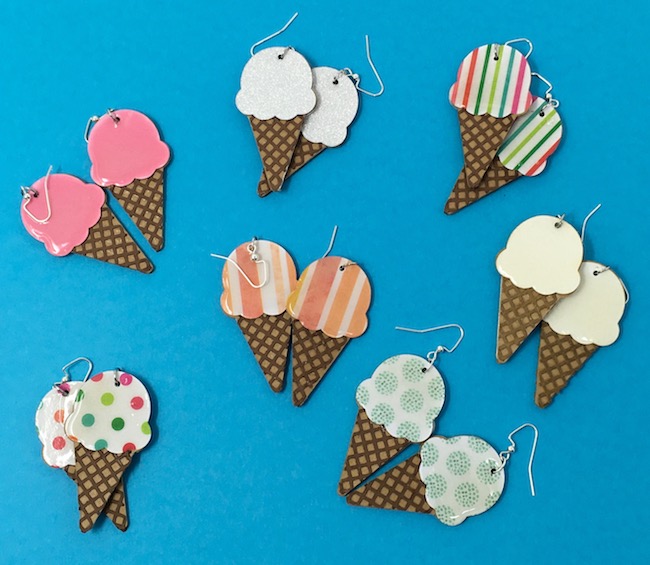
And this photo shows all the pieces you need to make one set of earrings:

Glue light brown cone template to cardboard
Next, glue the light brown card stock in the shape of the ice cream cone to both sides of cardboard backing piece.
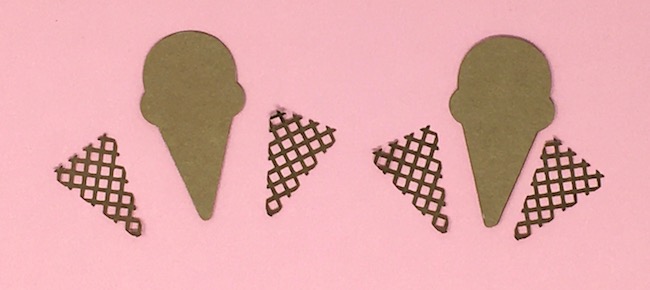
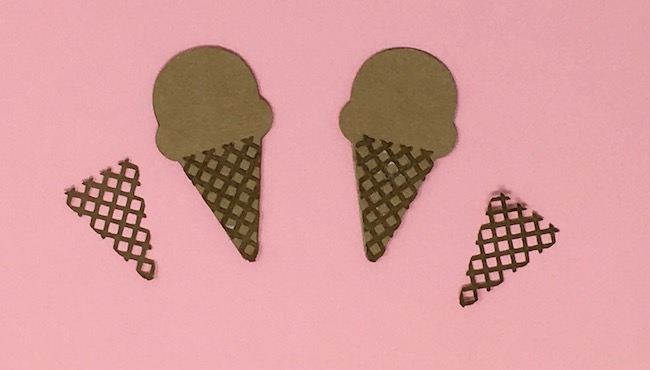
Glue darker cross hatch cone detail to template
After you finish the base ice cream cone, glue the lattice piece to each side.
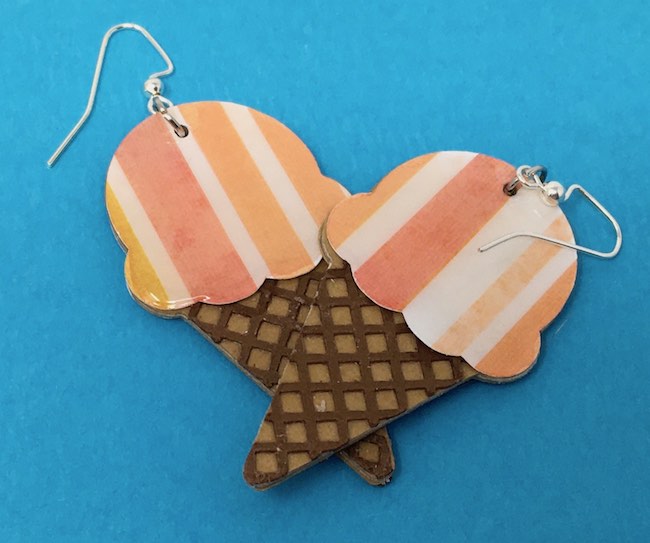
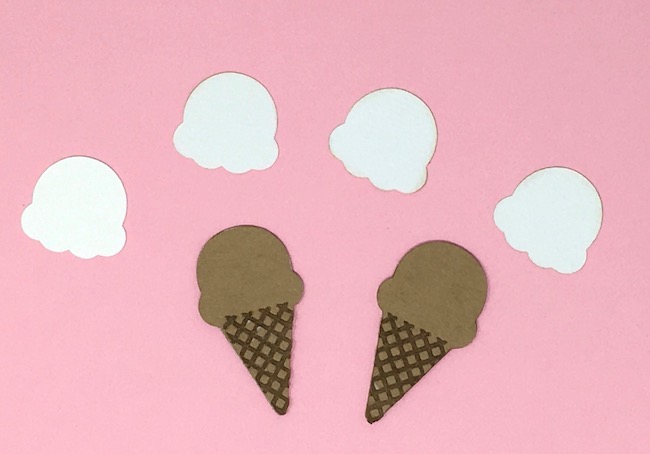
Add ice cream card stock to cone
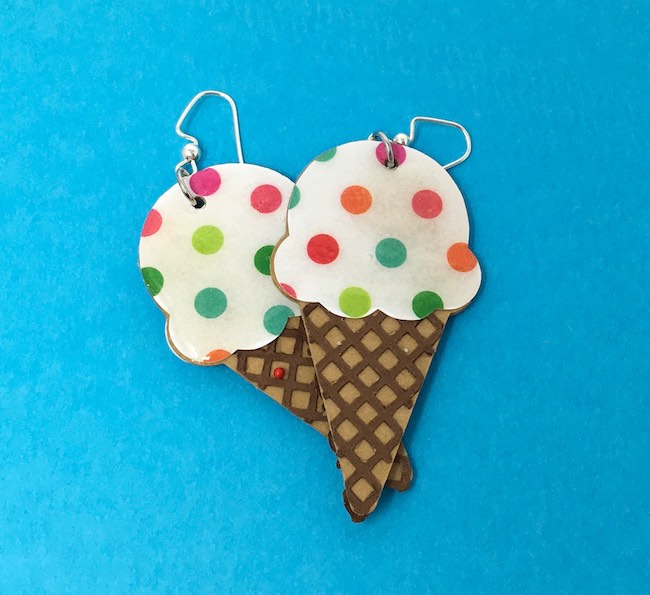
To complete the earrings, top the cone with a scoop of ice cream. The curved bottom of the cone covers the upper portion of the lattice.
Next punch a hole in the earring near the top
For this step use a 1/16th hole punch. Now punch through the layers of cardboard, card stock, or scrapbook paper.
Add the jump rings and earring hooks
Here's an important tip for opening jump rings to fit in the punched hole on the ice cream cone. First you need 2 needle-nosed pliers to open the jump rings. It is important to open them by twisting, not by bending the jump ring open. That way there is not a pivot point that weakens the metal. Amy shows you how to do it on tutorial and video
Amy recommends that you twist the bottom part of the perpendicular so the earrings hang correctly. My earring hooks kept breaking so I just skipped that step. And the earrings still look good when I wear them.
After that, thread the ring through the punched hole, and put the earring hook on the jump ring. Now close the jump ring by twisting it so the ends meet.
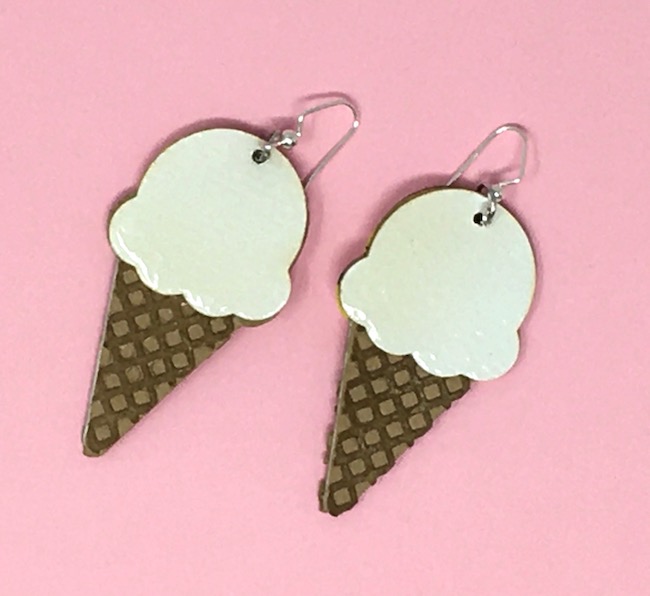
Finally, use Glossy Accents for shine and durability (optional)
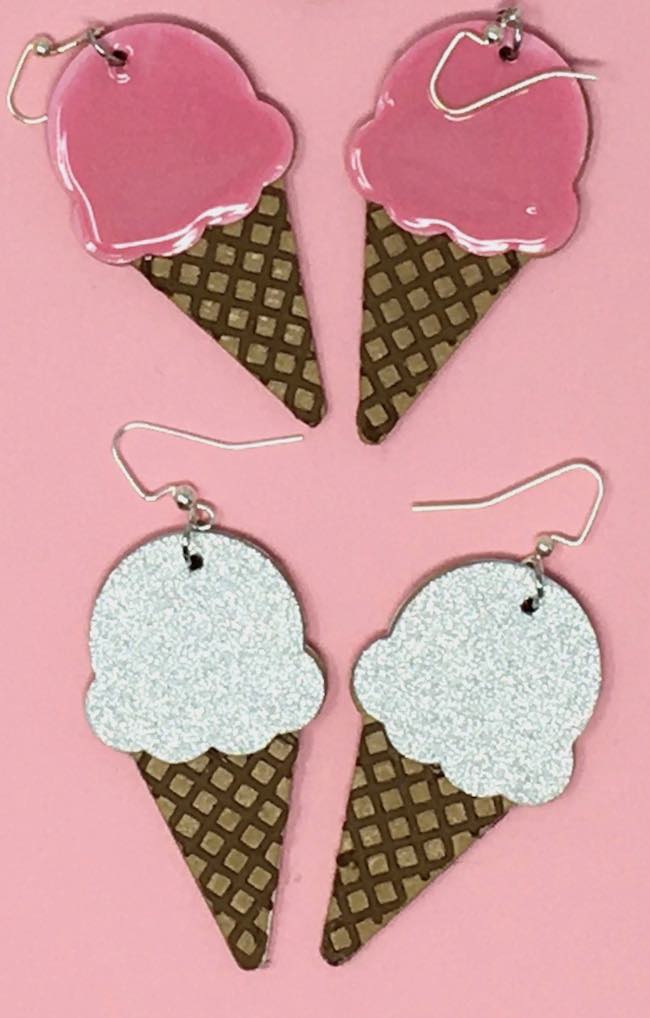
And for a shiny detail, coat the ice cream with glossy accents or Mod Podge. It adds durability and shine. But this is an optional step if you don't want the shine.
Or another option is to use glitter paper for the ice scream scoop portion. What do you think?
So that's my easy summer craft for this week. I hope you find some inspiration.
As always, let me know if you have any questions. You can email me at [email protected]. Remember to go to Amy Romeu's blog to get the patterns for these earrings.
Gretchen
These are adorable!
Lucy
Thank you, Gretchen. Be sure to check out all of Amy's designs. Many of them can be made in cardboard and cardstock.
Lucy