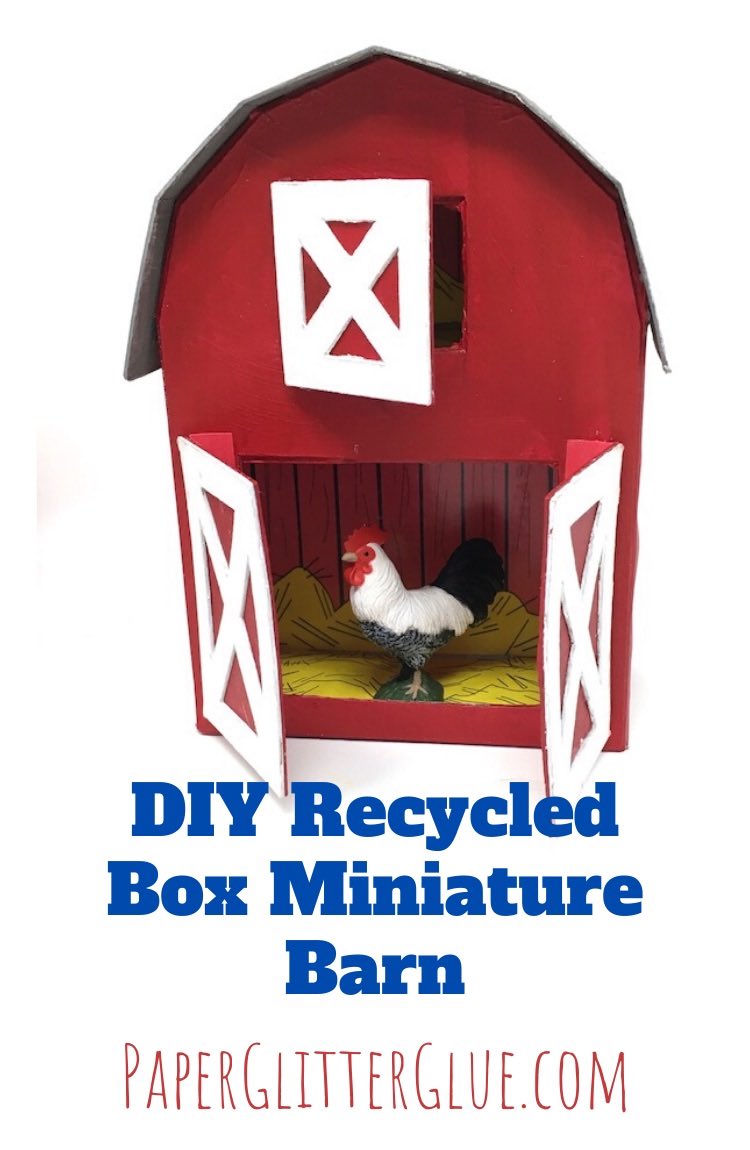
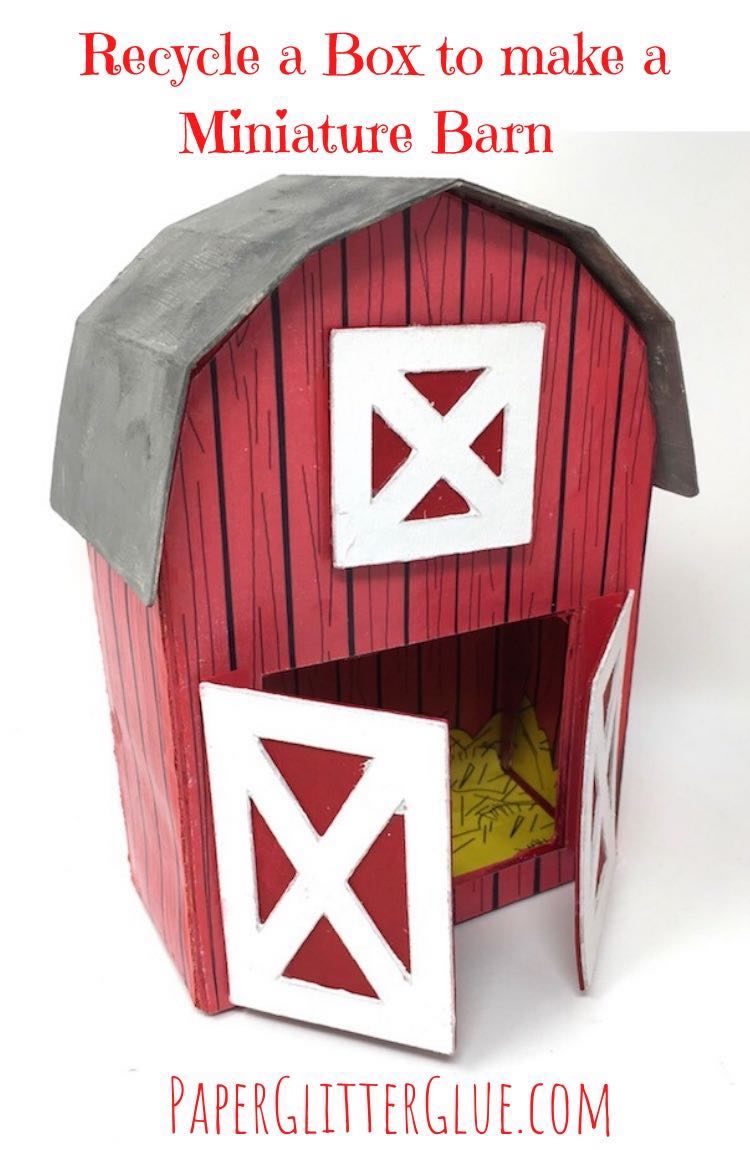
Learn how to make a Miniature Barn for Kids with an Upcycled Pasta Box. It's a perfect project for crafting with kids.
Yes, another upcycled project you can make with a Pasta Box - how to make a Miniature Barn. It's a great craft to actually make with the kids. The pattern includes a free template for the shape of barn, barn doors, and printable files for the inside barn, straw for the barn floor and loft, and outside barn wood siding.
This post contains some affiliate links for your convenience. That means if you make a purchase after clicking an affiliate link, I will earn a small commission but it won’t cost you a penny more. Click here to read my full disclosure policy.
Materials to Make the Miniature Barn from Recycled Pasta Boxes
- Recycled Pasta Box
- Cardboard
- Card stock
- PVA Glue
- Mod Podge
- Printer
- Gesso
- Paint - red acrylic paint
- Craft knife or
- Cricut electronic cutting machine
Instructions to make the Miniature Barn from Recycled Boxes
- Copy the pattern for the miniature barn - Design no. 86
- Cut out the cardboard templates for the cardboard barn
- Print the barn siding and barn floor
- Cut out the barn shape for the inside siding
- Trace the barn outline on the opened pasta box
- Cut out the barn shape from the recycled box
- Glue the cardboard templates to the barn
- Prime and paint the cardboard barn
- Glue the barn siding to inside back of the barn
- Add the barn doors to the front of the barn
- Glue the barn together
- Adhere the roof to the miniature barn
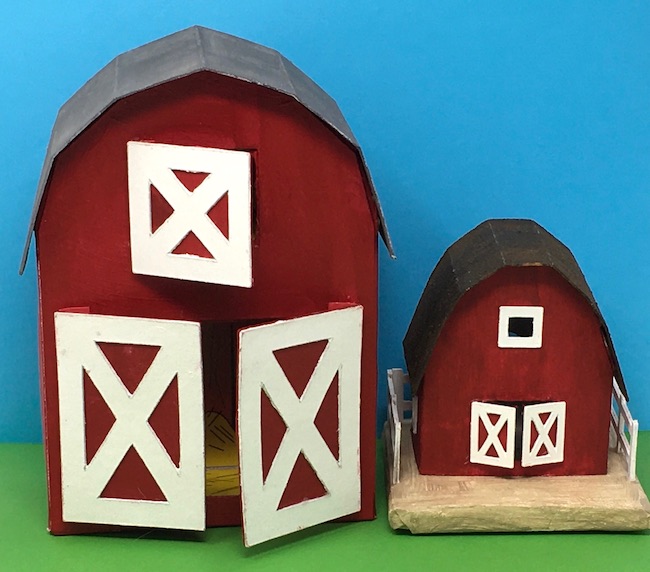
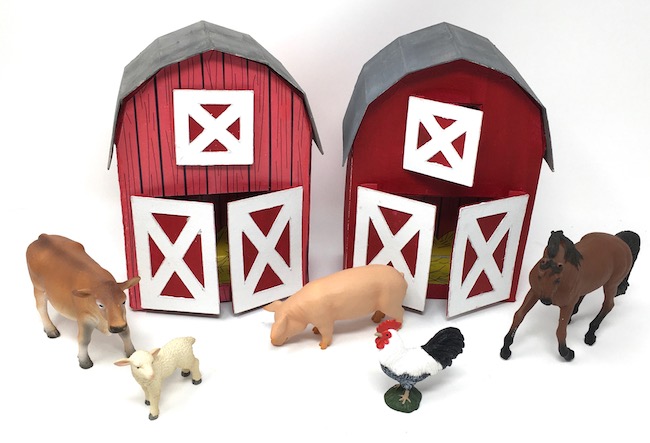
The larger barn is made from a recycled pasta box. The little barn is from my book - Create 12 Simply Super Miniature Houses.
Copy and cut out the pattern for the miniature barn
First, download the free barn pattern from the Paper Glitter Glue library. It's design no. 86 in the Paper Glitter Glue library.
To get access to the password protected library, just type in the password in the space provided. If you do not have the password, subscribe to my newsletter with the form at the bottom of this page and you will get the password right away.
Next, copy the pattern to make the miniature barn.
Here's a list of pieces to make the barn from a recycled pasta box:
- Template for the front and back of the barn
- 3 doors - 2 doors for the main barn, and one small door for the barn loft
- Roof piece
- Barn loft
- Printable patterns for the inside barn siding, straw floor for the barn, optional file for the outside barn siding
Cut the cardboard template for the barn. This pattern is easy to cut out by hand, but I used my Cricut to cut things out because it is even easier.
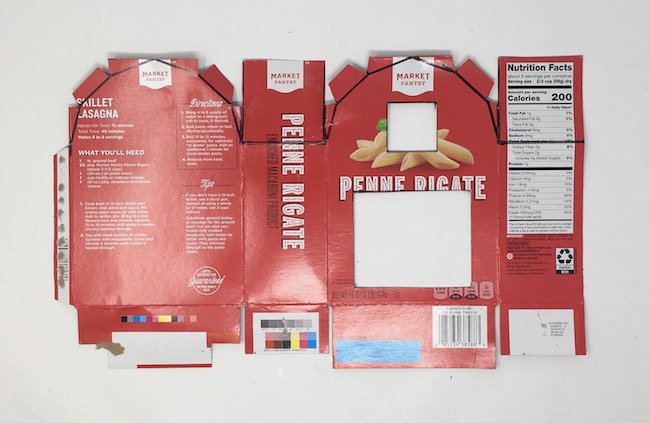
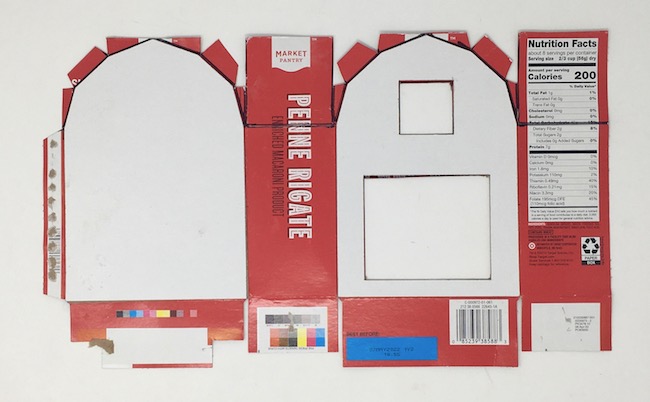
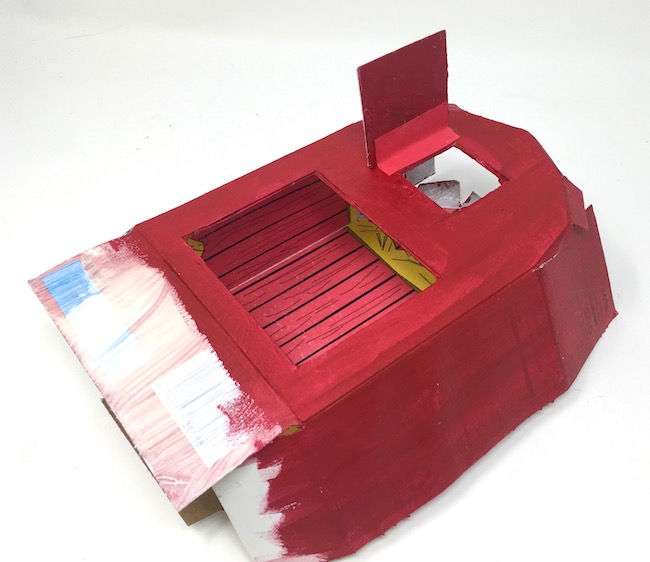
Open up the pasta box by gently separating the tabs that hold the box together. If the tab tears, you can make a new one with a cardboard strip.
Finally, trace the cardboard barn pattern onto the pasta box.
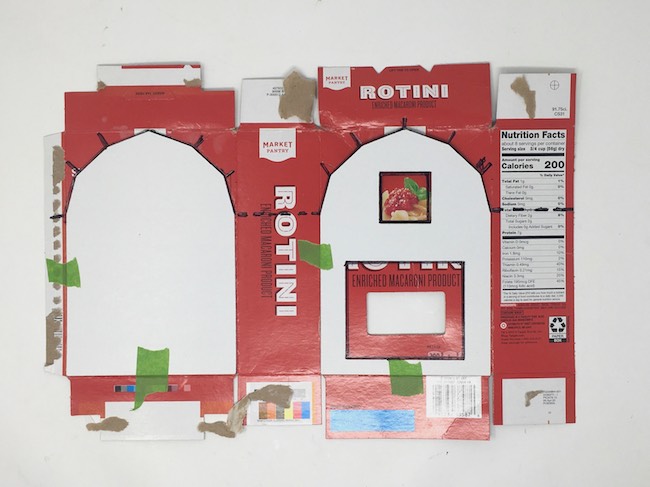
Here is the recycled box after cutting out the barn shape.
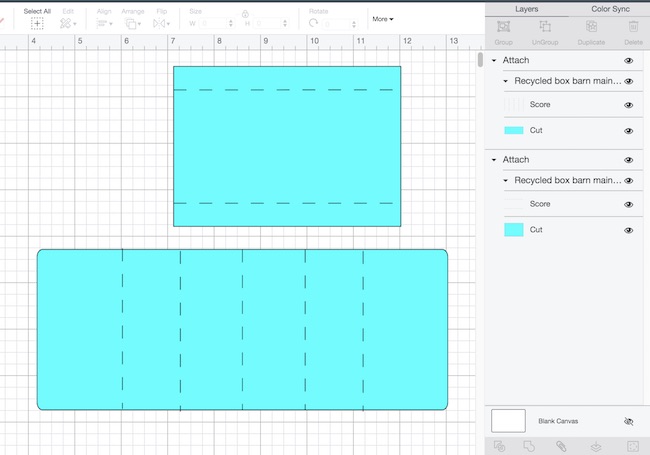
Here's how the pattern looks in Cricut's Design Space. First is the outline of the barn - front, back, and sides. 
Next, see how the loft floor piece and the roof piece look in Cricut's Design Space. Both of these pieces have lines to change from cut to score and then attach.
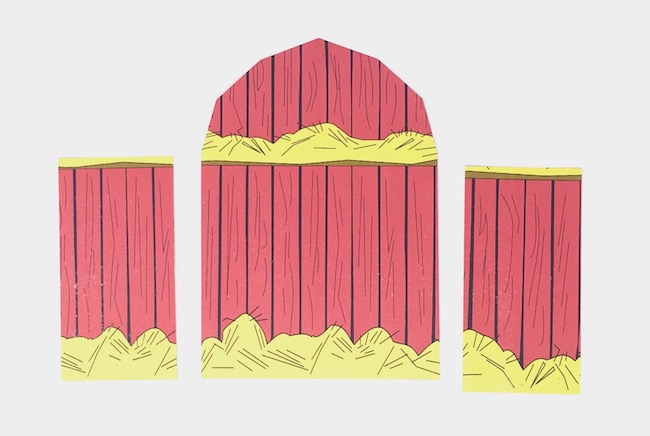
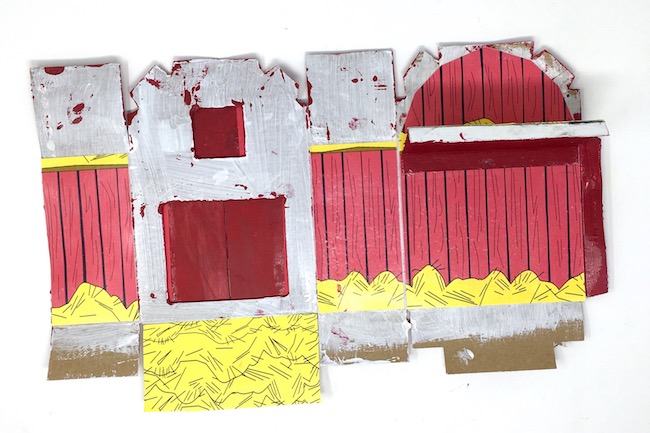
Print the barn siding and barn floor
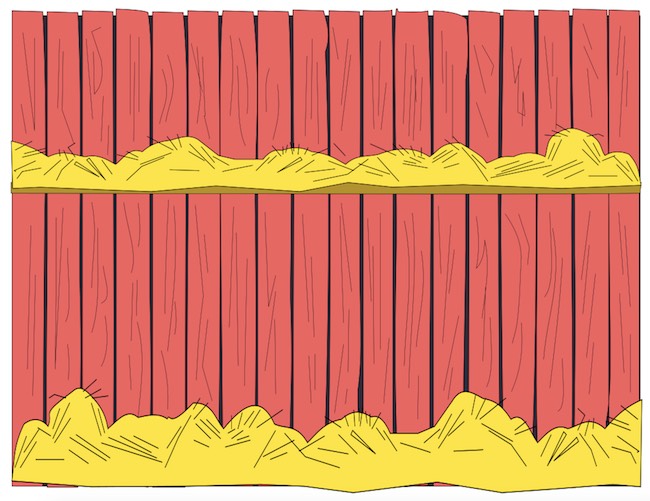
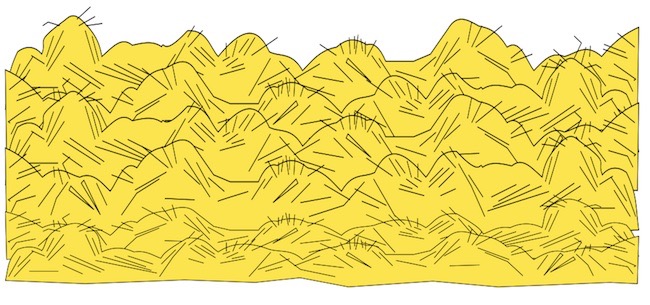
After you have the shape of the barn cut out, print the inside barn walls and straw for the barn floor.
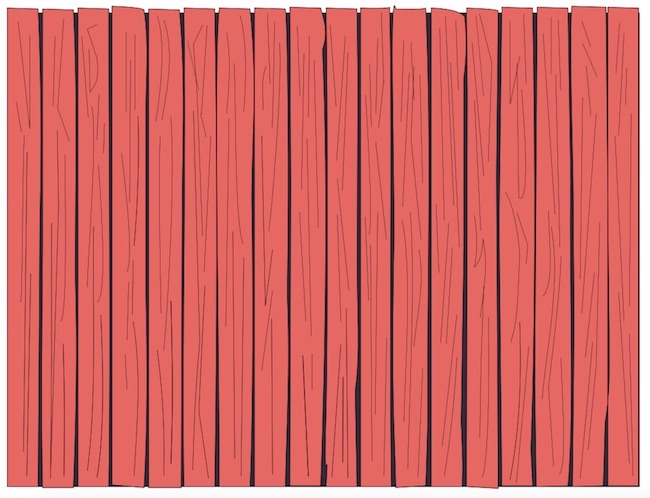
 And here is the optional printed siding for the outside of the barn. You can either paint the outside of the barn or glue this printed paper to the outside of the barn.
 Next, cut out the barn shape for the siding inside
 Next, cut out the barn shape for the siding inside
Once again, I used my Cricut to cut out the siding, but you can cut it out easily by hand.
First I printed the inside siding which has straw for the barn floor and the loft. Then I ran that through my Cricut. Below you can see the cut out pieces.
Glue the cardboard templates to the barn
In order to make the barn more sturdy (pasta boxes are pretty flimsy), glue the cardboard template to the pasta box.

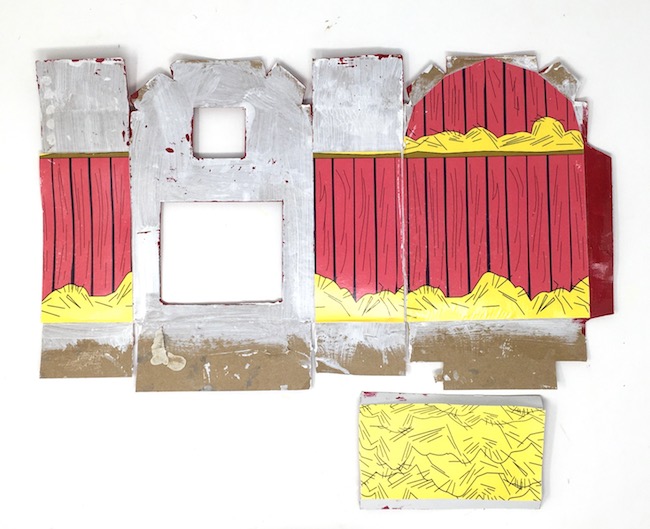
Prime and paint the cardboard barn
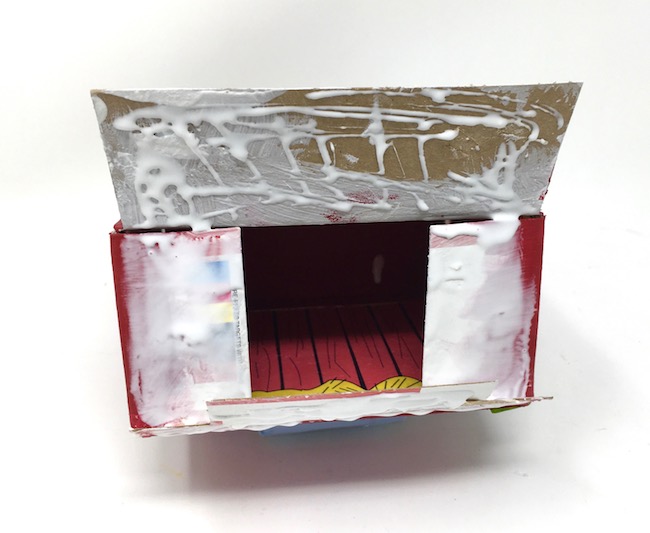
If you are going to paint the outside of the barn, prime the outside of the barn first. Next, paint the barn with a deep red acrylic paint. If you want to use the printed red barn siding, you can glue that on now. Even with the printed barn siding, I still paint the edges of the box red so when the box is folded the edges are a deep red color.
Glue the barn siding to inside back of the barn
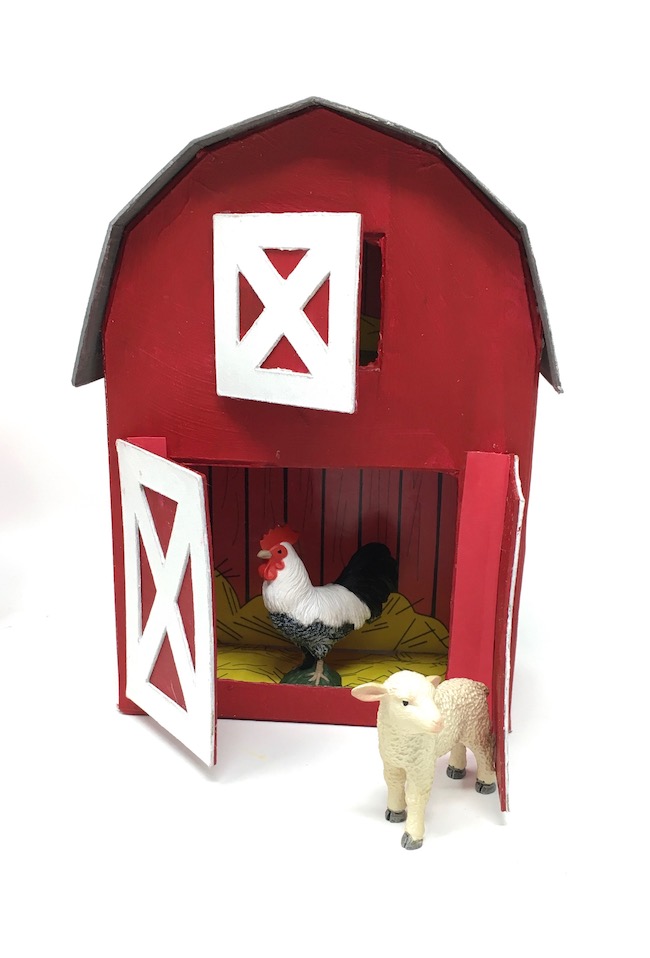
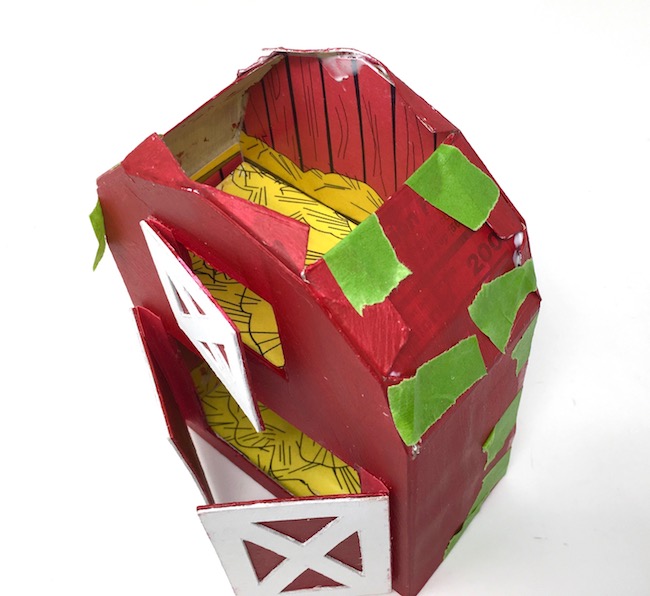
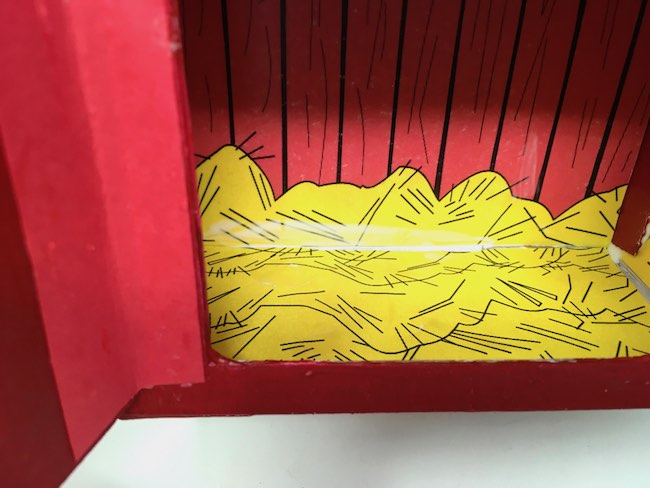
After painting the barn or gluing the printed barn siding on the outside of the barn, then glue the barn siding the the straw on the inside of the barn as shown below.
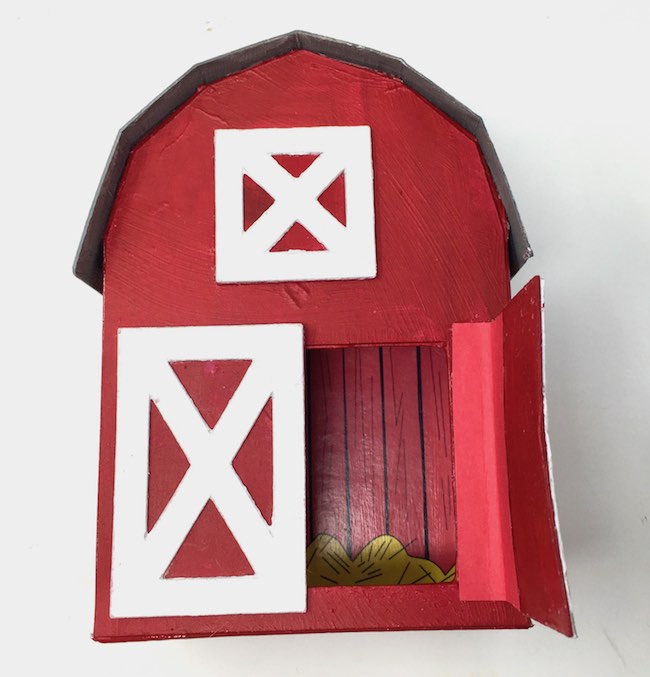
Add the barn doors to the front of the barn
Cut a strip of red card stock about 1 inch wide x 2.75 inch long. Score it in the middle of the card stock. Glue the card stock strip to the back of the door. Let dry. When the card stock is firmly adhered to the door, then center the doors on the front of the barn. Now apply glue to the card stock strip and adhere to the barn. Let dry.
And here is how the door hinge looks on the bottom doors.
Glue the barn together
First, glue the loft in place before you glue the side of the barn.
Once barn doors are affixed to the barn, apply glue to the tab on the side and the front of the loft. Usually I reinforce the glue tab with some painter's tab to hold it while the glue dries.
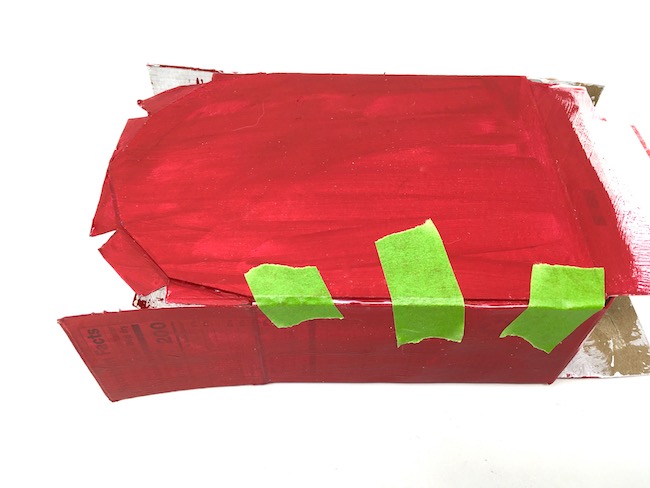 After you glue the side tab together, then glue the roof tabs to the roof flaps. Again use tape to hold the tabs in place while the glue dries.
Also glue the flaps on the bottom in place.
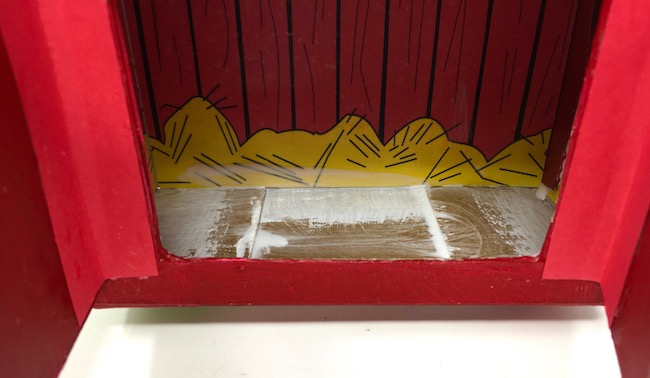
Finally, glue printed straw paper to the barn floor with a thin glue like Mod Podge.
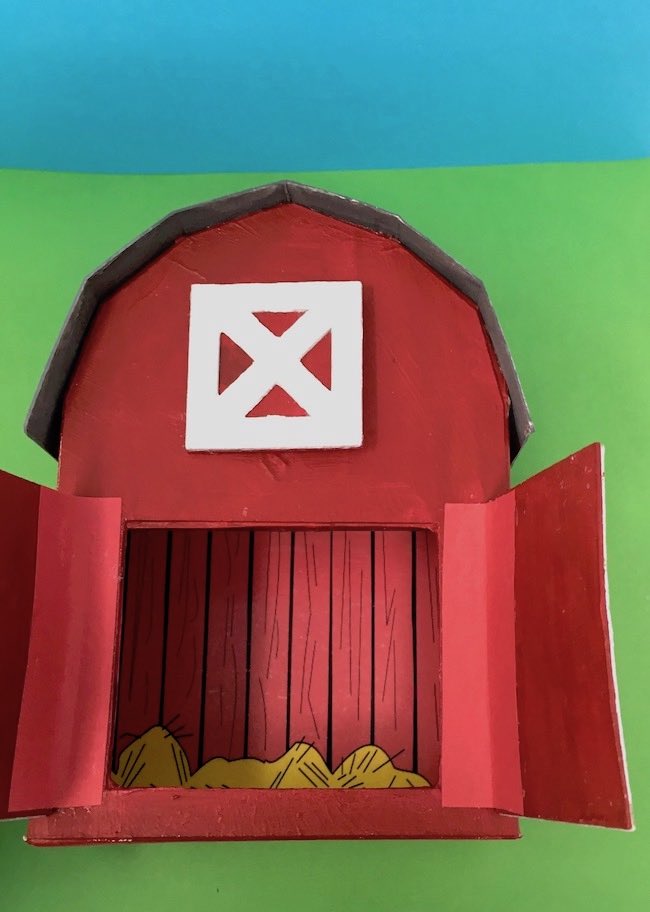
Adhere the roof to the miniature barn
Now that the little cardboard barn is glued together, glue the roof to the barn. Now the barn is ready for play. 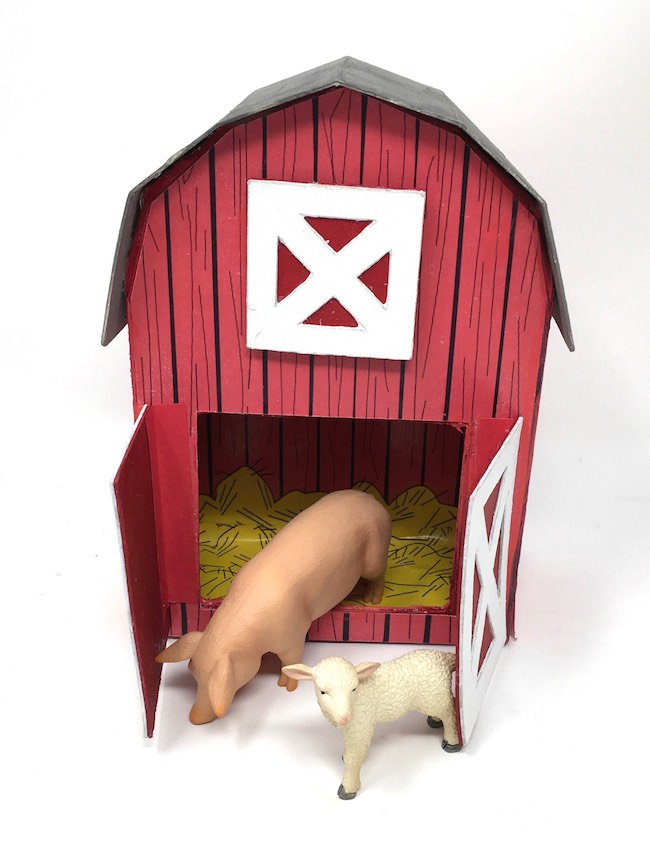
Have any questions? If so, email me at [email protected]. And remember to pin any photos to your favorite Pinterest board.
Thank you for reading.
Lucy
Olga
Thank you for all your gifts. I love the little houses.
May God bless you
Olga
Jill
Lucy, I think you’re brilliant and so kind to include the printouts. Thank you.!!!
Lucy
Thank you, Jill. I am glad you like it.
Lucy
Patrice
Thank you, Lucy, for this adorable barn template! It's creative projects like these that keep us all going. I so appreciate your creativity, hard work, and generosity.
Lucy
I am so glad you like the little barn. Before I wrote the blog post, I gave the pattern to one of my friends who has 4 year old. Her child really enjoyed making it.
Thank you for taking the time to comment.
Lucy
Sherin
This is just lovely! It looks brilliant. Thank you for sharing this.
Lucy
The barn is fun. If you do make it, you could share the photo on my Facebook. I love to see what people make.
Lucy
Lindsay
This is sooooo cute!!!
Lucy
Thank you, Lindsay. I had a lot of fun making the barn. I really think kids will too.
Carla
this looks like a fun project.
Linda S
Thank you for another wonderful design. I love that you even included the barn siding and interior decor.
Lucy
Linda, I am so glad you like it. The barn (and the dollhouse that I made before) are really cute. I do think kids will have fun making them. Thank you again for your lovely comment.
Lucy