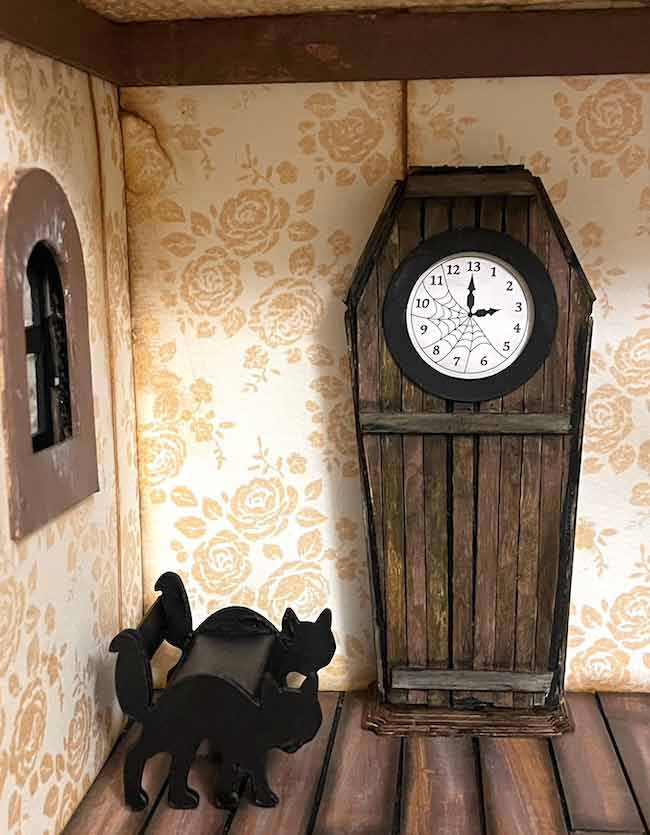
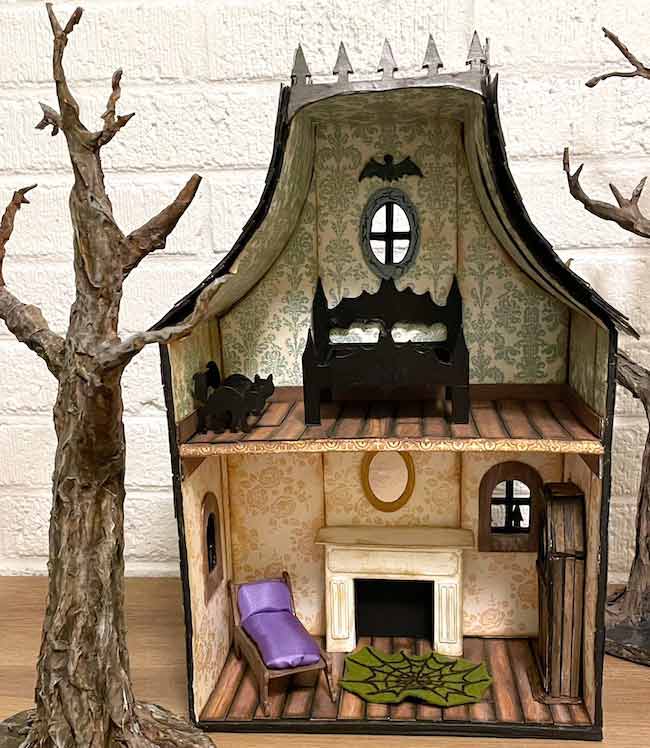
I got inspired to make a Haunted Dollhouse this year. Normally I make very small houses that are less than 12 inches tall, often much smaller than that. But when a friend of mine had a "Home Sweet Home" dollhouse workshop, I had to make a Halloween one (which I will talk about in a later post). And if you make a Haunted Dollhouse, you must make miniature furniture for it. So this is my current project - the Miniature Cat Bench.
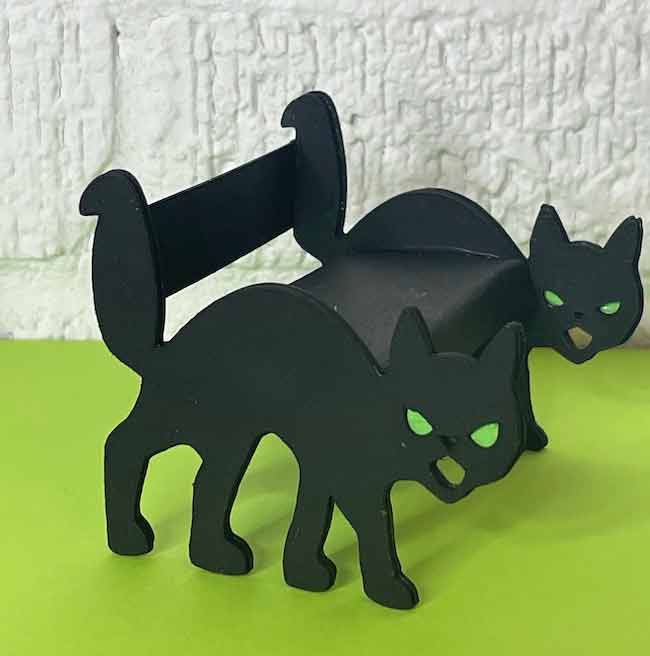
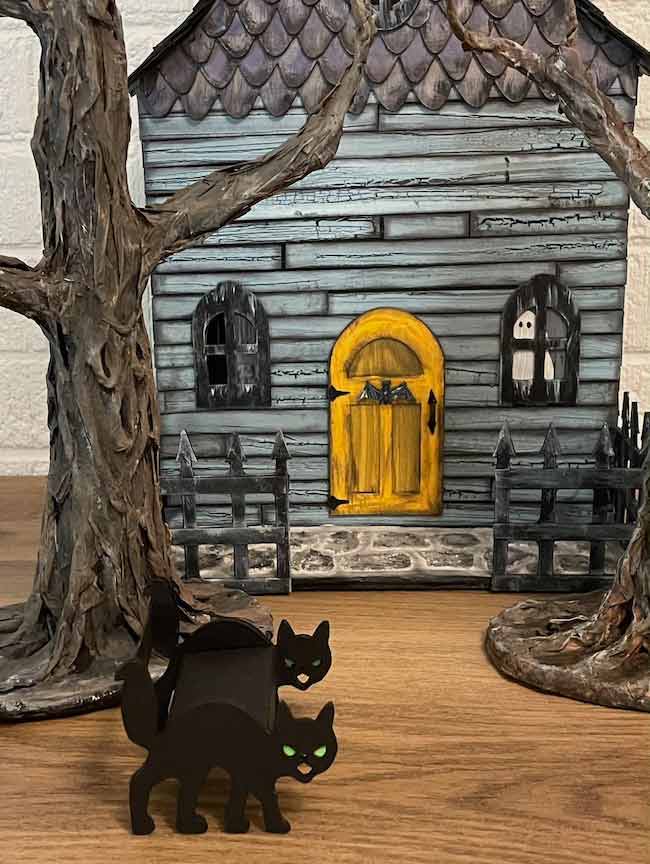
And I need to give credit to my friend Karen. When she told saw some of my dollhouse projects, she said I needed to make a cat bench. Of course, that is true. So I made two versions of the cat bench in cardboard. One is tiny and easily fits in my dollhouse, while the other is larger with cutouts for the eyes, nose, and mouth.
So here is how you make it with the free SVG or PDF pattern from the Paper Glitter Glue library.
You don't need many materials (or much time) to make the tiny cat bench. They are listed below.
This post contains some affiliate links for your convenience. Click here to read my full disclosure policy.
Table of Contents
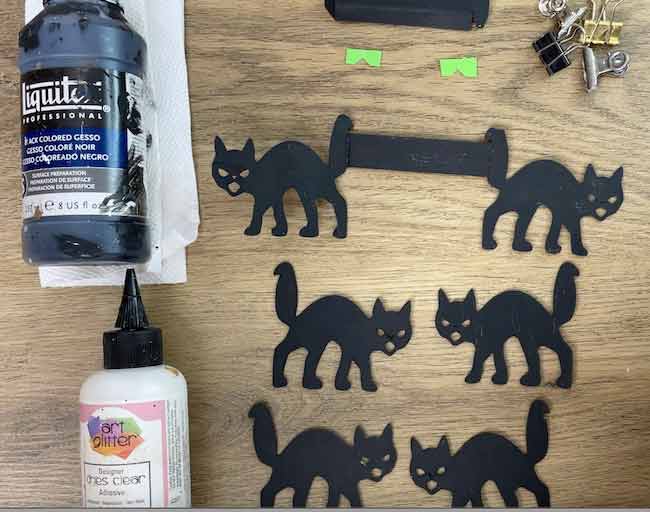
Materials for the Miniature Cat Bench
- Cardboard (I like to use this cardboard.)
- Card stock 110 lb. if you want to use card stock
- Paint for cardboard - black gesso for the cat
- Glue - really, any white glue will work
- Binder clips help hold the piece together
- A way to cut the pattern - I used my Cricut Maker
Steps to Make the Miniature Cat Bench
- Download the pattern - Design No. 121 - from the Paper Glitter Glue library
- Cut out the pattern pieces
- Paint the cardboard, if necessary
- Make the bench seat
- Attach the cat body to the bench structure
- Glue the bench together
Here's a short video tutorial to help all the visual learners out there.
First, download the free pattern for the Miniature Cat Bench
You can get all the free patterns in my Paper Glitter Glue library by subscribing to my newsletter and getting the password to the library. The files are listed chronologically with the most recent file first. So get the Miniature Cat Bench file - Design No. 121 - in the August 2021 section.
Just use the form below to subscribe. Don't worry. I won't send you any spam. I send a newsletter email about every 1-2 weeks with crafting information.
The cat bench pattern is available in the August 2021 section of the library as a printable PDF format as well as SVG cut files for automatic cutting machines like the Cricut Maker or Cricut Explore Air.
Next, cut out the pattern for the Dollhouse Cat Bench
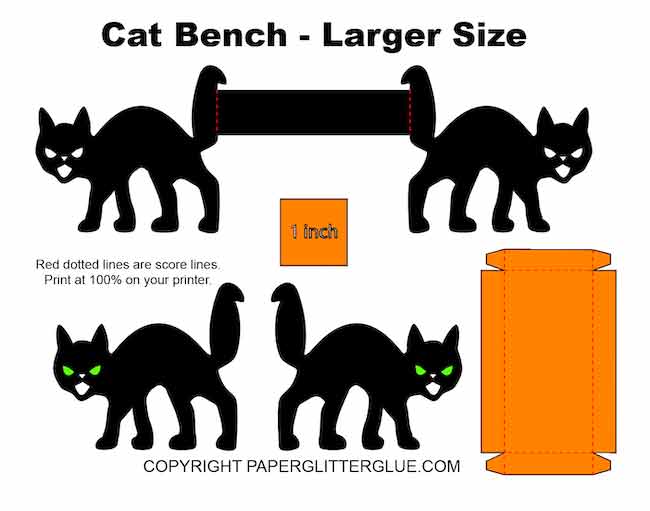
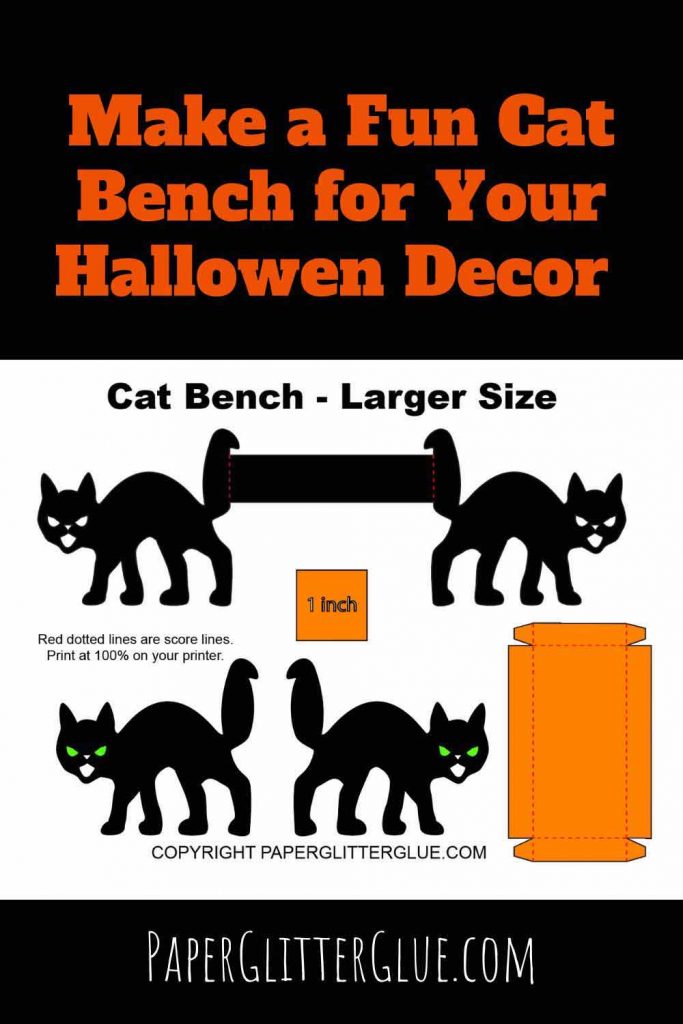
Here's how the pattern for the larger version of Miniature Cat Bench looks as a printable PDF file. The cat about 2.5 inches tall and almost 3 inches wide. The smaller version is roughly ½ that size.
If you have a cutting machine like a Cricut, here are how both patterns look in Cricut's Design Space.
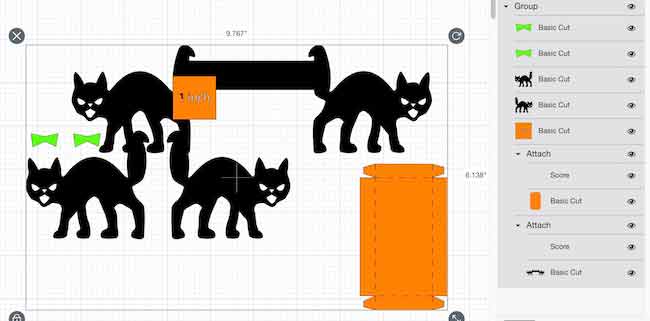
Below is the larger version of the miniature cat bench exactly as it uploaded into Cricut design space. Ungroup it and delete the 1-inch scale box. The 1-inch scale box helps you make sure the design is sized correctly.
If you want to change the size of the pattern, leave it grouped so everything changes size at the same scale.
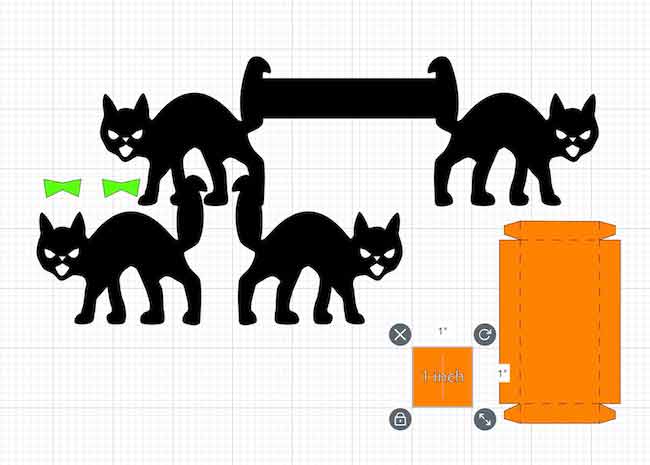
After ungrouping, here is the miniature cat bench show in Cricut's Design Space. Either delete or hide the 1-inch scale box because you don't need to cut it out.
And here is the smaller version which is about 1.5 inches high and wide. The eyes, nose, and mouth wouldn't cut out accurately in this size so I left them off.
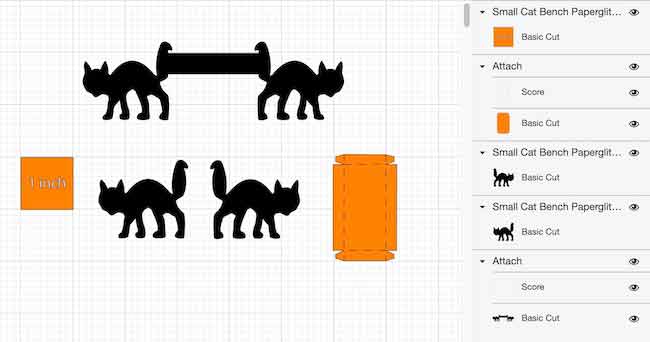
Also, notice that for Cricut users, at least, the score lines are already designated and attached as score lines. That makes it pretty easy to cut out the pattern.
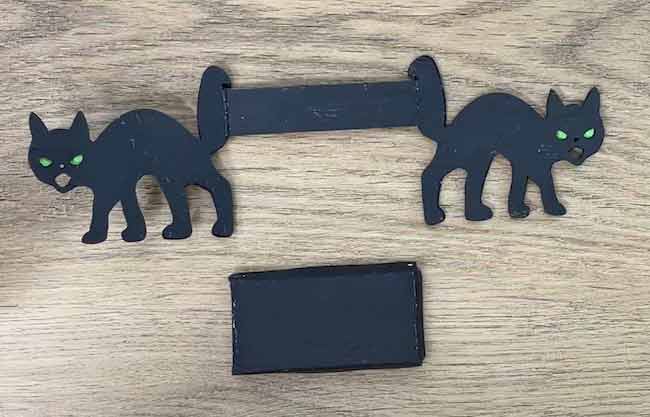
Because I tend to over-engineer things, I cut out 2 extra cats for supports on the side of the bend. You don't have to do that, but I like how sturdy it makes the bench.
Paint the cardboard, if necessary
Obviously if you are using card stock in the color you want, you don't have to paint the cat. But if you are using plain cardboard, you need to paint it. Generally, I use black gesso paint for this.
Make the bench seat
To make the seat of the cat bench, fold along the score lines and apply glue to the tiny tabs on each side so they will stick to the inside of the longer flaps.
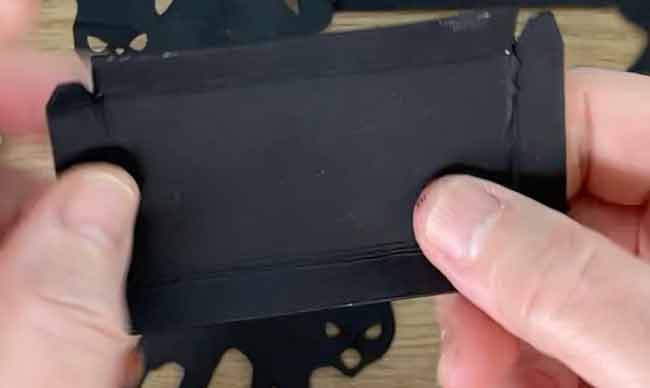
I use binder clips to help hold the tabs in place while the glue dries. Make sure that the corners are square when you glue them together. Let dry.
Next, glue the extra cat body to the main structure of the bench
Earlier I mentioned that I tend to over-engineer things so I glued 2 layers of cats to each side of the cat bench. I just like how substantial it is. These little guys are sturdy.
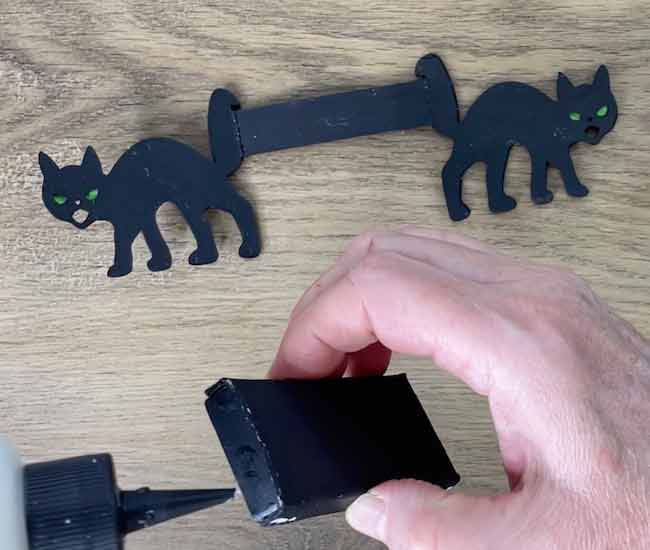
Apply glue to the cats on main piece of the bench - the piece with the back of the bench and a cat on each side.
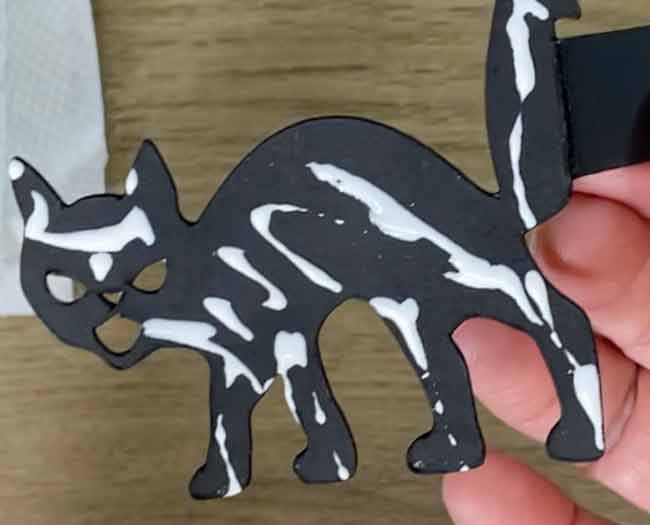
Next, adhere one of the cats on top of this cat. Smush it down firmly. Since I used two cats to each side of the bench, I added the green eyes between those two layers of cats.
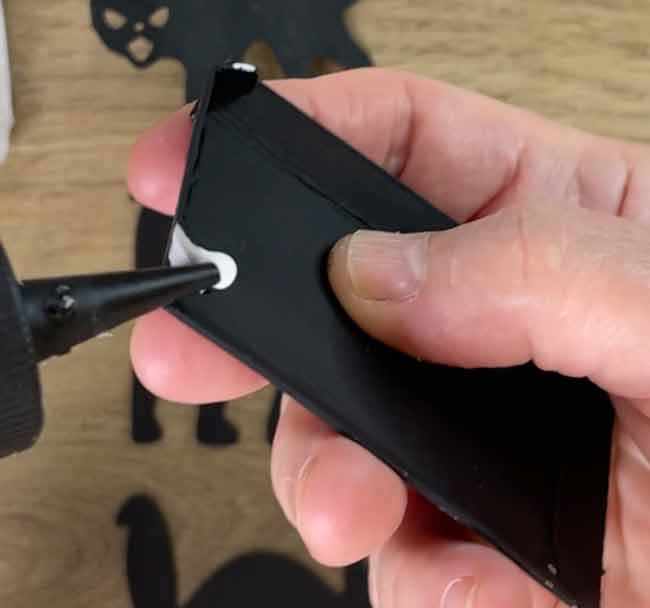
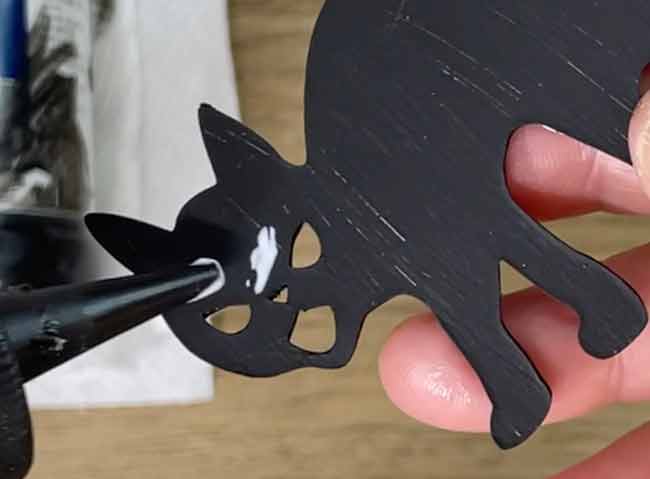
After you have one cat adhered, apply glue around the eyes if you want to have colors for the eyes.
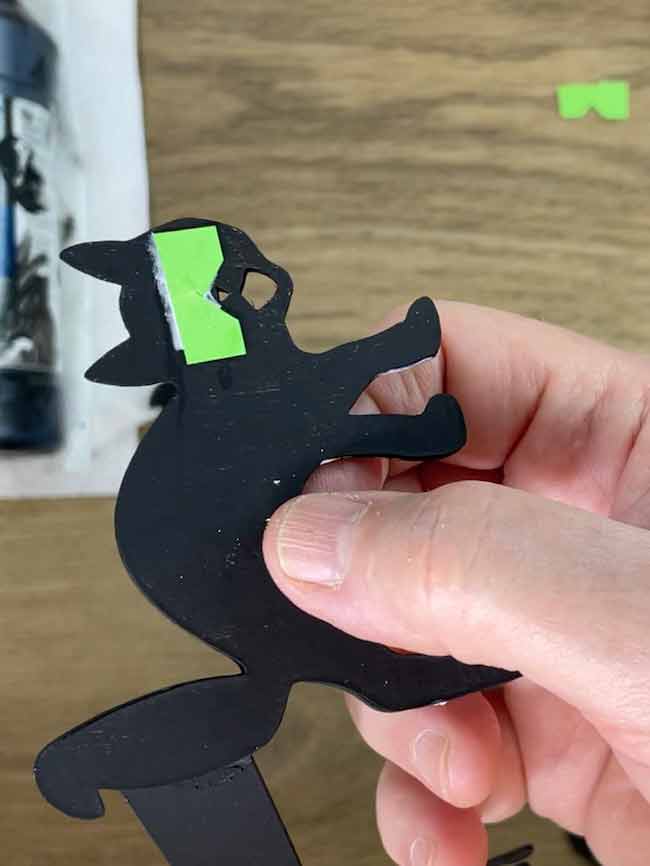
Next add the green card stock for eyes.
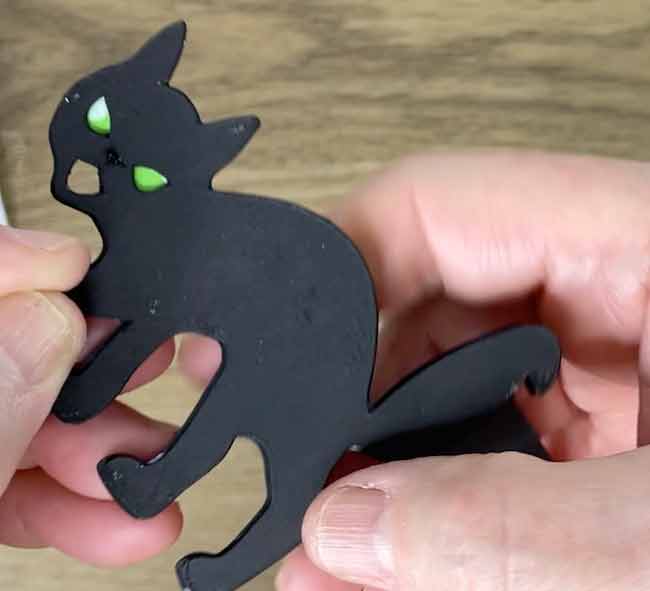
And finally, add the top cat to the complete on side of the bench. Do the same thing to the other side.
To make sure that the cats adhere well, I place them under a book or a heavy object for a little while.
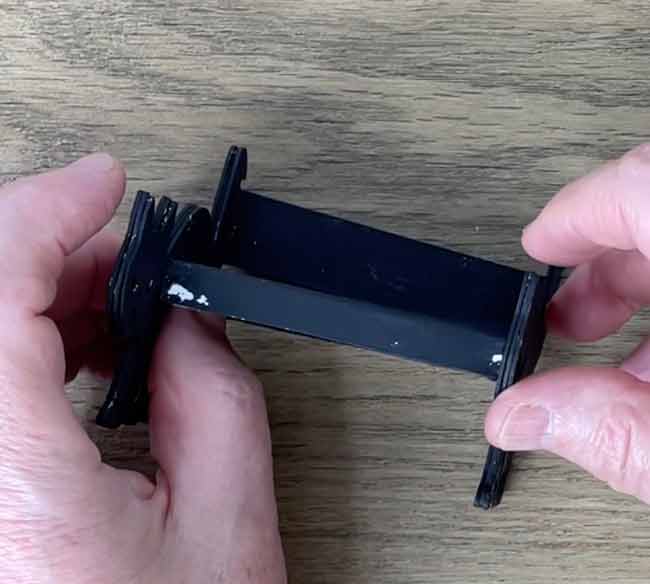
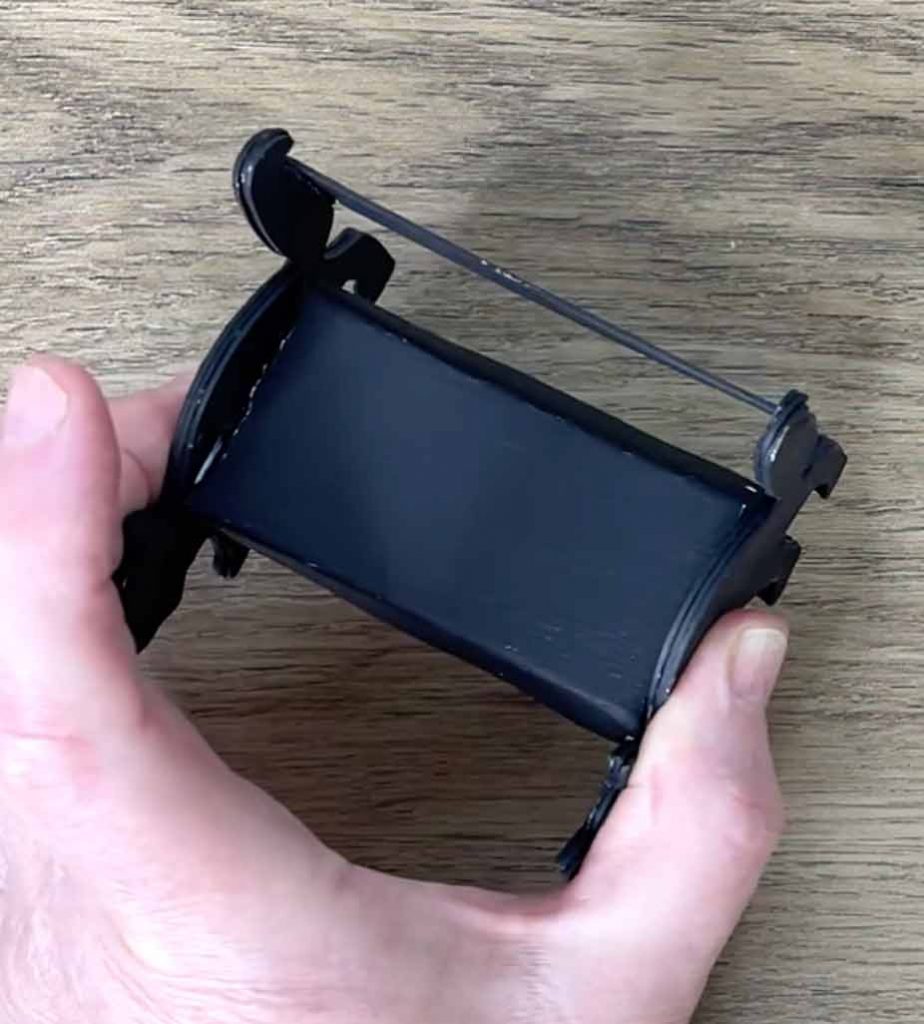
Finally, adhere the bench seat to the cat bench structure
Now all you have to do is apply glue to the sides of the bench seat and adhere it to the sides of the cat. That completes the miniature cat bench.
Apply glue to the sides of the bench seat.
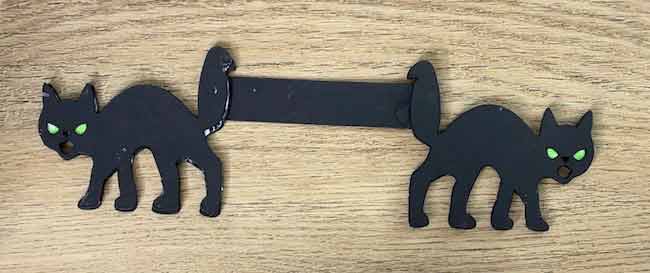
When you glue the seat to the each side of the bench, place it in the middle of the cat bodies. I think you can see what I mean with the photo below.
And for the last step, hold the sides together with a little pressure to make sure the seat is securely fastened.
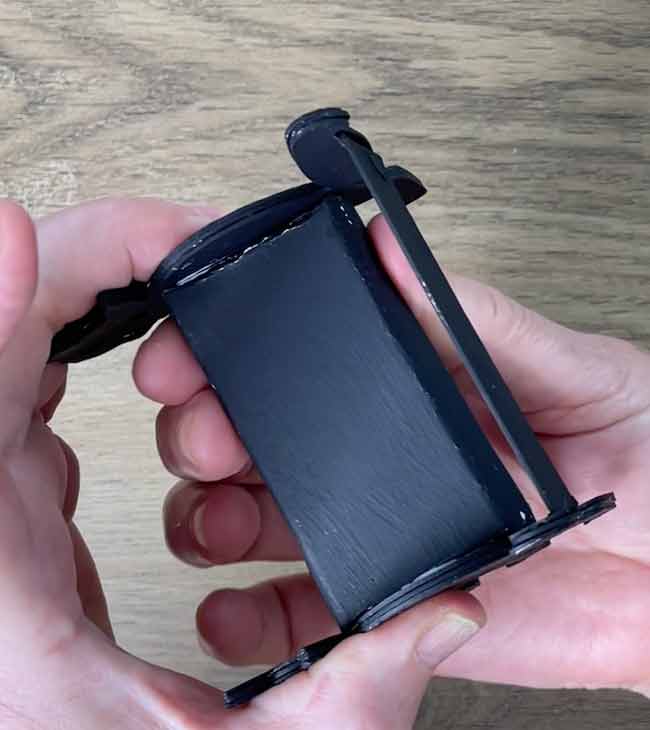
Fortunately, you only have to hold it for a 2-3 minutes for the seat to be secure
And that's it! What's next?
And that is it! That is all you have to do to make a cute miniature cat bench for your Haunted Dollhouse or Halloween decor. Kids will have a great time making this. What do you think?
I have many more plans for using the cat in this year's Halloween series. I've got a bigger version for a wallhanging or a spooky Halloween garland.
In addition, I've got 31 ideas for this year's Halloween season. And right after that, so many crafts for Christmas. So stay tuned.
Remember, if you ever have any question, you can email me at [email protected]. I am happy to answer any of your questions.
Thank you for reading.
Lucy
P.S. Be sure to pin to your favorite Pinterest Board so you can remember where you found this design.
Angela
This is a lovely project to do for Halloween, thank you.
Lucy
Thank you. One of my friends told me I need a cat bench so that is how I came up with the idea.
Shirl Lundstrom
Just made your larger size kitty bench in black and glitter purple. Love it!
Lucy
I would love to see it. I bet it is so cute.
Lucy
Pat
I made my cat bench in orange for Halloween.I am trying to send a pic of the bench I made. Really cute file!
Lucy
Pat,
I am so glad you like the cat bench. I would love to see your cat bench in orange. Would you send it to me - [email protected]? I would love to add it to the blog post so people can see what it looks like.
Lucy