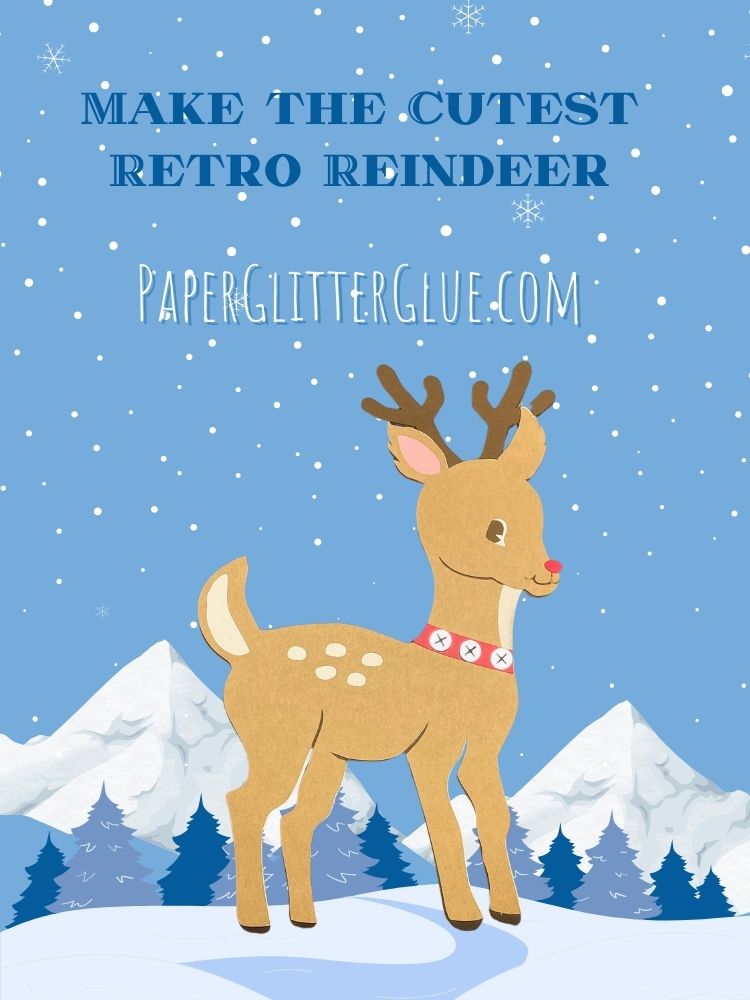
Craft a charming vintage-inspired reindeer with this easy-to-follow papercraft tutorial! Using just three layers of cardstock, you’ll create a dimensional reindeer design that’s perfect for holiday decorating. To add a festive touch, your reindeer will sport a red collar adorned with three tiny bells. Oh, and a red nose, too. Of course, he needs a red nose.
This quick and simple project is ideal for both beginners and seasoned crafters alike, bringing a touch of nostalgic charm to your Christmas decor.
This post contains some affiliate links for your convenience. Click here to read my full disclosure policy.
Supplies to Make the Retro Reindeer
- Cardstock - 65# cardstock works best to cut out these intricate designs (You need 2 contrasting shades of brown, one white middle layer, a tiny amount of pink, red, and back scrap cardstock)
- Foil cardstock for the jingle bells on the large reindeer
- Cardboard - 22 pt cardboard (or other lightweight cardboard for a strong addition to the back piece to help your reindeer stand up)
- Glue - Bearly Art Glue
- Cutting Machine - I used my Cricut Maker, but you could use other cutting machines.
- Dark brown ink to ink edges of the white layer of the reindeer
Steps to Make the Retro Reindeer
- Get the Free Retro Reindeer Design - No. 172
- Download the Reindeer pattern
- Cut out all the pieces for the Reindeer
- Assemble the layers of the Reindeer. Remember to glue the pink ear behind the top layer before you start gluing the layers together.
- Add the collar with the jingle bells or bow.
- Decorate and display your fun little reindeer.
Here's the video showing you how to make the Retro Reindeer
More Detailed Instructions to Make the Retro Reindeer
Step 1: Get the Free Retro Reindeer Design - Design No. 172
Visit my Paper Glitter Glue Library to download the Retro Reindeer file, labeled Design No. 172. If you already have the library password, simply go to the library page, click the big orange "CLICK HERE" button which takes you to the password page. Enter the password and scroll down to get Design No. 172.
If you don't have the password yet, simply subscribe to my newsletter to get the password right away. Don’t worry, I will never send you spam, and you can unsubscribe at any time.
Step 2: Download the Retro Reindeer pattern
Download the Retro Reindeer pattern. The file contains both of these formats:
- SVG File: For cutting machines like Cricut.
- Printable PDF: Includes all the pattern pieces for manual cutting if you prefer to craft by hand.
In addition, there are two sizes of the Retro Reindeer - the large version is the one I made in the video. It is easier to cut out.
Step 3: Cut Out the Reindeer Pattern
For this project, lightweight cardstock (65# cardstock) works best because it’s easier to cut the intricate details of the reindeer. I found heavier cardstock (110#) more challenging to cut, but if you prefer it, give it a try!
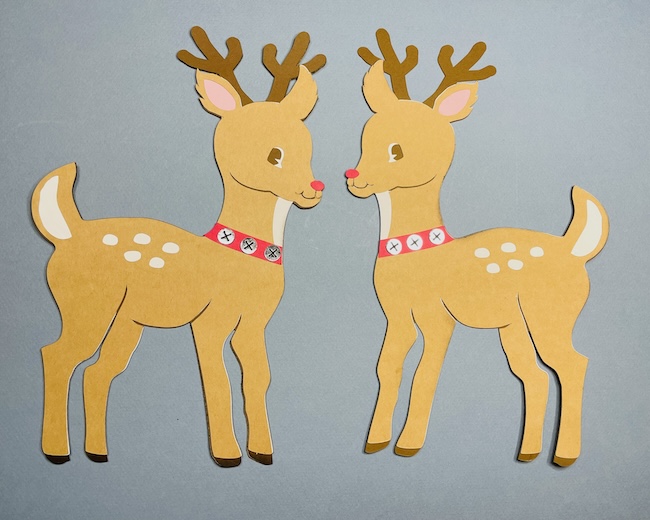
Here’s how the reindeer layers come together:
- Bottom Layer: Darker brown cardstock, including the antlers, forms the base.
- Middle Layer: White cardstock adds contrast to the eyes, tail, spots, and neck.
- Top Layer: Tan or lighter brown cardstock completes the deer’s look.
Additional details:
- A pink insert is included for the inner ear.
- The design also features a red collar with three circular jingle bells. Use shiny foil cardstock for a festive touch!
Step 4: Assemble the Reindeer
- Start by gluing the pink ear insert behind the deer’s ear . This step is quick and ensures you don’t forget it before final assembly.
- Apply glue to the back of the top tan (or light brown) layer and align it over the middle white layer. Press to secure.
- Next, apply glue to the back of the white middle layer. Carefully align the tail, ears, and legs as you attach the top two layers to the dark brown bottom layer. Press gently to adhere them.
Step 5: Add the Collar
- Glue the dark circle in place on the back of the silver jingle bells. Using a darker color adds depth and dimension. Attach the jingle bells to the red collar and glue the collar onto the deer’s neck.
Step 5: Display and Decorate with Your Retro Reindeer
Your Retro Reindeer (the larger version) stands almost 10 inches tall, making it a versatile decor piece! Here are some creative ways to display it:
- Attach it to a wooden base or block for a freestanding decoration.
- Use it as a centerpiece on a holiday table surrounded by greenery, pinecones, or fairy lights.
- Add it to a mantel arrangement with other vintage-inspired crafts.
- Secure it to a large wreath as a striking focal point.
- Turn it into a hanging decoration by attaching a ribbon or string.
Let your imagination guide you in showcasing this nostalgic, handcrafted piece!
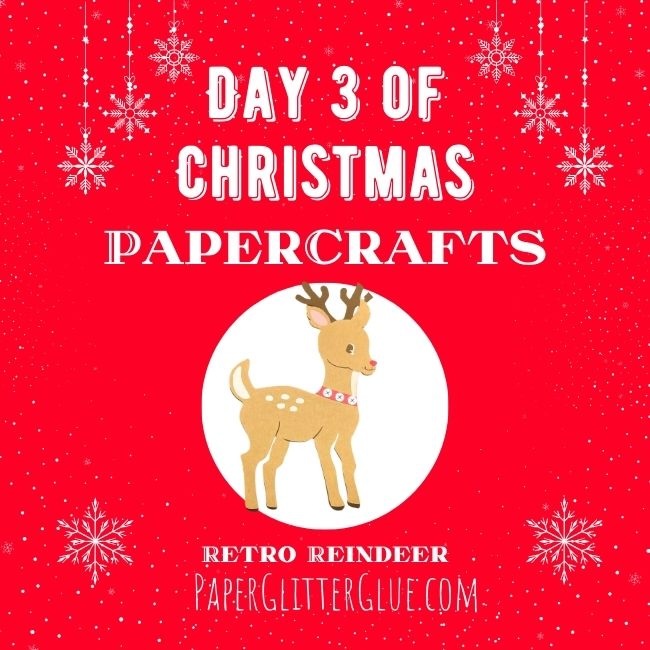
See you tomorrow for Day No. 4 of the 12 Days of Christmas here with me at PaperGlitterGlue.com.
Lucy
Leave a Reply