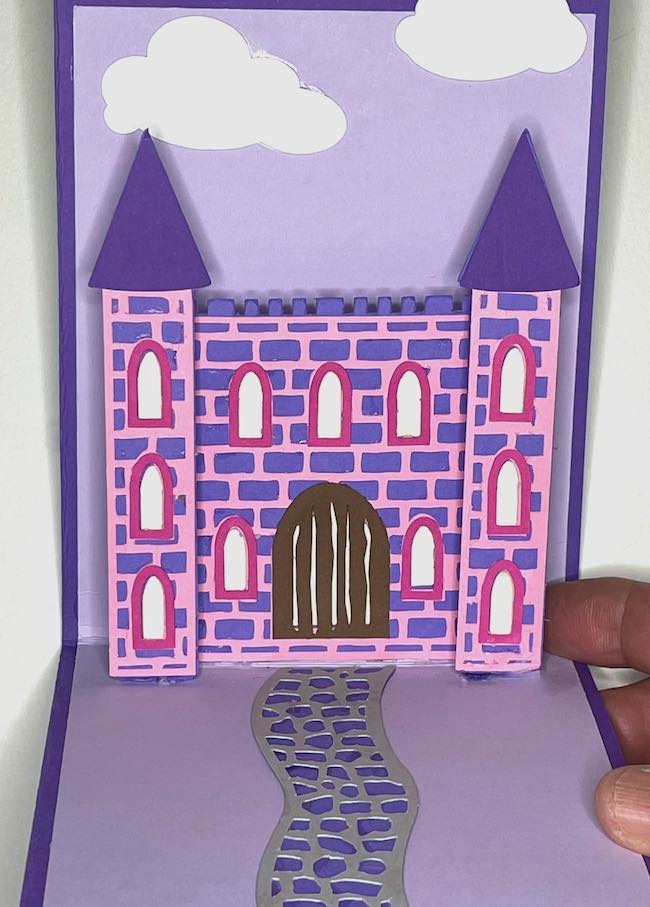
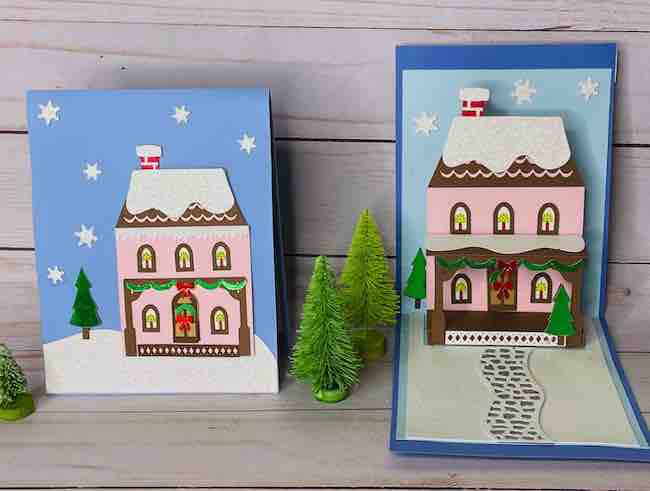
Here is a simple technique to help you make pop-up cards with any of your die cuts or figures. I'm using several of my designs as examples, the Castle Pop-Up Card and the Happy Holidays House Pop-Up Card from my book - Playful Pop-Up Houses.
I've made a pattern template that lets you easily use all kinds of figures in a pop-up card. I'll show you how in the tutorial below.
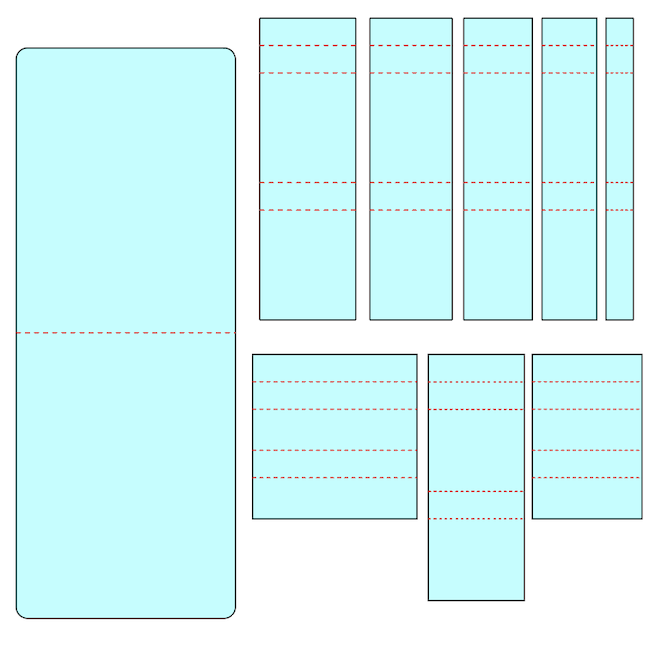
These are the pieces in the pattern. The larger piece of the left is the card background, but really you can use any size card that has a folded line.
The smaller pieces with the red score lines are the pop-up mechanisms. Choose the size that fits your pop-up figure the best.
This post contains some affiliate links for your convenience. Click here to read my full disclosure policy.
Materials to Make Simple Pop-Up Cards
- Card stock - either 65# or 110# card stock works
- Glue - Bearly Art Glue is my favorite for cards
- Die cuts or other figures as the pop-up
- A way to cut out the pattern - I used my Cricut Maker, but other cutting machines like a Cricut Joy, Criycut Joy Xtra, or Cricut Explore Air work as well
- If cutting by hand, a scoring board is very helpful
Directions for Making Simple Pop-Up Cards
- Download the free SVG or PDF file - Simple Pop-Up Card Template, Design No. 153 in the Paper Glitter Glue library
- Choose your pop-up figure
- Choose your background piece
- Select the rectangular piece (the pop-up mechanism) that fits behind your pop-up figure
- Construct the rectangular pop-up mechanism
- Glue the rectangular pop-up piece in the crease of your background card
- Attach the pop-up figure to the pop-up mechanism
- Embellish your card as desired
1. Download the Free Pop-Up Card Template File
Download the free file from the my free Paper Glitter Glue library if you already have the password to the library. If you don't have the password, just subscribe to the my newsletter with the form below and you will get the password right away. This project is Design No. 153 in the February 2024 section of the library.
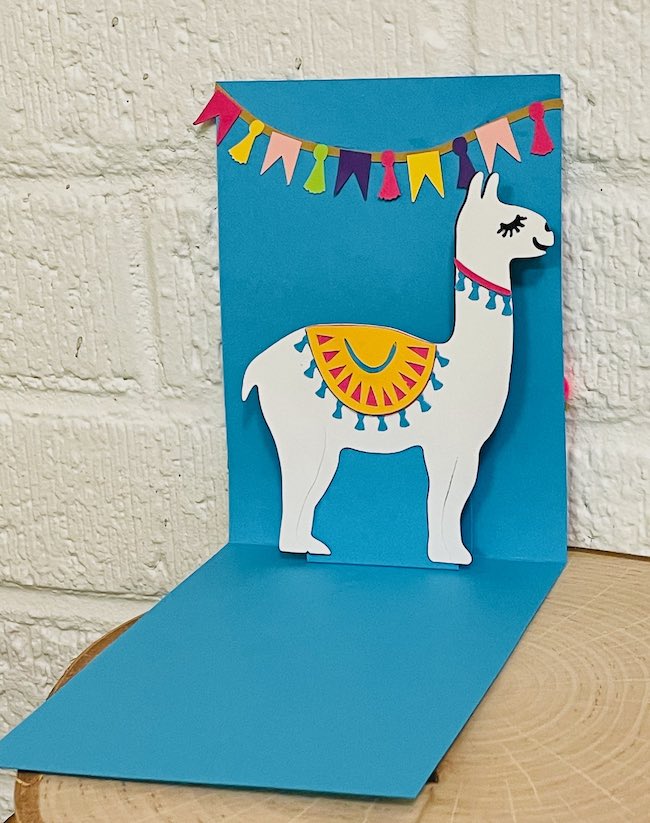
2. Choose Your Pop-Up Figure
Here's the big advantage to this template. You can use so many different figures as your pop-up.
The first thing to do is choose your figure so you can choose the correct size pop-up mechanism for your card stock figure.
Here are some examples.


Important Tip: It is important to measure the narrowest part of your pop-up figure so the pop-up mechanism fits behind your figure. If you match the color of the pop-up mechanism with the color of the card, it is less crucial.
3. Choose Your Background Piece
Choose the background piece that fits your pop-up figure. I used the one in the free file - it's 10 inches tall by 4 inches wide. You can see it below on the right side of the photo. But you can make your card other sizes as well. Your card background piece only needs a single score line.

4. Select the rectangular piece (the pop-up mechanism) that fits behind your pop-up figure
Now choose the pop-up mechanism that fits behind your pop-up figure. The pop-up mechanism is ½ inch deep - meaning that it pop-ups ½ inch.
5. Construct the rectangular pop-up mechanism
Fold along the score lines and glue the pop-up mechanism into a rectangle.
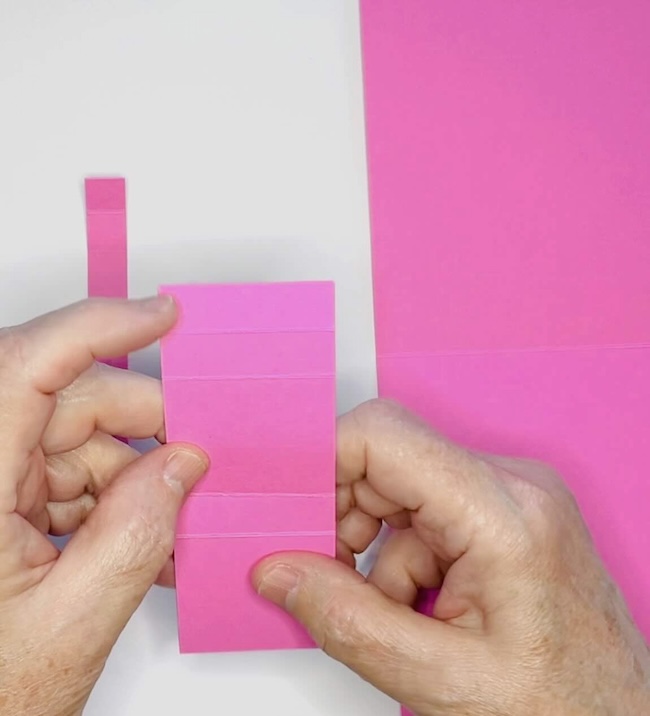
Your pop-up mechanism should fold flat just as it will within the card.

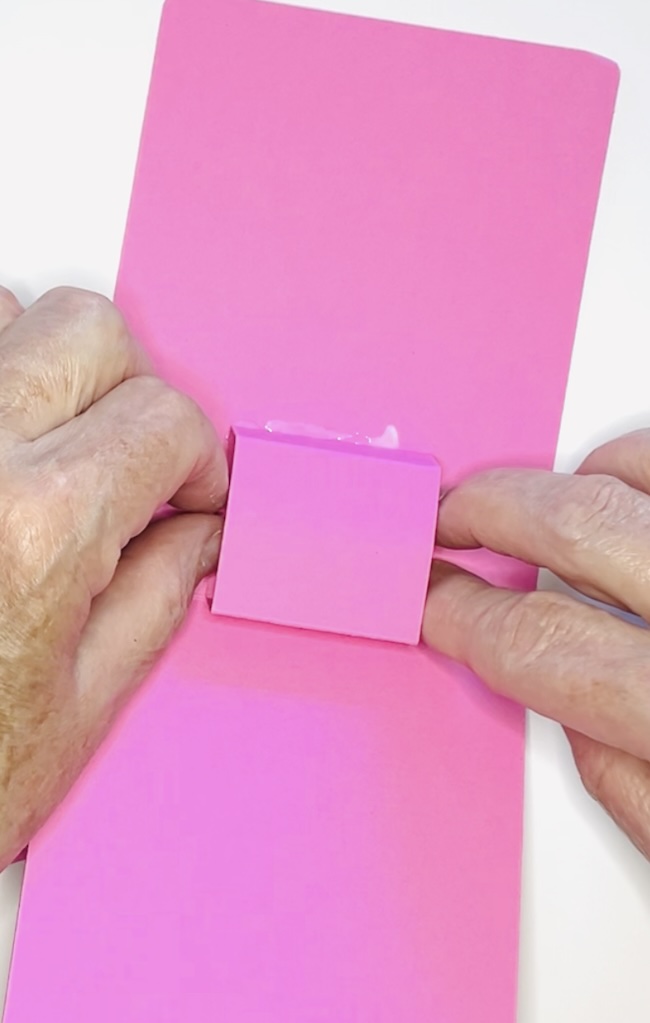
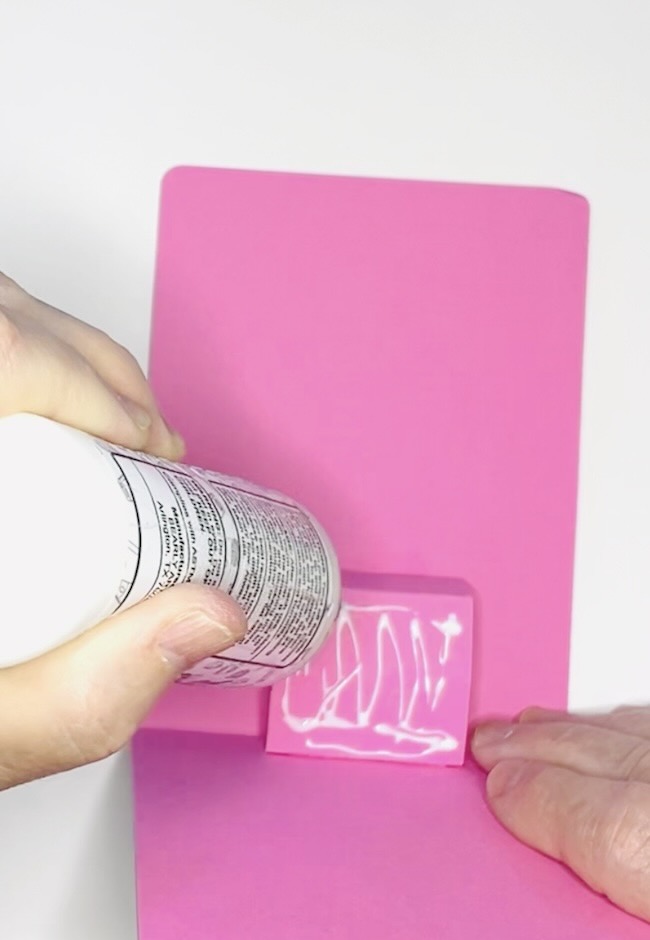
6. Glue the rectangular pop-up piece in the crease of your background card
Apply glue to the back of the pop-up mechanism to adhere it to the background piece of the card.

Apply pressure to make sure the pop-up mechanism is well-adhered.
Now apply glue to the bottom of the pop-up mechanism (the ½ inch section)
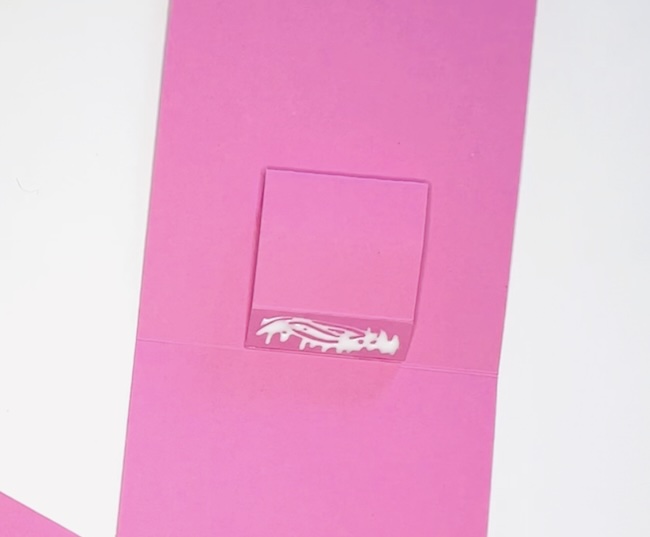
Close the card to fully adhere the bottom part of the pop-up mechanism in place. Open the card slowly to make sure it has adhered. You can also apply pressure as shown below.

7. Attach the pop-up figure to the pop-up mechanism
Apply glue to the front of the pop-up mechanism to adhere your pop-up figure.
Now apply the your pop-up figure to the front of the pop-up mechanism. I usually move it up ever so slightly from the bottom of the pop-up mechanism so I know it will fold flat.
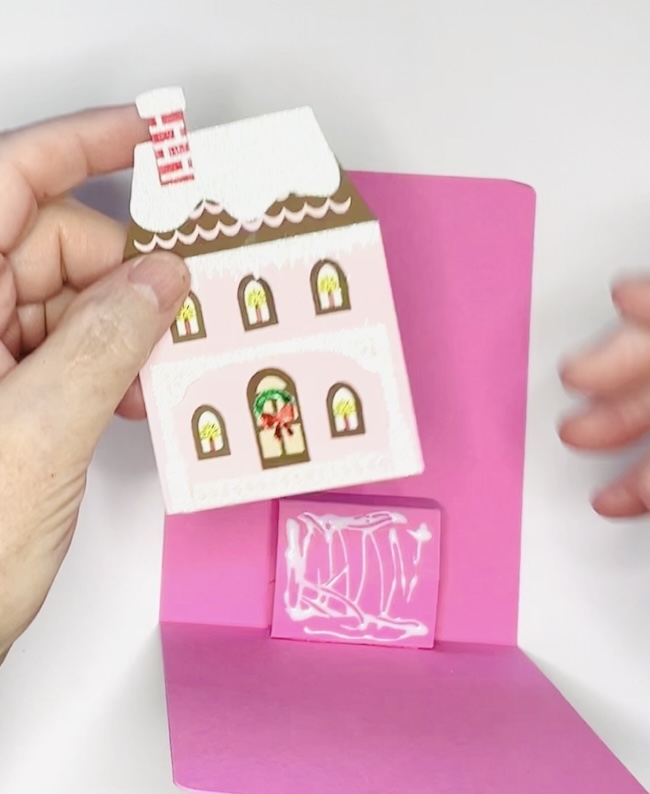
This house pattern is from my book, Playful Pop-Up Houses.
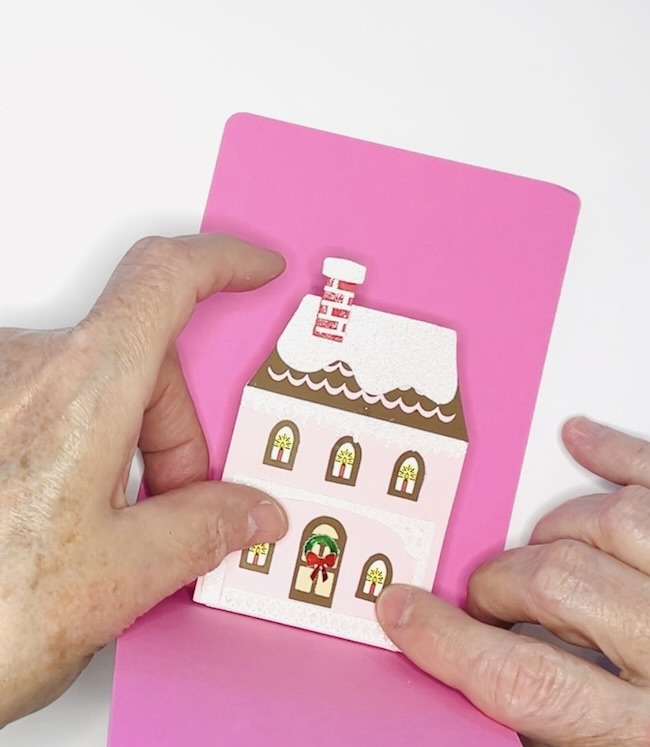
8. Embellish your card as desired
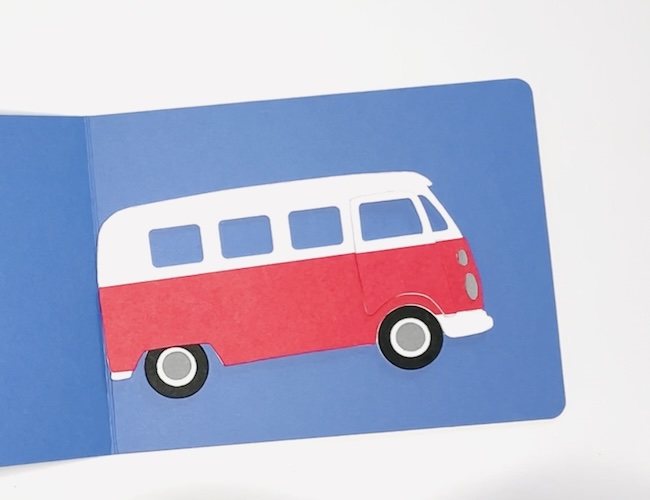
Now decorate your card with other elements to enhance the design. Here's one of the houses from the Playful Pop-Up Houses book to give you an idea of embellishments that enhance the design.
Questions?
If you have any questions about using these pop-up templates, please feel free to email me - [email protected]. I am always happy to help.
And remember to pin to your favorite Pinterest board so you can remember where you found this pattern.
Thank you for reading.
Lucy
Leave a Reply