Here's how to make an adorable tiny paper camper. You might call it a camper trailer or an RV or a travel trailer or even a paper caravan, but whatever you call it, this little camper trailer is fun to make and can be decorated for any holiday.
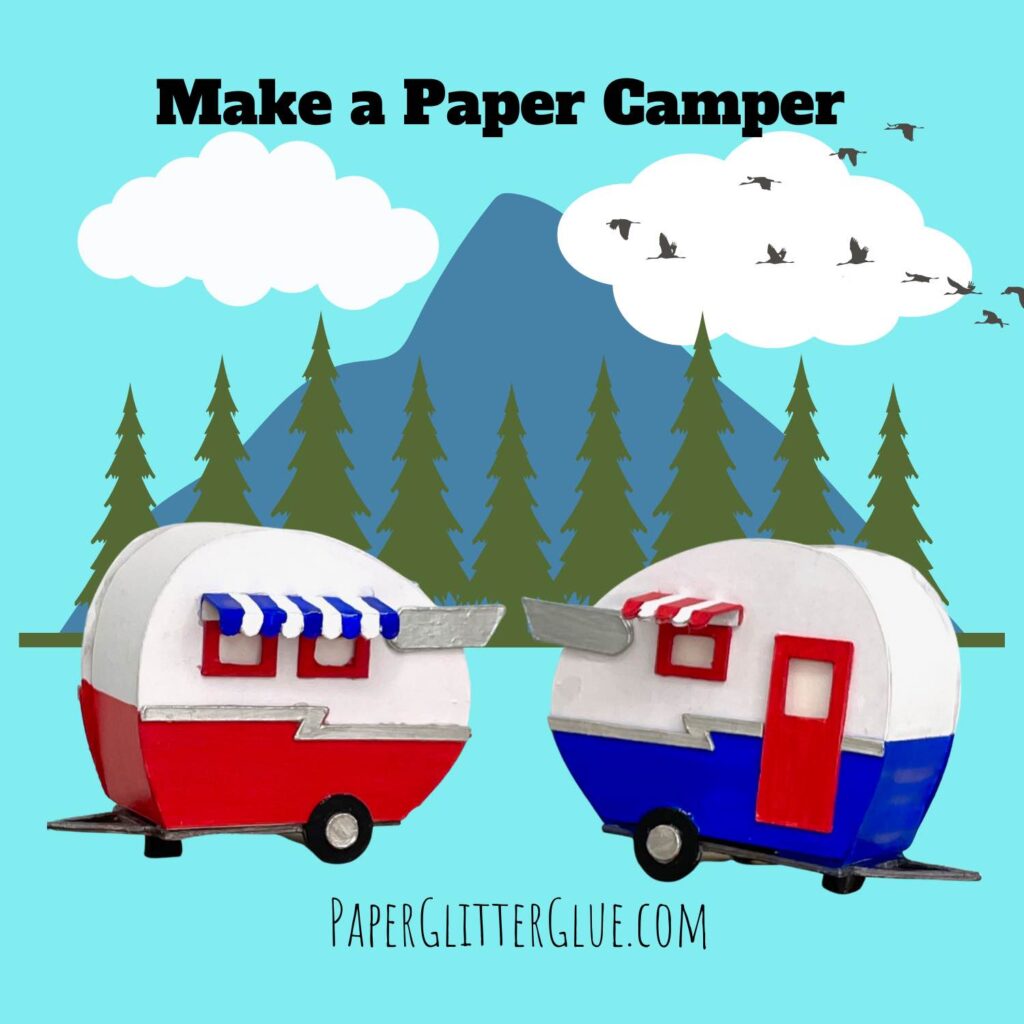
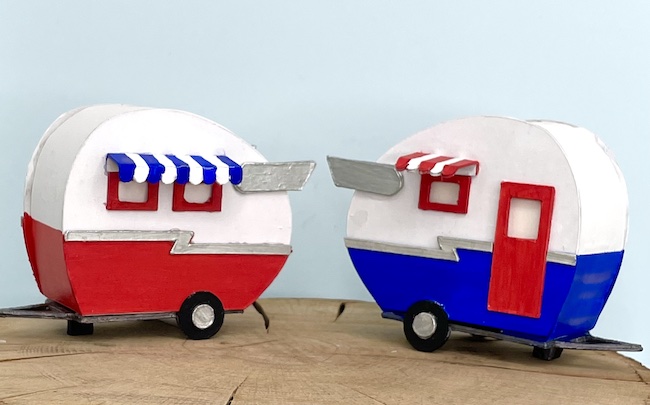
For this particular mini camper, I've painted it in red, white, and blue. However, you could easily decorate it with any colors you fancy.
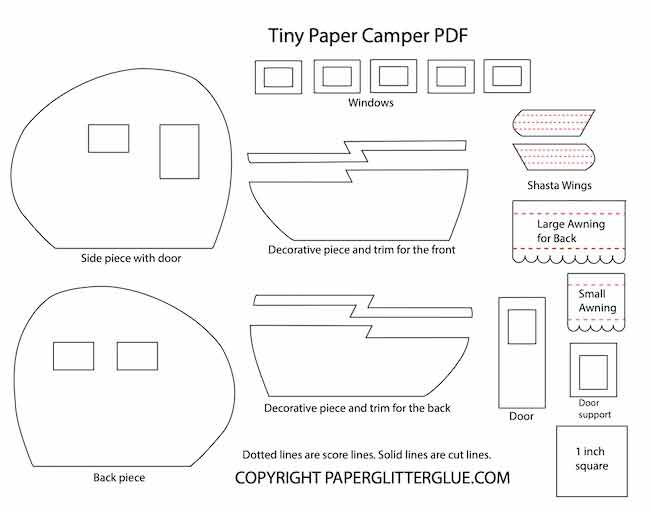
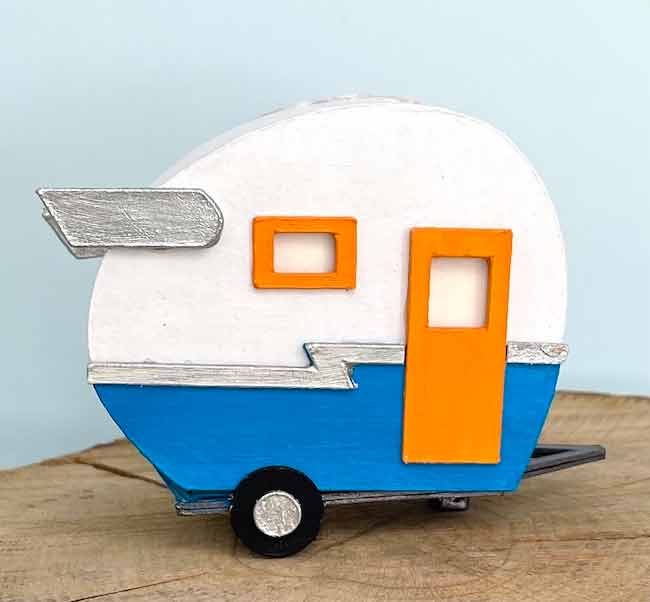
This particular miniature 3D camper is based on a popular brand called the Shasta travel trailer. What is notable about Shasta campers? Well, one great feature are the Shasta wings. Since I love this detaill that I had to include Shasta wings in the design template.
How hard is it to make the little caravan? Not hard. It's a little tricky to glue the curved section, but that is about the only challenge. In addition, I have simplified the process as much as possible.
What do you need to make to make the tiny cardboard camper? You don't really need much in the way of supplies - some card stock, cardboard, paint, and glue. Really, that is about it. Let's get started.

This post contains some affiliate links for your convenience. Click here to read my full disclosure policy.
Table of Contents
Materials to Make the Tiny Paper Camper
- Card stock - 65 lb. white card stock or 110 lb. white card stock works well for this
- Cardboard - this is the kind I use
- Glue - Aleene's Tacky Glue works well, also I love Bearly Art Glue
- Gesso Primer - I used both black and white gesso
- Painter's tape - it always helps
- Paint colors for travel trailer:
- Blueprint Sketch Distress Paint
- Candied Apple Distress Paint
- Silver paint
- Gunmetal paint for the trailer base
- Design No. 118 - free pattern for the little cardboard trailer in the Paper Glitter Glue library June 2021
- A way to cut out the pattern - I used my Cricut Maker to cut the pieces, but it is pretty easy to cut by hand
Instructions to Make the Tiny Paper Camper Trailer
- First, download the camper pattern - Design No. 118 - from the Paper Glitter Glue library
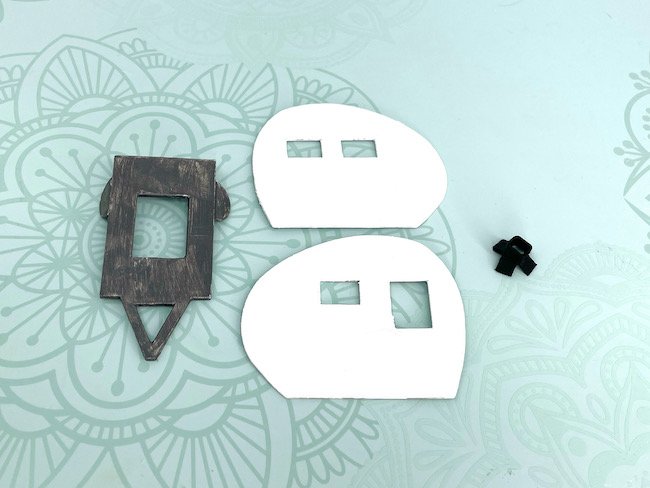
- Next, cut out the pattern pieces
- Prime and paint the trailer pieces
- Or use colored scrapbook paper to decorate the cardboard
- Assemble the basic structure for the tiny trailer
- Assemble the front and back pieces without the window awnings
- Glue the camper to the base, add wheels and the undercarriage support
- Finally, glue on the window awnings
For more detail in how to make this adorable tiny camper, read on. In addition, I've made a video that shows you how to make the paper camper.
First - Download the free pattern template for the little trailer - Design No. 118
As always, the first thing to do is download the specific pattern. I keep all my free patterns in the Paper Glitter Glue library organized by the month when published. So this little camper is listed as Design No. 118 in the June 2021 section of the library.
To get the files, you need the password. Just subscribe to my newsletter and I will automatically send you the password by email.
The files are available in 3 different formats for your convenience:
- PDF - printable files
- SVG - files for most cutting machines
- DXF - files for some specific cutting machines
All of the files are in a zipped or compressed format which you must UNZIP to use. Macs automatically unzip them for you, but windows-based machines do not. If you have a windows-based machine, here are instructions from Microsoft on how to unzip your files.
Next, Cut Out Your Trailer Pieces
You can cut out the pattern by hand or by using a cutting machine like a Cricut. For the past couple of years I have been using a Cricut automatic cutting machine to simplify the cutting and because it is more accurate.
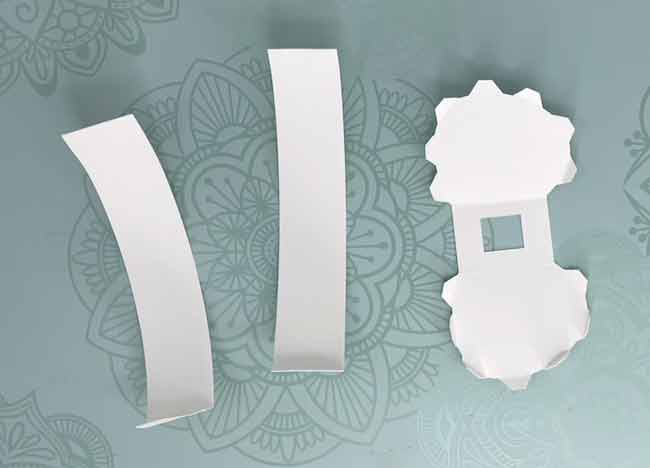
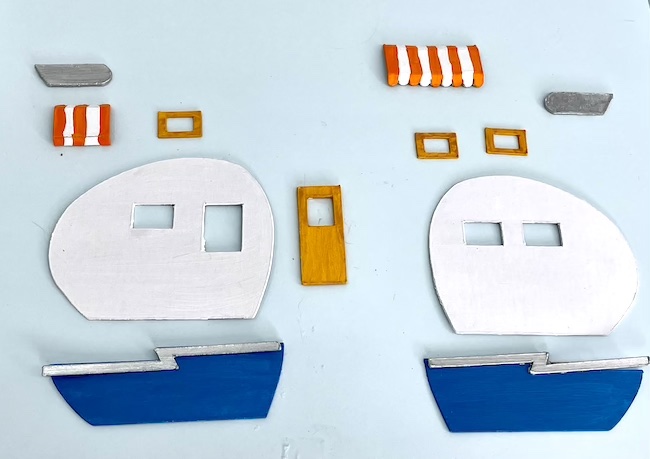
The photo below shows all the pieces required to make the camper as it is seen in Cricut's Design Space. Remember to designate and attach all the score lines in Cricut Design Space.

Please note that I used two different materials to make this design. For the main structure of the trailer, I used card stock - either 65 lb or 110 lb card stock. That's because you have to make a small curved shape and cardboard is challenging for this small project. Card stock works much better for the pieces below. You can see those specific pieces below.
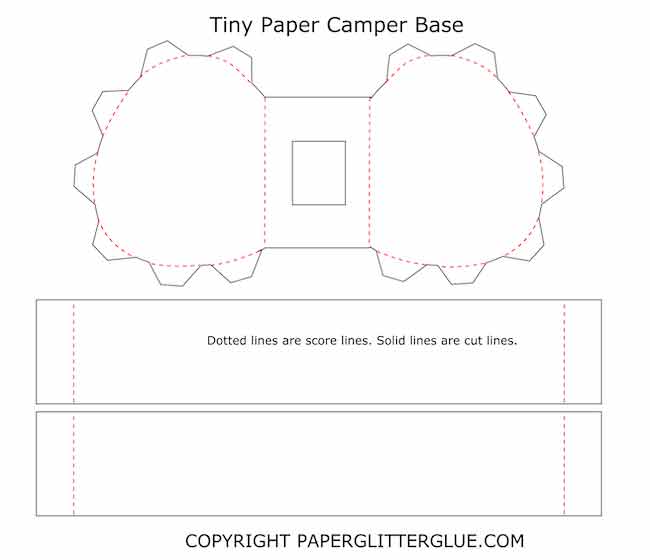
For the rest of the camper, I used this medium weight cardboard. It takes paint well and gives a nice structure to the trailer. You can use colored card stock if you wish, it just won't be quite as sturdy compared to cardboard.

If you want to cover your trailer with scrapbook paper, that works, but I still recommend making the travel trailer base and the side support pieces out of cardboard as shown below.
Prime and paint the camper trailer components
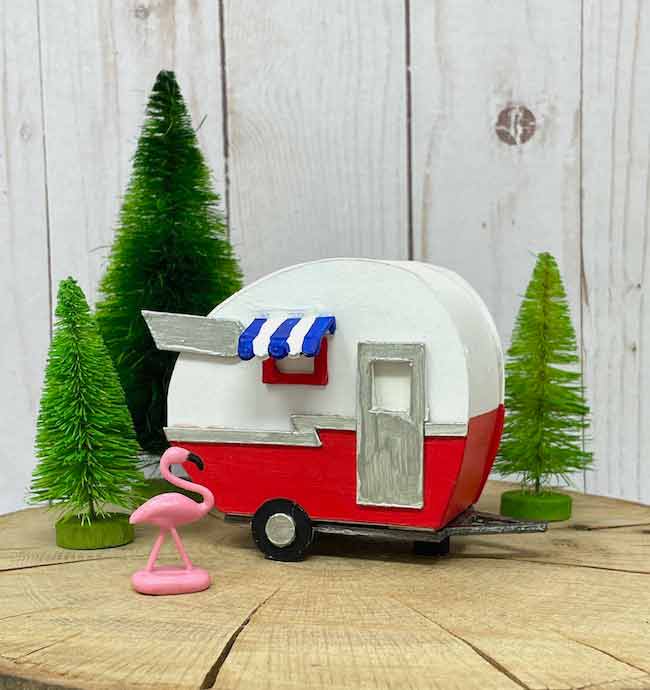
When I first started making miniature houses, I almost always used scrapbook paper for my creations, but now I love to paint everything. I love the way the little trailer looks painted.
First, I prime each of the cardboard pieces with gesso paint primer. It helps the paint stick better and look better.
Next, I paint with the colors I've chosen. I did one set in red, white, and blue colors and another camper in teal and orange.
Or use scrapbook paper to decorate your tiny paper trailer
For my scrapbook paper versions, I cut out the side pieces in one color, the decorative zig-zig pieces in a contrasting color and the doors and windows in another color. For the awning, I found some paper with vertical lines that worked well.
Remember to cut out the 2 main side pieces, the trailer base, and the undercarriage support out of cardboard to give more support to your miniature camper.
Assemble the Basic Structure of the Tiny Paper Camper
Ok. So this is the only tricky step - gluing the side pieces to the curves of the trailer. Because it can be tricky, I filmed it about 5 times before I finally did it right on camera. Fortunately, It is much easier to do if you aren't on camera.
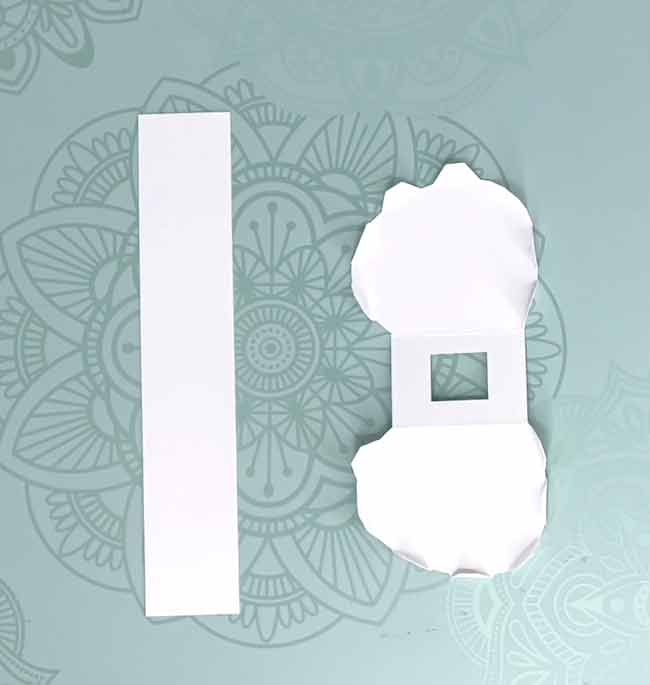
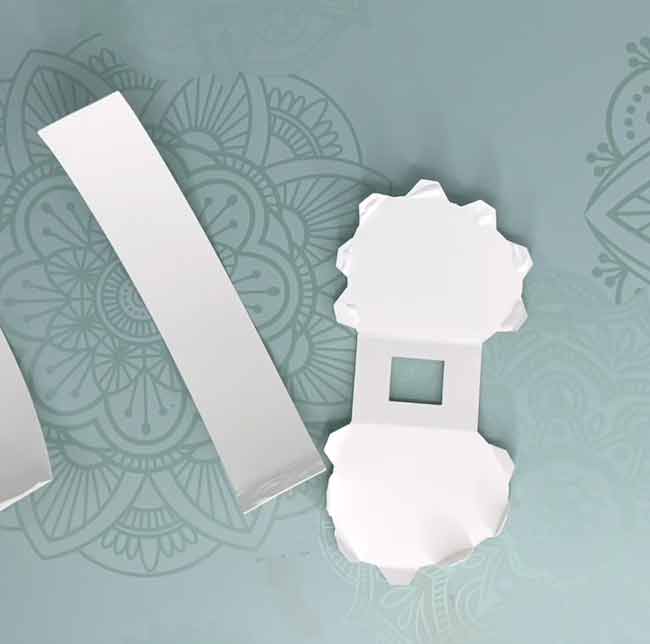
First, Fold along score lines
The first step in this process is to fold along all the score lines of the camper body. Also fold along the 2 score lines on the straight side strip. Then pull these strips between your fingers to give a curved shape. That makes it much easier to glue the side strips to the body tabs along the curve.
Apply glue to tabs on the camper body base
Next, apply glue to the tabs on the main piece of the camper. I used this Quick Dry Tacky Glue. It holds well and dries fast. But really any white glue will work. I don't think hot glue will work here because you can't move the paper if it is out of place.
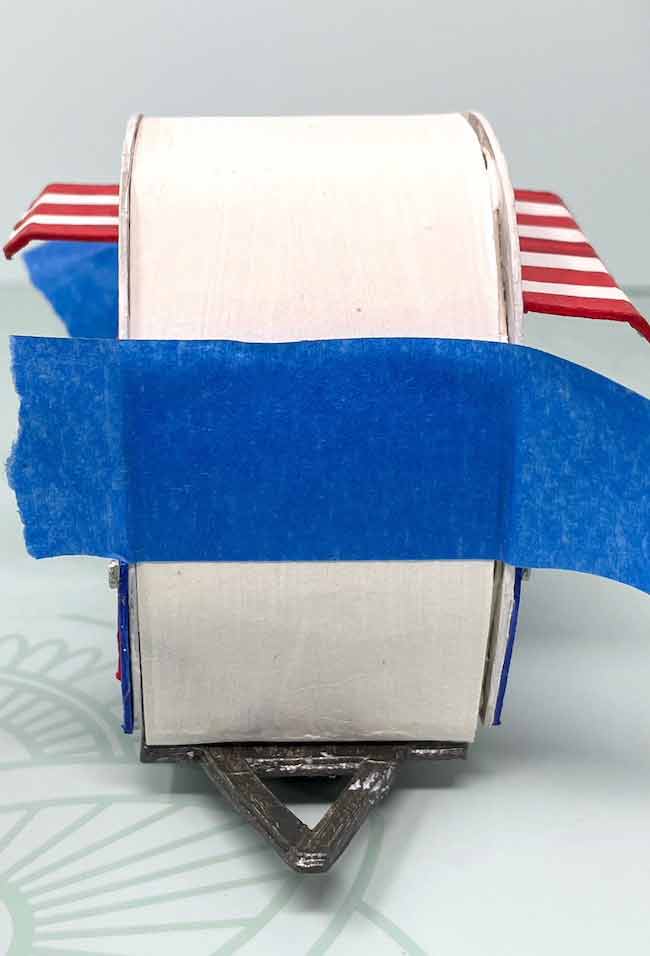
Also, it helps to have some painter's tape ready. Painter's tape helps hold the tabs in place while the glue dries.
Now glue the bottom of the side strip in place
Adhere that to the bottom of the main piece. That's your starting point.
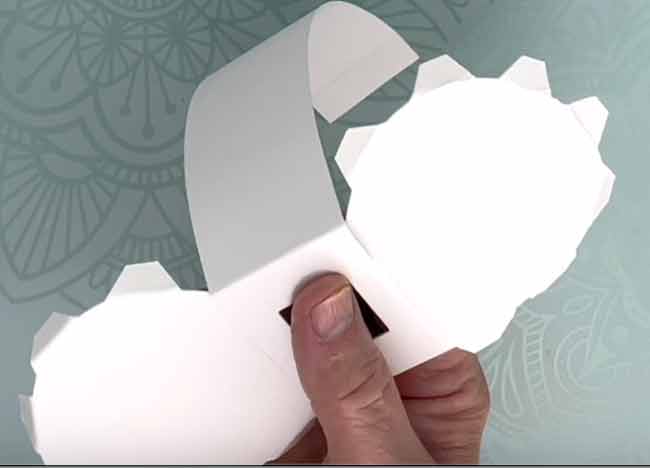
Apply a small piece of painter's tape to reinforce the strip while the glue dries. It helps me anyway. You can just hold it for a few seconds while glue sticks.
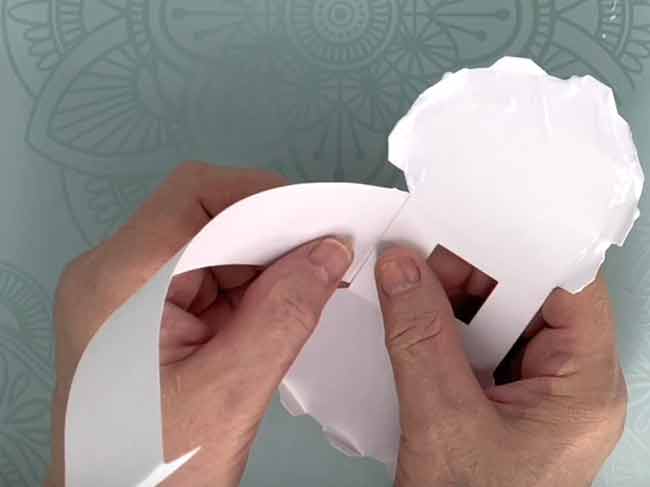
Gradually work your way around the curve as you adhere the tabs to the side strip. Again, painter's tape reinforces the glue while it dries. Then glue the the other side strip down to the bottom of the camper body.
Notice that the tabs are on the OUTSIDE of the curve. That's just to make it easier to glue down. We will cover the tabs up with the second strip when the glue is dry.

Next, continue to the other side gluing down the tabs as you go.

Let the base structure dry.
Assemble the front and back decorative camper pieces
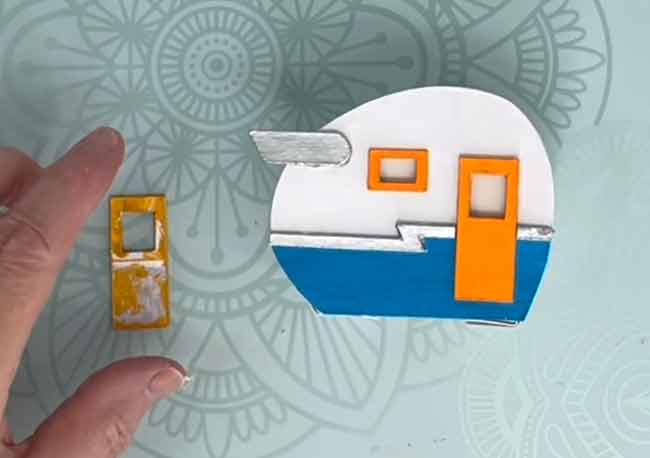
Next, glue the the decorative pieces to the cardboard piece which is shaped as a camper. Only DON'T GLUE THE AWNINGS IN PLACE until the last step because it's hard to apply pressure to adhere the sides if the awnings are on each side.
Another point is that there is an extra piece that goes on the back of the door if you are making it out of cardboard. If you are using scrapbook paper or colored paper you don't need that extra piece.
You can see the extra piece to glue on the back of the door below. It's to make up for the thickness of the cardboard on bottom of the trailer. Again if you make it out of card stock, you don't have to use that piece.

Glue the bottom of the trailer to main camper structure
There are two pieces for the bottom of the trailer. One has wheels and one does not. Glue them together to give more support for this section of the camper. Since it is an important support piece, it helps make it stronger.
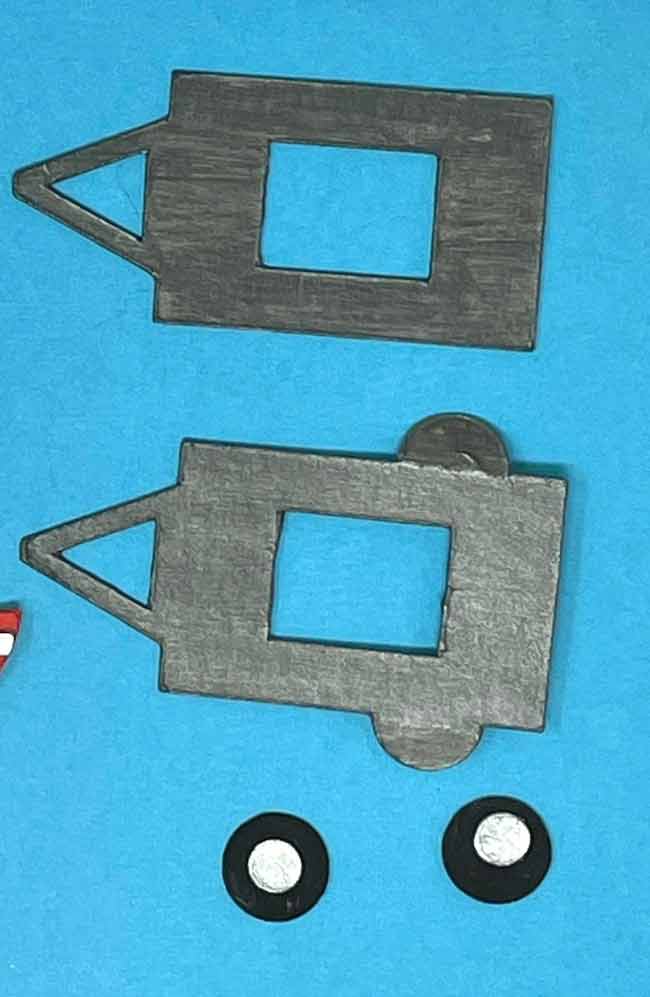
Here's the bottom piece with the two layers glued together.
Apply glue to the trailer base and adhere to the main body of the camper.
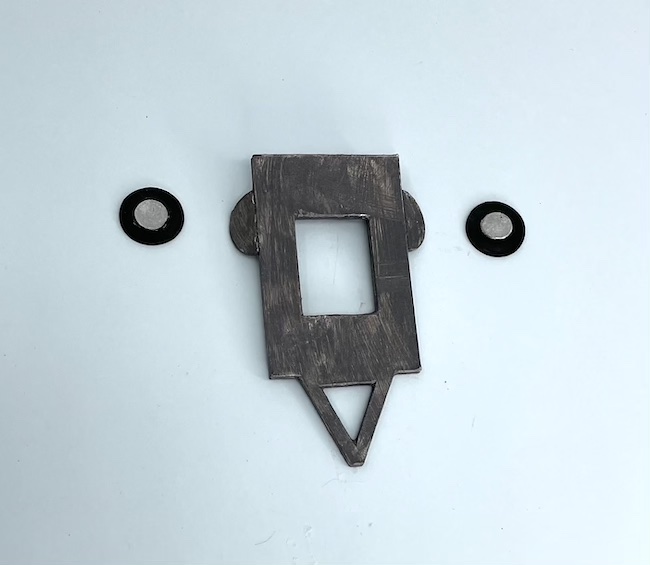
Wait to glue the wheels on the sides until the trailer is firmly in place. The wheels help attach the bottom part to the sides of the camper.
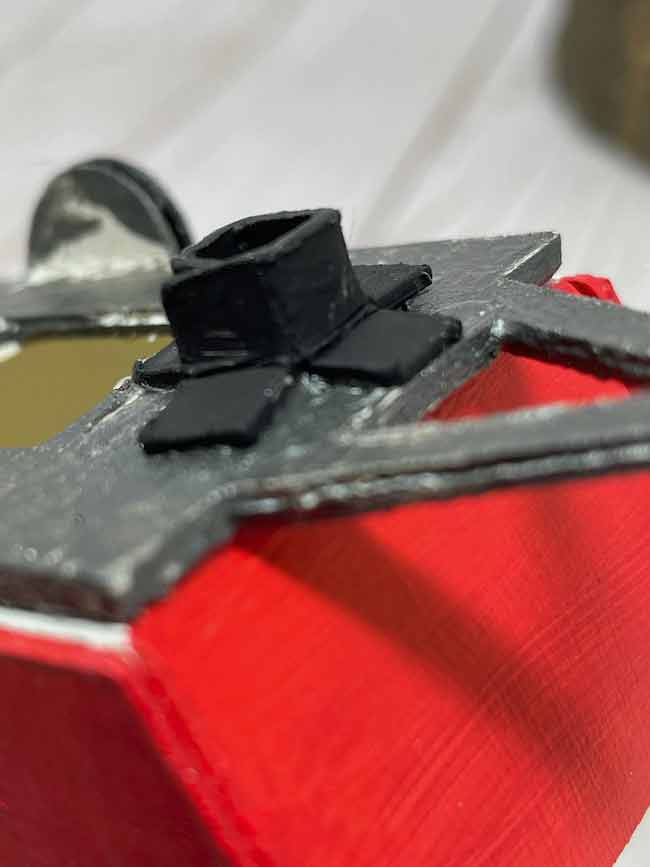
The next piece to glue in place is the undercarriage support. It helps the camper sit flat.
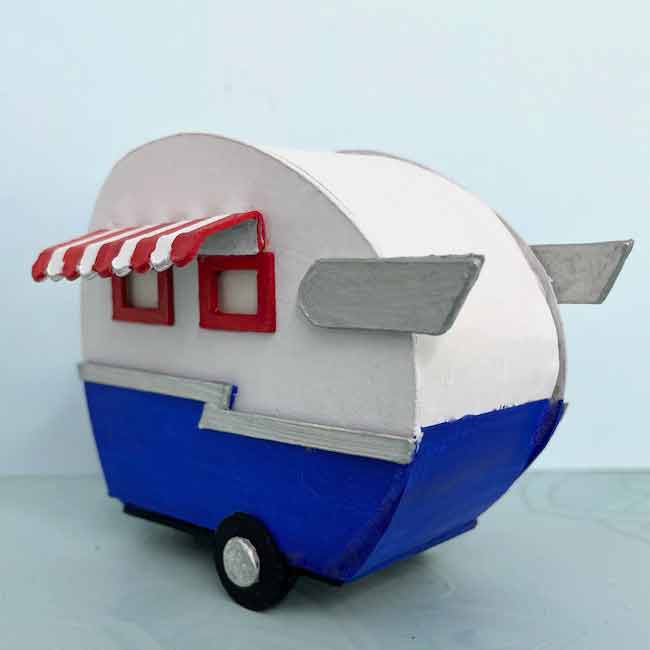
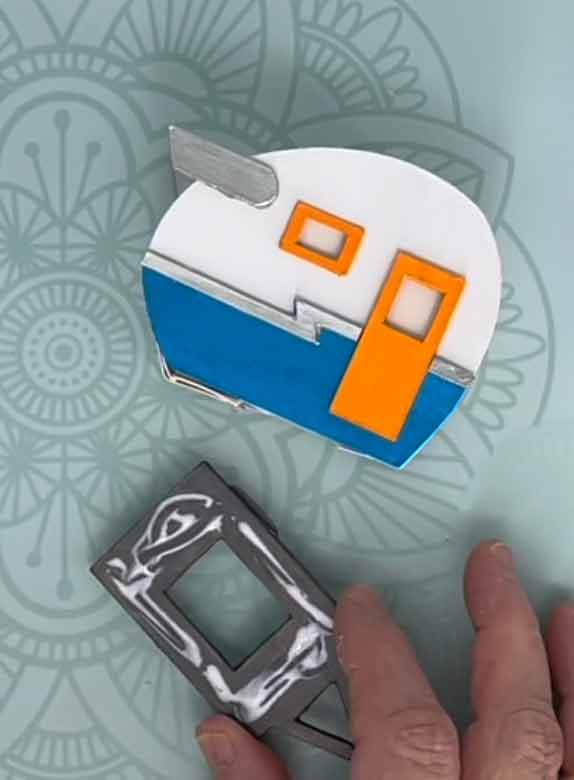
One other thing you can do is paint the curved side to match the front and back decorative pieces. In order to do that, apply some painter's tape to delineate the area you want painted. You can see that in the photo below.
Last step - glue the awnings in place
After all the glue is dry, the final detail is to glue the awnings in place. The small awning goes in the front and the wider awning goes on the back. Try to fold them so that the awning is angled downward.
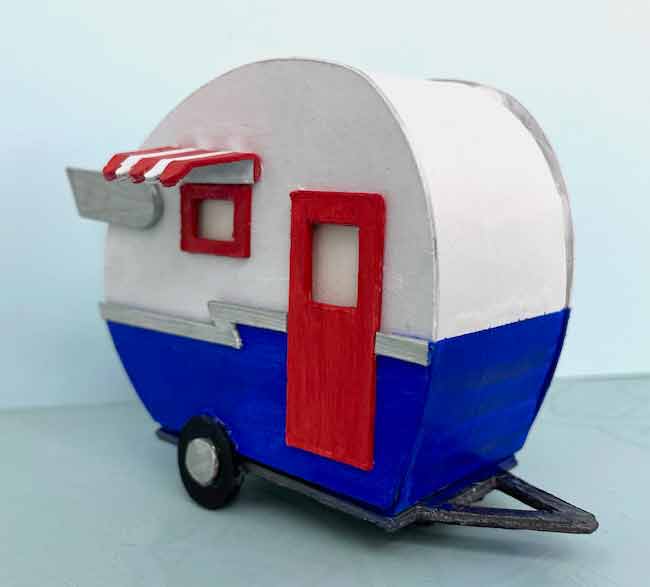
And that is how you make this cute tiny paper camper. It's a great project for summertime, but you can easily use it for other seasons depending on your color choices.
Let me know if you have any questions? You can always email me at [email protected]. I am always happy to help.
Have a great day.
Lucy
Helen J Roberts
Love how cute this pattern is. I am now going to have to make a campground for my Cuties!
Stephanie Sheridan
So cute and willbe fun to play with.
Lucy
Thank you, Stephanie.
Lucy
Joanne Weed
Lucy, Thank you for this cute camper. I especially love that you put a flamingo in your display! I have almost a dozen of the plastic yard sized birds ,but my kids won't allow me to put them in the yard. I'll have to make your camper and look for mini flamingos to put around it!
Lucy
Joanne,
I am so glad you like the little camper. A friend of mine sent that flamingo to me. I thought it was a perfect addition to the campsite.
Thank you so much.
Lucy
Germaine
Love what you send out - just wondering if you can make the tutorials printable - to be able to print them out when I go to make the item you have sent - thanks and have a great weekend
Lucy
Germaine,
I am going to do that to make it easier for people. I think I am going to include it in the PDF set from now on. Great idea. Thank you for the great idea.
Lucy
Audrey Charlton
Lucy
This turned out so adorable 💕 I can't wait to make one! 💕 💕 💕
Lucy
Thank you so much, Audrey. I do appreciate it.
Lucy
Charlene Abel
Thankyou so much. All your hard work is appreciated. I do have one request. Would it be possible to put your tutorial pages in as a PDF. I like to keep things together in the same folder as the SVG. I have satellite access to Internet so too often I don't have Internet. And there are too many ad interruptions to print instruction with so many pages.
Thanks again from a loyal fan!
Lucy
Charlene,
I have done that in the past, but not recently. I can start doing it again - that's a good idea. It does take some time, but for simple instructions it doesn't take a ton of time.
I know the ads are a pain, but they actually pay for the hosting of my website. I will try to help you. Is there a particular pattern that you would like instructions for?
Thank you for your kind comments. Lucy
Sondra
I love this ❤️
Lucy
Sondra,
I am so glad you like it. I was pretty tickled when I made the design and it work out the way I imagined it.
Thank you,
Lucy