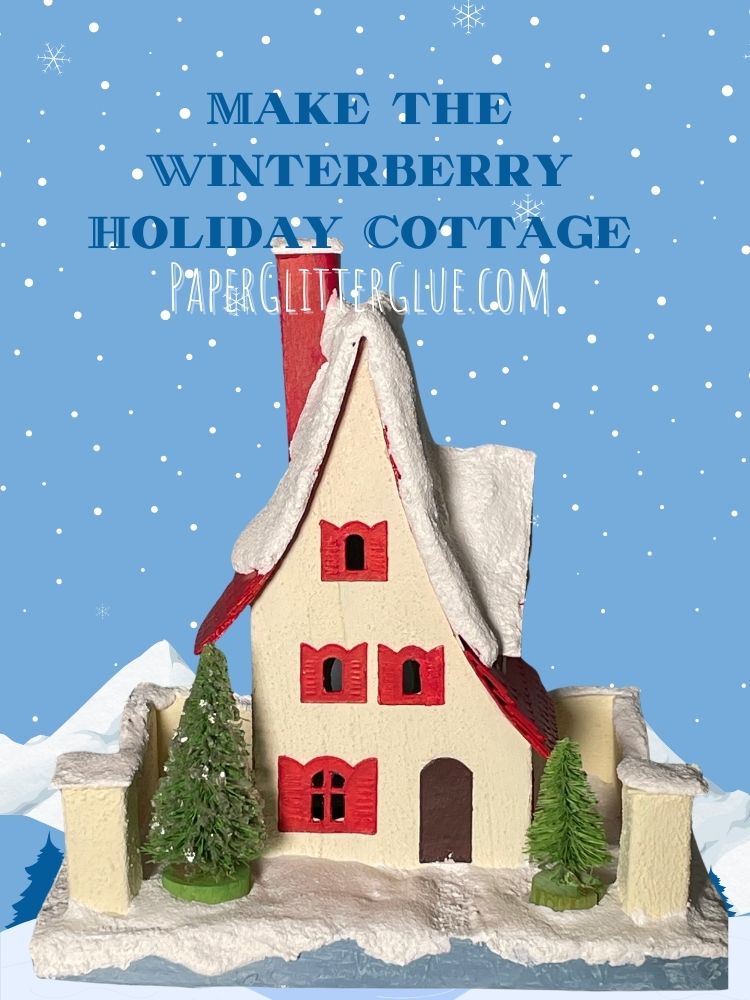
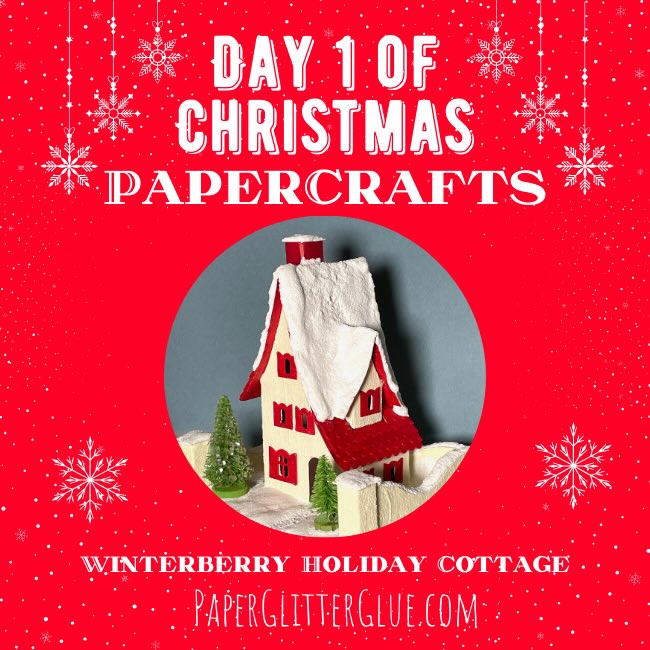
For Day no. 1 of the Paper Glitter Glue 12 days of Christmas event, we have the Winterberry Cottage. Learn to create this enchanting tiny holiday cottage perfect for this holiday season. With its steep, snow-covered roof, bright red windows, and a whimsical surrounding wall, this cozy design captures the magic of a winter wonderland. Crafted from cardboard (you know I prefer cardboard) or cardstock, it’s an ideal project to brighten your holiday decor or gift to a loved one!
What do you need to make the Winterberry Holiday Cottage?
This post contains some affiliate links for your convenience. Click here to read my full disclosure policy.
Supplies for Making the Winterberry Holiday Cottage
- Card stock - If using card stock, I prefer 110# card stock for the structure of this cottage
- Cardboard - you know that cardboard is my favorite material for making houses - 22 point cardboard works well. That's what I used for this house
- Gesso primer for painting cardboard
- Acrylic paint for painting cardboard
- Glue options - Quick Dry Tacky Glue for the structure of the cardboard house or Bearly Art Glue for gluing card stock together.
- A way to cut out the pieces, I use my Cricut Maker but you can use other cutting machines to make the Winterberry Holiday Cottage.
- Other cutting machines that work - any of the Cricut Explore Air machines and the Cricut Joy Xtra. For the Cricut Joy Xtra you need a foil tool or an adapter for a scoring tool to make score lines.
- SnowTex is my current favorite snow
- Bottlebrush trees - these are my favorites
Steps to Make the Winterberry Holiday Cottage - Design No. 170
- Download the pattern for the Winterberry Holiday Cottage - Design No. 170 in the free Paper Glitter Glue library
- Cut out all the pieces in either cardboard or a heavy cardstock such as 110# cardstock.
- Fold along all the score lines before you do anything else
- If using cardboard, prime the cardboard with gesso so it will take paint better. Then paint
- Apply windows and the door to the body of the house before you glue it together
- Glue the house together along the side tab. Let dry.
- When the side glue tab is dry, gently curve the roof flaps so you can glue them behind the front and rear gables. They need to be able to curve a good amount.
- Glue the top of the roof flaps together. Make sure they line up well.
- Allow the glue on the roof flaps to dry before you do the next step.
- Next bend the roof flaps and push downward so you can glue them behind the front and rear gables. This is the hard step. Apply glue along the sides of the roof flaps so they will adhere to the gables.
- Let dry.
- Make the roof dormer by folding along the score lines and then gluing the dormer roof flaps together. Let dry.
- When the dormer roof flaps are dry, you can add the dormer roof. You must glue it so it matches the curve of the roof. Test it before you glue the roof on. It's easier to glue the dormer roof on the dormer before you glue the dormer to the roof.
- Make the chimney by gluing along the chimney tab. You can glue the chimney top on when the chimney is adhered to the roof. It's a little easier then.
- When the house roof flaps are secure, glue the roof in place. Just like you curved the roof flaps, gently curve the roof pieces so they fit the steep sides of the house.
- Apply glue along the front and rear gable edges of the house.
- Center the roof on the house with equal overhangs on the front and back. Make sure the roof score line is well-folded so the roof fits easily on the house.
- Either hold the roof in place or use tape to hold it while the glue dries. I vote for tape.
- Once the roof is well adhered to the house, you can glue the chimney and the dormer in place. Make sure they fit the curve of the roof. Test them to see where they fit best.
- Apply shingles if desired.
- Make the stone wall.
- Apply a thick bead of glue to the base of the house and adhere to your cardboard base.
- Glue the walls to the base around the house.
- Decorate your house with snow and glitter, if desired.
Here is the video to see how to construct this house. It's kind of a long video, but I tried to go over all the details. If you know how to use Cricut Design Space and find score lines, then skip the first 7-8 minutes.
This video will be published at 7AM on December 1st, 2024.
1. Download the pattern from the Paper Glitter Glue Library - Design No. 170
The Winterberry Holiday Cottage is design no. 170 in the Paper Glitter Glue library. For your convenience I've got the design available in two formats - as a printable PDF pattern and the SVG cut file for cutting machines like the Cricut.
To get access to all the Paper Glitter Glue library if you don't have the password, just subscribe to my newsletter and you will get the password right way.

Dena
I've been making yours and a few others for a few years. they give me great joy. thanks you for sharing.
Lucy
Thank you, Dena. I feel the same way - making little houses, just makes me happy.
Lucy