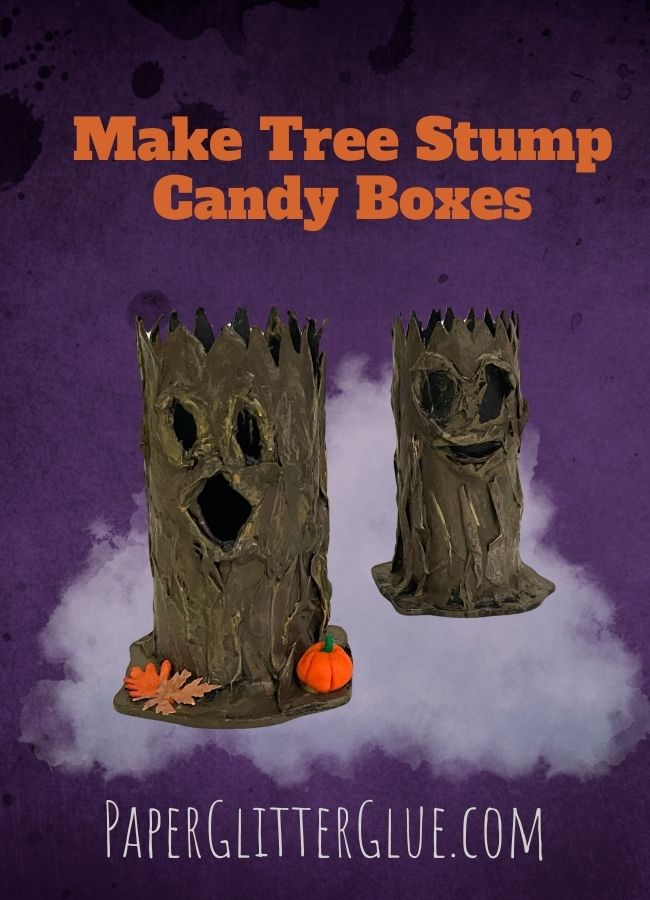
Looking for an easy, fun craft for Halloween? These Spooky Mini Tree Stump Candy Boxes are the perfect DIY project for parties, classrooms, or to hand out to your favorite trick-or-treaters.
Using a toilet paper roll, recycled paper, and a little paint, you can create a whole stump-filled haunted grove. And with the free template (Design No. 199 in my Paper Glitter Glue Library), you can make them as candy boxes or turn them into eerie little LED candle holders.
Use the pre-printed face template to make it really easy or cut out the eyes and mouth to turn your tree stump into a flickering LED candle holder.
How to Make the Spooky Miniature Tree Stump Candy Box
You can find the free pattern (Design No. 199) in my Paper Glitter Glue library. It’s available as both an SVG for cutting machines or a PDF for hand-cutting. But you don't really need a pattern for this project. It's available if you want it.
To open the library simply, type in the password on the About the Library Page.
If you don't have the password, simply subscribe to my newsletter with the form below. You will get the password right away. Don't worry I will never send you any spam. Really. Of course, you can unsubscribe at any time.
Materials to make your own Spooky Miniature Tree Stump Candy Box
- Toilet paper rolls or paper towel rolls (cut to size)
- Thin cardboard for the base
- Brown packing paper, newspaper, or even tissue paper
- White glue or Mod Podge for paper mache
- Acrylic paint - shades of browns, black, white, and green
- Hot glue to glue the base to the paper roll
- LED tea lights - optional, for glowing face version
- Free Spooky Tree Stump Pattern - Design No. 199 from the Paper Glitter Glue library

Outline of Steps to make the Miniature Tree Stump Candy Box
- Download the pattern - no. 199 in the Paper Glitter Glue library
- Cut and Assemble the Base
- Optional - make a jagged top for the tree stump candy box
- Sketch the face for your tree stump
- Apply paper mache to the tree stump
- Paint the tree stump with various shades of color
- Light it up or fill with candy
- Variations
Detailed Instructions for making the Miniature Tree Stump Candy Box
1. Download the pattern for the Candy Box
Truthfully though, you don't really need a pattern for this. You do need a cardboard base so you little tree stump has a bottom and doesn't tip over so easily. I just sketched out a base that sort of rectangular.
I did include in the pattern a template for the cardboard roll with a couple of face options on it, if you would like to look at that.
Just go to my library link which goes to the About the Library page, click the big orange button that says "CLICK HERE" which takes you to the password page. Simply type in the Paper Glitter Glue library password and the library will open up for you.
The free files are listed numbered and in chronological order with the most recent project first.
If you don't have the password, just subscribe with my crafty newsletter below to get the password right away.
2. Cut and Assemble the Base
Cut the base for your tree stump from thin cardboard. Glue 2–3 layers together so it’s nice and sturdy. Attach the toilet paper roll to the base using hot glue.
3. (Optional) Make a Jagged Top for the Miniature Tree Stump Candy Box
Using scissors, roughly cut the top of your paper roll so the edge looks uneven and broken — like a real tree stump that’s been snapped off.
4. Sketch the face for Tree Stump
First, draw a rough outline of where you want the eyes and mouth to go. Don’t worry about being precise — this is a spooky, weathered tree!

If you are going to turn your tree stump in to a candle holder, cut out the eyes and mouth now.
Tear small pieces of paper (toilet paper actually works well), coat them in glue, and layer them around the eye and mouth areas to build up bark eyebrows and a creepy grin. Make these shapes as spooky as you like — paint will later enhance these details and make them stand out.
5. Apply Paper Mache to the Tree Stump
Tear the rest of your packing paper into strips. Dip in glue mixture (2:1 glue-to-water ratio) and cover the entire stump, working vertically to mimic tree bark.
Wrinkle and overlap the strips as you go to create bark texture, being careful to build up the area around the face.
Let the paper mache dry completely — overnight is best. Paper mache done with Mod Podge dries much faster.
6. Paint the Stump
You know I love this step. Mimicking bark texture using shades of paint is one of my favorite painting techniques.
Paint the entire stump with a dark brown base coat. For the eyes and mouth, I use black to make them more evident.
Once dry, dry-brush lighter browns, grays, and even a little white or green on top to highlight the bark texture and make the facial features pop.
Let dry.
7. Light It Up or Fill With Candy
To make the LED Candle Version: Cut out the eyes and mouth you sketched earlier, then place a small LED tea light inside for a spooky glowing face. You can glue vellum behind the eyes and mouth for a more diffuse glow.
The tall paper towel tree stump is lots of fun to make as a candle holder.
8. Variations
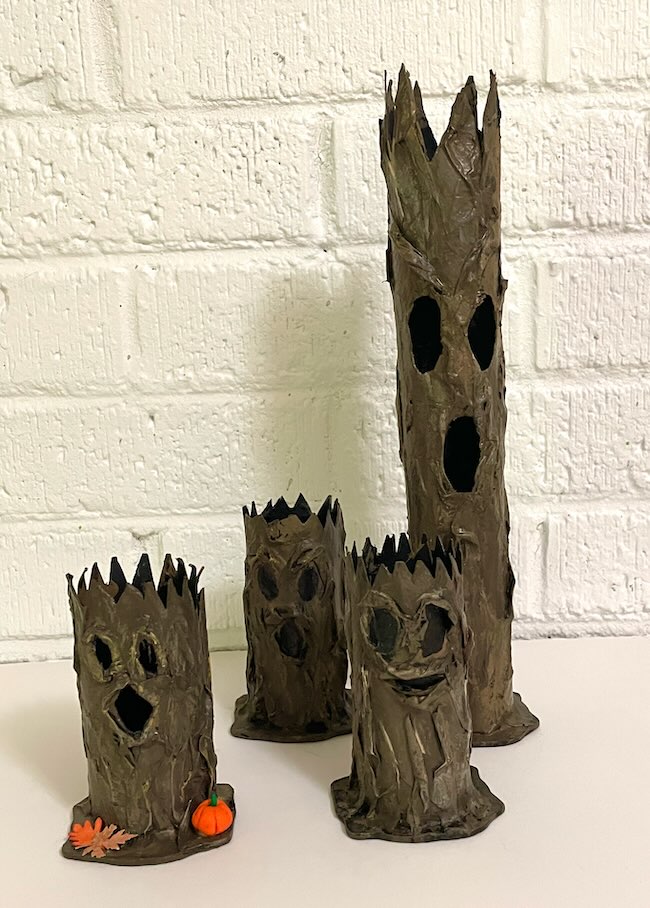
Create a Haunted Grove: Make several stumps and cluster them together on a table or mantle for a miniature haunted forest scene. Use variations on the faces to make them even more interesting. Add LED tea lights to a few of them so it looks like something spooky is lurking inside!
Sparkly Stump: While the paint is still damp, dust with fine black glitter for a magical forest glow.
Add creepy insects or tiny mushrooms for more personality: Just like we did for the much larger Tree Stump Candy Bowl, you can get small plastic insects to decorate your tree stump or make paper mushroom cutouts or polymer clay mushrooms to decorate around the base.
Questions?
If you have any questions, feel free to ask. You can comment below or email me - [email protected].
Have fun.
Leave a Reply