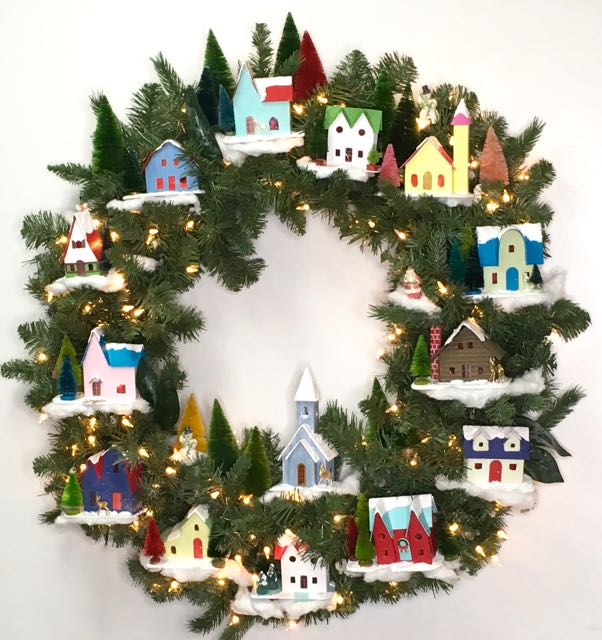
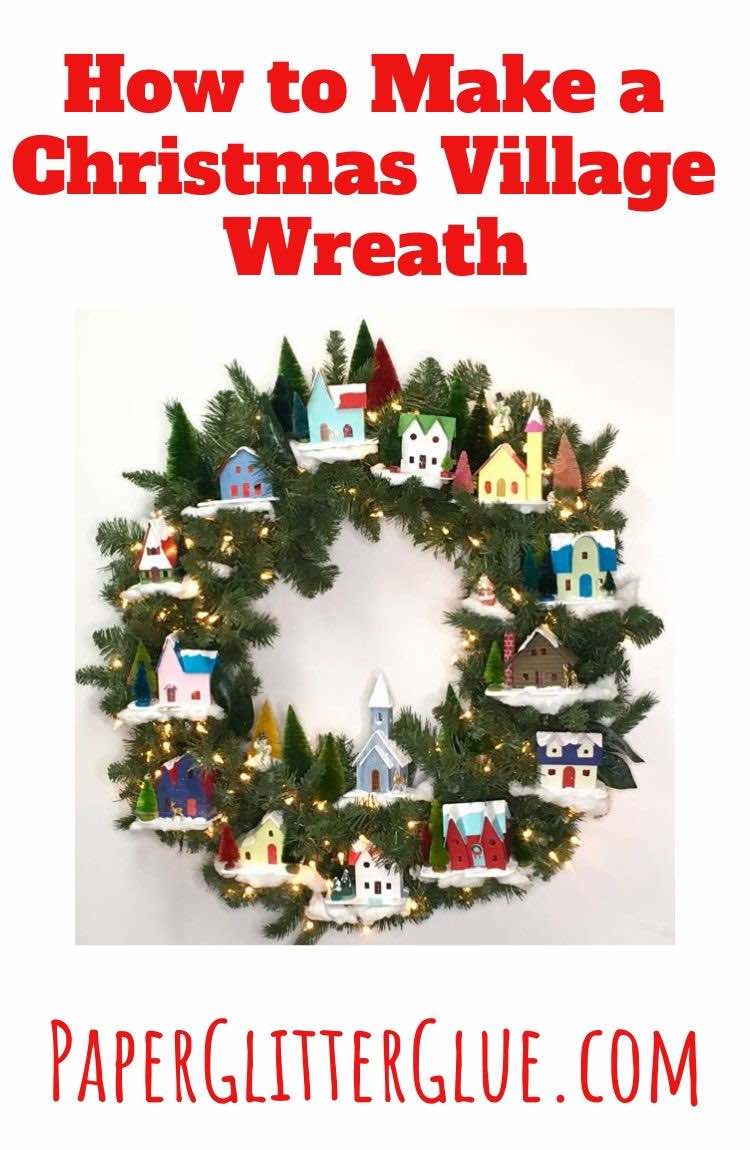
Here it is - the Winter Village Wreath made with all of the 12 Houses for Christmas houses. I planned to make one of these since the Martha Stewart cover with the magical village wreath came out in December 2014. One of the reasons I started making little houses is because of that specific wreath. So finally I have my own snowy Village Christmas wreath. And it is so easy to make - really. Well, it's easy if the houses are already made. Since I've already finished all 12 houses, I'm ready to go.
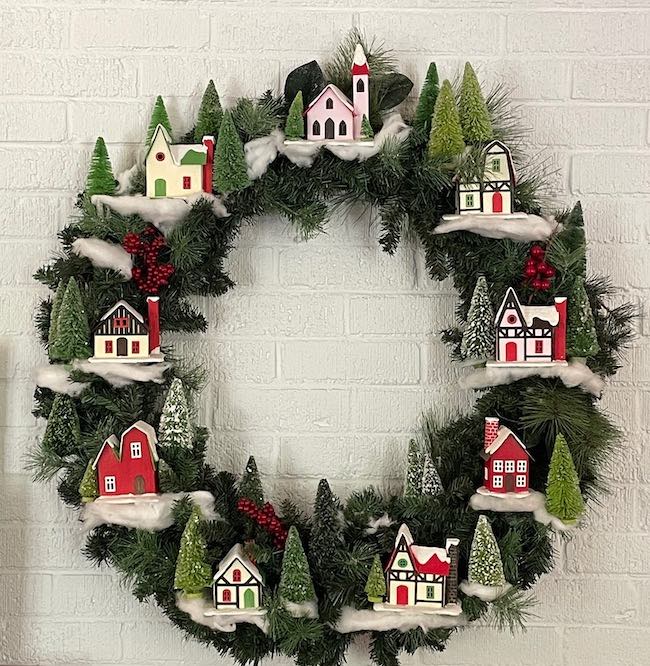
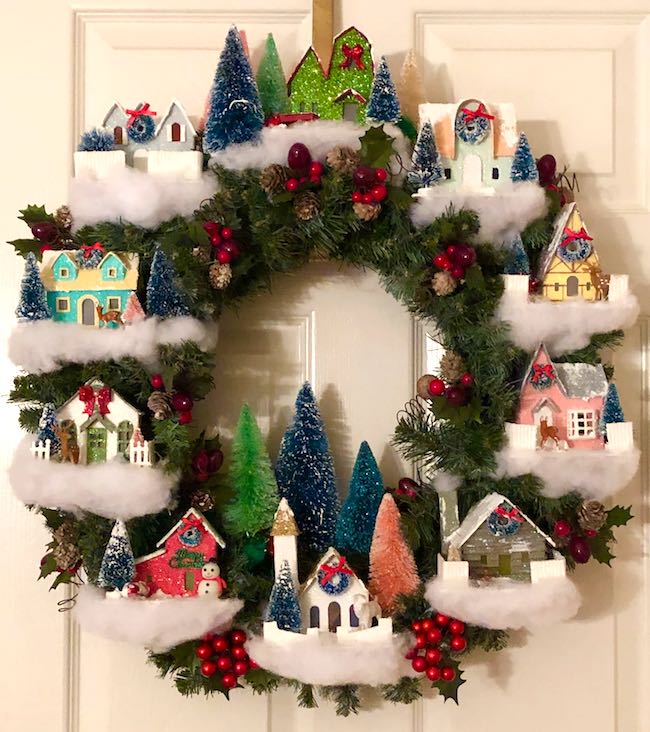
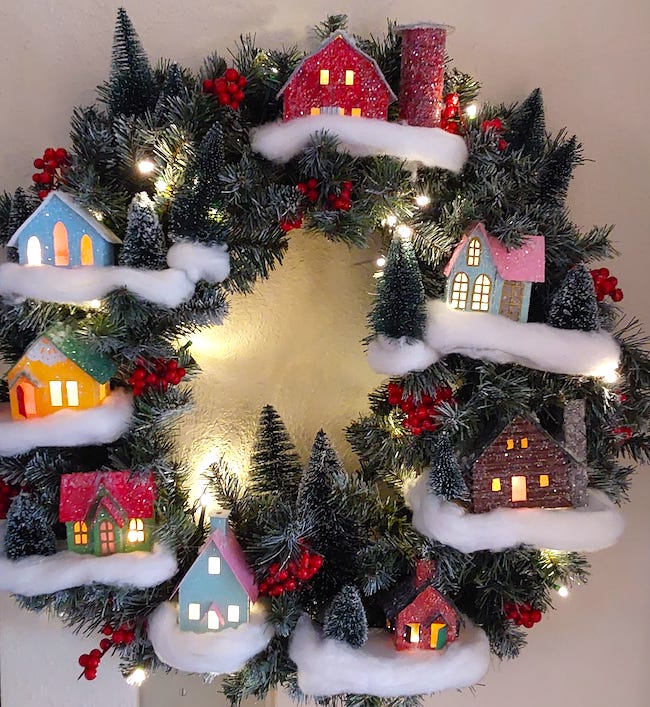
Update - November 2023 - I am making a new wreath which I will share in my Alpine Village Wreath Workshop. Here's how the new wreath looks. I am so tickled about how it turned out.
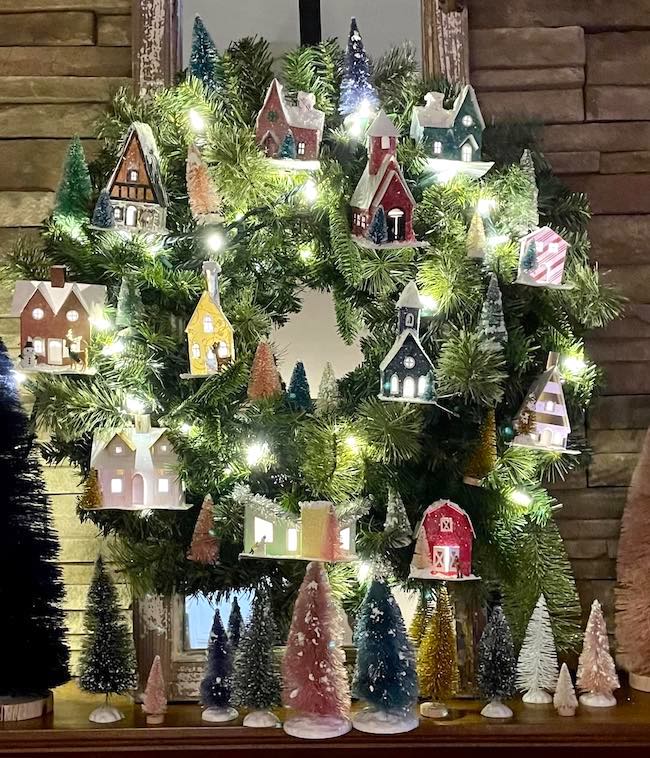
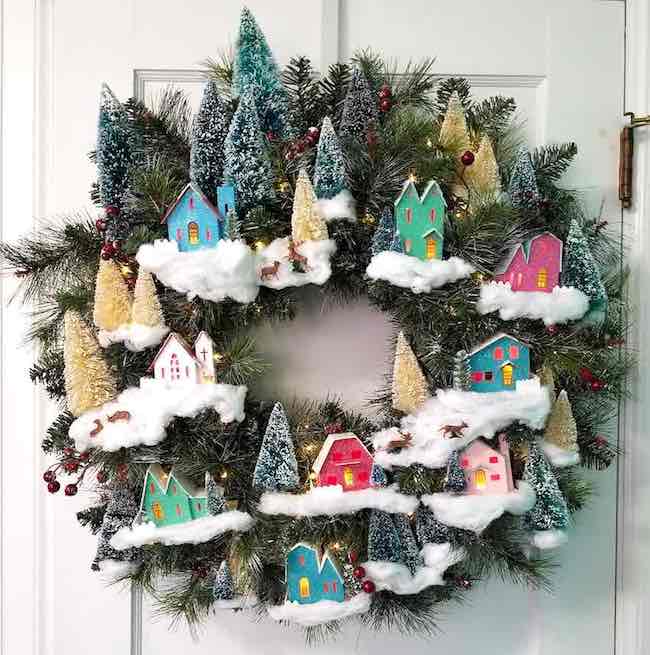
And Ann shared her version of the Winter Village Wreath. What do you think? Now let's get started.
You don't need 12 houses to make this wreath. You can even make it with one special glitter house showcased in the center of the wreath. As you design your wreath, you will think of multiple options for decorations - such as a white-painted wreath or even a pink one, coat it with Snow-tex, surround your houses with vintage ornaments and extra bottlebrush trees, etc.
This post contains some affiliate links for your convenience. Click here to read my full disclosure policy.
Here are the materials required for Winter Village Christmas Wreath:
- Artificial wreath I used a Balsam Hill wreath with lights
- Putz or glitter houses (see the list of 12 Houses for Christmas here)
- Surgical Cotton or fiberfil for snow or quilt batting
- Hot glue gun
- Glitter (optional) - my favorite is Rock Candy Glitter
- White paint
- Bottlebrush trees
- Salvaged Santa and Salvaged Snowman
- Little houses to decorate your wreath
Pick out the size for your Winter Village Wreath
I purchased a large wreath so I could fit all the houses on my Christmas wreath. It's 38 inches in diameter which is a pretty large wreath. Actually, I had space for 14 putz houses. But choose a wreath based on where you intend to hang it. For example, maybe make a small wreath with a 3-4 houses for a child's room. Kid's love the little houses and they would be delighted to have their own Winter Village wreath in their room.
If you want your wreath to have a more snowy look to it, now is a good time to paint it with Snow-Tex or white paint. I didn't do this, but I wish I had.
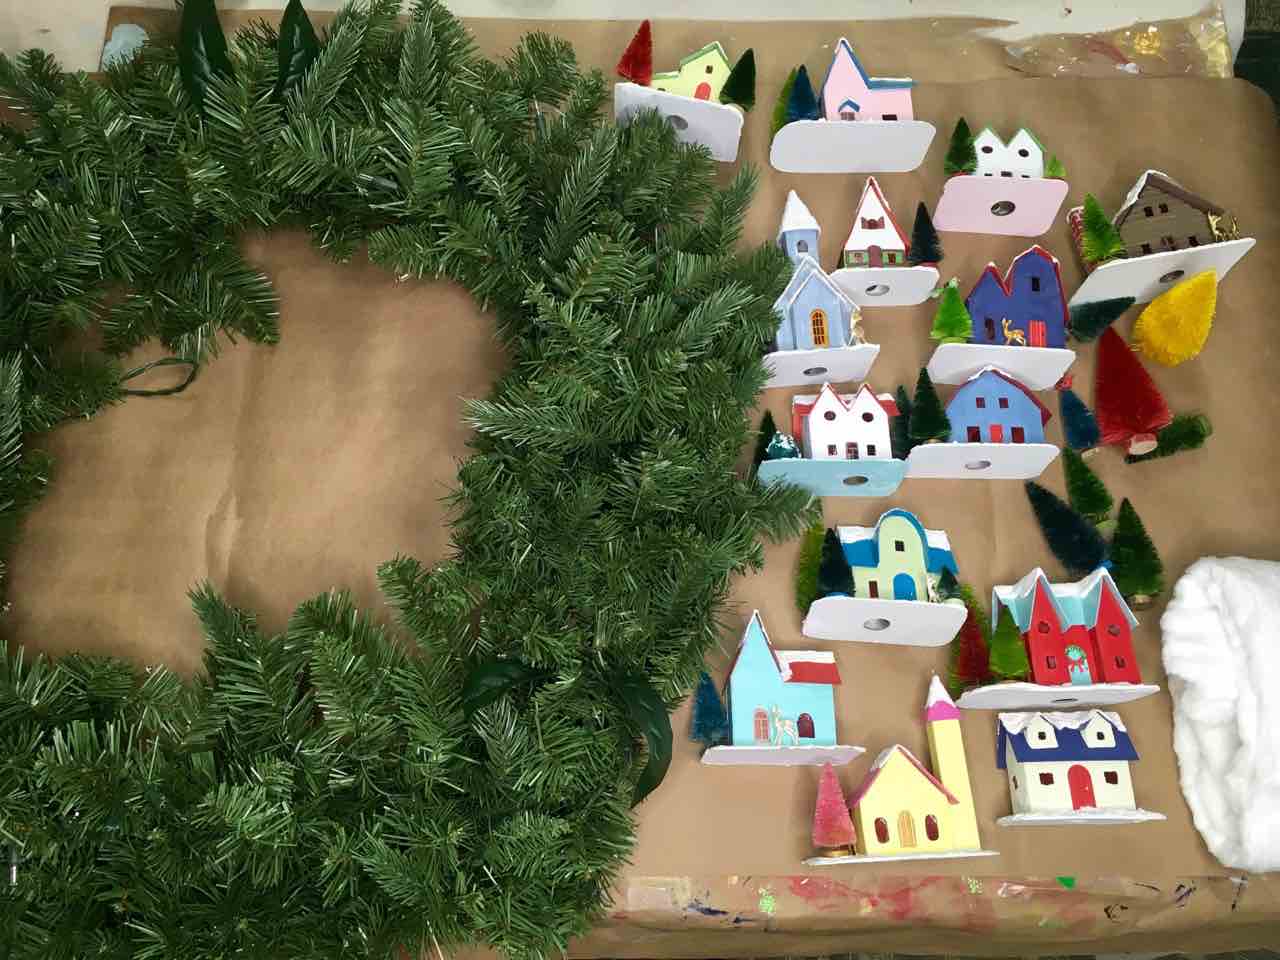
First plan the placement of your little houses on your snowy village winter wreath
You can find the patterns for all the little houses in the Paper Glitter Glue Library. Just subscribe to my newsletter in the form below and you will immediately get the password to the library.
Now lay the wreath down so you can figure out where the houses will actually fit on the wreath. I wanted the church in the center partly because it is the biggest but also because it seemed the logical space for it. I took each house and made a nest in the greenery to test how it would fit in that particular spot. This also allowed me to see how many houses fit on the wreath. Also I tried to spread out the colors a bit. I didn't want the two houses with teal roofs to be side by side.
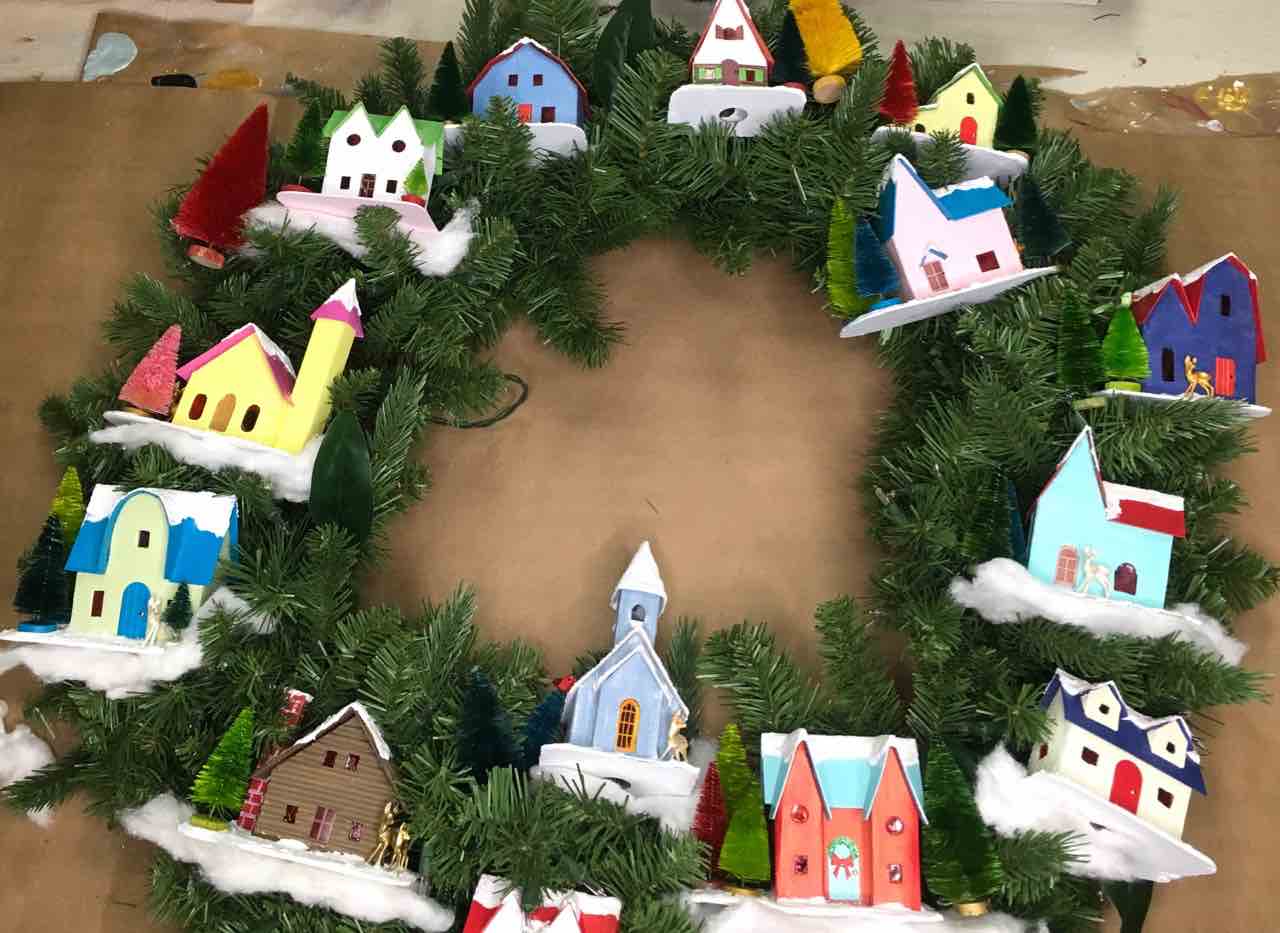
For my next Winter Village Wreath I may stick to a smaller color palette that may make the design more cohesive.
Next tear strips of cotton to provide a snowy base for each putz house
This step challenged me because I couldn't find cotton rolls in the first few drugstores I tried. It's kind of an old-fashioned wound care material and not nearly as popular as it once was. But I did find it online and in a drugstore near the hospital where I work. You can find it online under the term Surgical Cotton Roll. It's fairly inexpensive. And you get a lot of it so you can use it for other Christmas decorations.
Just roughly tear off strips so it looks like a blanket of snow.
If possible, hang your Winter Village Wreath on a wall so you can place the houses
Though I planned the placement with the wreath laying flat, to adhere the putz houses I hung the wreath up. I did that to make sure the wreath branches would hold the house fairly well. It's much easier to hot glue when the branches do most of the work. Also you can arrange the houses better so they are on straight.
Tuck the cotton under each house when you have it in place
Now tuck the cotton underneath your house. Generally the branches hold the cotton in place pretty well. I only used a light layer of glue on the bottom of the house if the cotton flopped down too much.
Hot Glue the House to the wreath
To glue the house to the wreath, I ran a bead of glue along the base of the house and tucked it into its nested spot. Because I love the little houses, I did not glue the body of the house to the wreath. I figure if I ever change my mind and want to move the glitter houses, I can do it without damaging them. If the cardboard base tears, I can just glue a new layer on - no big deal. You may have to rearrange the cotton a little bit and add a dab of glue if needed.
Decorate your Wintry Wonderland Village Wreath
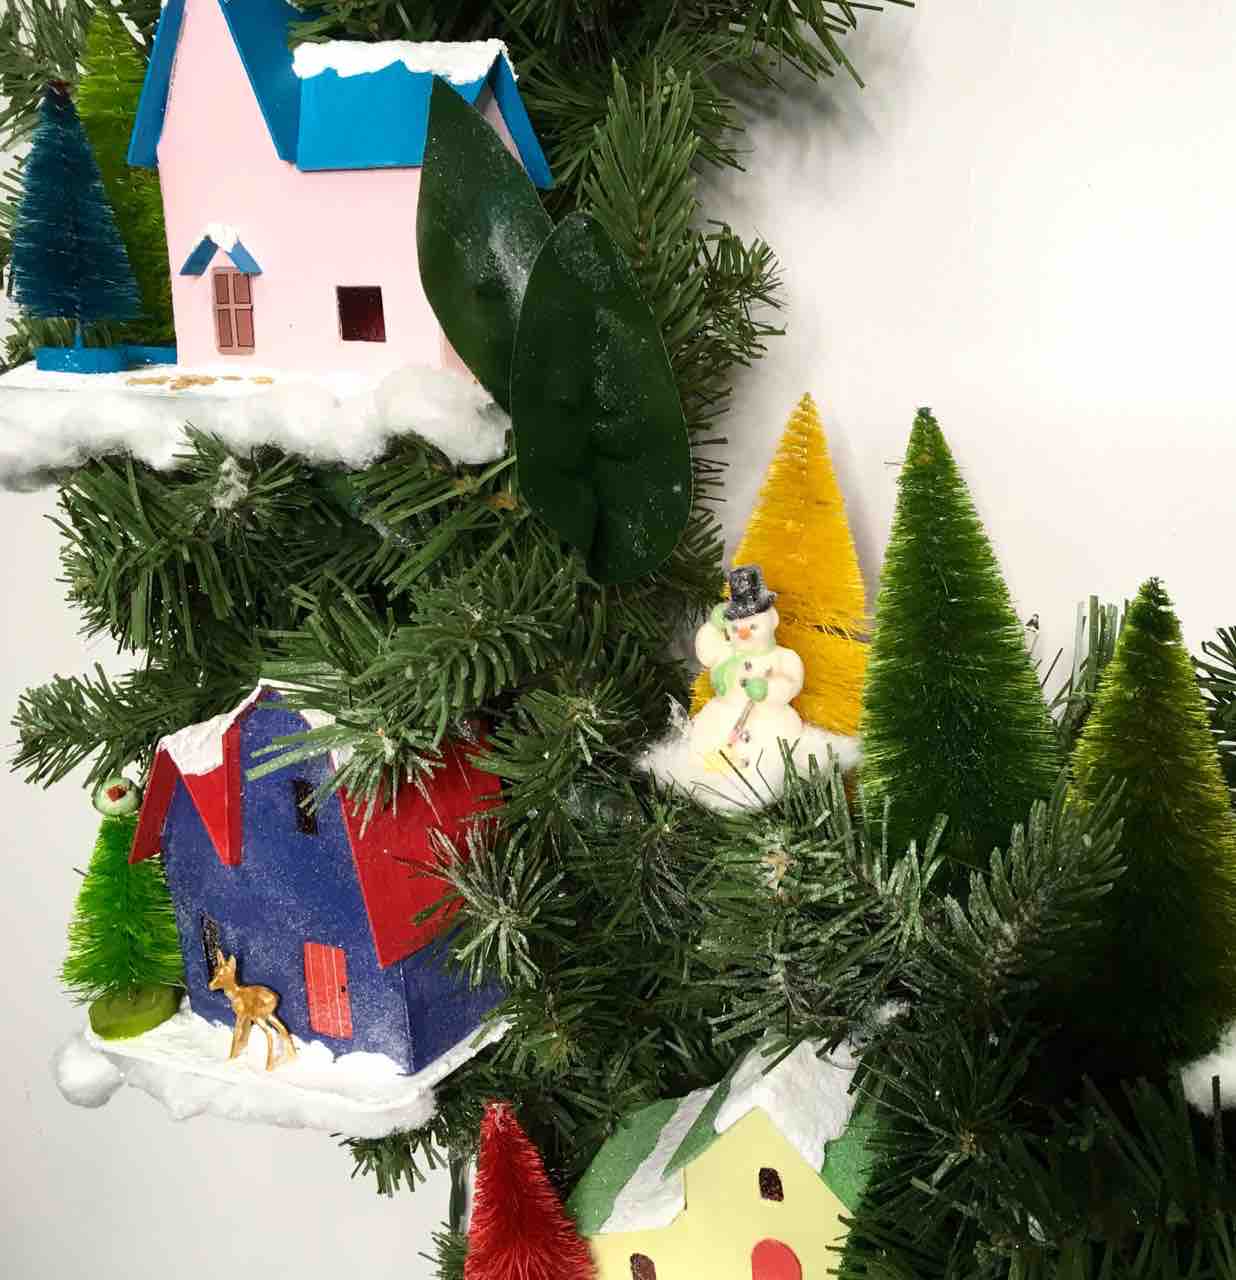
When you are happy with the placement of the houses, add extra decorations - more bottlebrush trees and Christmas figures. I used 4 Tim Holtz figures from Idea-ology called the Salvaged Santa and the Salvaged Snowman. Both of these designs are based on vintage Christmas figures. They come unpainted so I painted them with distress paints, then distressed them with some Hickory Smoke distress crayon to bring out the details. And finally, I glittered them with Rock Candy Glitter. They do look vintage.


I added a number of Woodland Tree Lot trees to add some extra forestry dimension to the wreath. All were colored with Distress Spray Stains - mostly Mowed Lawn, but also Festive Berries, Twisted Citron, Mustard Seed and Evergreen bough.
You can add glitter to your Winter Village Wreath at this stage, too. I did add glitter after painting areas with Mod Podge, but the wreath is so big, it doesn't show up much. It would have worked better if I had streaked the branches with white paint and then applied glitter earlier in the process. Also picking up this wreath and shaking it with all the putz houses already attached to get the excess glitter off was kind of awkward. If you have a smaller wreath, it might work, but in retrospect I recommend doing that step before the houses are glued on.
Now hang your Wonderful Winter Village Wreath where everyone can enjoy it
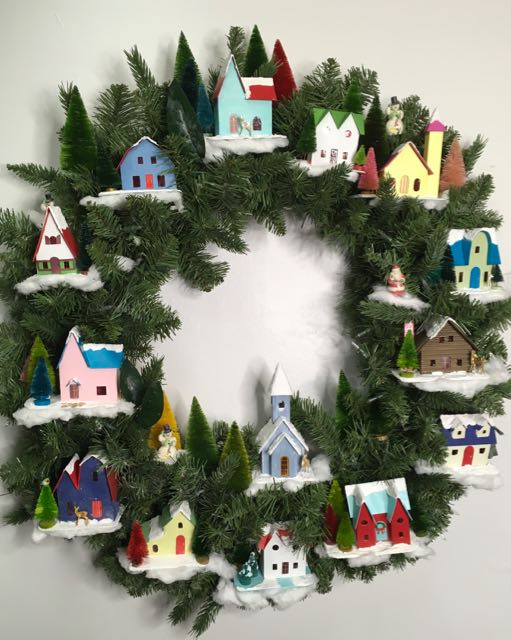
And that's it.
Really this is an easy project once you have all your winter village Christmas houses done. Besides being easy, it really looks good and is such a fun Christmas wreath. It makes people happy to look at it.
Here is a beautiful wreath made by Iris, one of the readers of this blog. She dd a stunning job with her wreath. In fact, I like her colors better than the ones I chose. Isn't it wonderful?
And here is another beautiful Christmas village wreath from Ericka, another reader of the blog. Some of these little house patterns are not mine, but the wreath gives you an idea of different variations you can do.
Finally here is Hope's Christmas village wreath, isn't it delightful?
I have a few more Christmas ideas I will try to write about before Christmas. Then we have a New Year.
Lucy
For more information on all the specifics on making a wreath, check out the Alpine Village Wreath Workshop
P.S. Remember, if you have any questions, leave a comment or email me at [email protected].
And be sure to pin to your Christmas craft pinterest board so you remember where you found the Winter Village Wreath tutorial.


Melinda Grosch
What does a finished one cost?
Lucy
Melinda, I don't make these wreaths to sale. Mostly I want to help people learn how to make them for themselves. You can find them online. Shabby Shimmer Christmas on EBAY makes really cool vintage wreaths if you are interested.
Rebecca Turinic
I'm so impressed with your wreath! It's beautiful.
maria
Very well done. And the Tim H. figures are perfect.