
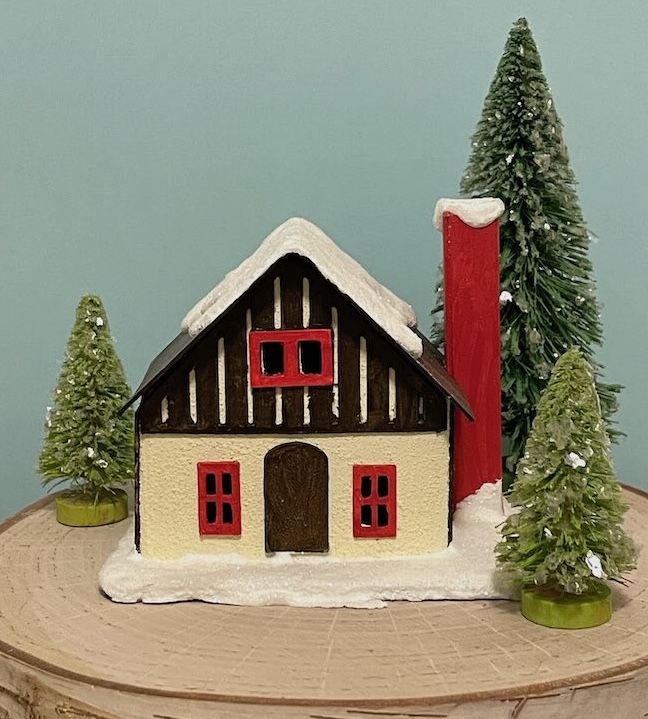
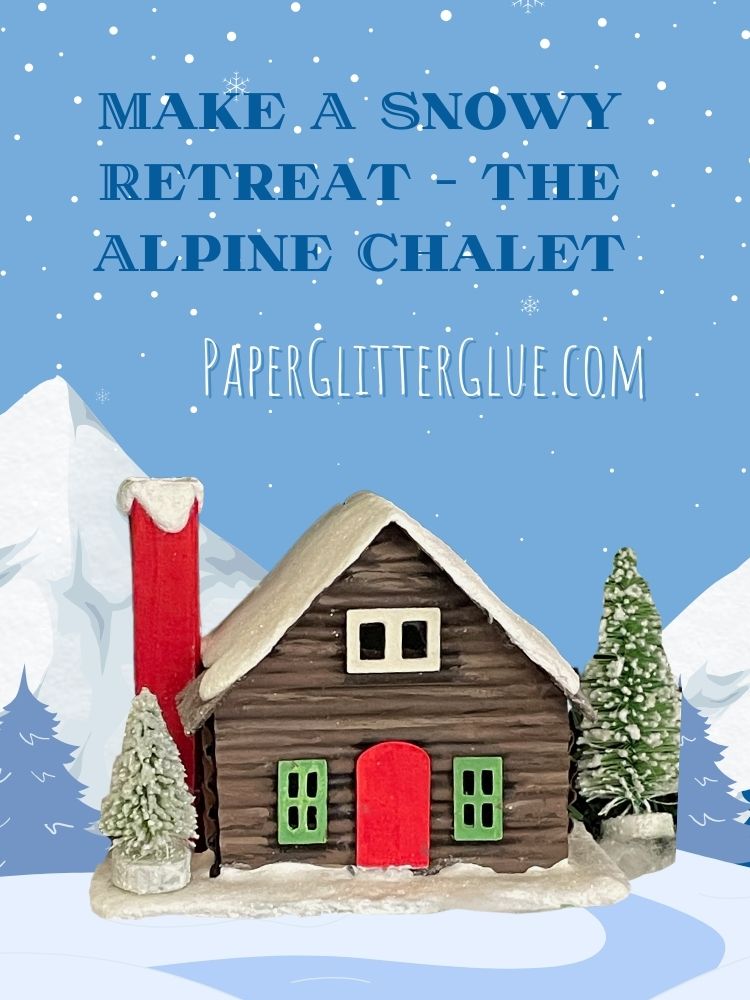
Join me for Day 5 in my 12 Days of Christmas papercrafts. With this project you can escape to the mountains with the Alpine Chalet. In the following tutorial you'll learn to craft a charming miniature Alpine chalet using either cardstock or cardboard. This delightful DIY project features intricate wood-trim details and a glittery snowy roof, perfect for adding a touch of winter magic to your holiday decor. Follow the step-by-step instructions to create your own tiny cabin in just a few hours!
This post contains some affiliate links for your convenience. Click here to read my full disclosure policy.
What do you need to make the Alpine Chalet?
Here is a list of supplies to make the Alpine Chalet (with affiliate links)
- Cardstock - Heavier #110 cardstock is the best cardstock for this structure
- Cardboard is my preferred medium for making little houses, but you do have to paint the pieces with cardboard
- Paints if using cardboard
- Glue - this is my favorite for cardstock
- Quick Dry Tacky Glue - I use this glue when I am gluing cardboard
- Snow-Tex - this is my current snow texture
- Aleene's True Snow - this is a smoother type of craft snow
- Glitter - this is my favorite brand
- Cutting machine - I use my Cricut Maker, but other cutting machines work as well
- Standard Grip cutting mat
- Scoring stylus
Note: You can cut out the pattern by hand. Some of the most beautiful houses that I've ever seen have been cut by hand. For cutting out the patterns by hand, you need a cutting mat and a very sharp craft knife!
What are the steps to make the Mini Alpine Chalet?
- Download the free pattern - Design No. 174
- Cut out the pattern
- Prepare the Alpine Chalet pieces
- Assemble the House
- Add the Chimney
- Create a Base
- Decorate the Chalet
If you are a visual learner, here is the YouTube video showing the steps for making the Alpine Chalet.
Here are more detailed steps to make the Alpine Chalet.
Step 1: Download the Free Pattern - Design No. 174
The Alpine Christmas House pattern, Design No. 174, is available in the Paper Glitter Glue library. You can download it as a printable PDF or an SVG cut file for cutting machines like the Cricut.
If you don’t already have access to the library, simply subscribe to my newsletter to receive the password instantly. The design includes three decoration options for your chalet and two chimney styles: a side chimney or a rooftop chimney with its matching roof piece.
Step 2: Cut Out the Pattern
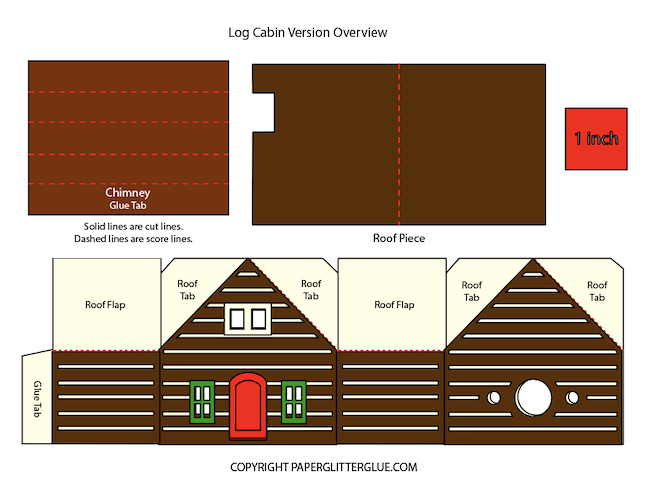
First choose your preferred design - either the more traditional chalet or one of the log cabins. Then choose either a side chimney or a rooftop chimney and the corresponding roof piece. Cut out the pattern pieces for your Alpine chalet. If you're using a cutting machine, load the SVG file into your cutting machine software and be sure to designate score lines.
This photo shows all the score lines designated and attached with Cricut Design Space. Only 3 pieces have score lines.
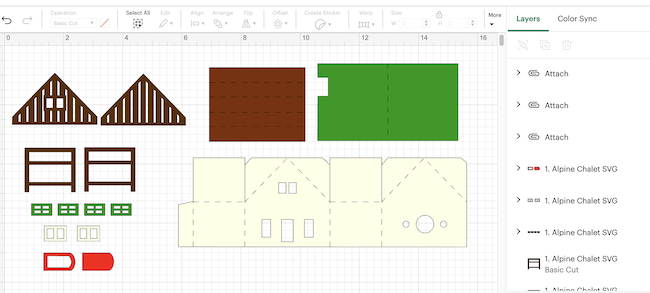
The file with the log cabin variations has the 2 chimney options included.
Step 3: Prepare the Pieces
These are the labelled pieces for this miniature house. Both of these examples have the side chimney.
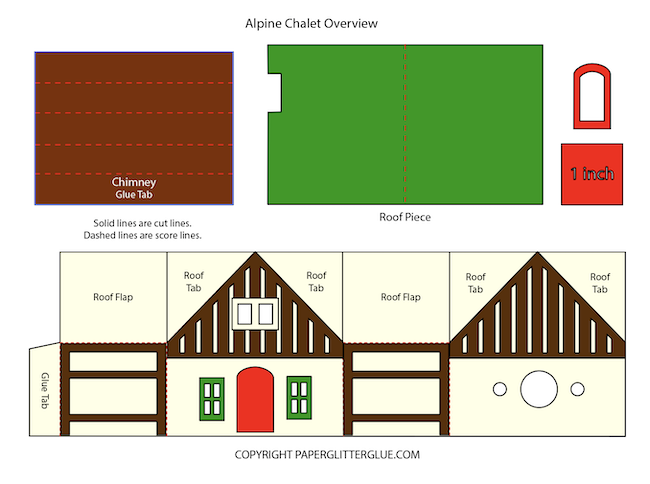
Before assembling, fold along all the score lines to ensure clean edges and precise construction. If you're using cardboard, prime and paint the pieces in your desired colors before proceeding.
Add the cardstock or cardboard trim to the house’s main structure while the pieces are still flat for easier assembly. You'll find it much easier to glue the windows in their proper place when the house is flat.
The door is designed to be glued behind the door frame, but you don't need to use the door frame.
Step 4: Assemble the House
Begin assembling the house by gluing along the side glue tab to form the main structure. Allow the glue to dry completely to ensure the house stays in a rectangular shape.
Next, start making a secure foundation for the roof by gluing the roof tabs to the roof flaps. This is a very important step to ensure the house stays square and makes for a very sturdy little house.
After you glue down the roof tabs to the roof flaps, check to make sure the house is square. If not, ease it back into a square shape.
To adhere the roof to the little house, apply glue to the roof area’s edges and center the roof over the house with equal overhangs front and back. Hold until the roof is securely in place or use painter's tape as shown in the video to keep the roof in place while the glue dries.
Step 5: Add the Chimney
Select your chimney style—either the side chimney or rooftop chimney—and glue along its side tab to form the chimney structure. Once assembled, adhere the chimney to the house in its designated spot. Let the glue dry completely before moving on.
Step 6: Create a Base
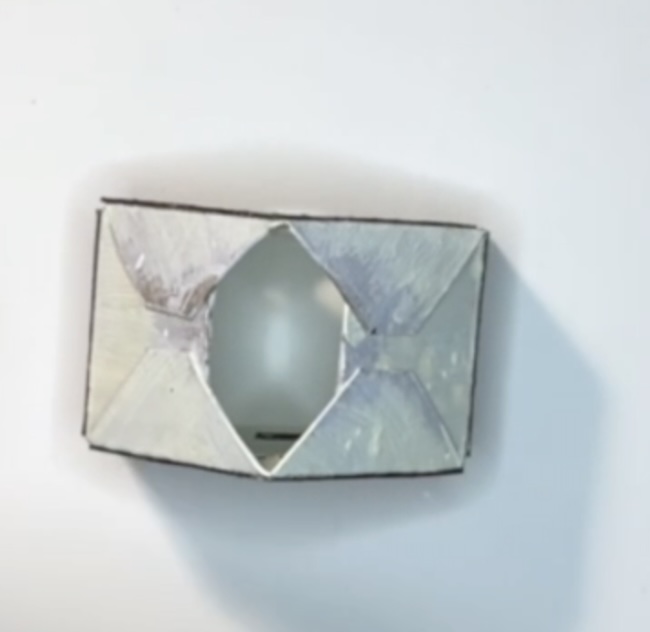
To give your house stability and protection, create a sturdy base by gluing together three layers of cardboard. Once the glue is dry holding the 3 layers together, paint it or left it plain and then cover it with snow for a wintry look after you glue the house in place.
Once the base is prepared, adhere the house by applying a thick bead of glue to the bottom of the structure and pressing it onto the base.
Step 7: Decorate Your Chalet
Bring your Alpine chalet to life with festive decorations! Apply snow and glitter to the roof, base, and trim for a magical, frosty finish. Personalize your chalet with additional embellishments like miniature trees or holiday figurines to complete your snowy retreat.
Renee
Cute Chalet house, I hope I don't miss the Christmas houses. Thank you so much 💙💙
Jojo Woll
Hi Lucy, What an adorable Swiss Chalet you gifted us today. I am in love with it & want to say Thank you to you for it. I am laid up at the moment w/back issues, so I'm disappointed that I cannot get started on this right away. However, I hope I can remember to send you a picture of my finish project when I'm free from pain & can stand tall again.
Warm regards,
Jojo Woll
Raleigh, NC
Sara
I love your houses so much! I'm decided I wanted to try using chipboard for my houses. Do you have a post with tips about choosing, cutting and using it? I cut a house with my Cricut maker last night and it definitely is a different experience.
Thank you for sharing your work with the world!
Lucy
Sara,
I have used heavier cardboard, but not really chipboard which is about 50pt cardboard. I don't really think you make it any different from any of my cardboard houses except use a knife blade to cut it.
I will look into after this event is over.
Lucy