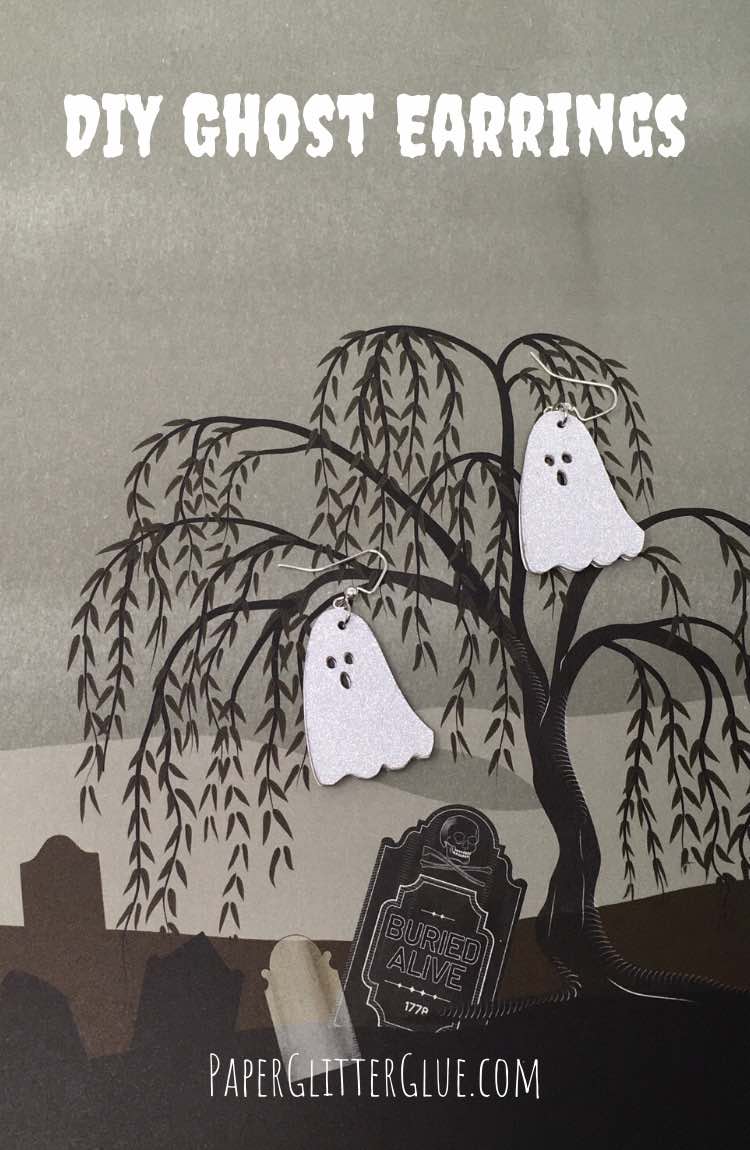
Ghost Earrings for Halloween
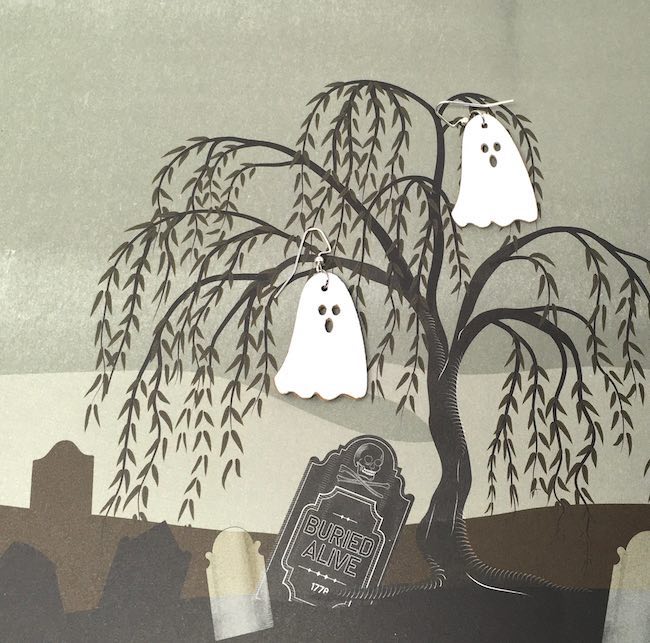
Some of my paper craft projects can be pretty detailed and take a bit of time. But the DIY little ghost earrings are an easy Halloween project you can make in less than an hour. And then you can use the same craft to decorate tomorrow's Halloween project as an extra bonus. I'm sure you will enjoy that project as well. Be sure to come back tomorrow to check it out.
This post contains some affiliate links for your convenience. Click here to read my full disclosure policy.
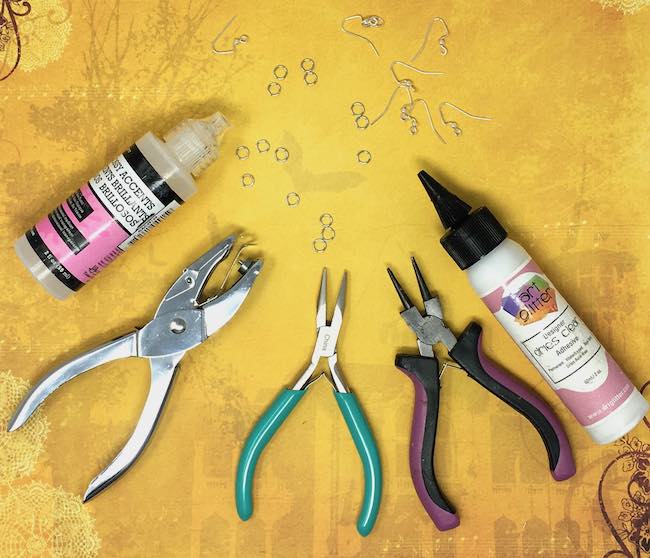
Tools and Materials to make the Swingy Ghost Earrings
- Cardboard
- Colorful paper or card stock - metallic or glittery
- Ghost earring template
- A way to cut the earrings - I used my Cricut to do that
- Glue - this is a nice glue for the earrings
- Earring hooks
- 6 mm jump rings
- Small jewelry pliers
- 1/16 paper punch
- Glossy Accents (optional)
Instructions to make the DIY Ghost Earrings
- Download the pattern for these earrings
- Cut out the earrings in cardboard and card stock
- Glue the two ghost shapes together
- Cover both sides with decorative paper, if desired
- Punch the hole to hang the earrings
- Place the jump ring and earring hooks
- Glossy Accents for shine and durability (optional)
Now let's get started on how to make these earrings.
Download the free pattern for the Ghost Earrings
I keep all my free patterns in my Paper Glitter Glue Library. They are listed chronologically so you can find them in the year I've posted them. Some special projects that are a part of a series (like this one) are set apart to make them easier to find. In addition, the files are compressed in a zip format to make it possible to download them.
You need a password to get in the library. And how do you get the password? Just subscribe to my newsletter with the form below and you will get the password immediately.
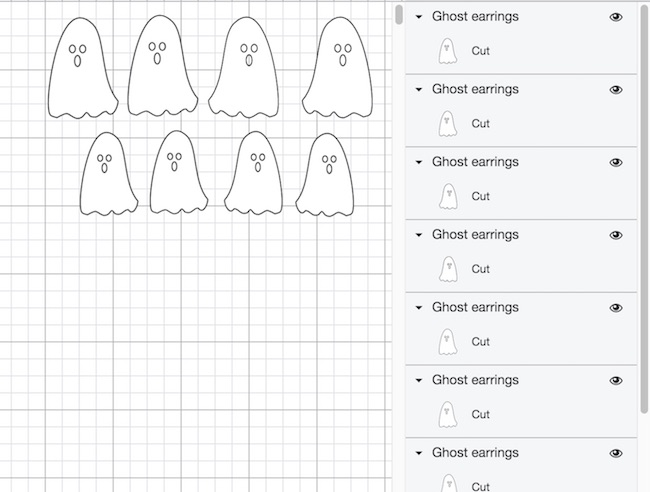
Cut out the earrings in cardboard and card stock
Here's how the earring pattern looks in Cricut's Design Space. There are two sizes for the ghost earrings. Choose whichever one you like the best.
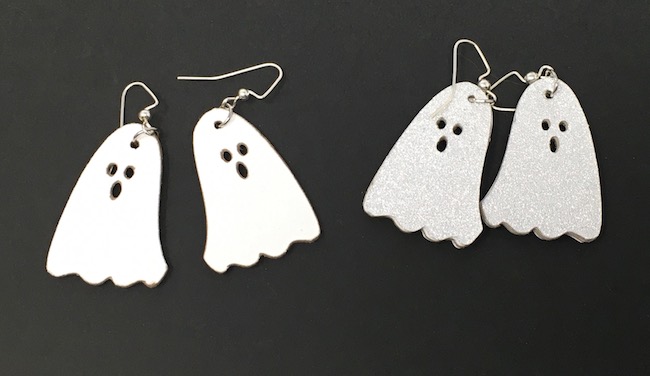
I like to make these ghosts out of cardboard, but you can also cover them with glitter or metallic paper. I made one with a holographic metallic paper. It's very difficult to photograph. Regular metallic paper works better.
Just cut out 4 copies of the ghost. Please note that you need a front and back of each ghost so these pieces are mirror images of each other. But you don't have actually do anything to the mirror it because it has already been done for you.
And this photo shows all the pieces you need to make one set of earrings:
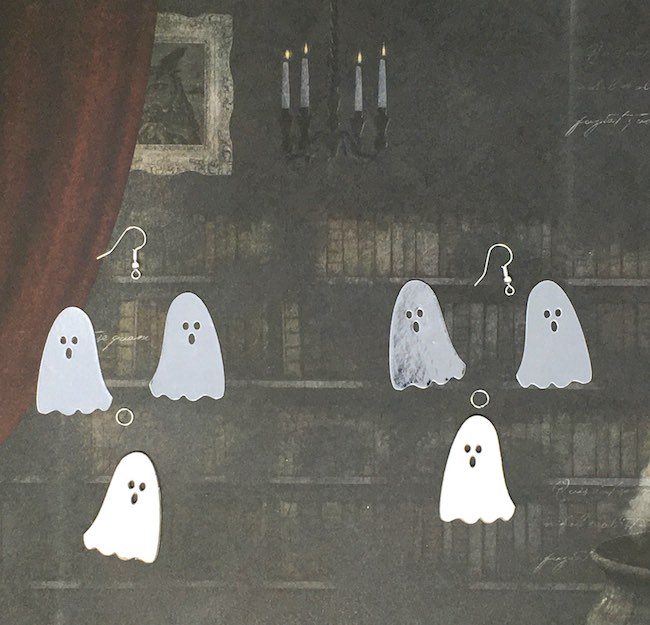
Glue the two mirror images together
As a general rule I glue two layers of cardboard together. So this is what I do because I over-engineer everything. But if you are covering your earrings with decorative paper one layer of cardboard works well. When you only use one layer of cardboard, it's easier to use the punch.
Cover both sides with decorative paper if desired
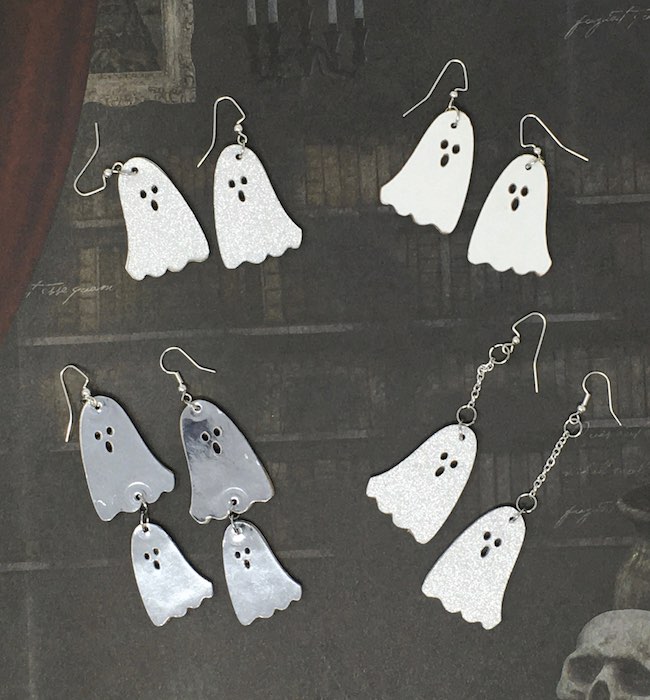
Some of my earrings are just white card stock on both sides, but others I used metallic paper or glitter paper.
Next punch a hole in the earring near the top
For this step use a 1/16th hole punch. Now punch through the layers of cardboard ghost. Try to punch the hole pretty near the edge - maybe ⅛ inch from the edge. It makes it easier to add the jump rings if you are near the edge.
Add the jump rings and earring hooks
Here's an important tip for opening jump rings to fit in the punched hole on the ghost. First, you need 2 needle-nosed pliers to open the jump rings. It is important to open them by twisting, not by bending the jump ring open. That way there is not a pivot point that weakens the metal.
After that, thread the ring through the punched hole, and put the earring hook on the jump ring. Now close the jump ring by twisting it so the ends meet.
Another option is to hang the little ghost on a silver chain.
Finally, use Glossy Accents for shine and durability (optional)
And for a shiny detail, coat the plain white coat with glossy accents or Mod Podge like I did on the ice cream cone earrings. It adds durability and shine. But this is an optional step if you don't want the shine.
Or another option is to use glitter paper for the ghost. What do you think?
So that's my easy Halloween craft for the 31 Days of Halloween. I hope you find some inspiration here. And remember to check back tomorrow where I use the little ghost in a different way. I think you will like tomorrow's Halloween craft.
As always, let me know if you have any questions. You can always email me at [email protected].
Lucy
P.S. Be sure to pin to your favorite Pinterest board so you can remember where you found these cute little earrings.
Judith
These are just so cute. I don't usually do Hallowe'en but maybe..... And Christmas! Little trees or wreaths. Oh the ideas!! Thanks for this fun idea
Lucy
Judith,
I agree about the ideas. They just keep coming, don't they? There is a tremendous amount of potential for making little earrings even out of my favorite material - paper.
Thank you.
Lucy