How to Make Paper Grass for Your Springtime Projects
I love to make projects from paper, but using recycled paper makes it even better. Here is how to make great-looking paper grass from paper you are either going to throw away or have to recycle. Yes,the main material is your shredded paper.
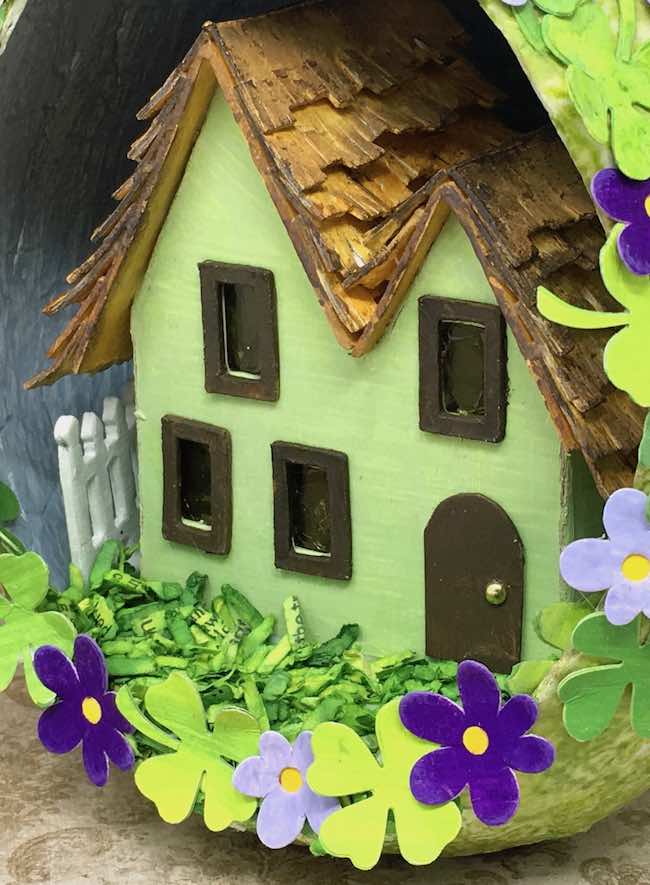
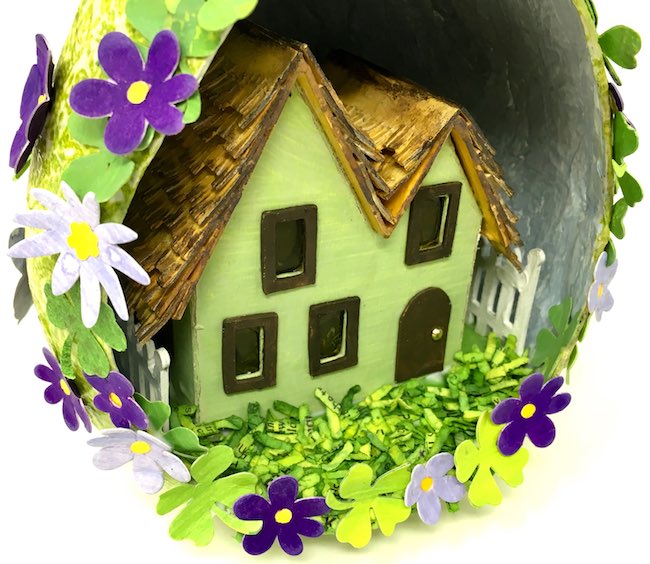
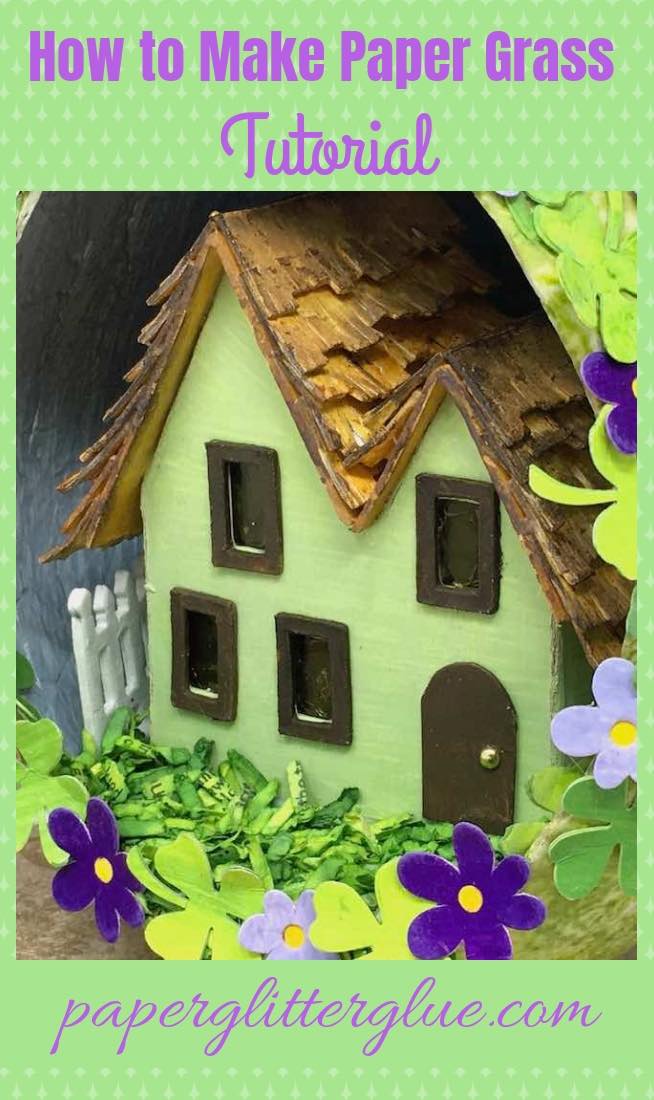
You can read the tutorial to make the Miniature Irish Cottage here. The free pattern is in the paper glitter glue library.
Every time my shredder bin is full I wonder what I could do with this paper. Well, paper grass is so easy to make using this material. And it looks wonderful on your Springtime craft projects when it is glued down to a surface.
Word of warning though - I wouldn't use it in a child's Easter basket. It would get everywhere and you would be vacuuming it up for the next year. This is really for decorating your craft projects.
This post contains some affiliate links for your convenience. That means if you make a purchase after clicking an affiliate link, I will earn a small commission at no cost to you. Click here to read my full disclosure policy.
Materials to make Paper Grass for Springtime
- Ranger Distress Spray
- Other types of color such as Rit Dye or watercolors or even food coloring
- Shredded paper (this shredder is makes shredded paper similar to the one I have)
- Plastic bag
Directions for making Paper Grass
Gather your shredded paper
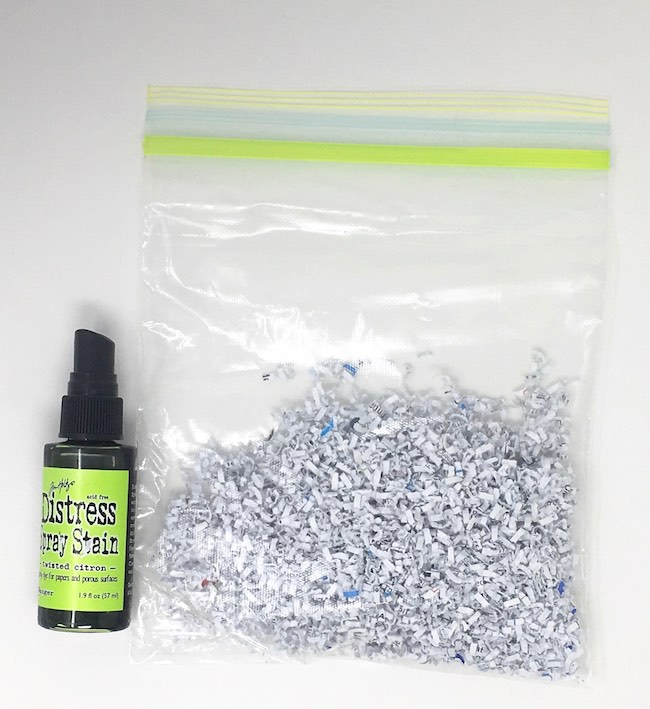
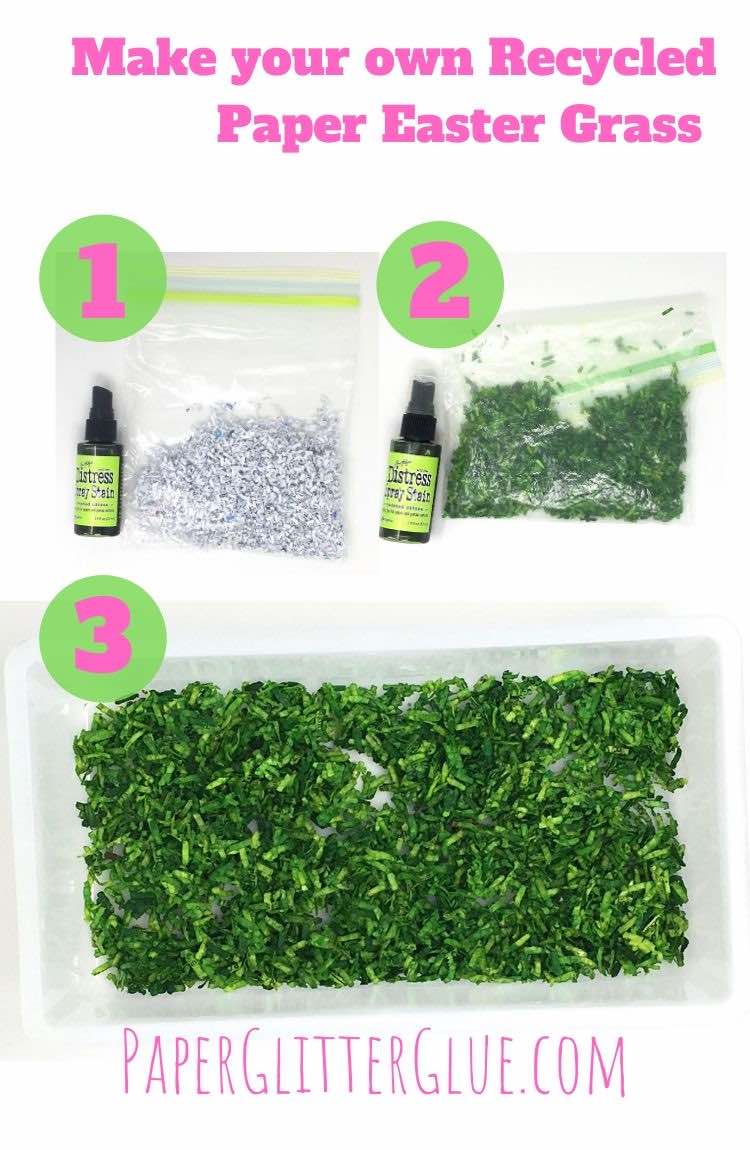
I just grab a handful shredded paper from the shredder bin and put it directly in the plastic bag. To keep the paper from escaping I use a small baggie with a zip lock.
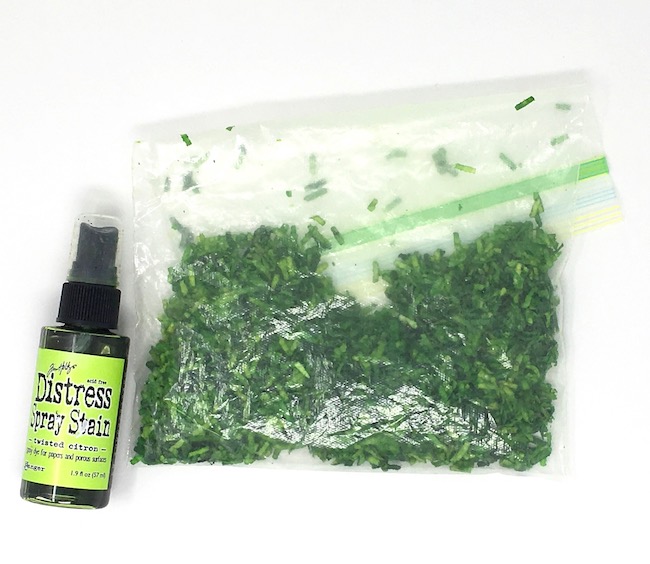
Add the dye to color your paper grass
For this step, I used Ranger's Twisted Citron Distress Spray with a little Mowed Lawn mixed in. As you get to the bottom of the spray bottles, there is a little left over so I added that to the other bottle. It gives a slightly darker colored grass.
Spray the dye in the plastic bag.
You don't have to use a spray stain. I also experimented with some Rit dye that I used for staining bottle brush trees and that worked just as well. Another option is the food coloring that is used to color Easter eggs or even watercolor.
However, I don't recommend acrylic paints because that paint is too thick and it makes all the shredded pieces of paper stick together in clumps.
Mix the color in with the paper in the bag
Close the bag securely. Though you can leave a little gap if you need to let some air out.
Now just squeeze and smush the paper and the dye together. You might have to add more spray or dye if all the paper isn't colored. Just keep distributing the dye to all the paper. Some of the paper will have more dye which actually makes a nice variegated effect.
Scoop out the dyed paper grass and let dry
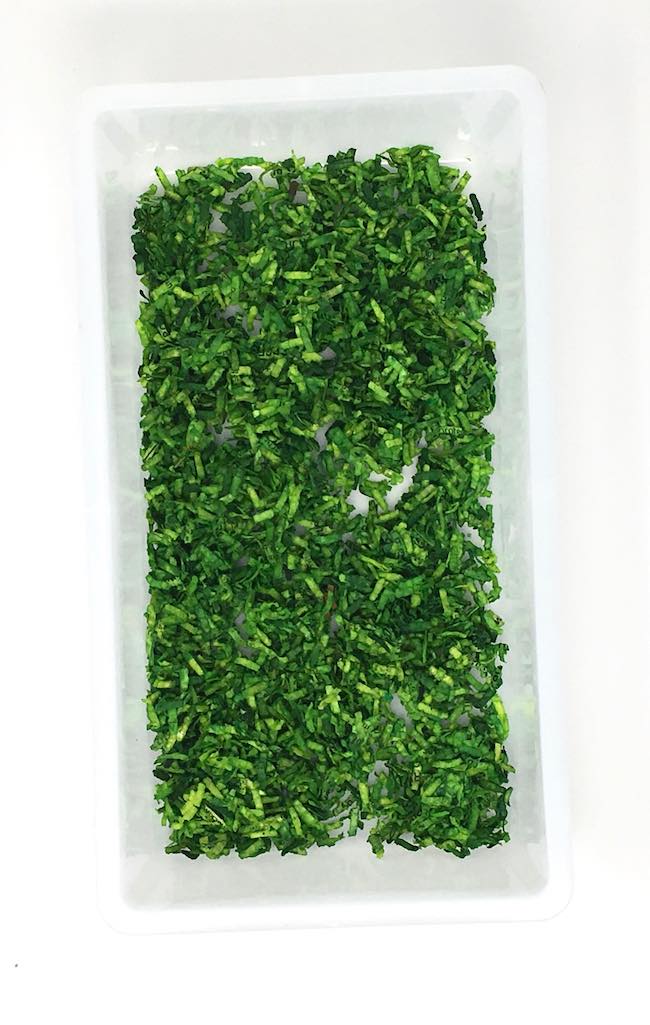 Scoop the newly stained paper grass and spread it on a cookie sheet covered with a paper towel or a flat surface where it can dry. One option is to put it in a barely warm (and turned off) oven so it can dry faster.
Break up any clumps as the grass dries. I didn't have many clumps when I made this batch of paper grass, but I did have a few.
Drying time is about a day depending on the humidity where you live.
Now add your beautiful paper grass to your project
Just lay down a good layer of glue and pat the paper grass down into the glue. I used my favorite glue once again - Aleene's Fast Grab because it is so nice and thick and the grass adheres so well to it.
Another option for making shredded paper grass
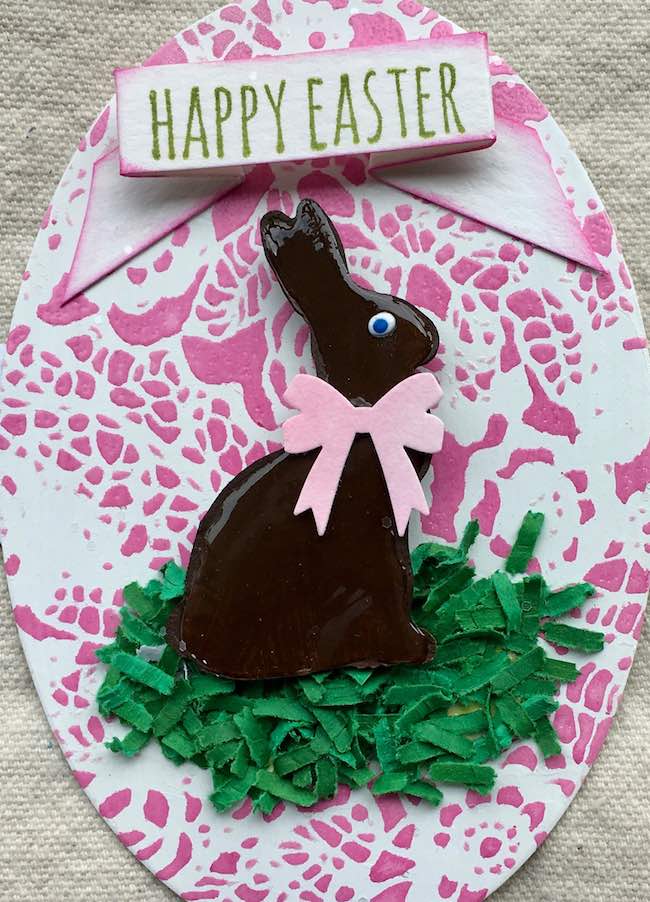
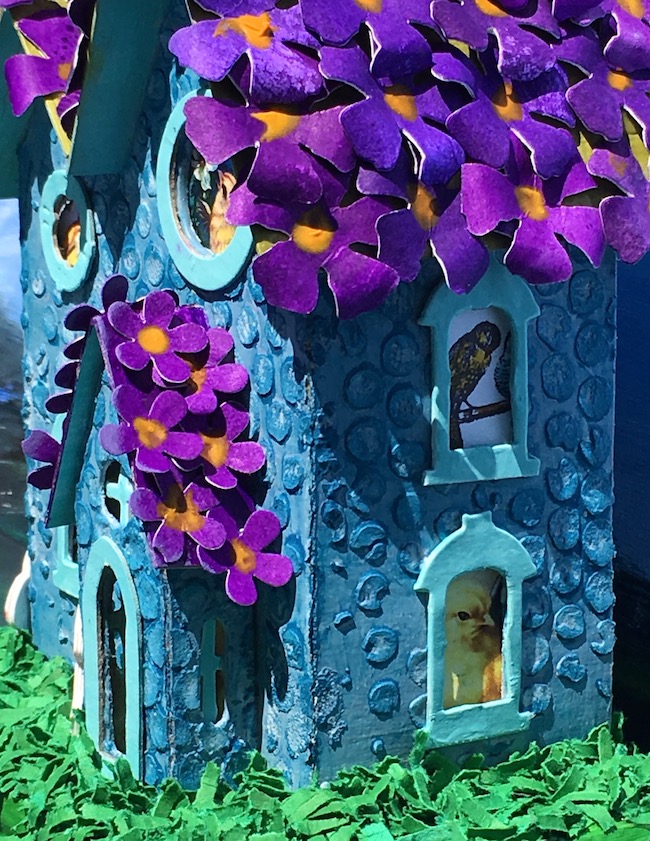
If you have some paper that is already the color you like, you can just run that through your shredder. The only problem I had with that method was that inevitably some white paper is stuck in the shredder part and it gets mixed up with the colored paper. And you have to remember to catch the colored paper in the bin by putting a down a paper bag or a larger piece of paper. That's what I did the first time I made paper grass this way. You can see it on the Chocolate Easter Bunny card and the Violets on the Roof house below.
I really like the color on the stained paper grass compared to the construction paper grass. But either way it is nice to be able to make your own paper grass specifically for your Springtime projects. Next project is the St. Patrick's house seen in the very first photo at the top of the post.
Thank you for reading. Take care.
Lucy
And if you would like to remember this idea, just pin it to your favorite crafty Pinterest board.
Leave a Reply