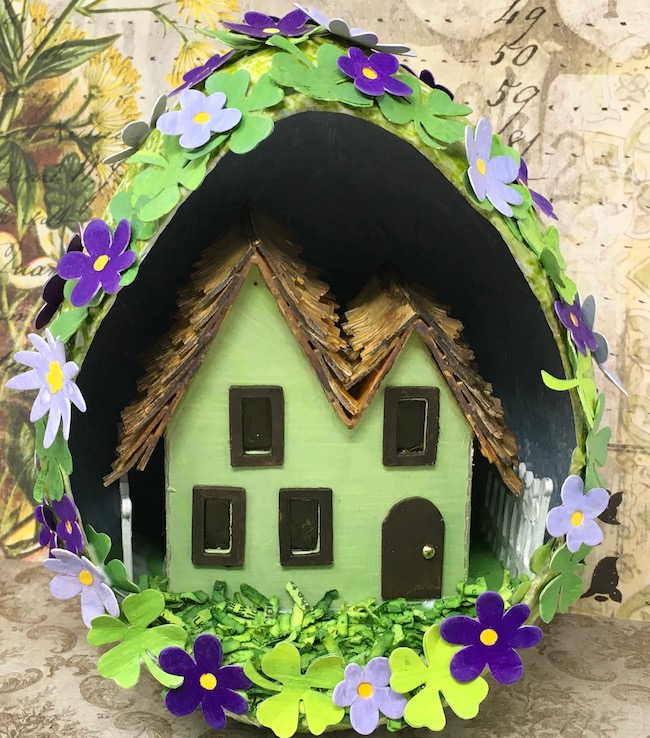
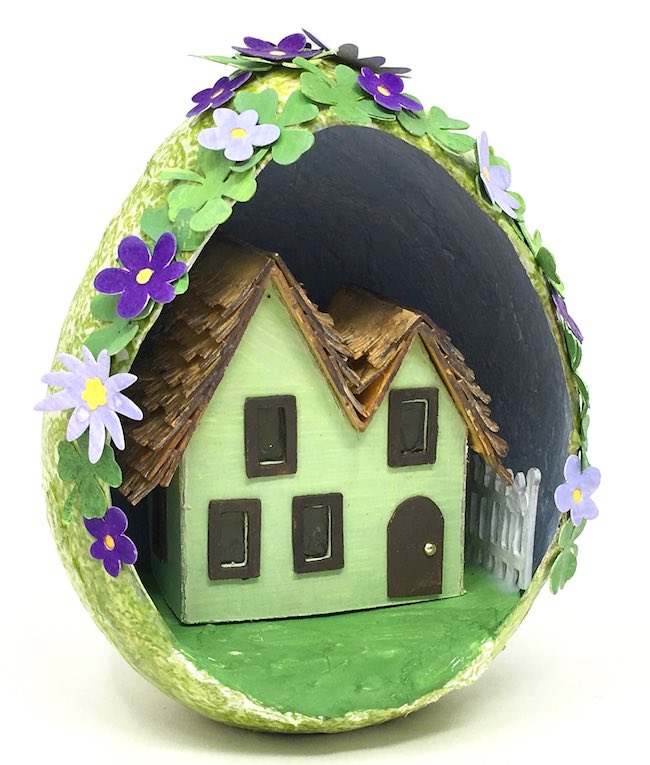
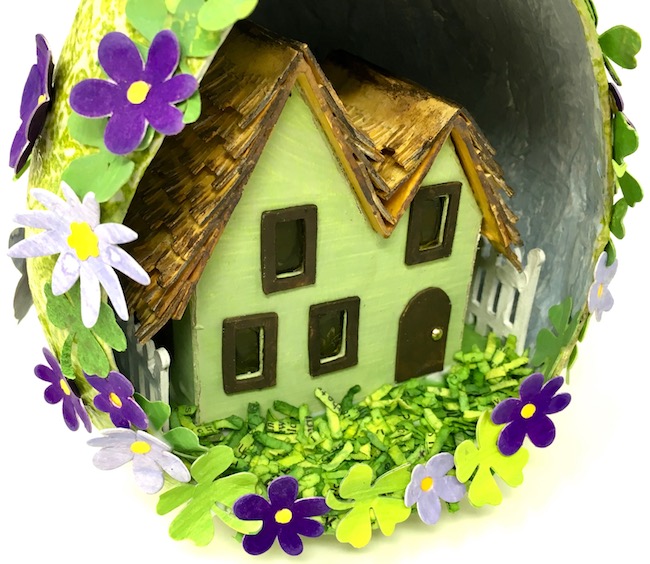
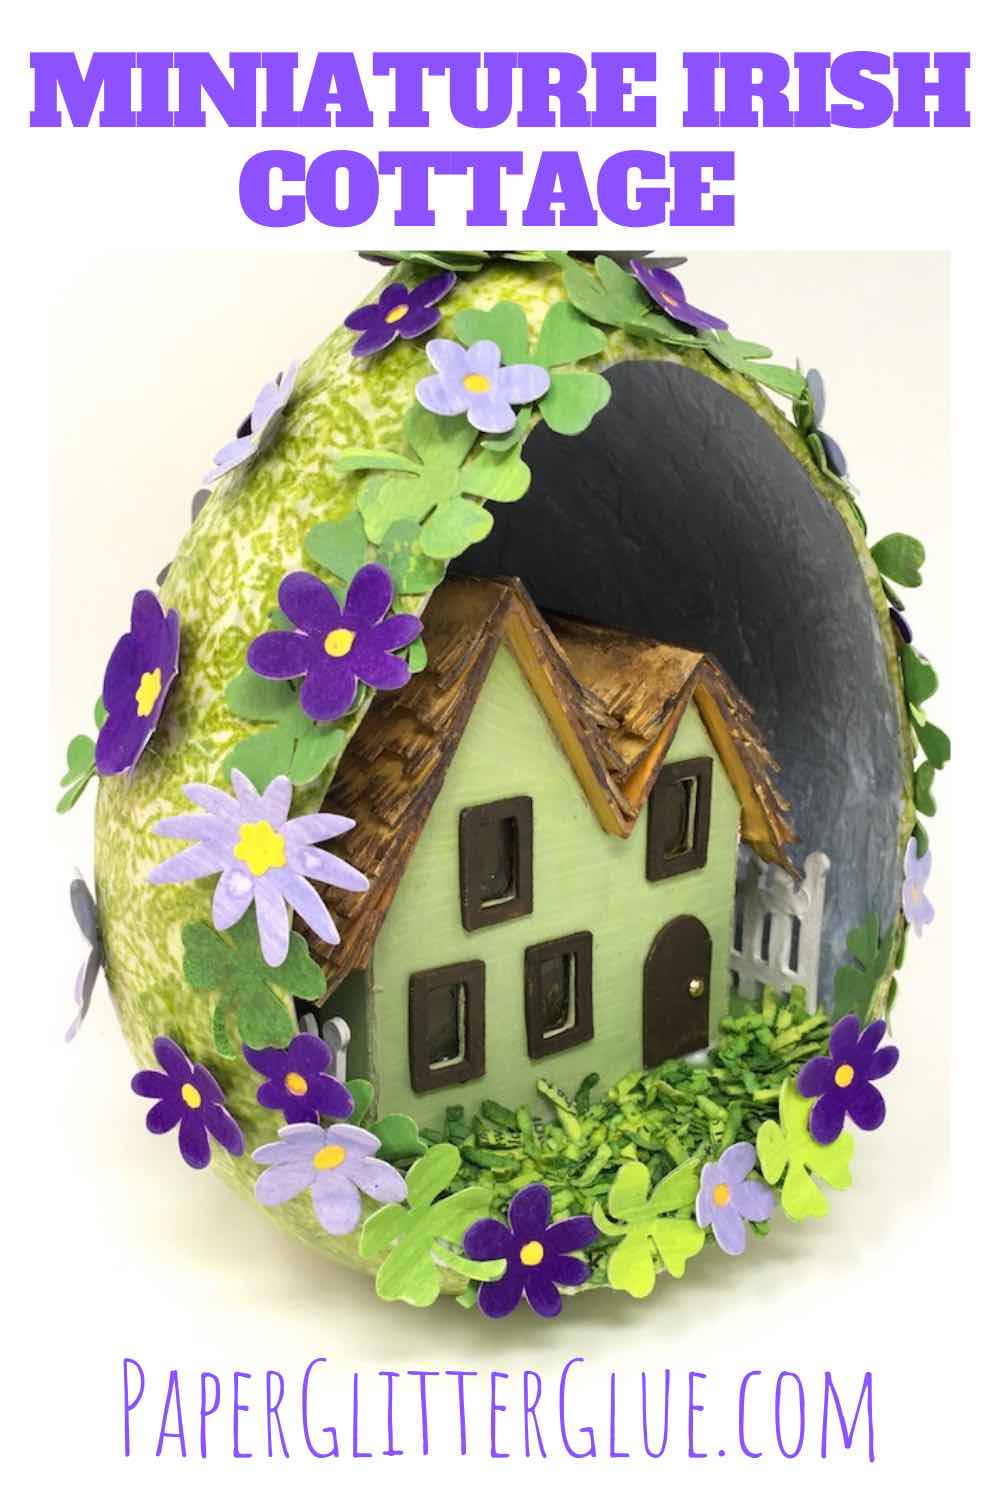
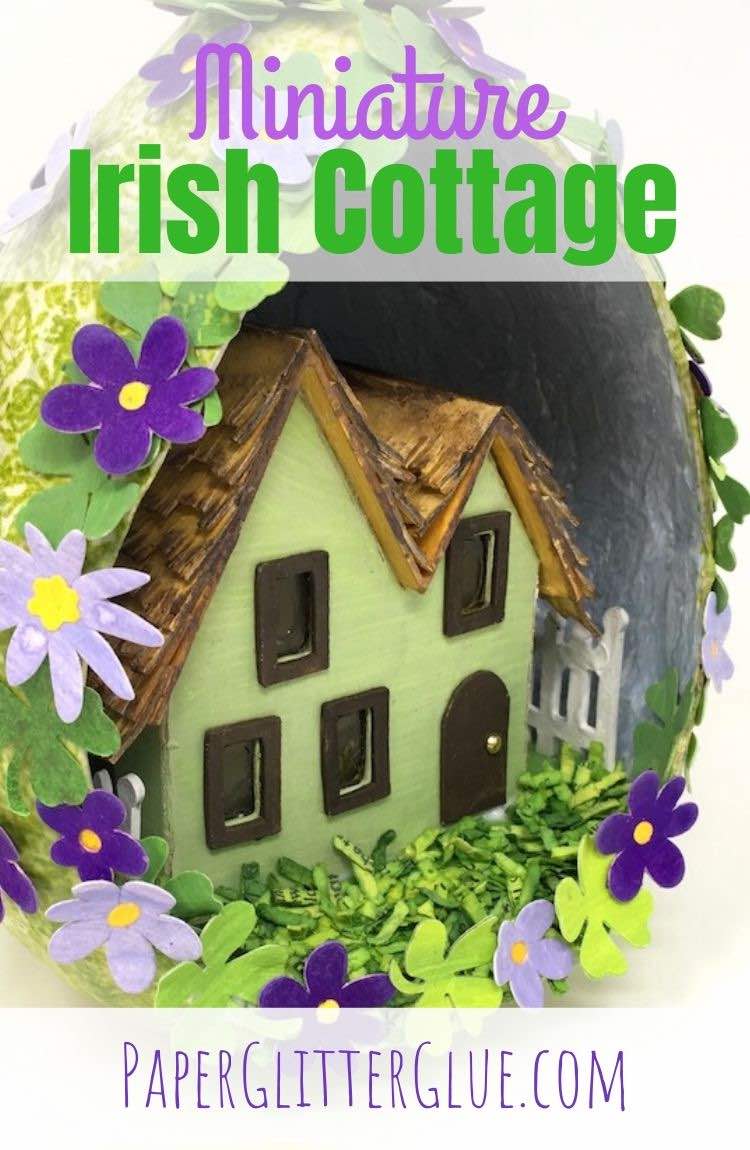
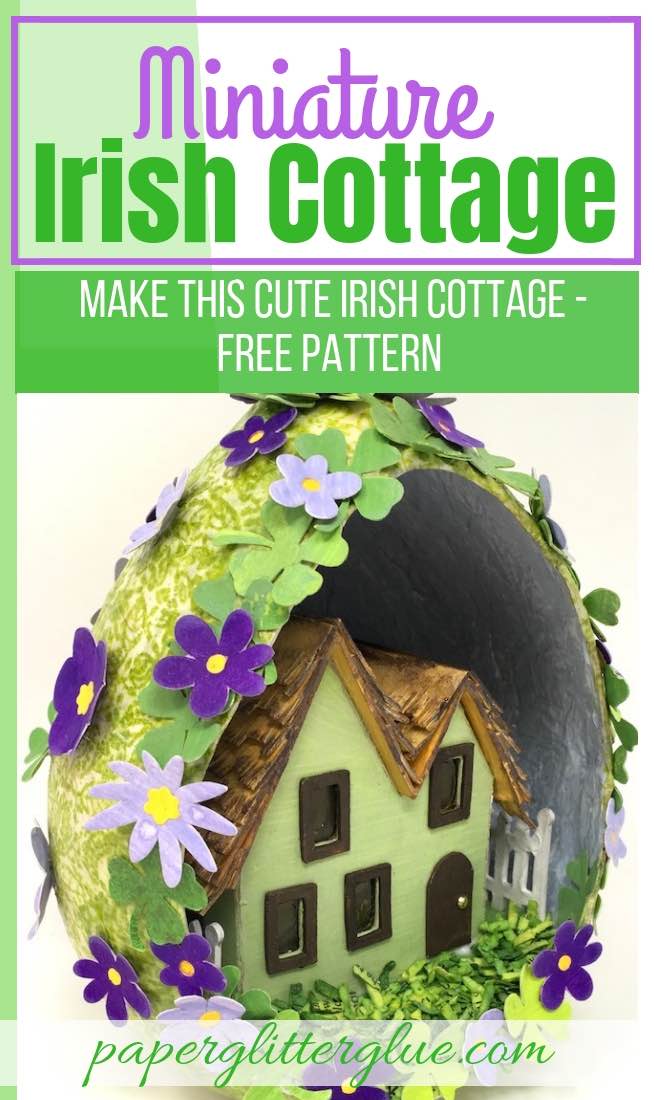
Have fun making this miniature Irish cottage set in a paper mache egg decorated for St. Patrick's Day. You can download the free pattern to make the Irish cottage from the Paper Glitter Glue library. Just subscribe below.
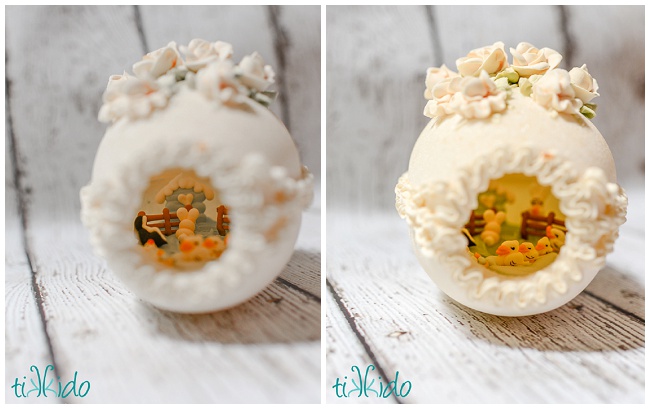
The idea for making this St. Patrick's Day decoration is based on Victorian panoramic sugar eggs. Yes, they are a real thing - made with sugar in egg-shaped molds. It's not really known how long people have making sugar eggs but they have been around for many years. In this article at Tikkido.com there are photos of gorgeous sugar eggs saved from 1979. Nikki graciously allowed me to publish this photo of one of her treasured eggs made by her grandmother.
So that is the inspiration for making a tiny Irish Cottage in a paper mache egg.
My craft project is decorated for St. Patrick's Day but you could decorate it for any holiday.
Now let's get started on making the Irish Cottage for St. Patrick's Day. If you just want to make the miniature Irish Cottage without the paper mache egg - that's ok. It's cute all by itself. You can decorate it on a regular cardboard base. Here are instructions for making a cardboard base for any little cardboard house.
This post contains some affiliate links for your convenience so you will know what products I use. That also means if you make a purchase after clicking an affiliate link, I will earn a small commission at no cost to you. Click here to read my full disclosure policy.
Materials to make the Miniature Irish Cottage and Paper Mache Egg
- Paper Mache Egg - detailed instructions on how to make a paper mache egg
- Free pattern for the Miniature Irish Cottage - Design No. 47 - from the Paper Glitter Glue library
- Cardboard
- Glue
- Collage Medium
- Craft knife or automatic cutting machine to cut out pattern
- Acetate for windows
- Gesso
- Ranger Distress Paints:
- Heavy weight watercolor paper
- Collage Paper
- Background Stamp - Batik
- Decorations:
- Four left clovers
- Flowers
- DIY Paper Grass - Twisted Citron and Mowed Lawn Distress Spray
Summary of how to make the Miniature Irish Cottage decorated for St. Patrick's Day
Make the Paper Mache Egg
- Make the paper mache egg as previously outlined
- Cut out the front large enough for the miniature paper house
- Cut a hole in the bottom if you would like to add an LED tea light
- Paint the egg inside and out
- Stamp collage paper with batik stamp
- Adhere to outside of egg
- Make a base for the house to fit in the paper mache egg
- Glue base in place
Make the Miniature Irish Cottage
- Download the pattern for the miniature Irish Cottage - Design No. 47
- Cut out the pattern using your method of choice
- Prime and paint your little Irish house
- Glue on windows and the door
- Fold the house along score lines and glue the tab in the back
- Glue the roof on the Irish Cottage
- Make shingles for the cottage
- Glue shingles to your cardboard cottage
- Touch-up painting
- Place in the egg
Make the St. Patrick's decorations
- Make flowers and four leaf clovers
- Make the paper grass to decorate the front yard
- Glue flowers and clovers on the outside of the paper mache egg
- Apply glue to the lawn and adhere the paper grass
Make the Paper Mache Egg as the setting for the miniature Irish Cottage
First Make the Paper Mache Egg
You'll find detailed instructions on making a paper mache egg with paper, glue and a water balloon here. Even though it is easy, it is somewhat time-consuming. Please give yourself enough time for the layers of paper mache to dry over the water balloon. Usually it takes 2 days.
Next cut out a section of the front large enough for the little house to fit inside
Draw a line where you would like to make the cut in the front. It's better to cut a slightly smaller area than to cut too much the first time.
Make sure that the front opening is large enough for the little house to fit inside.
Cut a hole in the bottom
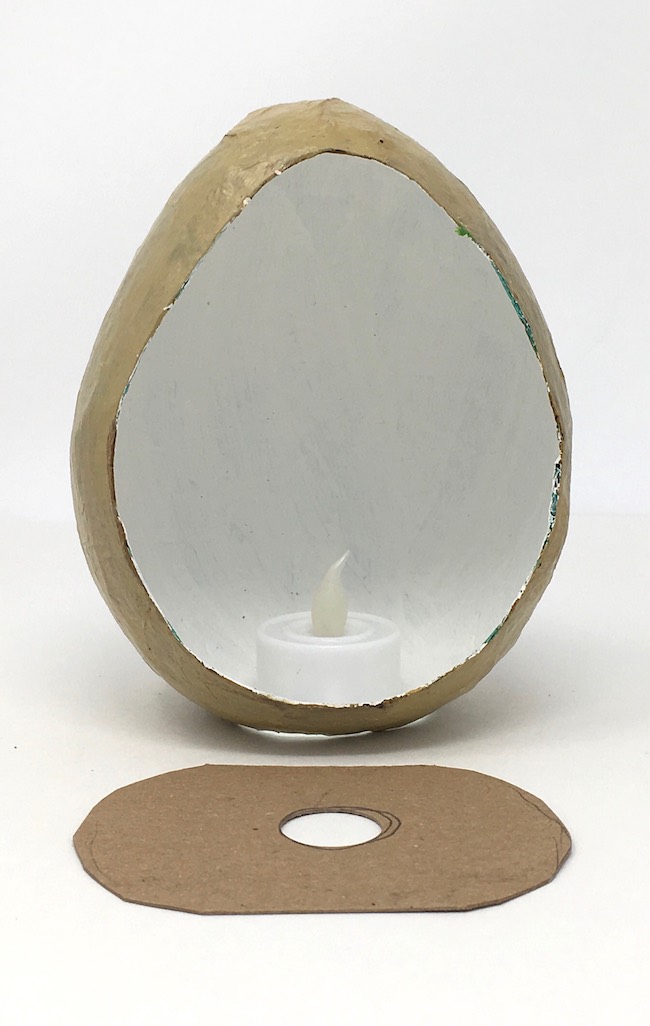
If you want to add light so light can shine through the windows of your little house, then cut a circle large enough for an LED tea light can fit through the circle. You still need to cut a circle out of the bottom so that the egg will stand up straight. Again start small and then enlarge the hole if needed.
Prime and paint the egg inside and out
Now prime your egg with gesso. Paint the colors inside and out. I painted this egg over and over until I found the colors I wanted. First, I tried to paint the egg brown, but it didn't look right. I also debated about the color inside the egg and finally settled on a blue called Stormy Sky. It's a little darker than I wanted though.
Stamp the collage paper
Since I wasn't happy with the colors, I decided to stamp on collage paper and adhere that to the outside of the egg. For this step, I chose a background called "Batik" for a leafy background. I stamped it with a Leaf Green ink.
Adhere collage paper to the paper mache egg
Then I used collage medium to adhere the collage paper which is a really thin and adheres well.
Make a base to fit the bottom of the paper mache egg
There isn't a template for making the base for the little house to sit on because each water balloon has a different diameter.
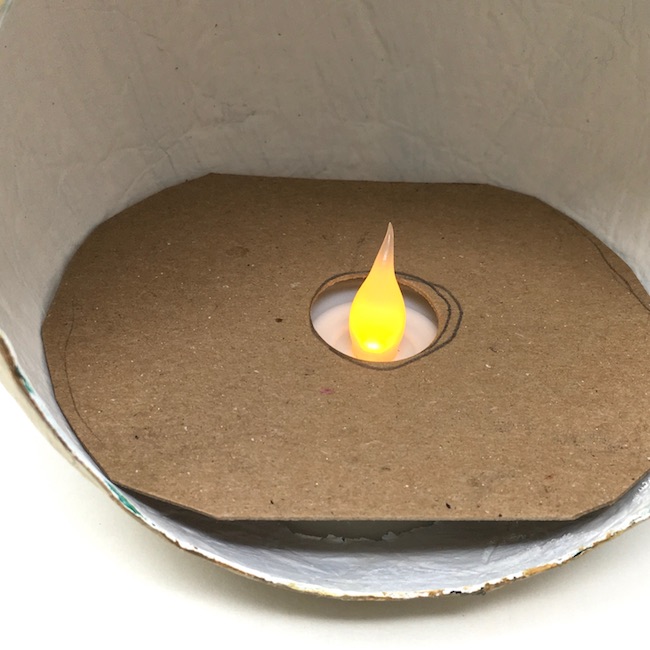
I just cut out a piece of cardboard and test it until it fits. Of course, it has to be painted with Mowed Lawn because that is my go-to color for grass.
If you intend to have an LED tea light, make sure the base sits high enough for the little light to fit underneath.
Glue the cardboard base in place
Here you can see that my cardboard didn't fit perfectly, but it works ok. I just smeared a bunch of glue around and then disguised the gap with decorations later.
And to fill in the gap in the front of the paper mache egg, I just tore some paper and glued it in place, then painted it with Mowed Lawn to match the rest of the base.
Make the Miniature Irish Cottage
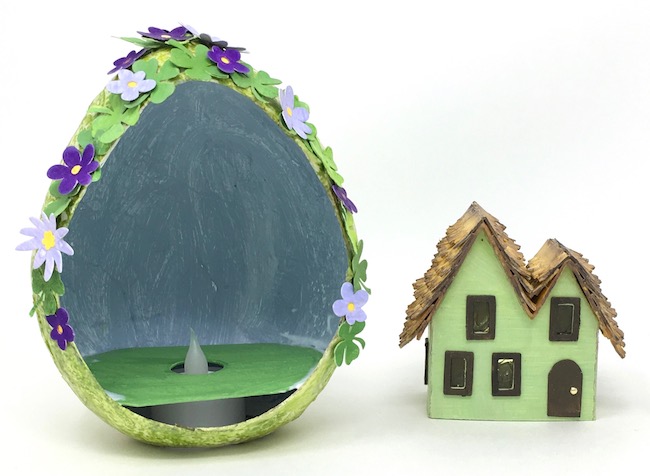
This is my favorite part - making a paper house to fit inside the paper mache egg. I call it a paper house, but I really use cardboard.
Download the pattern for the miniature Irish Cottage
In the paper glitter glue library, there is one zip file which includes the Miniature Irish Cottage in 2 different formats - a PDF for you to print out and an SVG if you have an automatic cutting machine like a Cricut.
Subscribe below to get the password to the library if you aren't already a subscriber. All my patterns are free.
Cut out the pattern using your method of choice
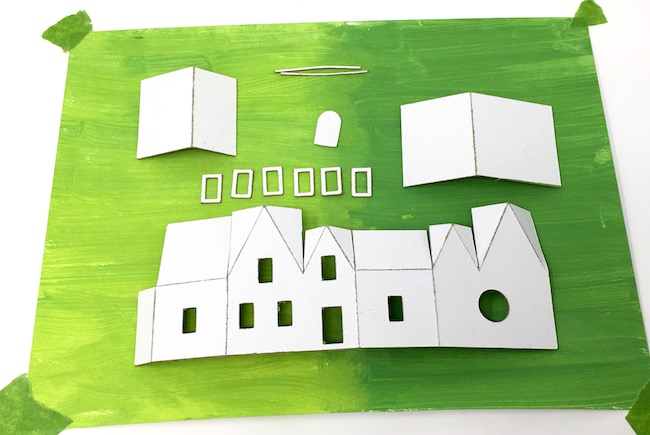
Please note: I drew a couple of extra windows and two different doors on the patterns. That's because I kept losing one window when I was painting. You only need 6 windows and one door.
Trace and cut the pattern out with a craft knife if you are cutting by hand. Detailed instructions for copying and cutting out the patterns are available on my Easy Paper Houses post.
If you are using an automatic cutting machine, upload the SVG file to your design program and be sure to change the red score lines to score. I always draw the score lines on SVG patterns as red. And then be sure to attach to the pattern before you cut it out.
See the red box at the top of the Design Space screen, that indicates that the designated line is a score line. But sure to change from cut to score.
Now that line has been marked for scoring.
And below all the score lines have been marked. Since it is a miniature house it fits easily on an 8.5 x 11 inch piece of cardboard or heavy duty paper.
Above are the screen shots from Cricut's Design Space showing how I have indicated the score lines.
Prime and paint your little Irish house
You can paint your little house once it is all put together or you can paint it now. As I am a messy painter, I usually paint the little house before I glue the house together and certainly before I glue the roof on.
Paint the windows and door of your little house contrasting colors. I chose a dark brown to contrast with the delicate green.
Glue on windows and the door
After painting the house, glue the windows and the door on the house. I usually do this before I glue the house together so I can get them to adhere better. Many little house makers glue them on after the house is assembled.
If you want to add acetate for the windows, I usually do that step here as well.
Fold the house along score lines and glue the tab in the back
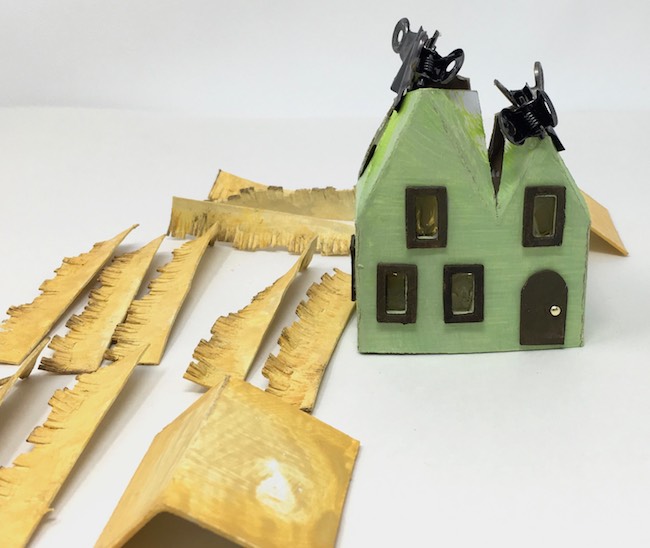
Glue the roof tabs down as well. You can see that on the photo above.
Glue the roof on the Miniature Irish Cottage
Once the house is dry, glue the roof pieces on. When I make a putz house or a little house like this with this particular roofline, I usually make the roof in 2 pieces because it is hard to get the folds perfectly aligned otherwise. So fold one roof piece and glue it on, then the other.
Even though I measured the roof pieces, you often have to trim them a little bit to fit in the trough formed between the two gables. That's because the material thickness can vary. I showed you a photo above where I trimmed the center part of both roof pieces.
Make shingles for the Irish cottage
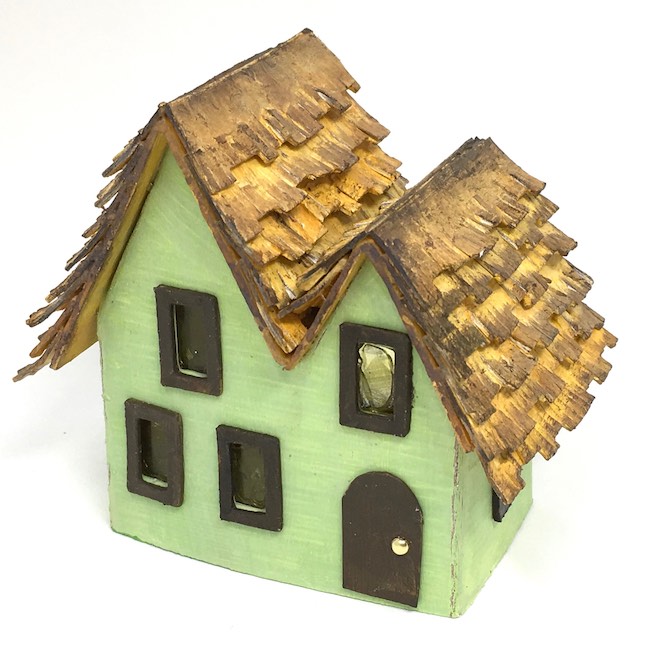
For this miniature cottage I designed a thatched roof. This is the easiest way I know to make it - with cardboard. One time I did make a roof with sisal (rope material), but it looked like a really bad hairdo so I took it off. I need to experiment more with that later.
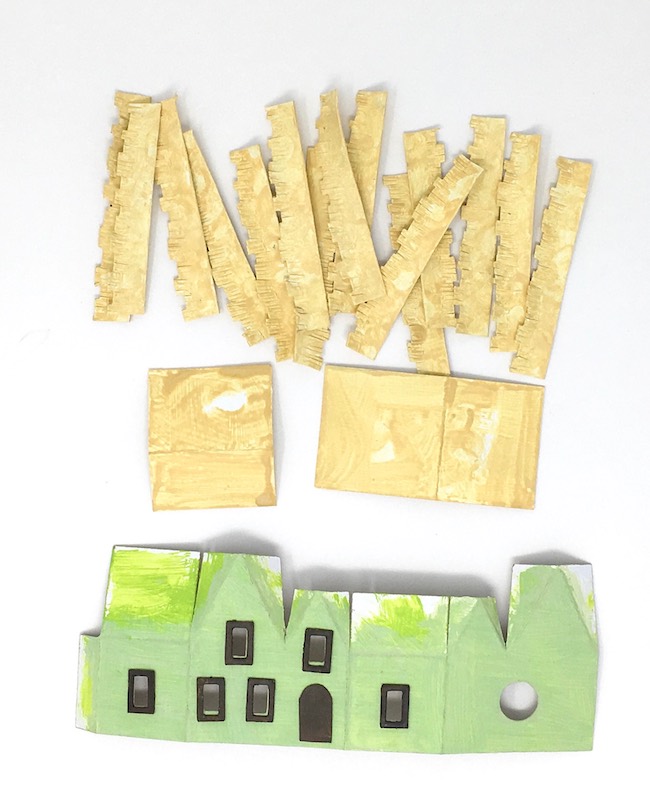
Most often I use Tim Holtz Village Rooftops for my shingles. I modified this die cut by cutting fringe on each piece. First I painted the thatched shingles with Gathered Straw paint but it was a little too light so I edged it with some Mustard Seed and Ground Espresso distress paint.
Glue shingles to your cardboard cottage
Measure the width of the roof (2 inches) and cut the strip of shingles to fit. You may want a little more overhang. Starting at the bottom of the roofline, glue on a strip of shingles. Continue to glue them on moving up the roof. Here it is important to use a strong glue so I use the Aleene's Tacky Glue called Fast Grab because it is thick and does hold well. I always squirt some on and then smear it so it makes a smooth flat layer of glue. The glue holds better when you do it that way.
Touch-up painting
When you paint your miniature paper (or cardboard) house before assembly, you often have some raw edges of cardboard at the folds. I usually re-paint that edge. If you see other areas that need a touch-up now is the time to do it. You can't do much touch-up when the little house is situated in the egg.
Place in the egg
Now run a bead of glue along the base of the house and place it in the house. I always move the house back and forth a little bit to make a good seal between the house and the base.
Before you allow the glue to dry, look and make sure the house is straight in its setting. It seems that I think everything is lined up straight and then I realize I wiggled it and the miniature house is not exactly the way I want.
I managed to glue two pieces of picket fences on each side of the little house, but it wasn't easy. One again I applied my Fast Grab glue, let it get a little tacky, and then stuck the fencing in place. Each piece tried to lean over, but I thwarted them.
Make the St. Patrick's Day decorations for your Miniature Irish Cottage
Make flowers and four leaf clovers
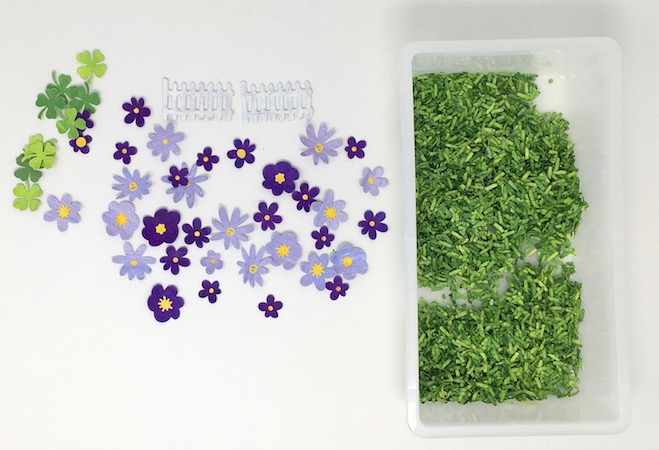
To make the four leaf clovers I use a Tim Holtz punch. Using a punch makes it so much easier to cut out multiples of one particular design. I painted heavy duty watercolor paper with 2 shades of green - Twisted Citron and Mowed Lawn because I wanted a little variation in the color. And to make them sturdier I glued 2 together.
The flowers are made in a similar fashion except that I used dies instead of punches. I just don't have little punches to make these flowers. Mostly I used Tim Holtz Funky Foliate #1 to make these flowers. Again I used the heavy duty watercolor paper painted with either Wilted Violet or Shaded Lilac. I painted both sides of the paper so I wouldn't have a white background. Also I embossed each flower a little bit so the petals have a curve to them.
Make the paper grass to decorate the front yard
Since this post is long enough, I wrote a separate post about making the paper grass using shredded paper from my shredder. It is so easy and works well.
Glue flowers and clovers on the outside of the paper mache egg
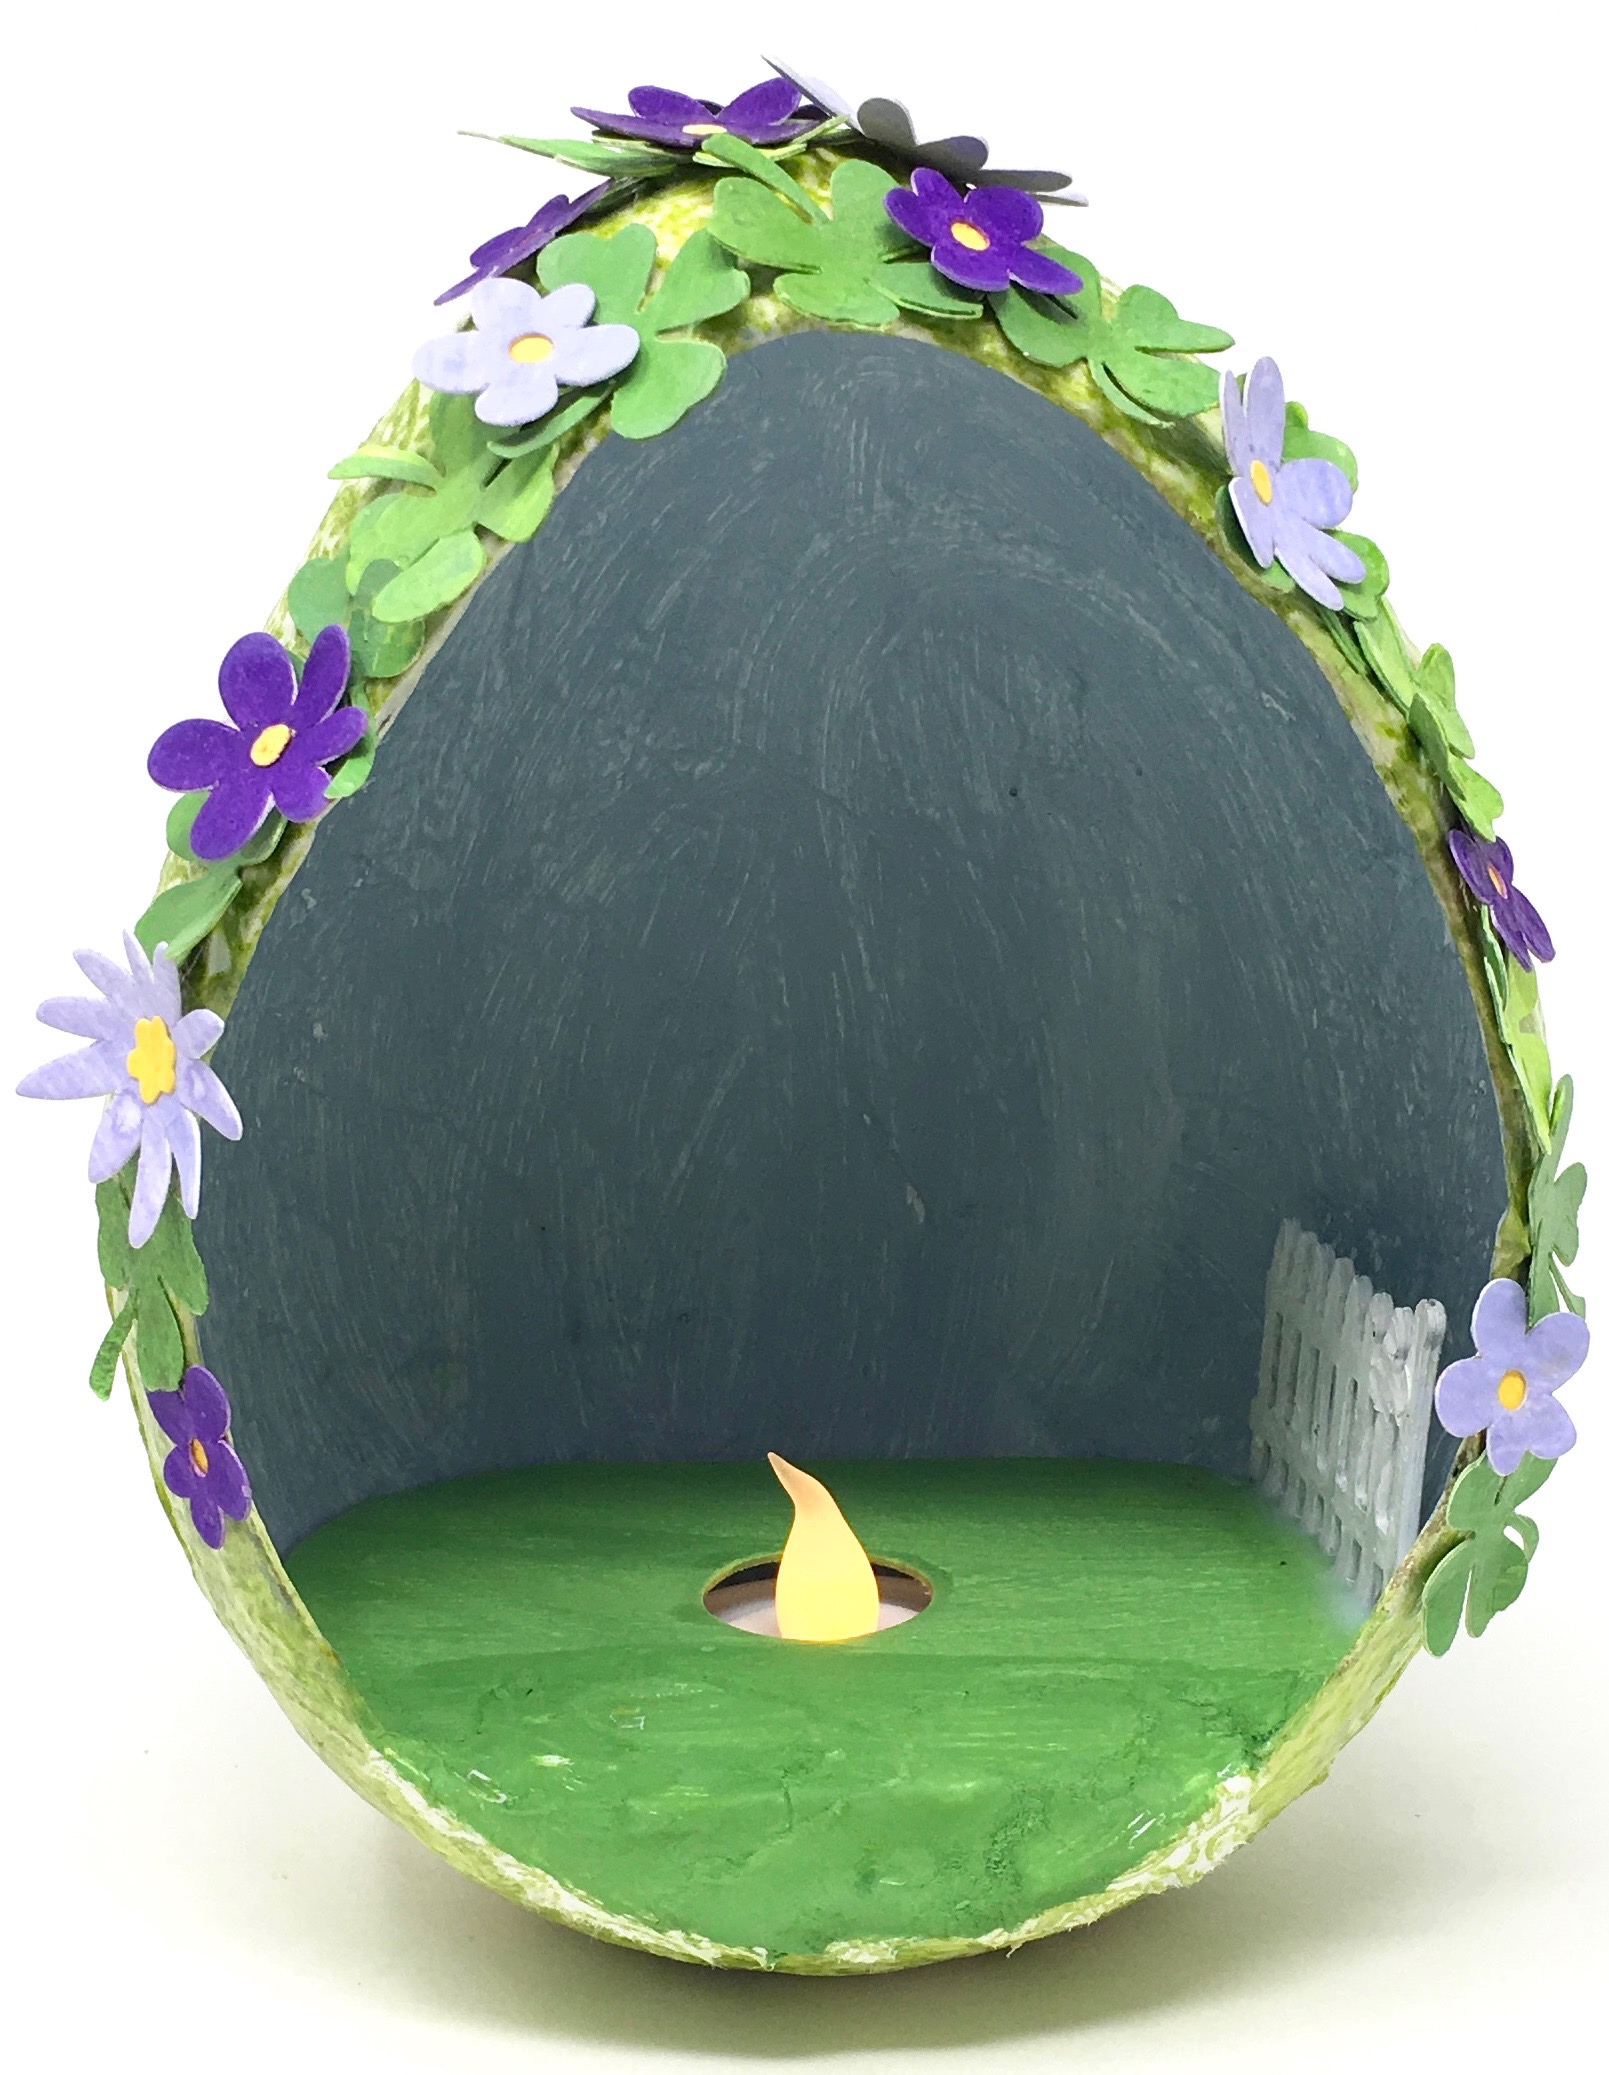
Here's where the artistic part comes in - gluing on the flowers and clovers. Since the sugar eggs always have a decorative edge around the opening of the egg I glued a row of flowers and clovers along that edge. Next I scattered flowers and clovers along the rest of the egg.
Apply glue to the lawn and adhere the paper grass
Finally apply glue to the front of the lawn and sprinkle your paper grass in place. Smush it down and then let the glue dry. Often some of the pieces fall off, add more if needed.
So that's your Miniature Irish Cottage decorated for St. Patrick's Day. I hope you have enjoyed this project and like your miniature version of Irish Cottage.





Rosemarie
I made your Irish Cottage and love the result. Thank you for the use of your pattern. I would send a picture if I knew where and how to send it.
Lucy
Rosemarie,
I have a Facebook group where you can post photos, but I haven't done anything with the group yet. I need to get started on that because I really love to see people's projects. I'll get to work on that. I am so glad you like the Irish Cottage. Thank you so much for letting me know you made it. Lucy