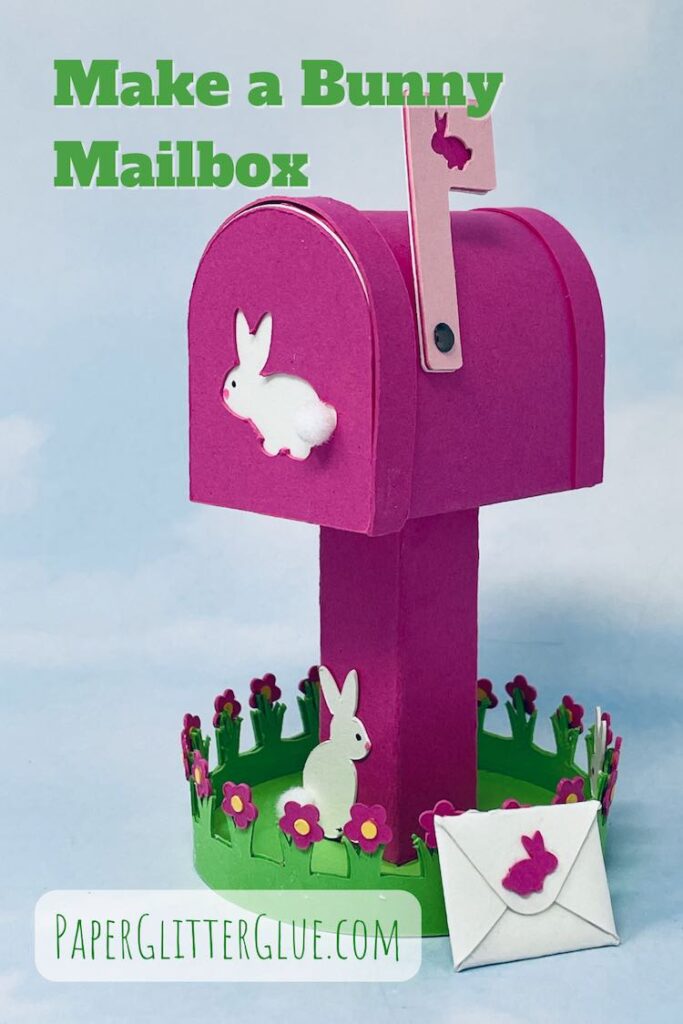
Time for Bunny Mail and the Bunny Mailbox to hop into your Spring season!
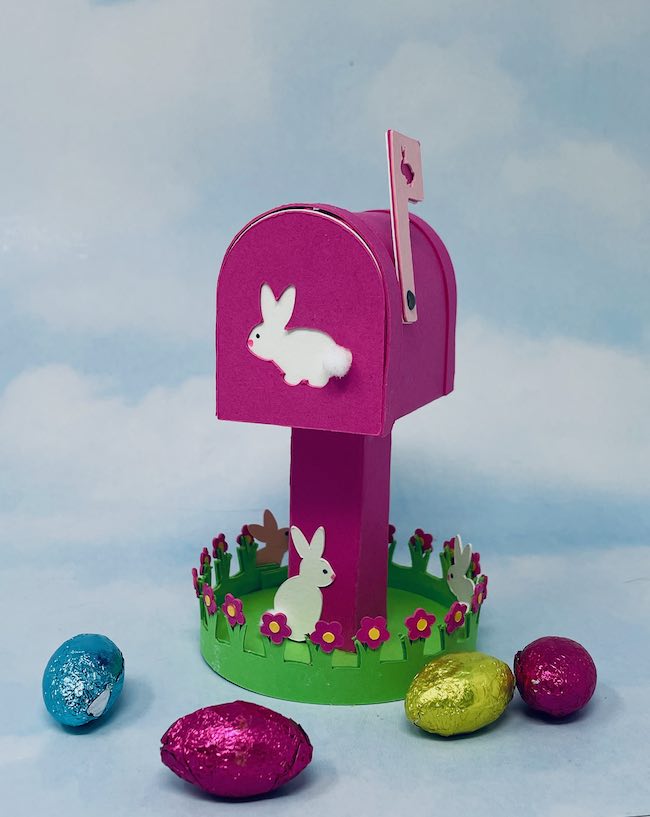
Oh yes, the bunny mailbox with bunny mail is here. This cute little bunny mailbox is just the thing for your Spring and Easter decor. How about hiding a tiny egg inside the Bunny Mailbox to delight a child of any age? So read on to learn how to make the Bunny Mailbox.
The Bunny mailbox is based on my Valentine mailbox design, but with more options for decor. There are different bunny designs that you can use on the front door of the mailbox and on the mailbox flag. Then you can add a flower border with bunnies on the base. Really perfect for Easter, don't you think?
This post contains some affiliate links for your convenience. Click here to read my full disclosure policy.
What do you need to make your Bunny Mailbox?
- Card stock - I use this brand of card stock 65# or 110# will work
- Glue - for this project I used Bearly Art glue, but really any glue works for this project
- Tiny brad
- Tiny pom pom for bunny tail - this is the size pom pom I used
- A way to cut out the pattern - either by hand or using a machine like the Cricut.
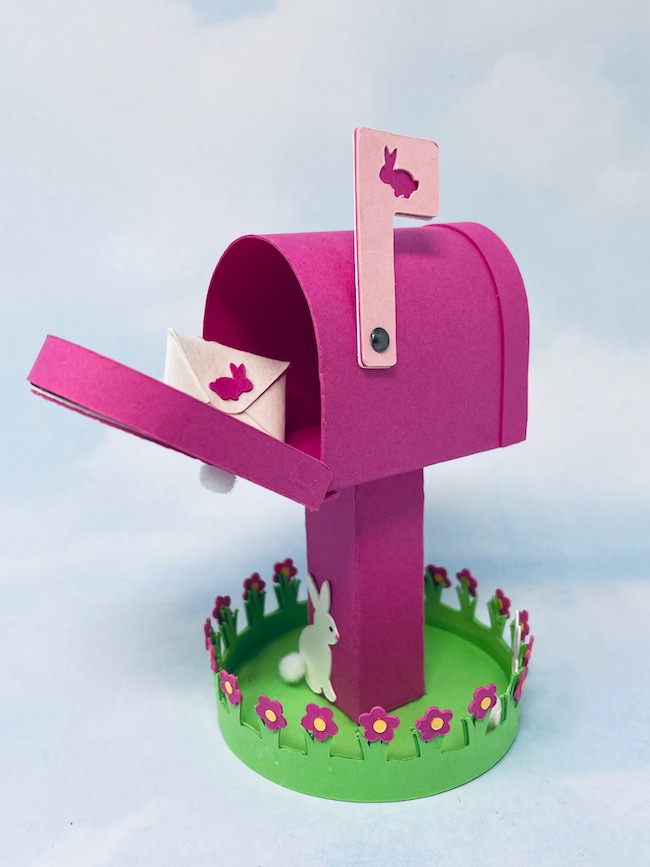
Instructions to make the Bunny Mailbox
- Download pattern - Design No. 135 - the Bunny Mailbox from the Paper Glitter Glue library in the March 2022 section of the library
- Cut out the parts of the Bunny Mailbox
- Fold along score lines
- Glue layered pieces together
- Assemble the mailbox
- Glue the mailbox post to the base
- Make bunny mail
Read below for more details on how to make the delightful little bunny mailbox. I made a short video showing how to assemble the Bunny Mailbox. added music so turn the sound down if you like.
1. Download the pattern from the Paper Glitter Glue Library
The Bunny Mailbox is design no. 135 in the March 2022 section of the library. For your convenience I've got the design available in two formats - as a printable PDF pattern and the SVG cut file for cutting machines like the Cricut.
To get access to all the Paper Glitter Glue library if you don't have the password, just subscribe to my newsletter and you will get the password right way. You will also get an offer for my book, Create 12 Simply Super Miniature Houses.
2. Cut out the pieces for the little mailbox
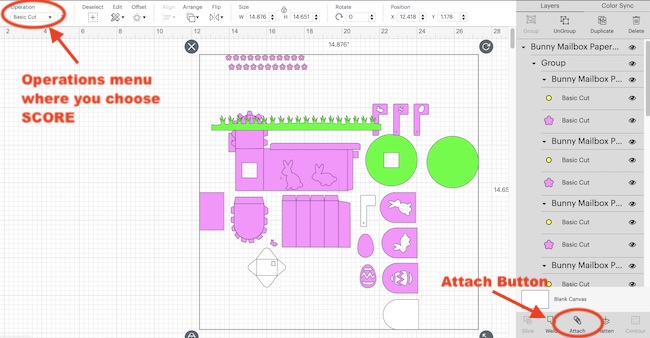
To cut out all the mailbox pieces, I use my Cricut Maker. Just upload the SVG file to Cricut's Design Space.
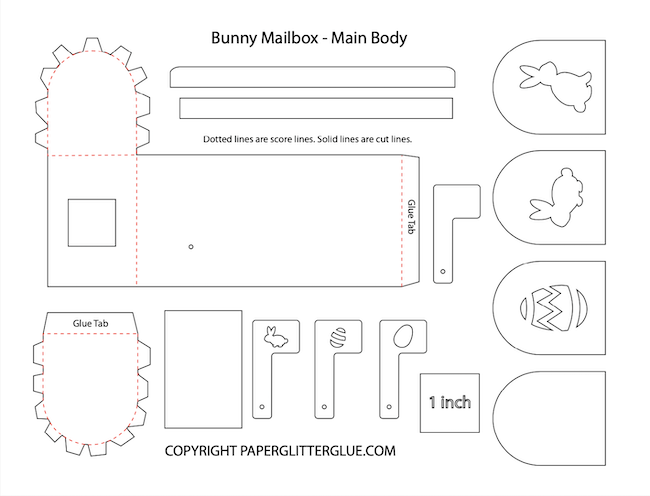
In addition, there are 4 pieces with score lines. For each of these pieces, select the score lines, go to the operations menu (at the upper left side of Design Space)and change to SCORE. After that, select the score lines and the piece it is grouped with and hit ATTACH at the bottom of the layers panel. That way Cricut Design space understands exactly where the score lines go.
In the photo below, you see all the pieces with score lines have the score lines designated and attached.
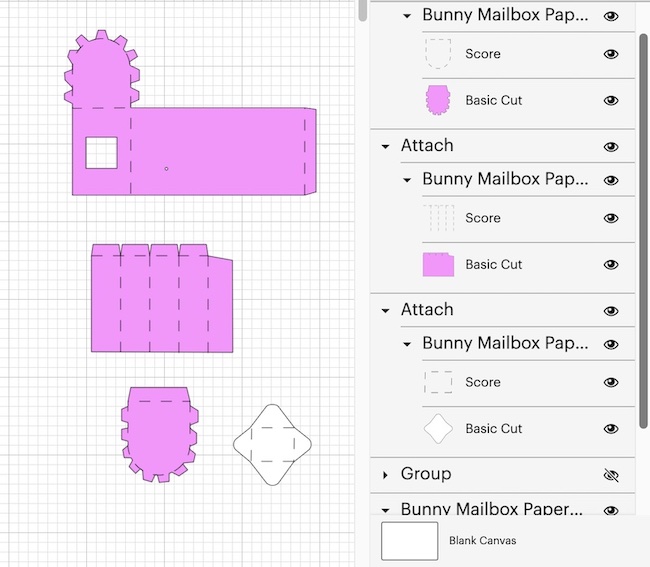
Cut out the main body of mailbox
Below are the pieces for the main body of the mailbox.
Cut out the pieces for the mailbox post and base
And here are the pieces for the base. Generally, I cut at least 2 pieces for the each of the parts of the circular base. If you do that and glue these layers together, it supports your mailbox so much better.
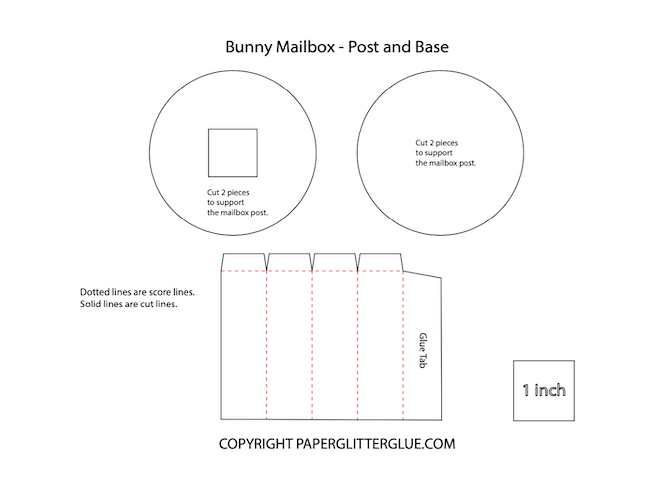
Using a cutting machine like the Cricut Maker is just so much easier than cutting these little pieces by hand, but I have some advice to make it simpler to cut by hand.
Tips for cutting the pattern by hand
The best advice for cutting a pattern out by hand is to simplify as much as possible. And what do I mean by simplify? Well, instead of meticulously cutting out all the little tabs on the mailbox body, just round off the cut and then make snips with your scissors after you cut out the main shape to make the tabs.
Or use a set of dies and a die cutting machine for the circles, flowers, and the bunnies. Another option for the flowers and bunnies are paper punches like these.
Front Flap (the mailbox door) for the Mailbox
For the front flap or the front door of the mailbox, you have a choice of 3 different designs. The plain version gives you an option for a different background color choice.

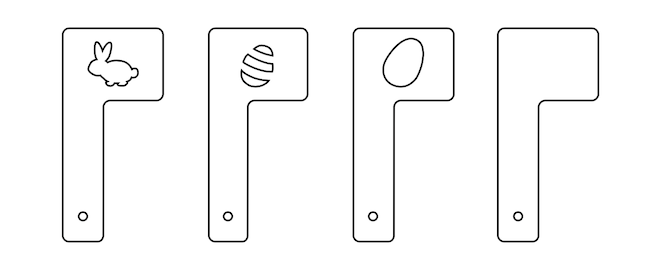
Bunny Flag options
And you have some choices for the mailbox flag as well. My favorite is the little tiny bunny. But you may want to use an Easter egg instead. In addition there is a plain version so you can choose the background color for your design.
Cut out the flower strip to decorate the base
Here's the pattern for the flower strip to decorate the base. Now you can omit this if you want, but I love the little flowers look at the base of the mailbox. Again if you are cutting out this pattern by hand, I would use paper punches or dies to cut out the flowers.
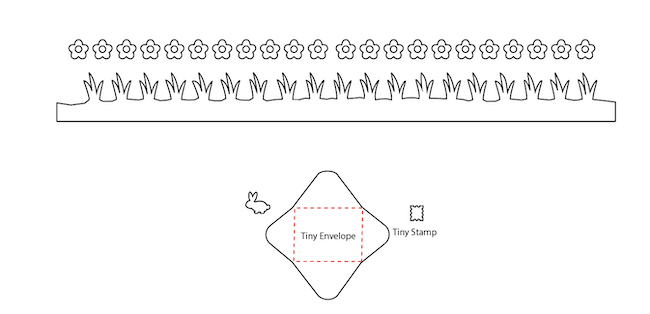
The tiny bunny is the same size as the bunny from the flag.
Now you have all the pieces cut out and the fun begins.
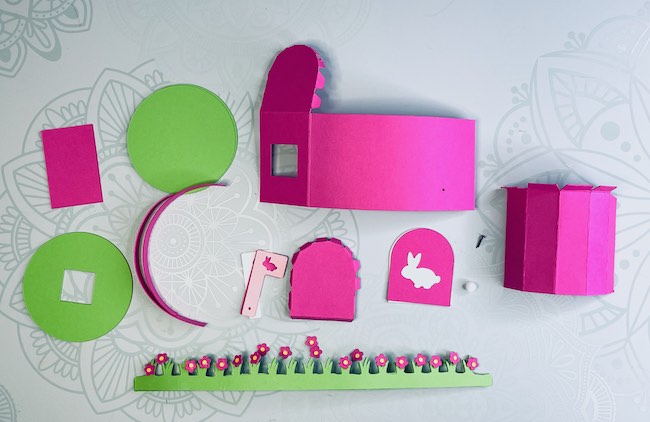
3. Fold along the score lines
Before you assemble your little mailbox, fold along all the score lines on the 4 pieces that have score lines. You can see them on the photo above except for the little bunny envelope. I left that one out in the photo above.
4. Glue the layered pieces together
Next, glue the layered pieces together. Let's start with the front mailbox door.
Glue the bunny layers to the mailbox door
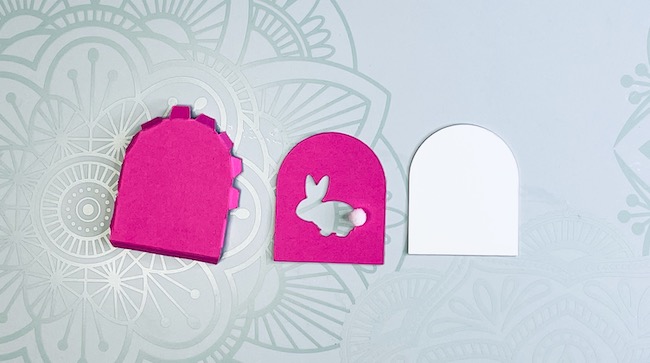
Glue the white piece to the main body of the mailbox front door. Then apply the bunny cutout on top of the that. Finally, glue the tiny pom pom tail to the bunny. To simply things, I just drew a little circle for the bunny eye and nose.
Glue the Bunny Flag together
This is one of my favorite parts of the bunny mailbox. I love this little flag. In order to have designs on both sides of the flag, I glued three layers together with a contrasting flag color in the middle.
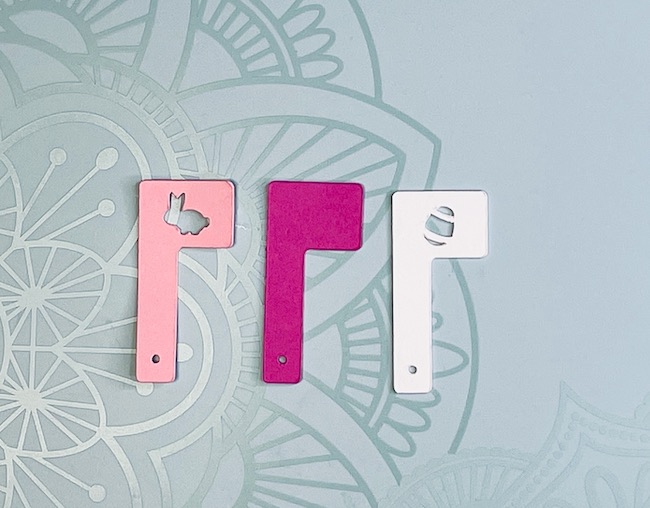
Attach the base layers together
To make a sturdy base that supports the mailbox well, glue several layers together. In terms of support, you could use cardboard instead which would be even better.
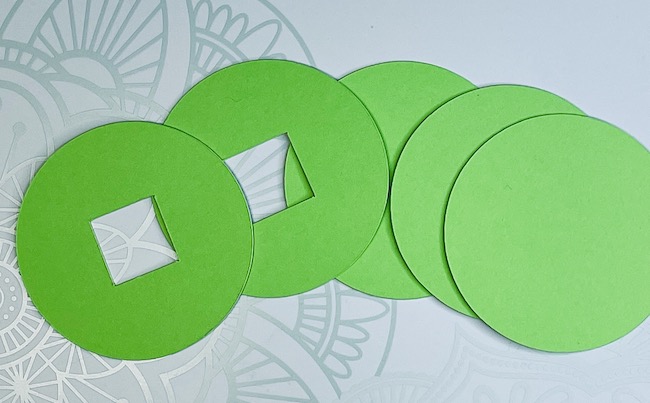
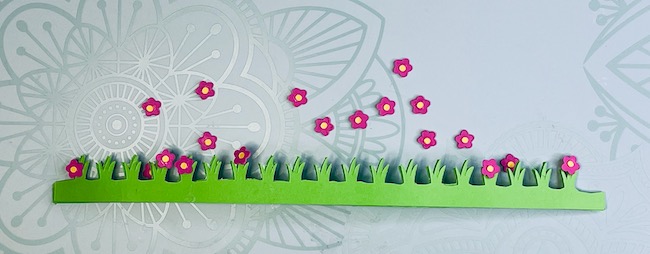
Finally, glue the decorative border together
Again to make the decorative border stronger, I glued two card stock layers grass together. Then apply the flowers to the border.
5. Assemble the mailbox
First, assemble the main body of the mailbox
For the initial step in the assembly, we need to glue the main mailbox body together. To help make the curve of the mailbox, gently curve the long strip before you glue it down. You can see that I've curved the support strips as well.
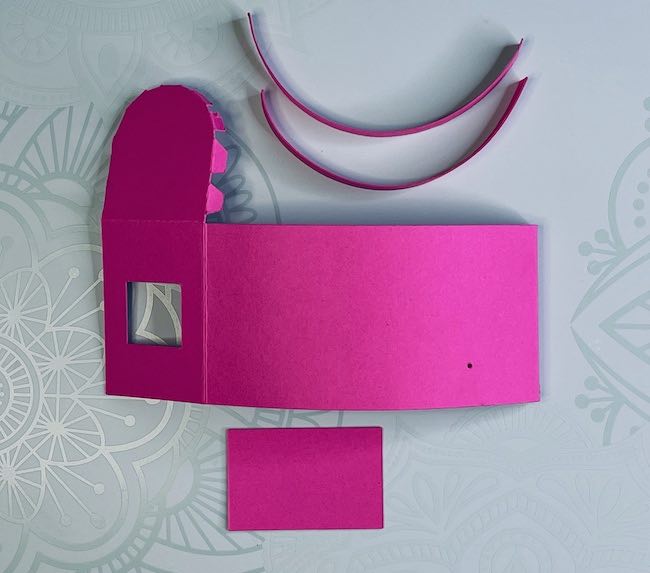
See how it looks when you glue it together with the main body glue tab on the OUTSIDE of the mailbox.
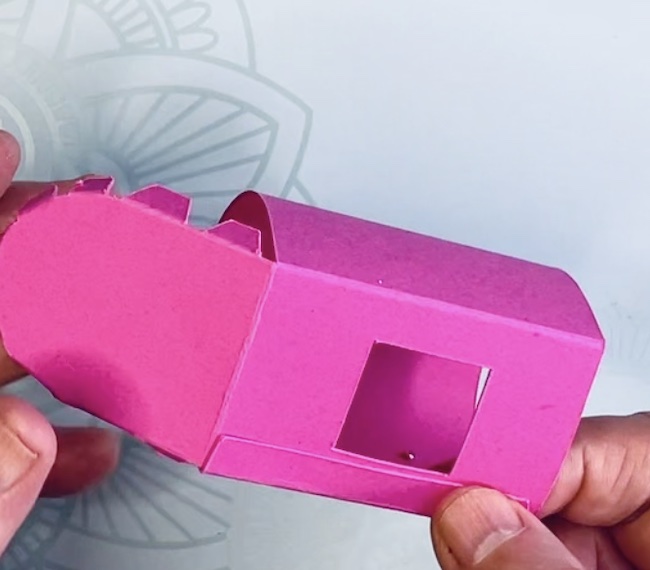
Next apply glue to the tiny tabs on the back mailbox flap.
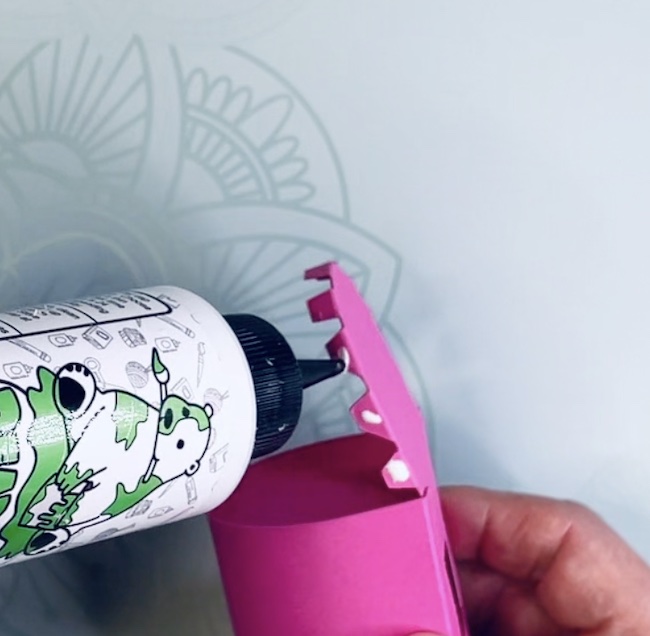
Next insert the back flap into the arched mailbox shape.
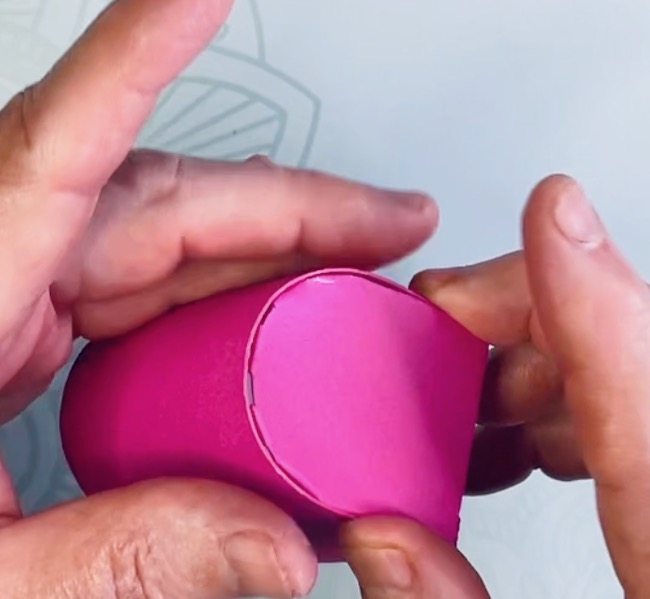
Finally, glue the support strip to the back arched part of the mailbox. Use the support strip that is slightly shorter and has square edges. See the correct strip in the photo below. You need the other longer strip to go around the front door flap.
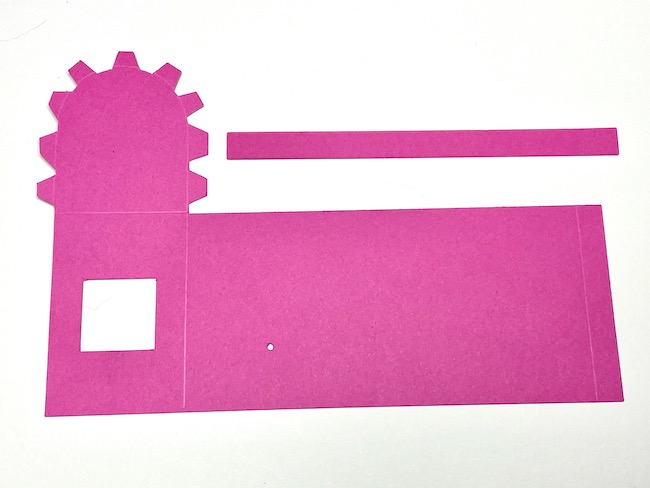
Next assemble the front door flap
First, glue the layered design to the front of the door. You can glue the support strip (the longer strip with the rounded edge) after you attach it to the mailbox body. It's easier to do that then.
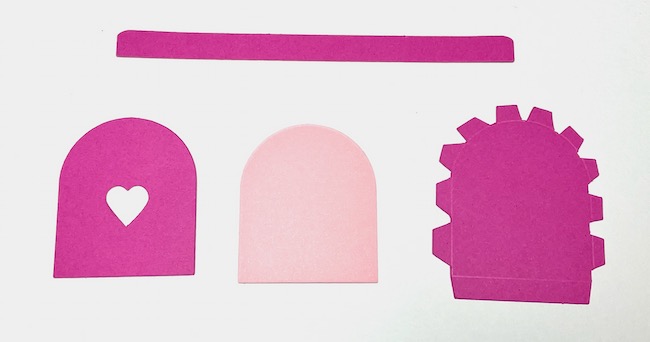
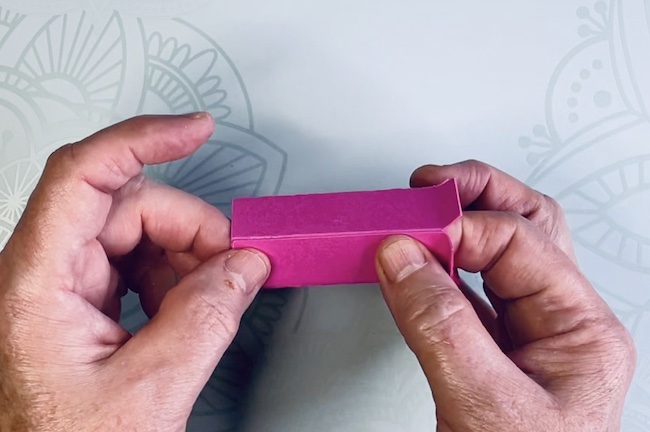
Assemble the post
Just apply glue to the glue tab to make the 4-sided mailbox post.
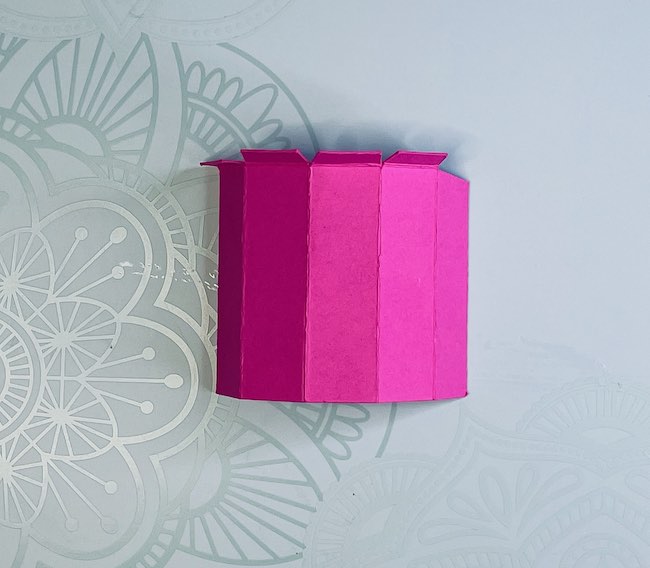
Glue post to mailbox body
First, apply glue to the underside of the glue tabs.
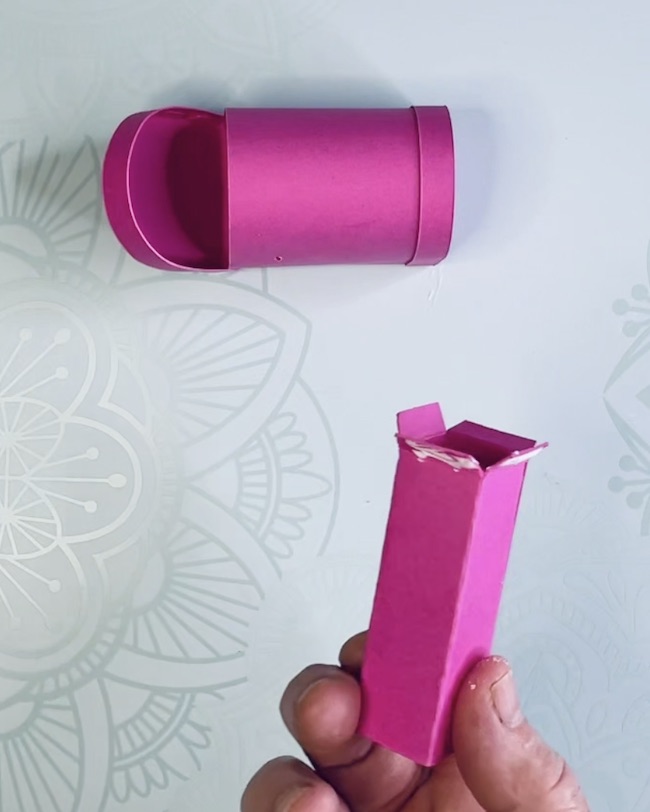
Insert the glue tabs and the post inside the cut out on the bottom of the mailbox body.
Apply a little pressure to get the tabs to stick inside the mailbox. Please note: It is much easier to get the post glued in place if you don't glue the front mailbox door on.
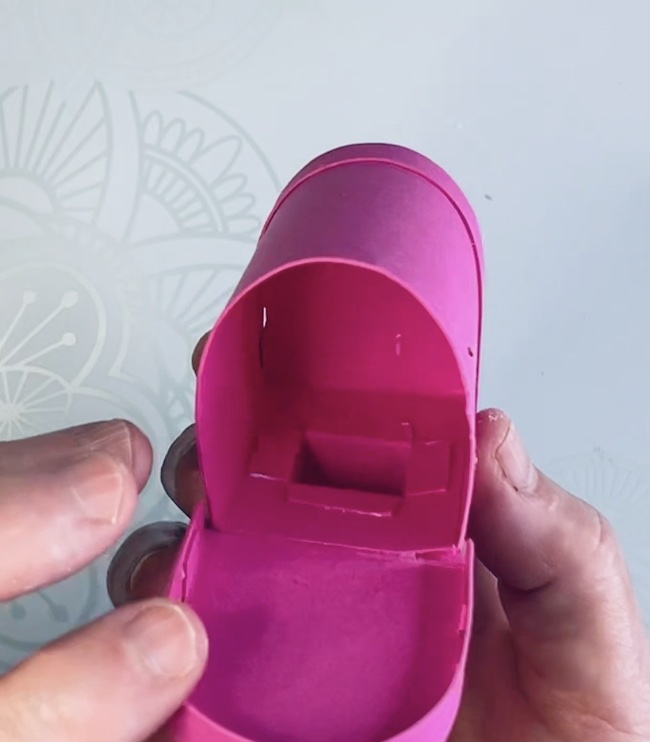
And finally, glue a small rectangle inside the mailbox so you don't have a gaping hole in the bottom of the mailbox. The rectangle is included in the pattern.
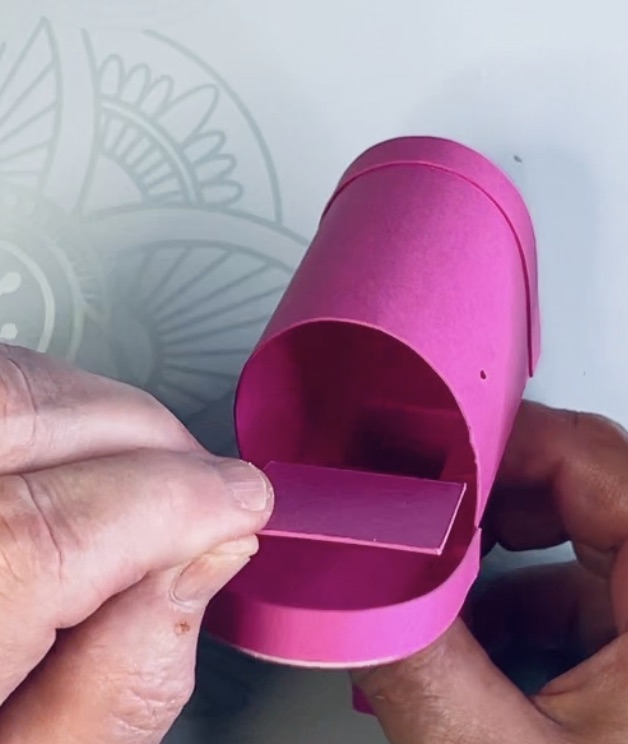
Next glue the front flap to the main mailbox
Now is a good time to glue the front flap to the mailbox body.
There are a couple of important things to remember here. First of all, you want to be sure that your flap doesn't flop open. That means that you must crease the score line between the flap and the glue tab well so it easily forms a 90 degree angle. Check to make sure it does this.
And when you apply glue, check it again to make sure that the flap isn't blocked from closing fully.
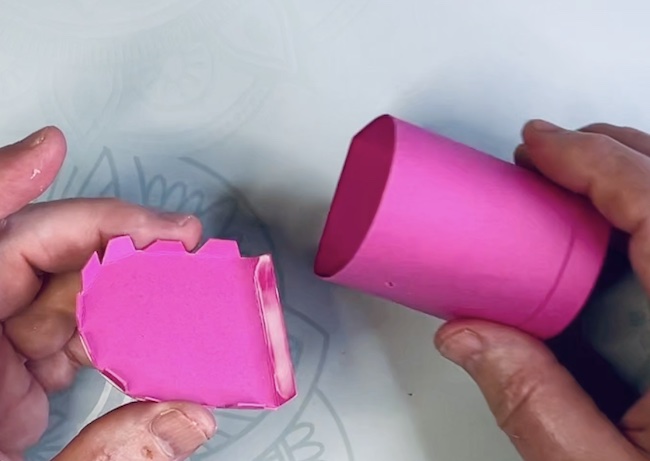
Sometimes you have to slide the glue tab backwards (away from the mailbox) just a little bit to make sure it can close fully.
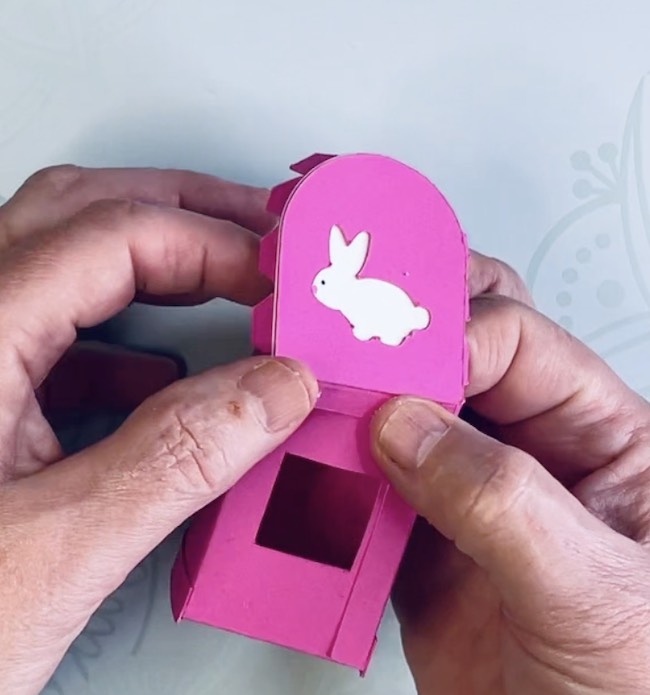
After you glue on the flap, you can glue the support strip to the tabs on the front door flap. And whenever you are gluing something to a curve, be sure to "pre-curve" the paper so it adheres easier.
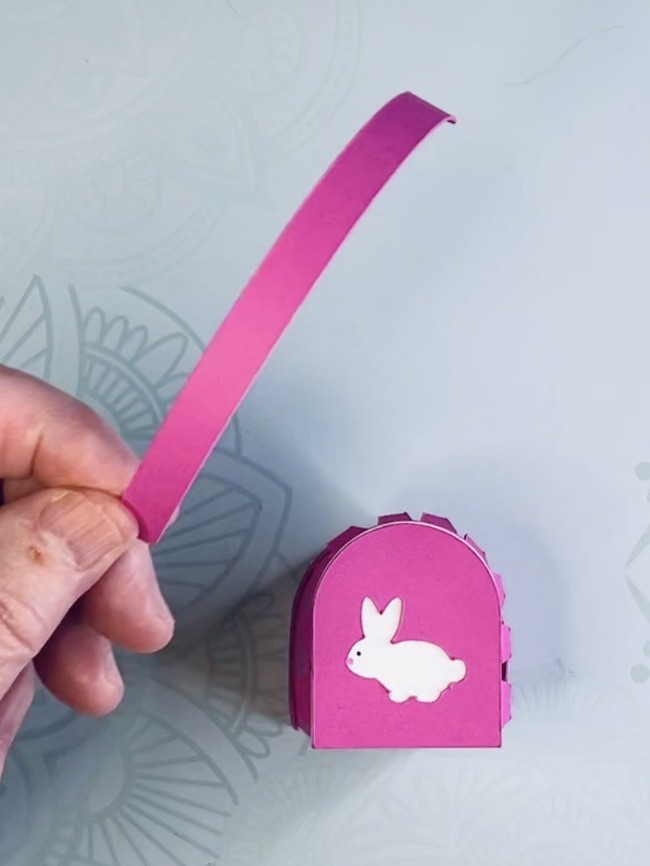
Next, apply small dabs of glue to the tiny tabs on the edge of the flap.
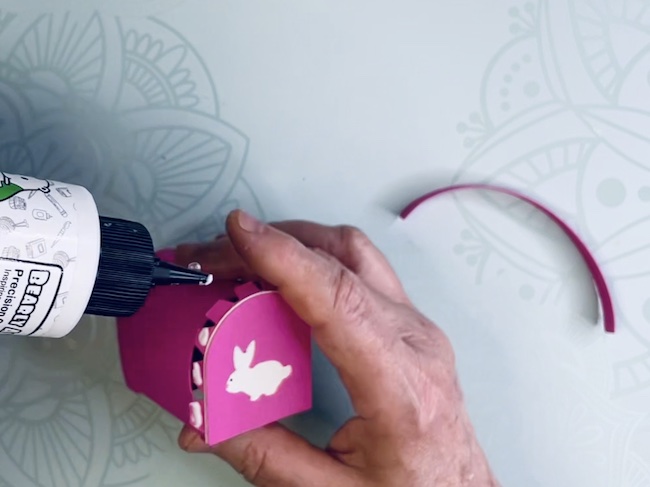
Then apply the support strip. It's a little fiddly to do this, but not too bad.
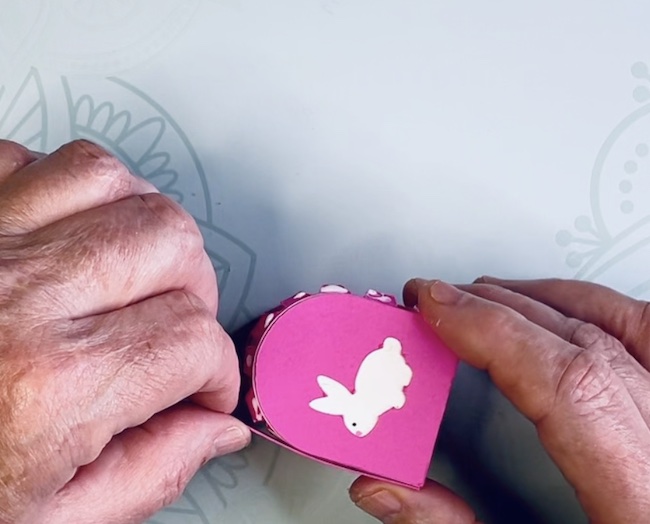
In the photo below, you see the support strip applied. BUT I should have moved it forward slightly to cover up the seam on the front flap.
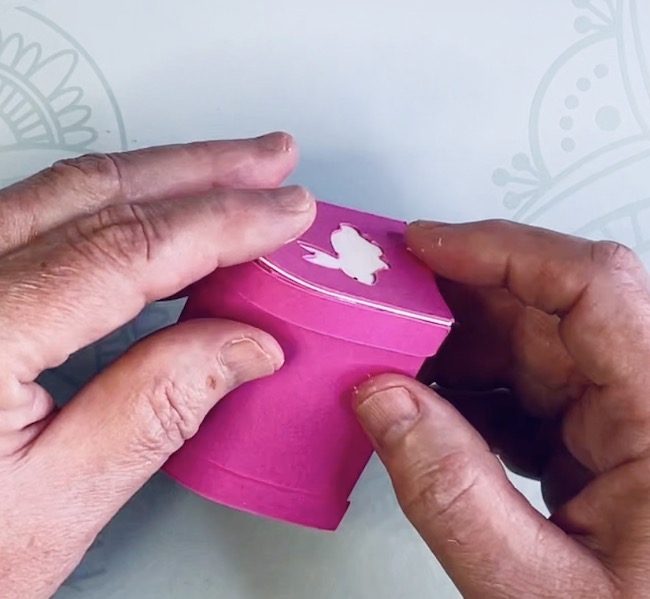
Here you have to be very careful not to glue the tiny tabs to the mailbox body preventing the mailbox from opening. To avoid that, open and close the flap a few times to make sure it doesn't get stuck.
Add the flag to the little mailbox
First, insert the little brad into the hole on the mailbox flag. Then insert it into the hole on the side of the mailbox.
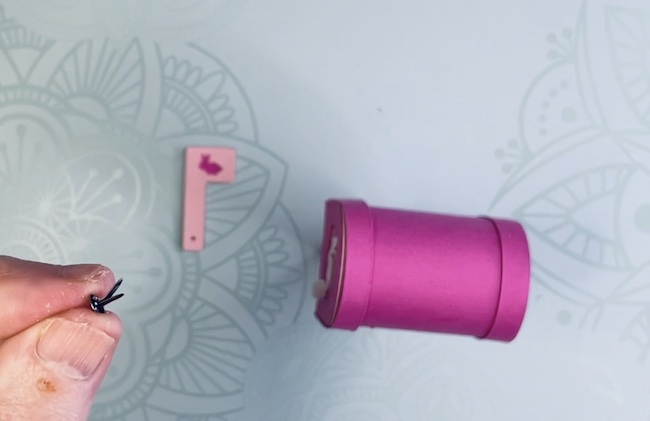
Glue the flower border to the base
As always, curve the flower border so it will stick to the round base much easier.
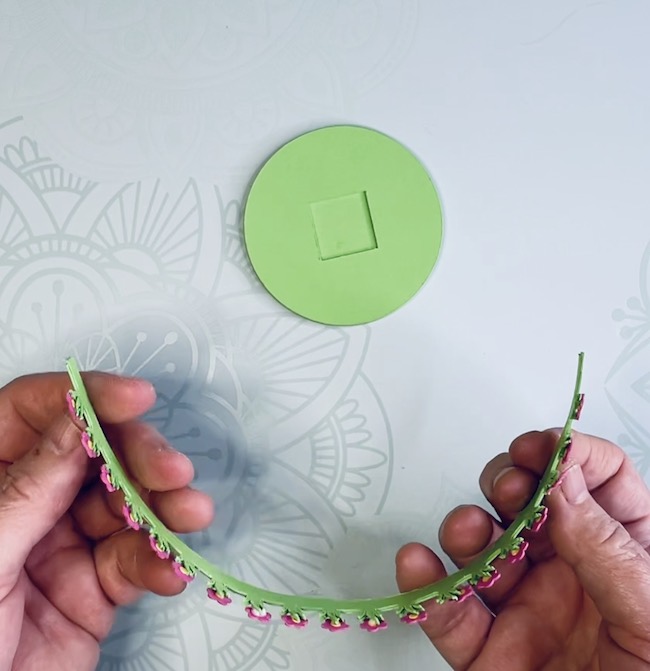
Apply glue to the flower border.
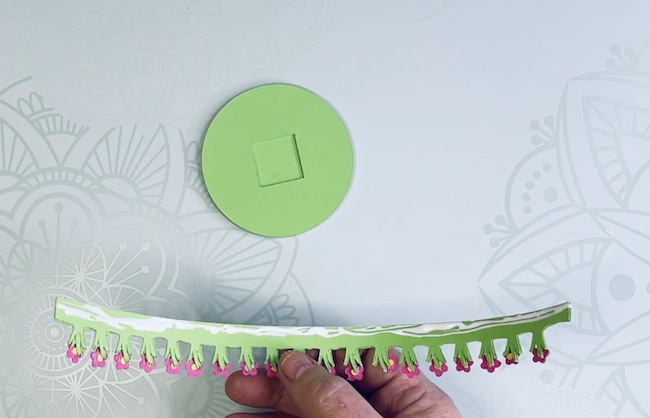
Then apply the flower border to the circular base.
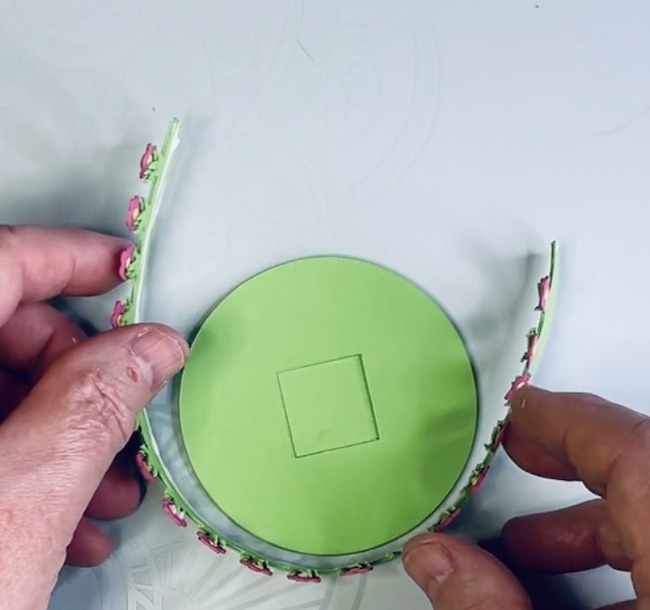
Glue the mailbox post onto the circular base
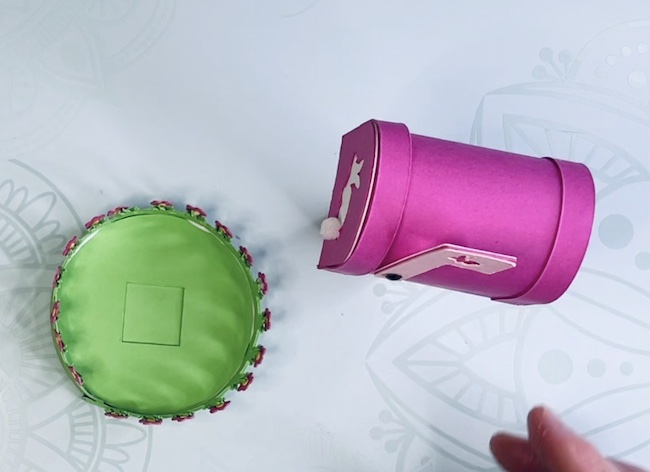
To glue the mailbox to the circular base, apply glue inside the square on the base.
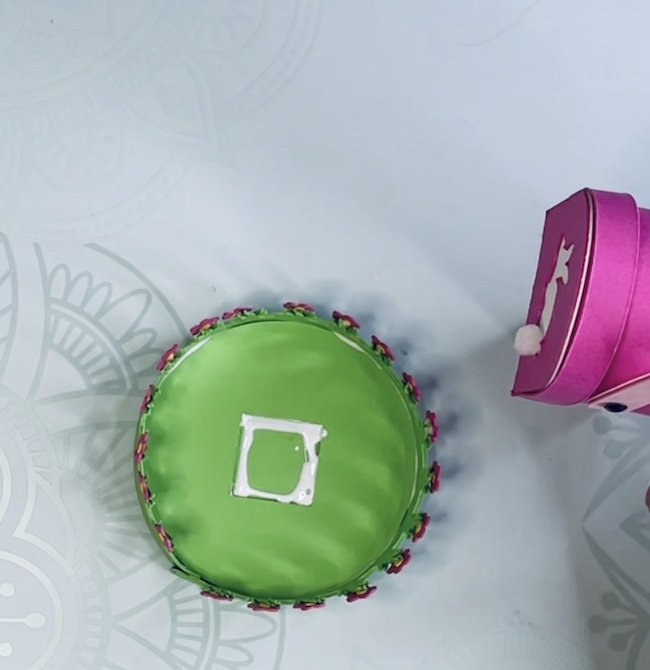
Then insert the post into the glue on the base. Oh, and pay attention to where the flower border seam is. Make sure that the seam is in the back or cover it up by gluing a bunny or other decoration to that area.
I rotated mine before the glue dried so the border seam was in the back.
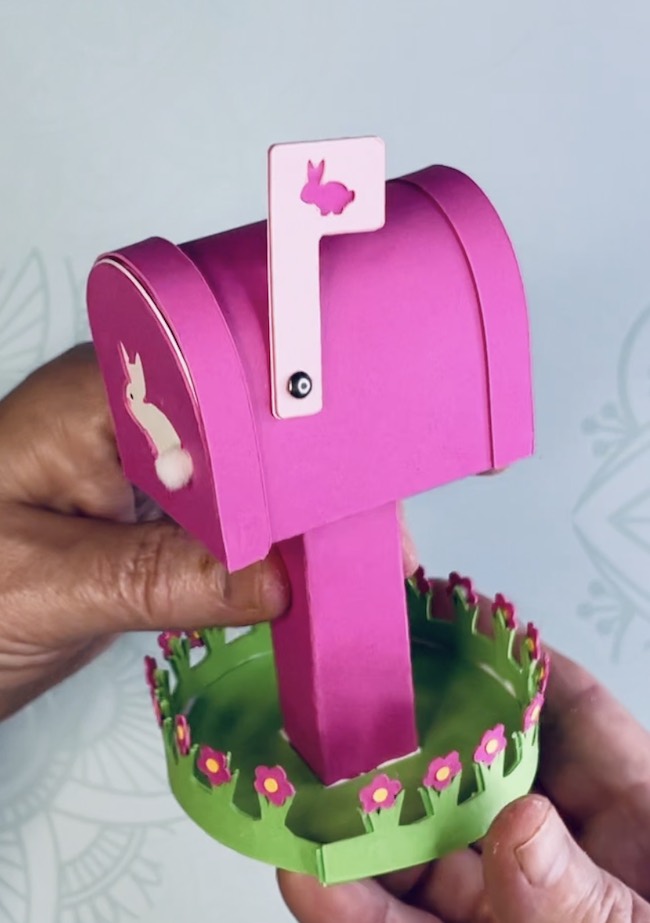
A bunny cutout covers up the flower border seam.
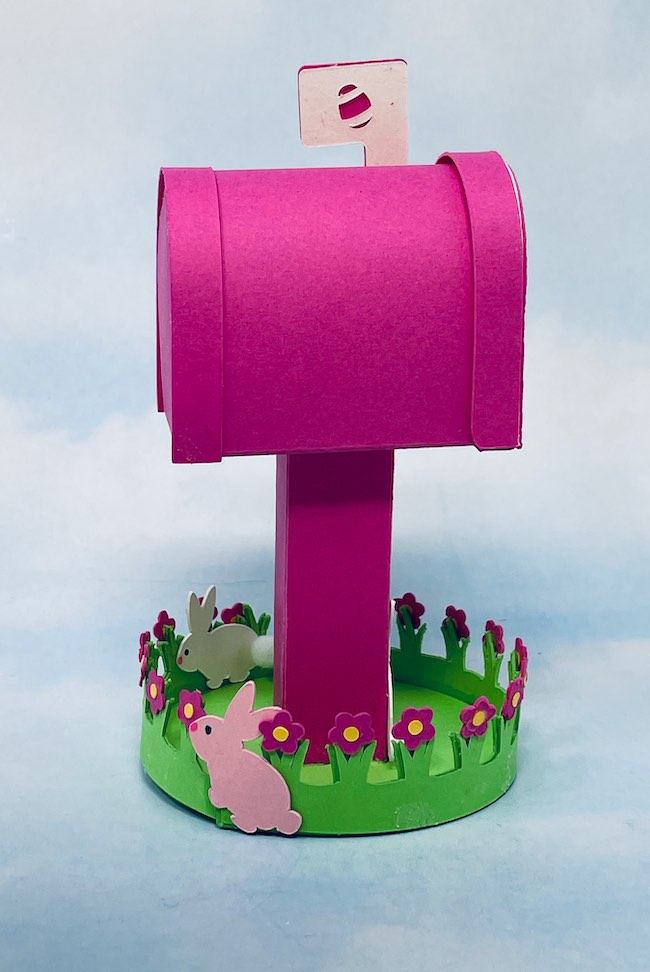
And that's it for the making the mailbox.
Make the tiny envelopes for your mailbox
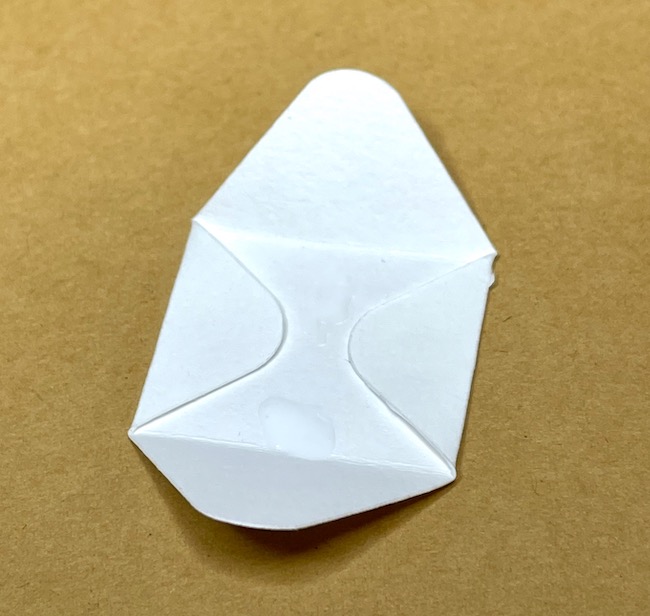
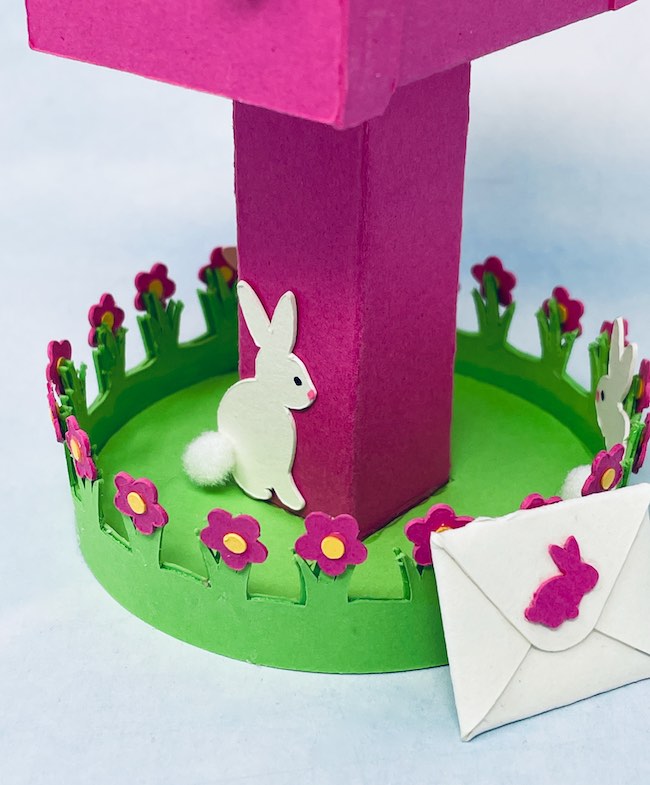
The little envelopes are so easy to make. Just fold along the score lines, then glue the flaps down. Glue a tiny stamp to the front and a tiny bunny to the back.
Be sure to pin this to your favorite Pinterest board so you can remember where you found the little Bunny Mailbox.
I do hop (hope) you will make it and share it with me in the Paper Glitter Glue Facebook group.
Questions about making the little Bunny Mailbox?
If you have any questions, feel free to email me at [email protected]. I am always happy to help.
It's a good day to have a good day, I think.
Lucy


Leave a Reply