
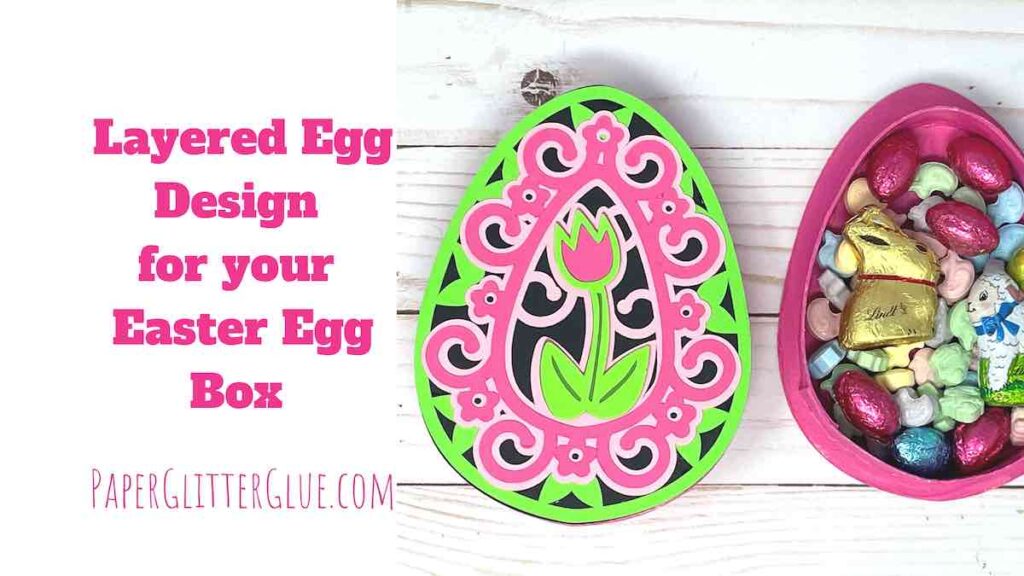
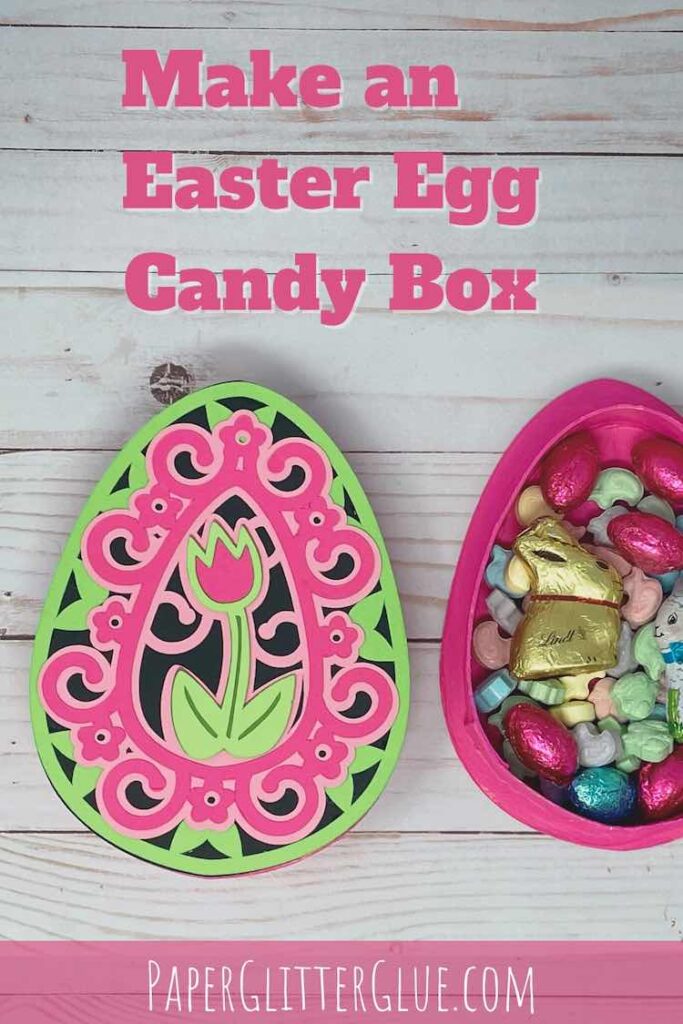
I'm having lots of fun making Spring paper crafts this year. The little bunny paper mailbox is one example. Now I'll show you how to make an Easter egg box with a cute layered design on the top. Of course, you can decorate it any way you like, but the layered design is cute and easy. And I like easy paper crafts, don't you? So here's the tutorial on how to make the Easter egg box with a layered design on top.
Be sure to subscribe to my newsletter to get all the latest designs and the password to my free library. Use the form below.
This post contains some affiliate links for your convenience. Click here to read my full disclosure policy.
Table of Contents
What supplies to make an Easter egg box with the layered design on top?
- Card stock - various shades of your choice
- Cardboard for the Easter egg box, though you can use card stock, but cardboard is much sturdier and will last longer. It takes 2 sheets of 8.5" x 11" cardboard.
- Glue - Bearly Art glue or a light PVA glue and a stronger glue to hold the cardboard in place
- Painters tape always comes in handy
- Paint for the cardboard box
- Free pattern - Design No. 136
- A way to cut out the pieces (I used my Cricut Maker, but you can cut by hand or use other cutting machines like this)
Instructions to make the Easter egg box - Design No. 136
- Get the free pattern - the Easter egg box with the layered design - Design No. 136
- Make the layered design for the top of the box
- Make the cardboard Easter egg box
- Paint it your choice of colors
- Adhere the layered design to the top
- Fill with CANDY or treats!!
So here is a brief video showing you how to make the Easter egg box. I hope that helps you.
Cut out the layered design
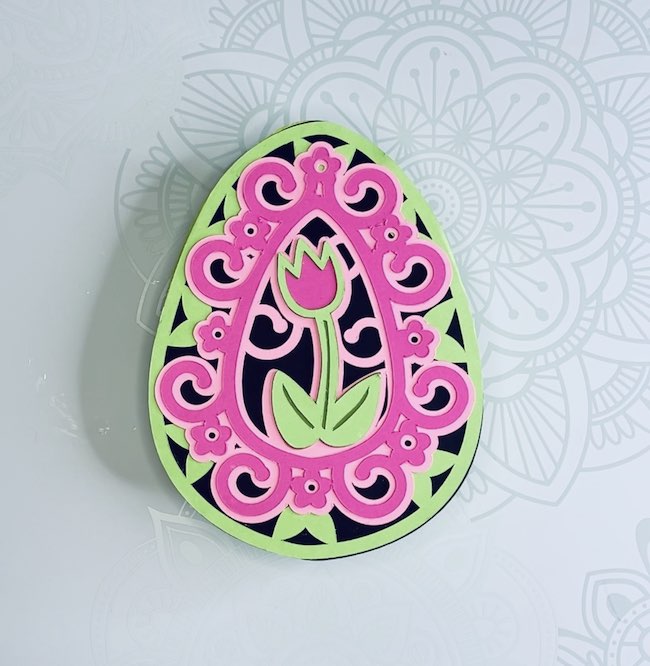
First, cut out the layered design. This is much easier to cut with a cutting machine like a Cricut. Fortunately, there are no score lines for this tulip layered design so you don't have to worry about that. But do choose colors you love.
I chose to use a black background based on the designs of Ukranian Pysanka or Pysanky eggs. If that is too stark for you, choose a lighter background, but I think the black background does make the design pop.
Here's how the design looks in Cricut's Design Space.
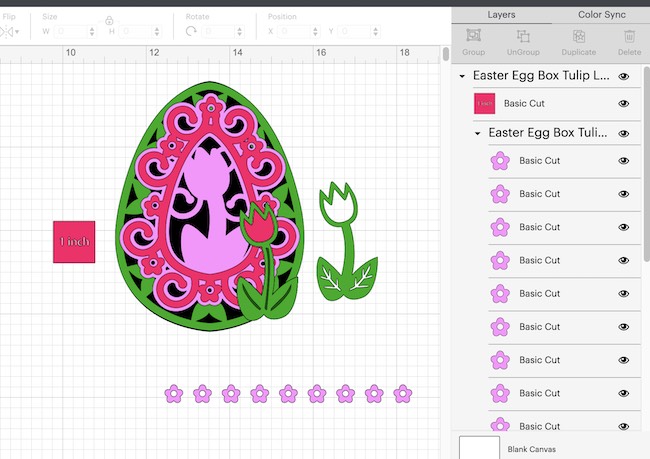
Notice the one inch square in the design. That helps you know that the design has been uploaded in the size I designed and it will fit perfectly on this egg box.
Next, cut out each layer in the colors of your choice. Also please note, there are two options for the top layer of the tulip. Choose the vein pattern that you like best.
In addition, there is an option for putting small flowers to overlay on the top layer as well. I didn't use them in my examples, though.
Glue the card stock layers together
After you cut out all the pieces for the tulip layered design, glue them together in this order. I used a lightweight glue - Bearly Art Glue - because it adheres fast, dries fast, and dries without being lumpy.
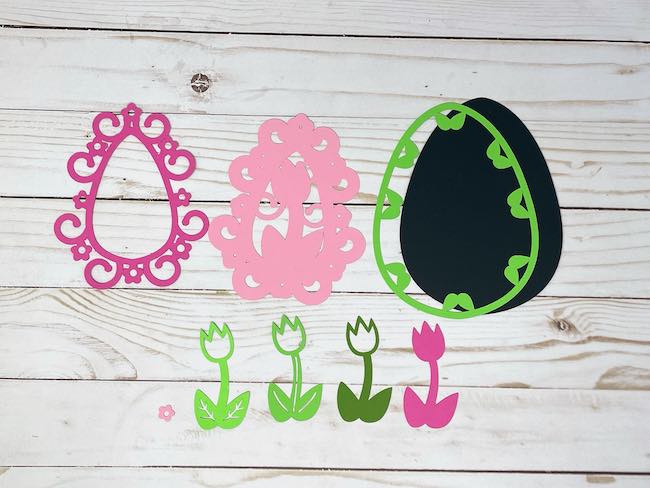
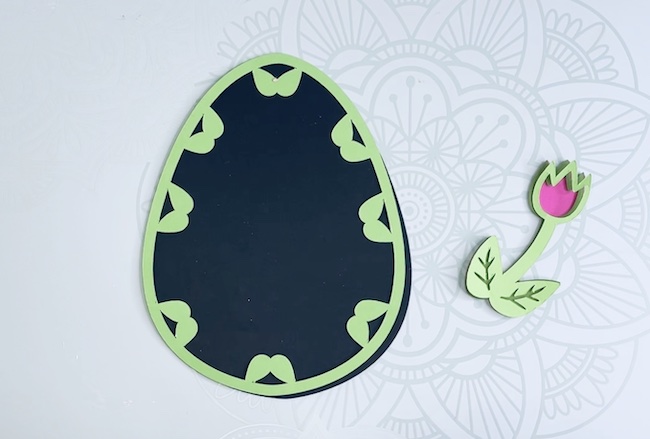
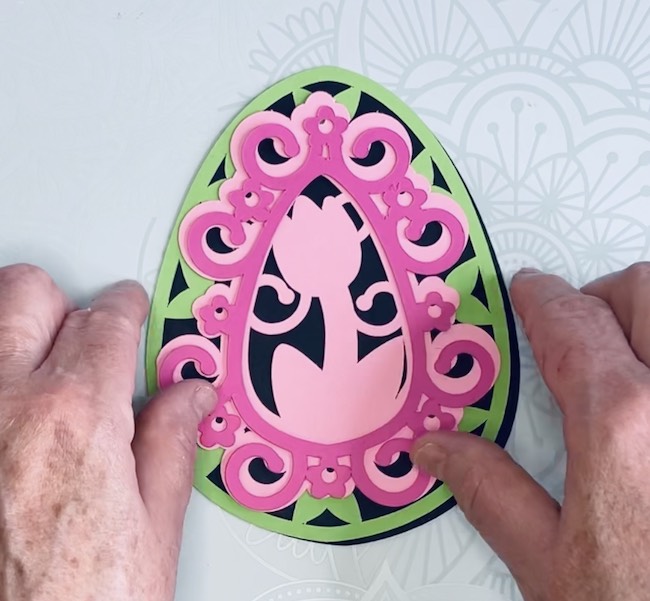
- First, glue the green frame to the oval background (I used black).
- Next, glue the two pink layers together. Glue the brighter pink layer to the pastel pink layer. You can center the top piece and the bottom piece by matching and centering the holes in the flowers on the top and bottom. It is easier to center these two layers on the background layer when they are glued together first.
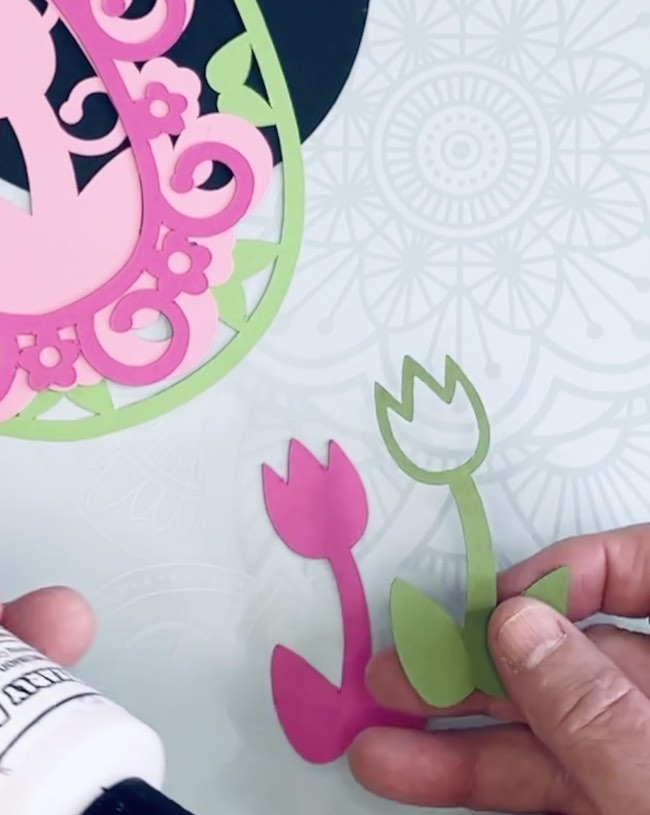
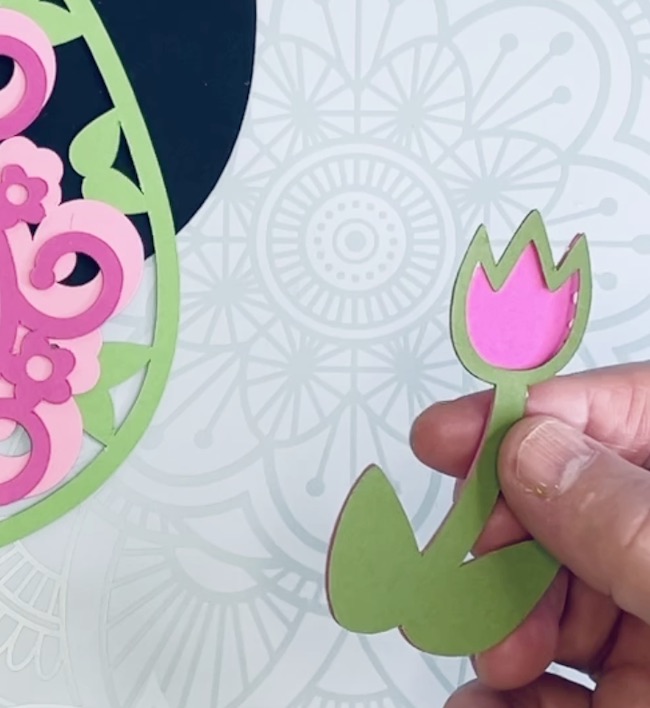
- Glue the layers of the tulips together staring with the bright pink layer of the tulip, then a darker green overlay, followed by a lighter glue layer with veins on the leaves.
- Finally, center the tulip design on the light pink background.
- Optional, you can glue contrasting little flowers on the flower design on the border, if you like. I didn't do that in my examples, but it is an option for you.
Below are the first two layers.
And here are the next two layers.
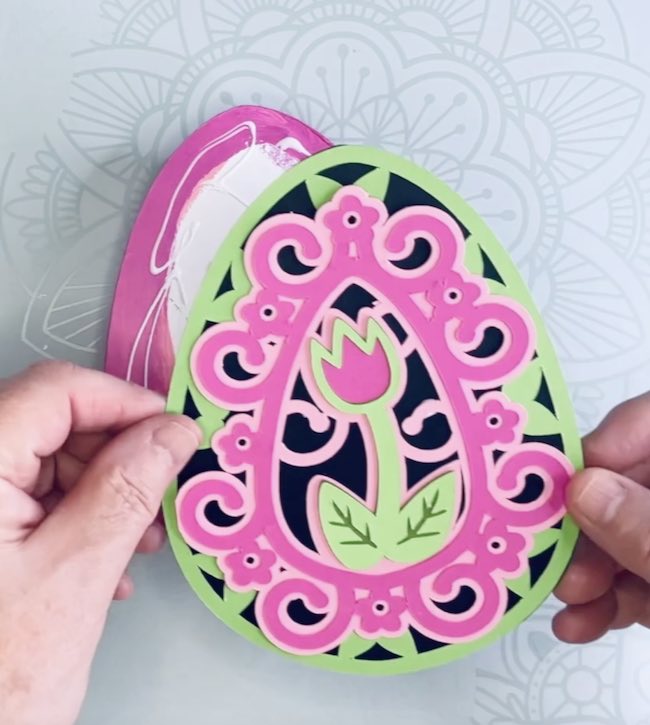
Finally, glue the layered tulip on top.
First two layers of the tulip overlay.
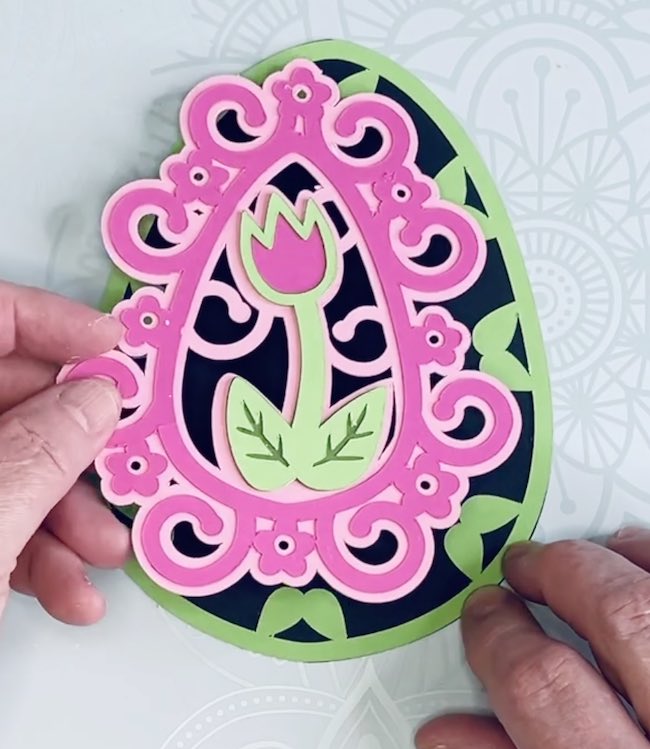
And here are all the layers glued together.
After you have completed the tulip layered design, you get the make the Easter egg box - the fun, messy part.
3. Make the cardboard egg box
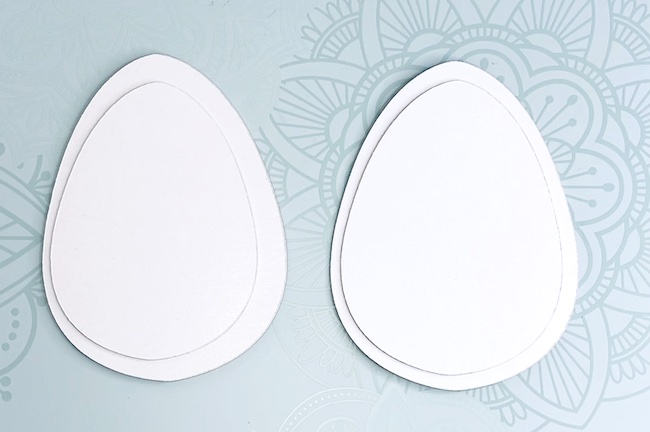
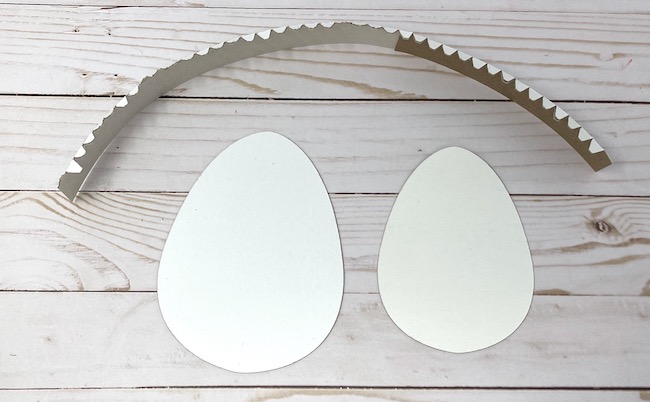
First, cut out the cardboard pieces for the Easter box
Please note that the two larger egg pieces are the same size. They function as the top and bottom pieces of the egg box. But the two smaller egg pieces are slightly different sizes to allow one side of the box to fit within the other side. So it doesn't matter which smaller egg shape is which.
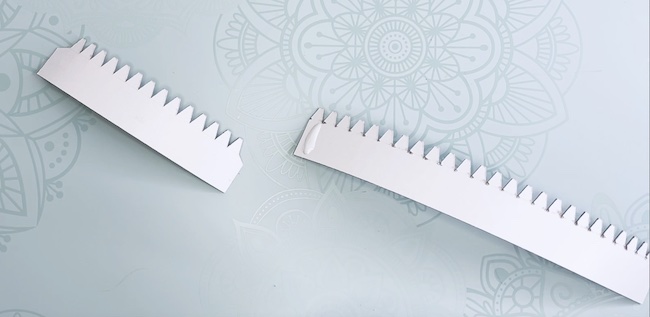
Also, please note that the longer strip and the shorter strip glue together to make a strip that encircles the smaller egg shapes to make the box part of the Easter egg box.
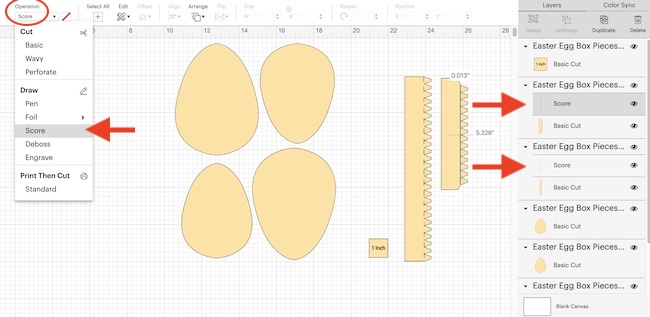
Here is what the design looks like in Cricut Design Space.
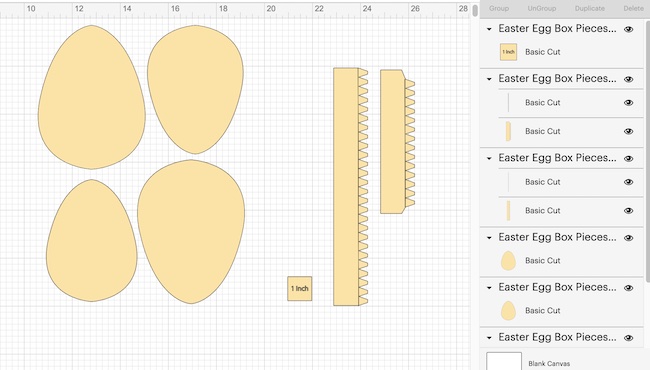
Ungroup the design. Then change the score lines from cut to score in the Operations menu.
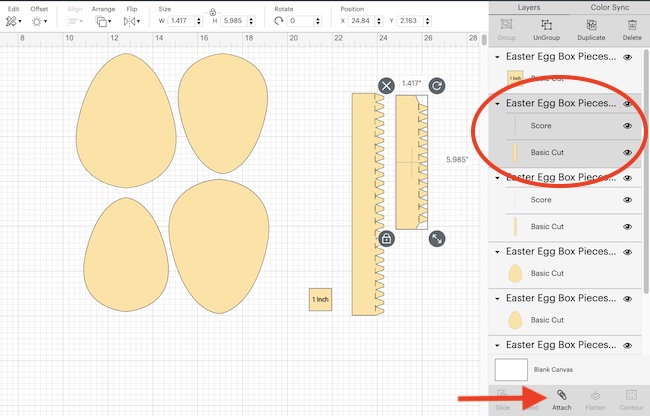
And then don't forget to attach the score line to the cardboard piece it is grouped with. First select the side strip grouped with the score line. The click the attach button at the bottom of the layers panel where you see the arrow.
You can make one entire side of the box with one sheet of 8.5" x 11" of cardboard. Oh, you can make it out of card stock, but if you do, use heavier card stock - #110. But I prefer cardboard - 30 pt cardboard like this.Yes, I love cardboard.
Remember to duplicate the strips to make each of the Easter egg box.
Next, glue the side strips together and gently curve them
Glue a long and short side strip together along one of the tabs. After it is dry, then gently curve the strip so it fits around the egg box easier. If you don't do that, it's hard to get the strips to conform to the shape of the cardboard egg.
Next, fold all the little tabs down.
Now glue the side strip to one of the smaller cardboard eggs
Ok, here is the messy part, but you know I actually kind of like messy. Because the glue always gets on mat, I use my cutting mat to protect the tabletop.
Apply glue to the tabs on the side strip. It helps to use a thicker, stronger glue here - this is where I use Aleene's Quick Dry Tacky Glue.
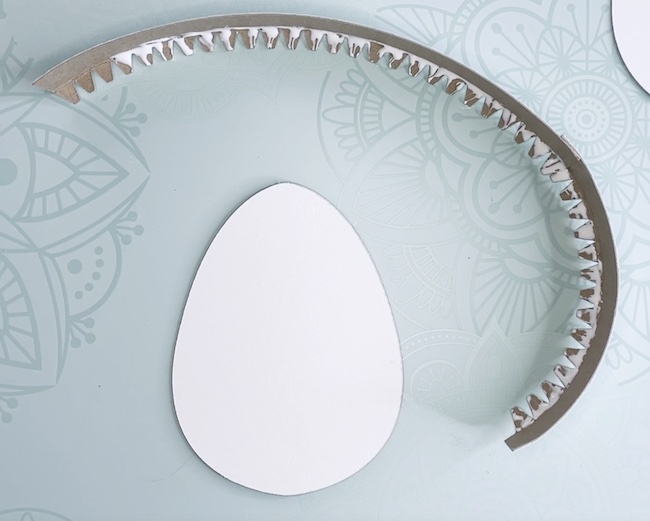
Lay the strip down in a semi-circle shape. Place one of the smaller egg cardboard pieces in the center.
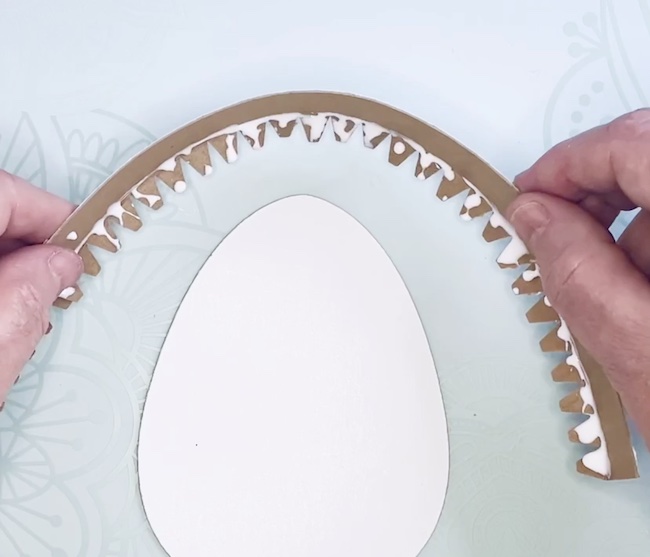
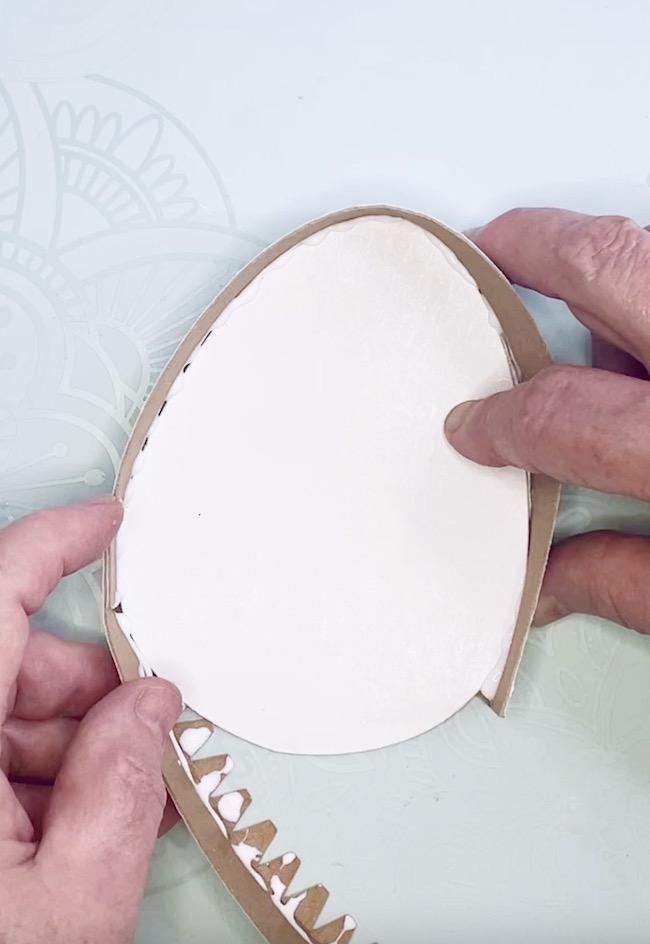
Now gently slide the glue-covered tabs under the cardboard shape. Curve around the egg shaped piece of cardboard. Use a piece of painters tape to hold the strip in place where the ends join.
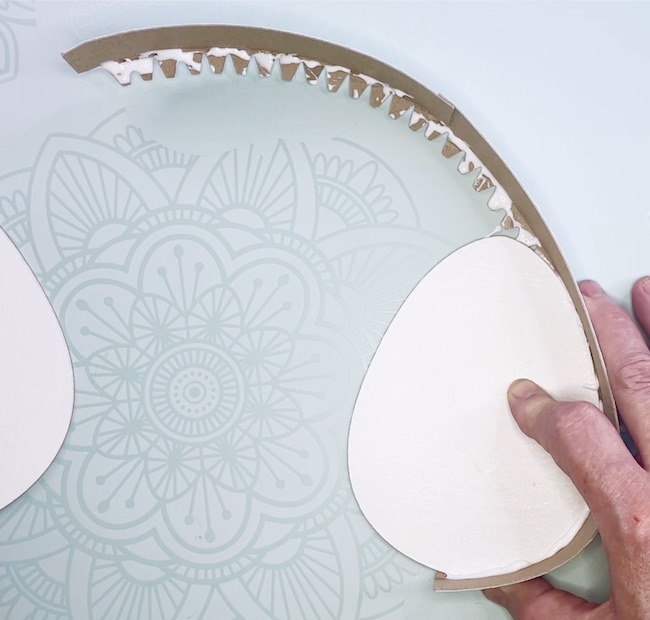
Work the strip all around the egg shape.
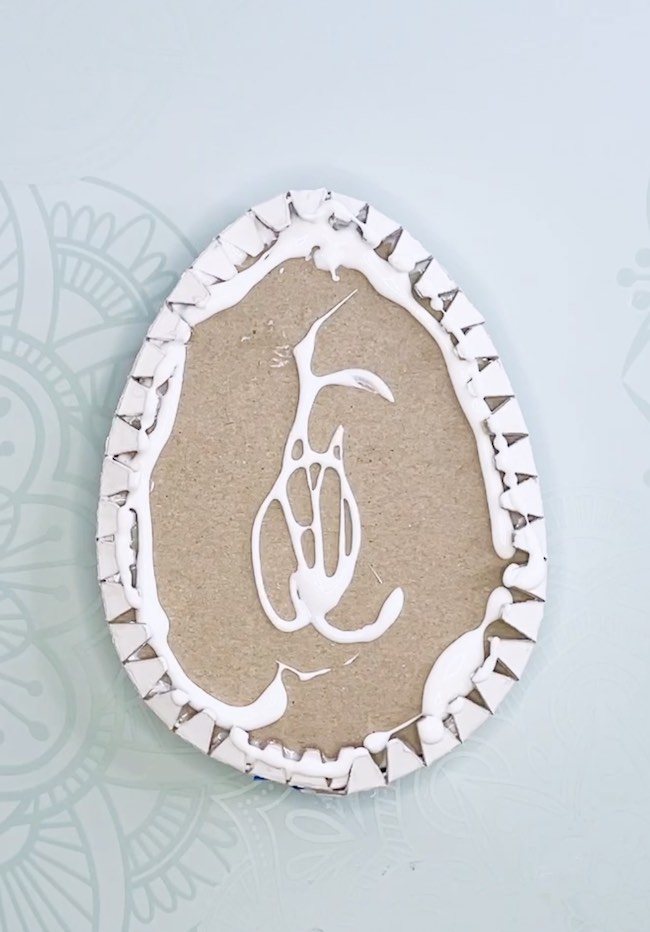
Next, adhere the box shape to the outer egg
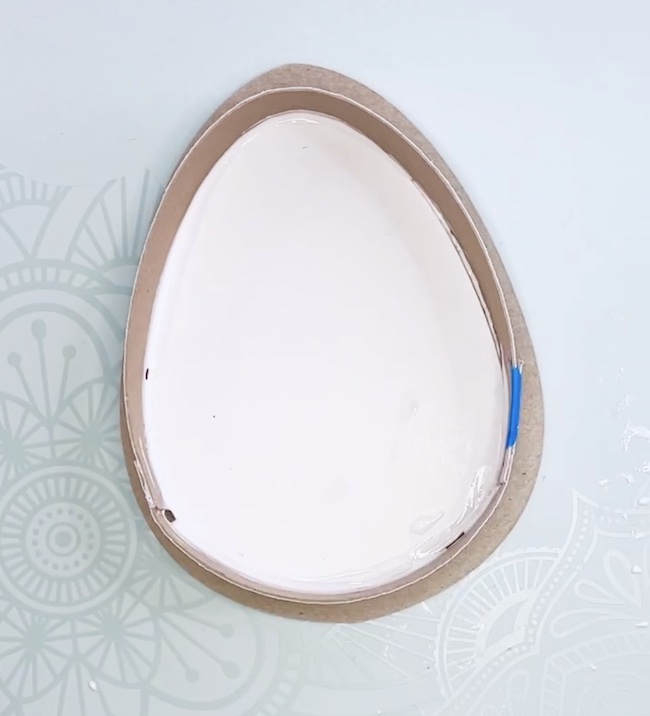
First apply a thick layer of glue to the top of the egg with the side strips.
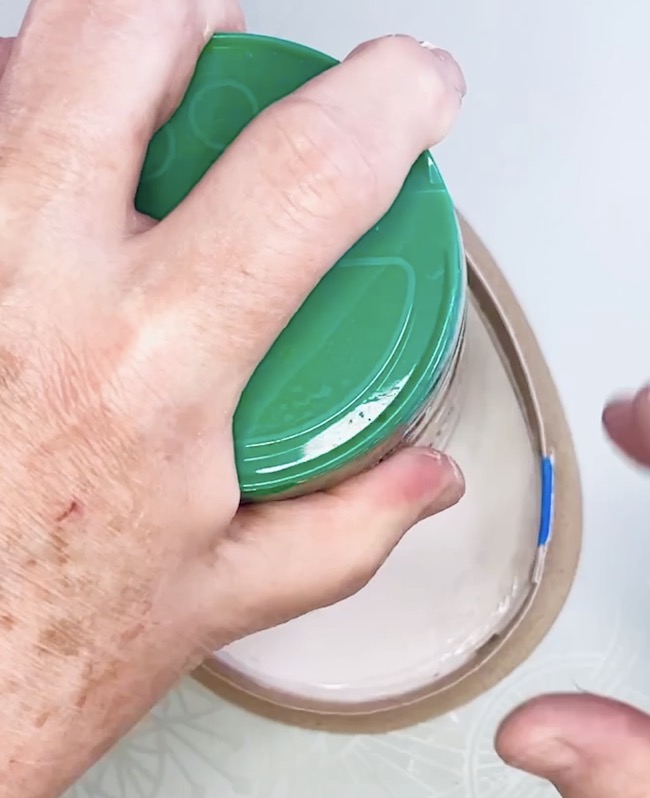
Center the box on the larger piece of cardboard. You can iron it down with a bottle or a parmesan container.
The parmesan container worked well because it has a rounded bottom and is very smooth so I could iron the two pieces together.
Now glue that egg shape with the side strip to the larger egg cutout.
Wipe off excess glue that squeezes out. Since I tend to over-glue everything, I have to wipe up a lot of glue that squeezes out.
Do the same thing for the other side. Once your two pieces are completed, check to make sure that one side fits inside the other. If it is hard to get them to fit, either gently stretch out the side strips on the larger piece or slide the side strips inward on the smaller piece.
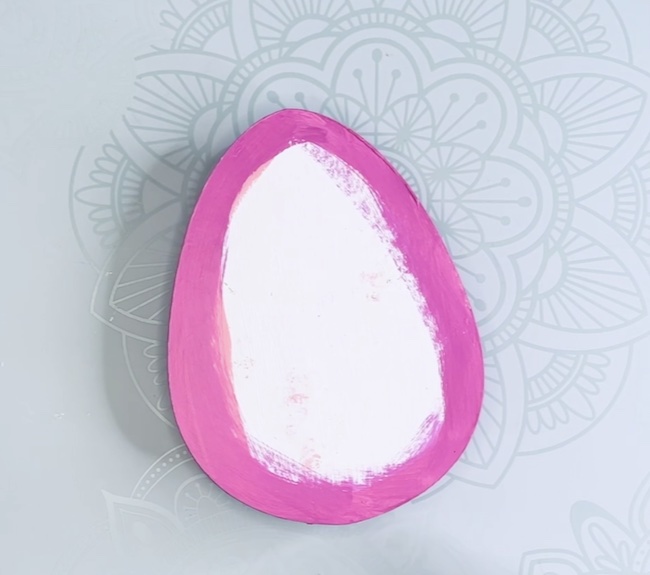
4. Paint the egg box in the colors that match your layered design
First, paint the cardboard egg box with primer. Let that dry. Now paint the cardboard egg box in your chosen colors. Let dry. Now your egg box is almost finished. I didn't paint the entire top because the layered design covers it.
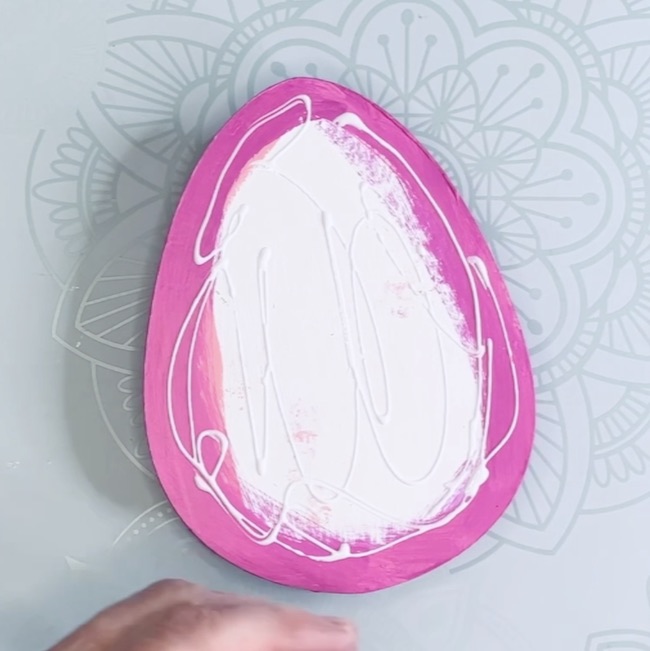
5. Glue the tulip layered design to the top of the box shape
Using the lighter glue, Bearly Art Glue, apply the glue to the top of your box. Then adhere the layered design to the top of your Easter egg box. Let dry.
And you are done with the construction of the Easter egg box with the layered design. What's next?
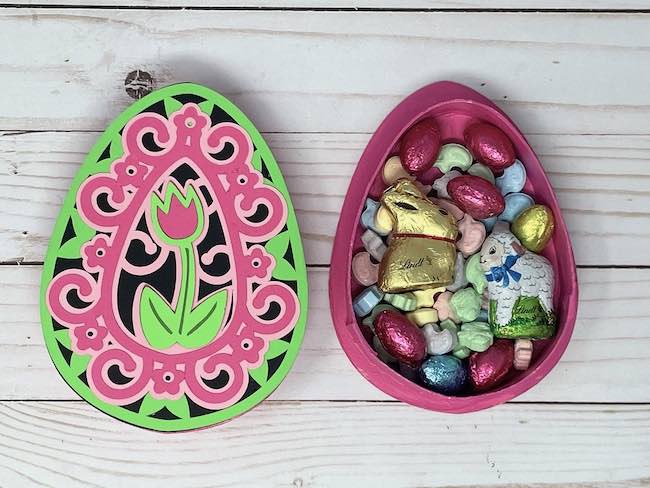
6. Fill your egg box with candy or treats
All that is left is to fill your little egg box with candy or tiny treats. It's a perfect place to hide some little eggs.
I hope you will enjoy making the egg box with the tulip design. Thank you for reading.
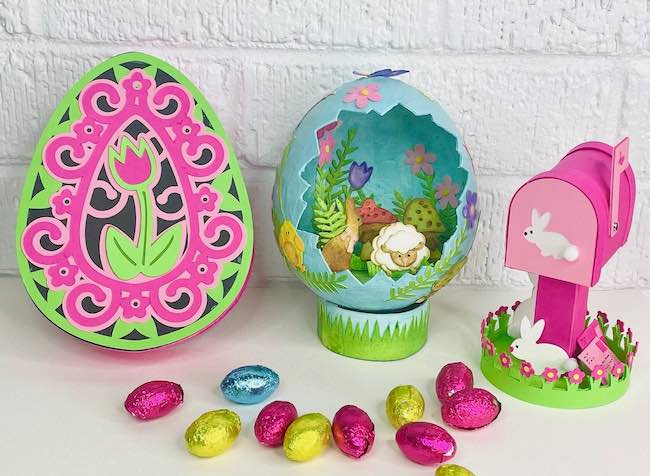
Want more Spring and Easter paper crafts and ideas?
- Bunny Mailbox
- Paper Mache Egg
- Surprise Egg
- 2022 Easter House contest
- Peeps Bunny Box (this is seriously cute)
If you have any questions, please email me at [email protected].
And be sure to pin this to your favorite crafting Pinterest board so you can remember where you found it.
Leave a Reply