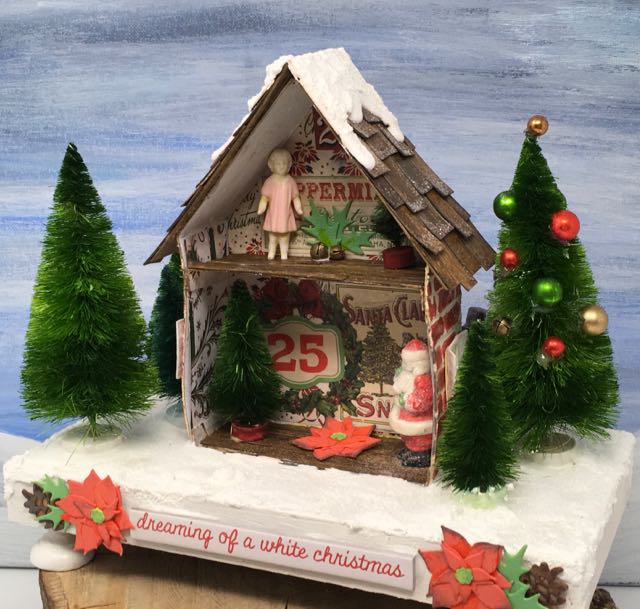
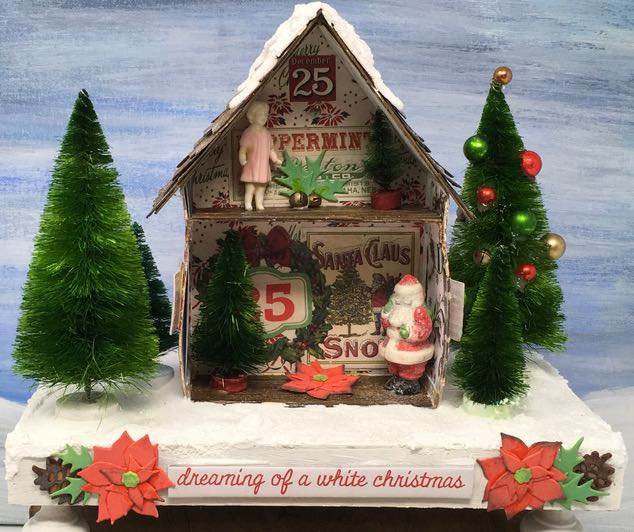
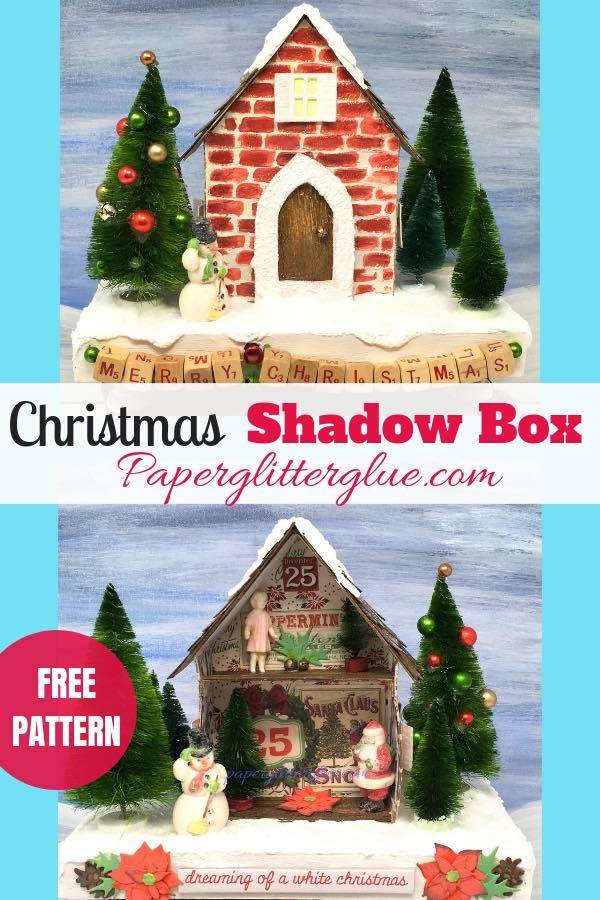
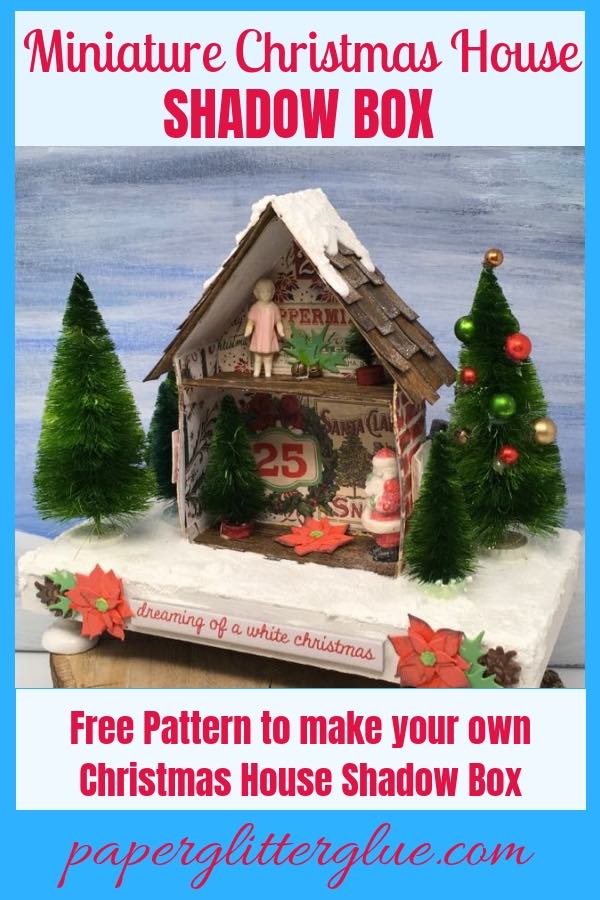
Learn how to make this fun Miniature Christmas House Shadow Box - a two-sided little cardboard house with a brick exterior and wallpaper and wood floors inside. Lots of holiday decorations inside the shadow box part of the house such as bottlebrush trees on each floor and Santa and a doll, of course. The miniature house shadow box makes a great gift that will delight your recipient.
This pattern is very similar to Hilda's Haberdashery, a Halloween house I made a couple of months ago, but I modified the pattern to make it stronger structurally with the addition of a built-in floor piece and longer roof flaps for better support for the roof. I've included both a PDF version and an SVG version for people with automatic cutters.
Both patterns (Design No. 41) are in the Paper Glitter Glue library which you can download when you have the password from subscribing to my free newsletter - the form is below.
Table of Contents
Let's Get Started on Our Miniature Christmas House Shadow Box
Materials:
- Cardboard - poster board
- Glue
- Texture Paste or Grit Paste
- Gesso
- Paint colors of your choice
- Brick Stencil
- Window dies
- Wood textured embossing folder
- Base for your shadow box
- Snow-tex
- Glitter
- Embellishments such as:
- Christmas wallpaper
- Christmas ephemera
- Bottle brush trees with Distress Spray Stain
- Salvaged Snowman, Santa
- Doll
- Miniature Jingle bells
- Alpha Dice
- Baker's Twine
- Tim Holtz Vignette Finials
- Tim Holtz Funky Festive
First - How to Make the Miniature Christmas House
- Download the pattern from the Paper Glitter Glue Library - Design No. 41
- Transfer the pattern to the cardboard
- Cut out your little house
- Prime both sides of the cardboard
- Stencil the brick on the front of the house
- Paint the brick mortar
- Paint the bricks
- Adhere wallpaper to the inside of the miniature house
- Add ephemera
- Glue the house together, add the roof
- Glue the upper floor in place
- Emboss and paint the flooring and wood shakes for the roof
- Cut flooring into strips
- Adhere the flooring in a staggered pattern
- Glue the shakes on the roof
- Decorate inside of the house
Second - How to Make the Base for the Miniature Christmas House Shadow Box
- Paint the base with primer
- Drill holes in Alpha Dice to string them on baker's twine
- Thread the Alpha Dice on baker's twine
- Drill holes on the base to hang the banner
- Hot glue the ends of the bakers twine in place, then tie the bakers twine ends together
Third - Finish Your little Christmas Shadow Box
- Glue your miniature house in place
- Apply Snow-tex to the roof and to the base
- Before the Snow-tex completely dries, glue on bottlebrush trees and other embellishments
- Glitter, if desired
Now let's go into more detail in making the Miniature Christmas house.
We'll take each part in turn. First we make the house, then we'll finish the siding of the house, then paint the base and add all the elements together.
First, we make the house
Download your Shadowbox pattern (Design No. 41) and transfer it to your cardboard
I generally use a cardboard that is about the weight of poster board. I have included both a PDF pattern and an SVG pattern for those of you with an automatic cutting machine.
Cut out your pattern
Cut out your pattern then score the pattern along the score lines.
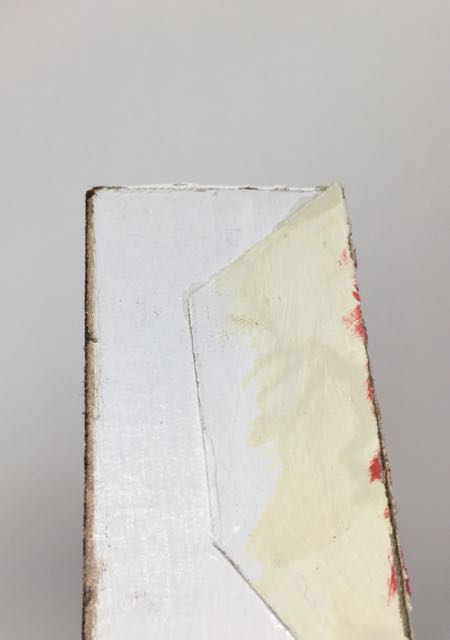
Prime your little house on both sides
Now prime your cardboard on both sides since both sides will be visible on your finished house.
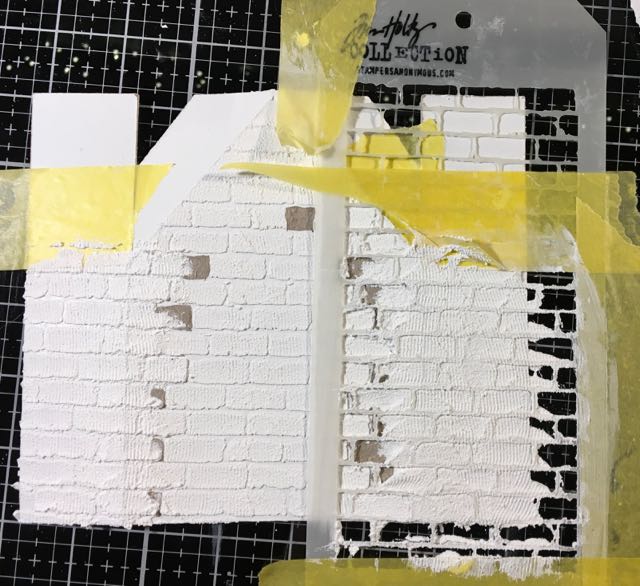
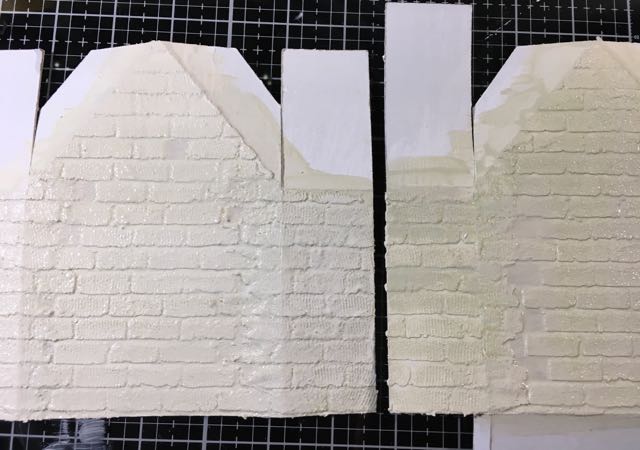
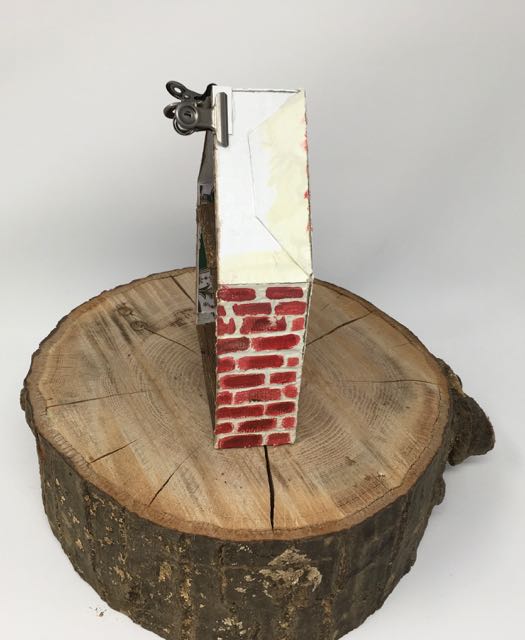
Make the brick siding
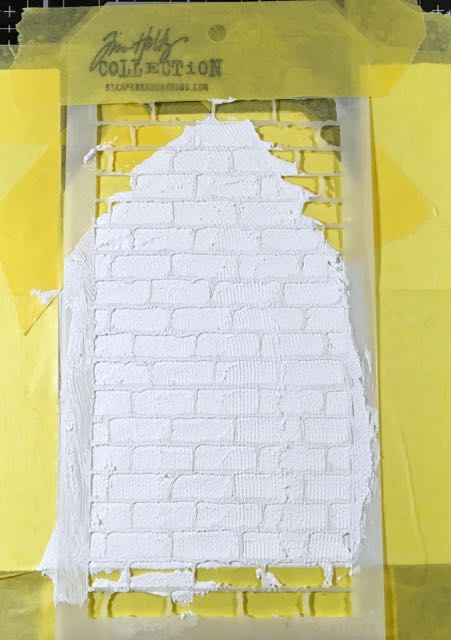
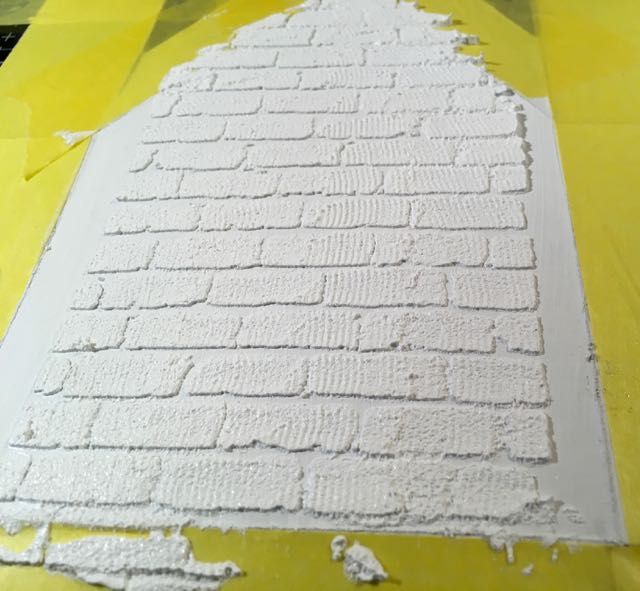
For this little house I chose to make brick siding because I wanted the house to be red. So I stenciled the front with grit paste through a great Stampers Anonymous brick stencil. But there was a problem. The house is wider than the stencil. That meant that I had to stencil more than once. So in order to stencil the sides I cut out some bricks so I could move the stencil closer to the bricks that were already stenciled. It's not perfect and I had to paint some "faux" bricks in the blank spaces, but it looks good enough for me.
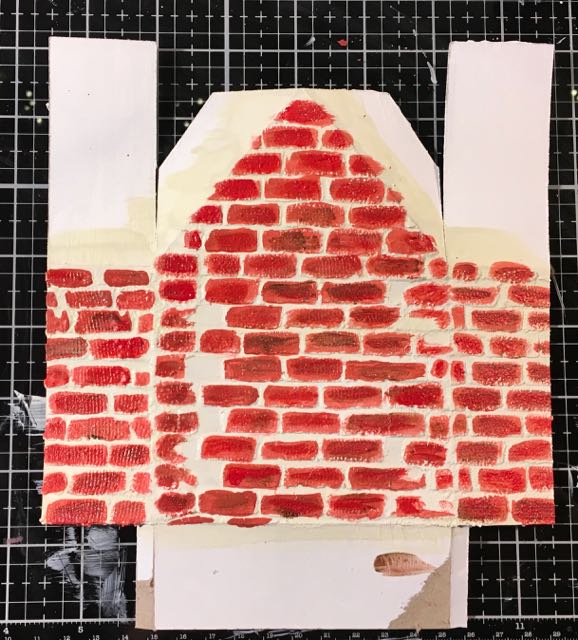
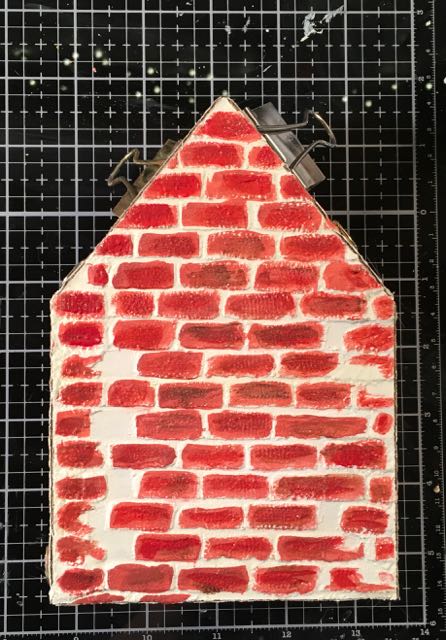
Just like making a stone siding, I paint the bricks in layers. First I paint the background color which will be the mortar between the bricks, then an underlayer which was Fired Brick distress daint and finally Candied Apple distress paint - my go to Christmas red.
Work on the inside of the your Miniature Christmas House Shadow Box
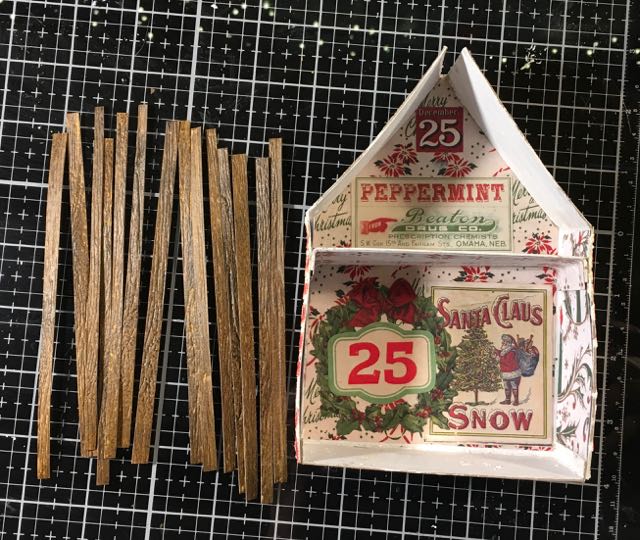
Once all of that is dry, then you can work on the inside. For the inside walls of the house I figured Tim Holtz Christmas wallpaper was the way to go. I chose a Poinsettia print. And then I covered that with various pieces of ephemera.
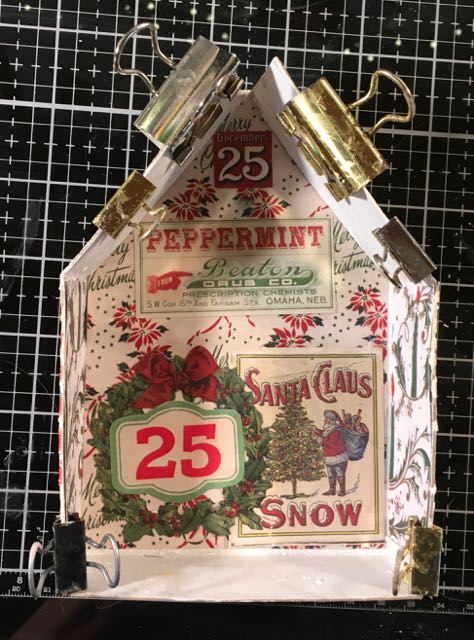
Glue the house together
After you have the walls papered, then you can glue the house together. I added a little roof tab to make the roof even when it was glued on.
Glue the Upper Floor in place
Then you get to add the second floor. Be sure to paint the floor a dark color before you add the wood flooring. You could just leave it plain, but I love the idea of adding floor boards to my little houses.
Make the Wood flooring and Shakes for the roof
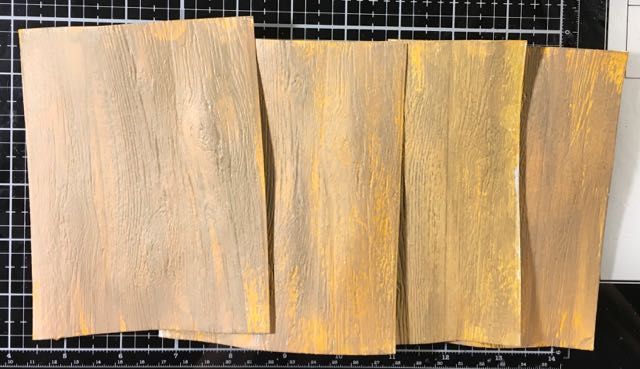
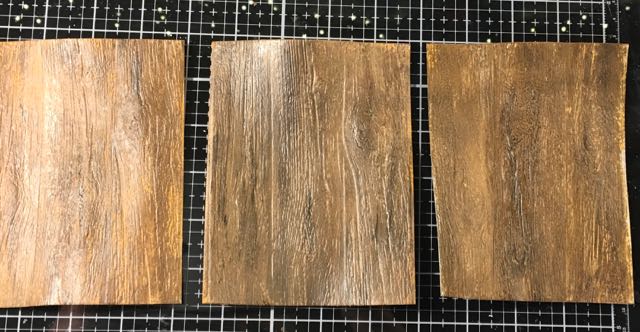
Next emboss some thin cardboard or thick paper to make the wood flooring. I used a 3-D Sizzix embossing folder called Lumber Texture Fades. Then to mimic the color variation in wood I paint 3 different colors - Fossilized Amber first, followed by Walnut Stain and finally Ground Espresso distress paint as the final layer. It gives great dimension to the wood.
I used 2 sheets of 8.5 x 11 inch paper to have enough "wood" to finish this little house.
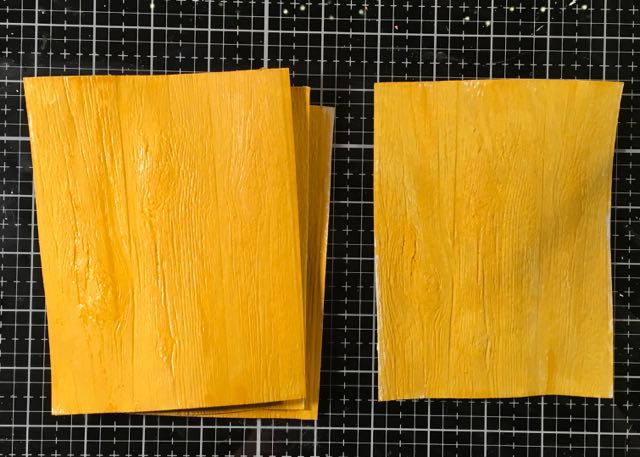
Now cut the painted wood cardboard into thin strips to mimic a wood floor. I edge each strip with Ground Espresso. But leave one or two sheets for the wood shakes on the roof. Cut those into wider strips.
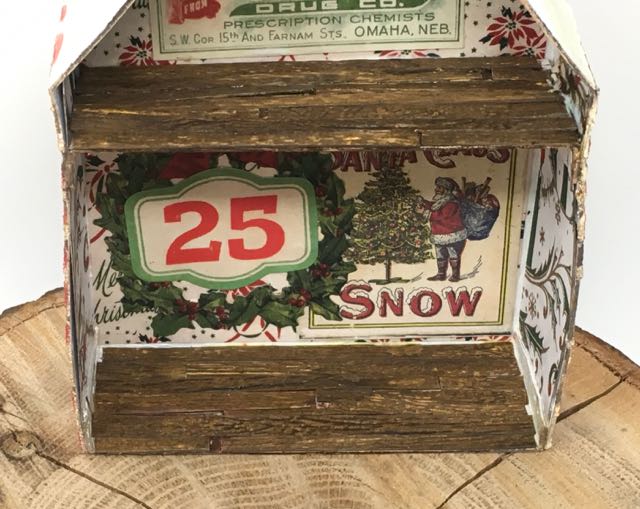
Install your Wood flooring on your miniature house then decorate
And finally glue the strips down, staggering the strips a little bit to look like a real wood floor. You can decorate the inside of the house now. I added bottle brush trees and a Santa and a doll in addition to a few other little embellishments to fill space.
So that is the first part of making this Christmas shadowbox.
Next make the base to your Miniature Christmas House Shadow Box
Paint the base
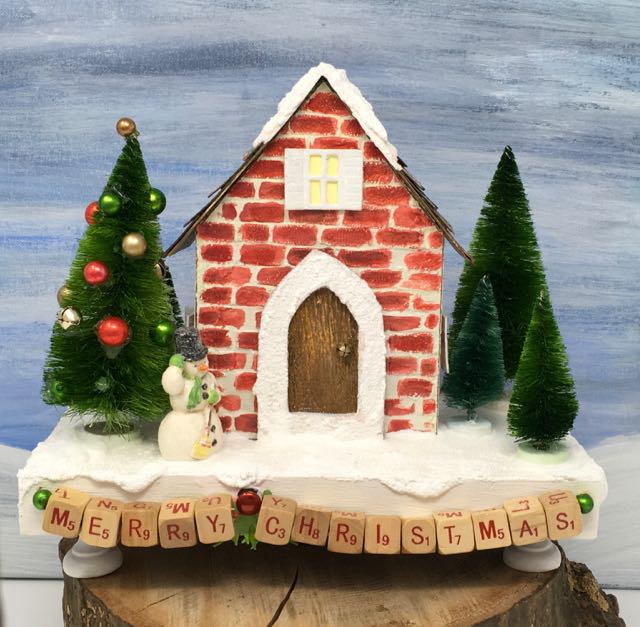
I used a Vignette tray from Tim Holtz for the base. It's pretty big so I could add lots of embellishments such as a row of Alpha Dice saying "Merry Christmas". Since the base is going to be snowy, I painted it white.
Drill holes in the Alpha Dice
To make the little "Merry Christmas" garland, drill holes in the Alpha dice so you can thread them on baker's twine. I'm including a short video so you can see how I drilled the holes in the dice. The two main points are to make a little hole with your craft knife before you drill the dice and second, use a "sacrificial board" before you drill so you won't drill into your table.
Thread your "Merry Christmas" Alpha Dice on Baker's Twine
Do a test on how your garland is going to hang on your base. The problem for me was that "Merry Christmas" is very long. So I had to figure out how to make it hang well. It was a challenge. My advice to you - choose a shorter phrase than "Merry Christmas". Also make sure you check your spelling. In my video I didn't spell Christmas, but I fixed it before I finished the piece.
Drill holes on the base to hang the banner
After I drilled holes in the base to hang the banner.
Hot glue the ends of the banner in place
Then to make sure the banner stayed in place, I hot glued each end of the banner and then I tied the excess the thread tightly together.
Finally, glue the Miniature Christmas house to the base
Glue your miniature house in place
I just apply a thick bead of glue to the bottom of the house and then apply it firmly to the base.
Once your house is attached and firmly glued in place, apply Snow-Tex
Now apply snow to your little Christmas vignette. I like to use Snow-Tex mixed with some gesso so the snow is a little smoother and more spreadable.
While the snow is still wet, then apply bottle brush trees, deer, Santas and Snowmen. I always add extra glue (my favorite glue - Aleene's Fast Grab) to the bottom of these pieces because I don't think Snow-Tex is strong enough to hold them in place.
And still while the Snow-tex is wet, then I add glitter. I love the Rock Candy Glitter from Ranger.
Simon Says Stamp Monday Challenge - Stitch It Up
I am entering this in this week's Simon Says Stamp Monday Challenge which is "Stitch It Up". Now I know there's not much sewing in this project, but I did spend a good hour or two figuring out how to hang the "Merry Christmas" banner and I did use a needle and thread so I think it does count.

Just recently I delivered this to one of my friends who has 2 little girls - 6 and 3 years old, I think. I think the little house will survive. I told him that if something breaks such as the letters come off or a tree falls over or they free the doll, it can all be repaired. No big deal.
I hope you enjoyed this shadow box project.
Again if you have any questions, just let me know in the comments or email me at [email protected].
Thank you for stopping by.
Lucy
Be sure to pin to your favorite Pinterest Board!
Bon
Thanks for the inspiration here on this design! I don't have any of the Tim Holtz crafting supplies but they give me ideas for ways to decorate mine!
Ann Marie Greenspan
I'm so glad I found your blog and library of house designs. I want to start making my own tiny houses using your patterns. One thing I would love to see a tutorial on is painting the Tim Holtz Salvaged Santa and Snowman. Does paint stick to them or do you have to apply gesso first? Can you show details up close of how you paint your's someday? Thanks so much for all you've shared with us.
Autem Decker
Perfectly described. Your writing is awesome and I find that you are instructing me from behind to complete the project. I love to bookmark this MINIATURE CHRISTMAS HOUSE SHADOW BOX post and definitely try on next x-mass. I hope you will give me more structure making guide in this time so I will practice on it.
Sara Emily Barker
I just had to poke my nose in to see this amazing 3D project all dressed up for Christmas! I think it's so sad when we work so hard on those last minute Christmas gifts and projects, and they tend to go unnoticed because everyone is so busy. Anyway, off my soap box and onto this fabulous creation...I love, love, LOVE those texture bricks and that amazing hardwood floor! Just like the real thing in both cases. And it was fun to see you in action on your short video. No swear words! I'm impressed! Great project! Hugs!