Make a Paper Mache Easter Egg Spring Scene
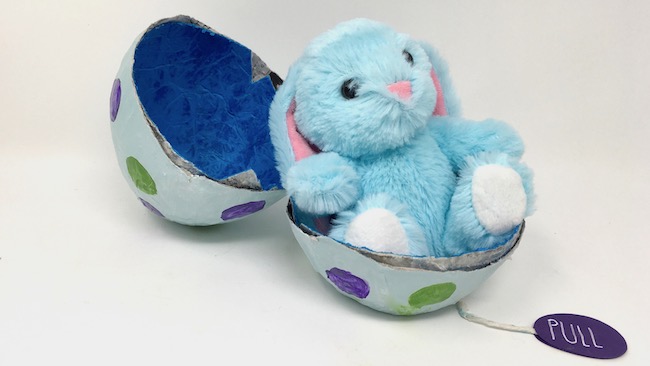
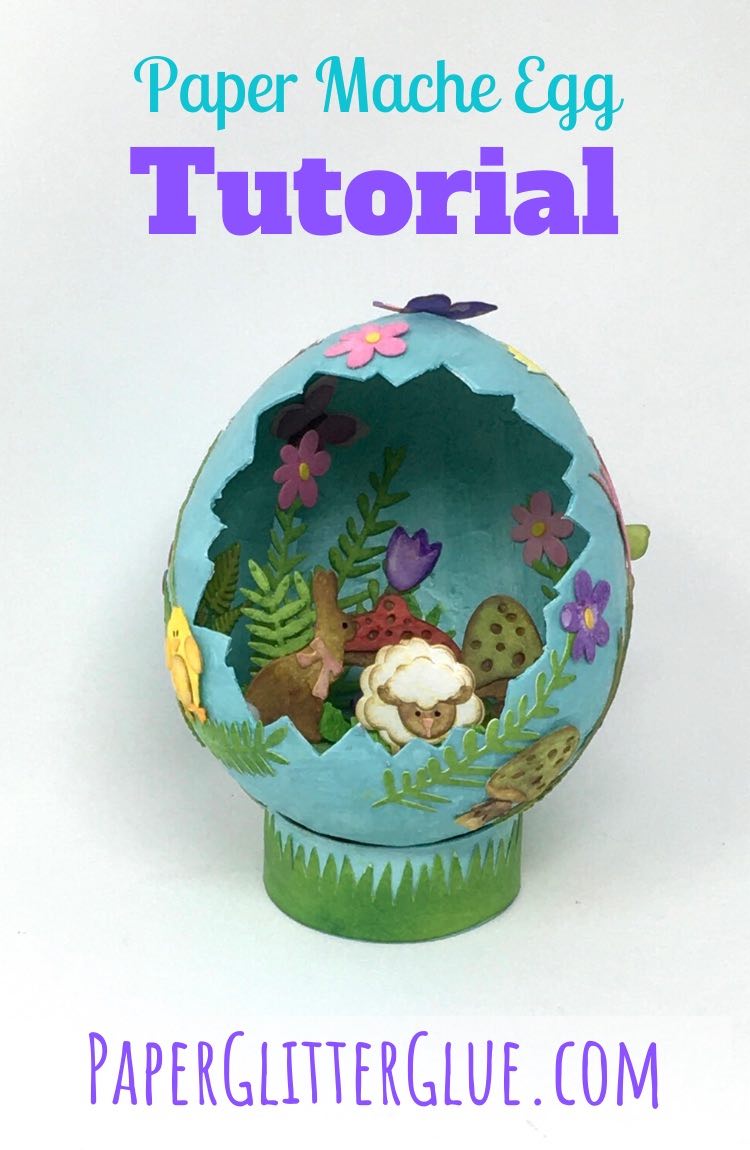
You can have a lot of fun making paper mache Easter Eggs with tissue paper, white glue, and water balloons. These ingredients make great paper mache Easter Eggs that you can use for all sorts of great Easter decor - a Spring shadow box or diorama, an Easter piñata or fill it with candy or gifts with a pull tab. And you can easily adapt it for other seasons as well.
This Easter project is one of the 14 Days to Spring Crafts - we are happily crafting our way towards Spring with the fifth project in the series.
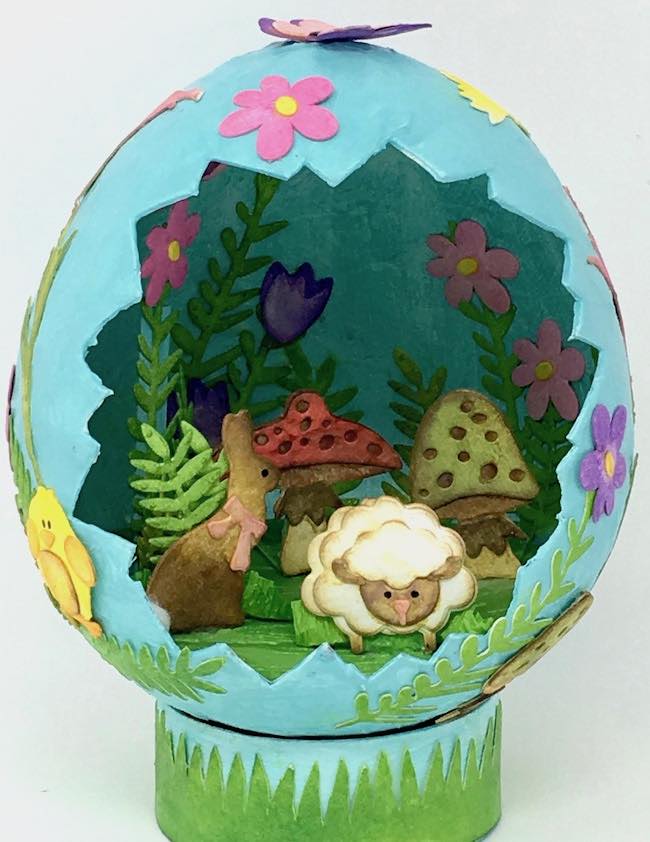
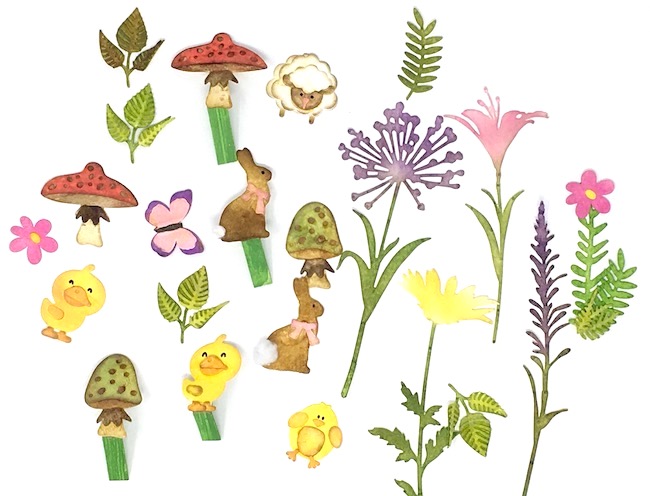
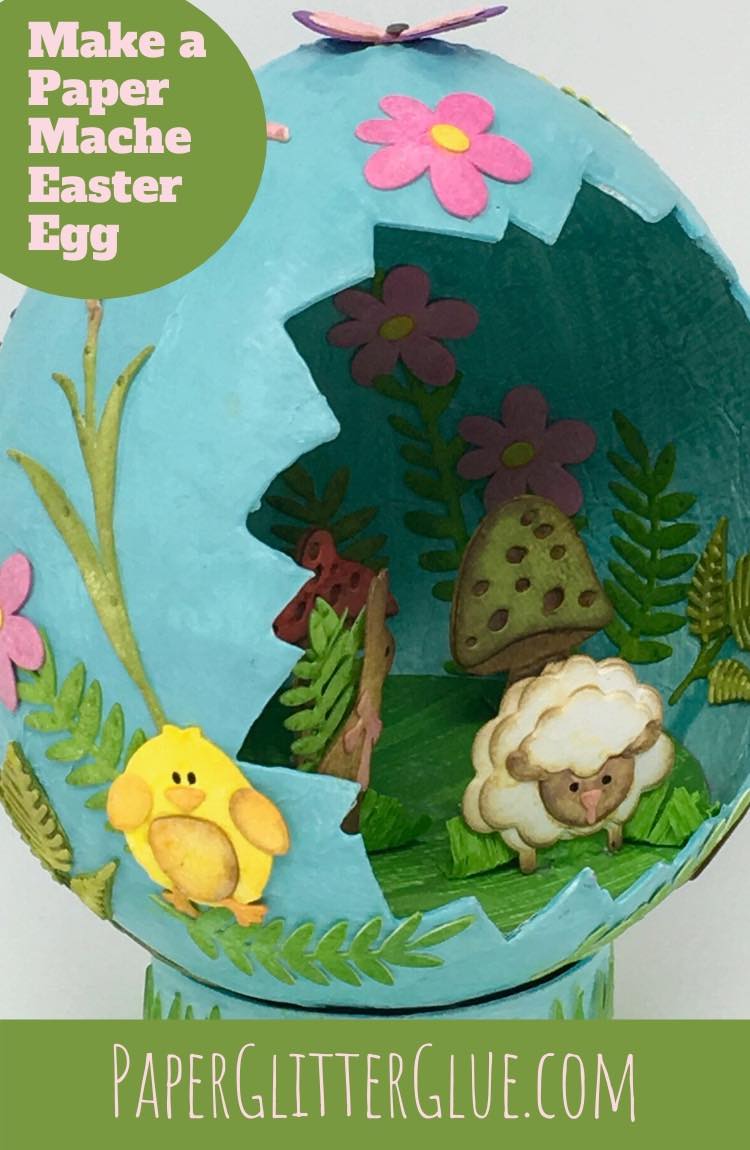
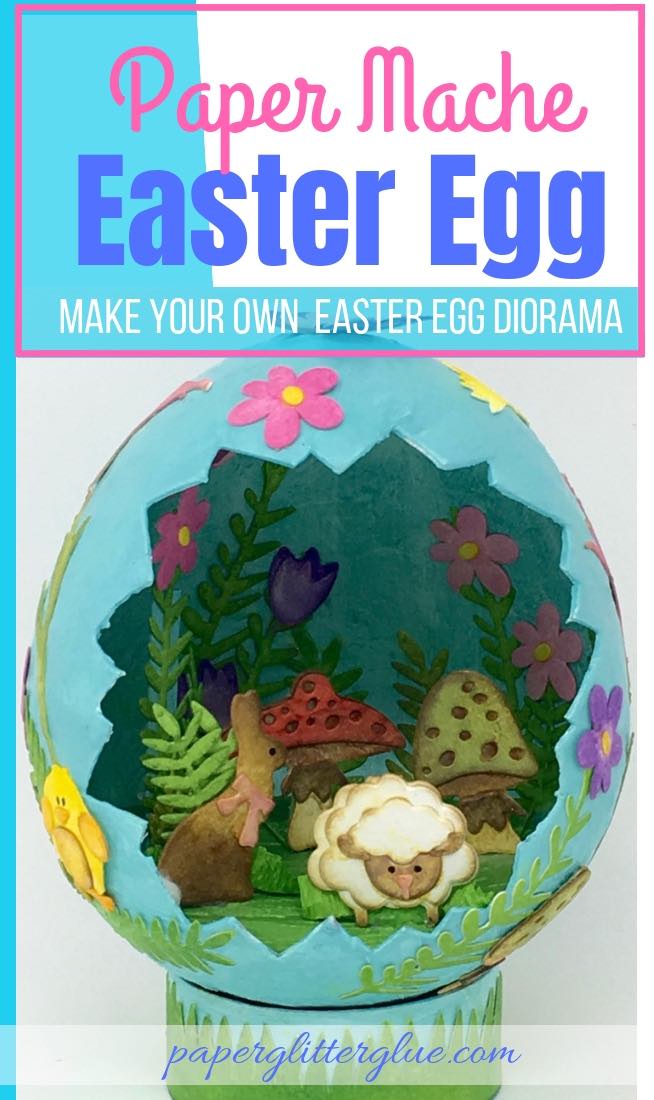
For this project, I've decorated the eggs with cute Tim Holtz figures from Sizzix - a little bunny, lamb, chick, duck, butterflies and lots of flowers. But you could use free vintage Easter cutouts from the Graphics Fairy or purchase great vintage Easter collages from Alpha Stamps.
And I've even made Paper Mache Surprise Eggs. They are fun, too.
What do you need to make your own Paper Mache Easter Egg?
This post contains some affiliate links for your convenience. That means if you make a purchase after clicking an affiliate link, I will earn a small commission at no cost to you. Click here to read my full disclosure policy.
Materials to make the Paper Mache Easter Egg Diorama:
-
- Water balloons
- White PVA Glue
- Tissue Paper
- Gesso
- Paint
- Easter Decorations for your Easter vignette:
- Watercolor paper
- Funky Florals die set 662702 for the flowers and greenery
- Funky Foliage die set 663087 for the mushrooms
- Wildflower Stems die set No. 2 664164 for the Lily and flowers on the outside of the egg
- Critter Sidekick Side-Order Thinlits Die Set - Tim Holtz - Size
- Sidekick Side Order Set by Tim Holtz Springtime - Sizzix
- Distress Inks to color your paper Easter decorations
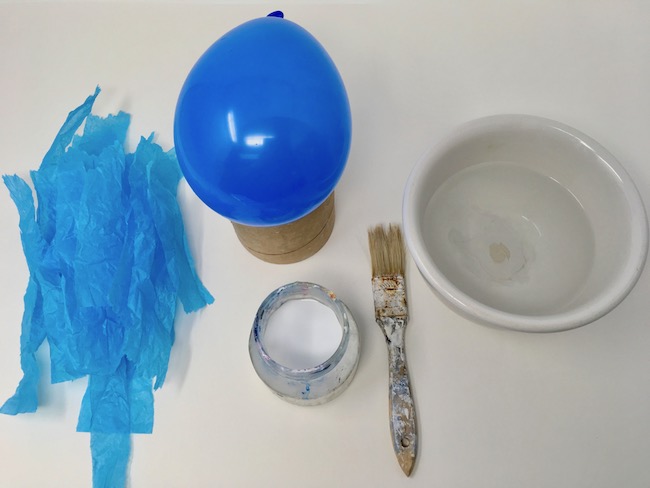
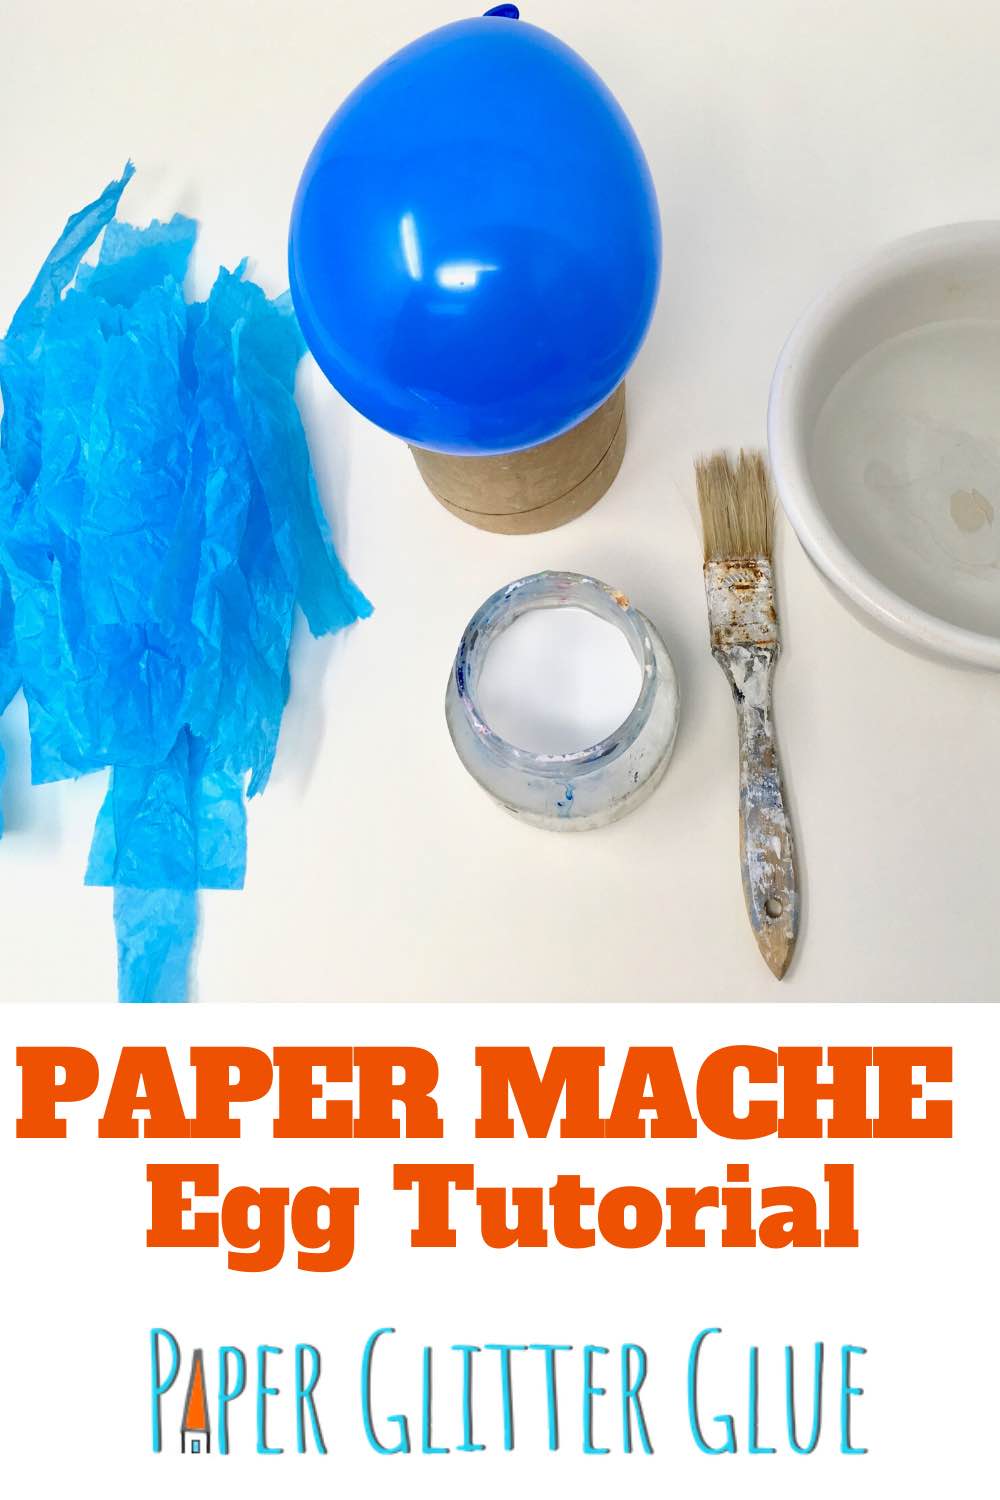
The main ingredients needed to make a paper mache egg
Outline of how to make the Paper Mache Easter Egg Spring Scene
- Mix up white glue with water
- Blow up balloon
- Cover with Tissue Paper
- Allow balloon to dry
- Pop the balloon
- Paint with gesso then the color of your choice
- Make Easter decor elements
- Make a base for your paper mache Easter egg
- Glue decorations in your paper mache egg
So let's get started.
Be sure to subscribe to my newsletter to keep up with all my crafty projects here. Also get access to the entire Paper Glitter Glue Library.
First dilute the white glue
To adhere the tissue paper to the balloon it helps to dilute the glue with water so it dries faster. So dilute the glue 1 or 2 parts glue to 1 part water. When I diluted the glue I didn't really measure, I just estimated when I poured the glue and water together and it worked fine.
Blow up the Balloon
Water balloons make great paper mache eggs because they are shaped like eggs. But you have to remember that when you blow them up, tie the knot tight. You can reinforce the knot with a string just to make sure. I say this because I had a couple of balloons deflate before I finished covering them.
Cover the Balloon with Tissue Paper
First paint a section of the balloon with the paint brush dipped in glue and lay a strip of tissue paper on the glue, then paint over it lightly with your paintbrush.
After experimenting on several paper mache balloons, I found that it is much faster to cover the balloons if you cover them with strips of paper. The first few I made I tore the tissue paper into little sections and adhered them one piece at a time, but it is much faster if you use strips of tissue paper. But what is the downside? The egg isn't as smooth. You can use strips at first, then cover the last layer with smaller pieces of tissue paper so the final layer is smoother if that is important to you.
One problem I had was that the tissue paper would stick to my fingers so I used a bowl of water to dip my fingers in and wipe them off with a damp cloth so the tissue paper won't stick so much. Also I prop the balloon on a ribbon roll for support, but a wide glass jar might work better. The balloons like to try to float away at first because they are so light. So something to prop the balloon on helps.
Here's a tip if you are making the paper mache eggs with kids: It might be easier to use torn newspaper because it won't come apart so easily and isn't quite so sticky.
And how much do you add each time? Three layers of tissue paper is about the most I add at one time. If you are using newspaper, I recommend no more than 2 layers at a time. Newspaper takes much longer to dry.
If you want to make an egg that you can fill with candy and easily crack open or use a pull tab to open it, here are the easiest and very best directions on a website called NotMartha.
Allow the balloon to dry
Here's the time-consuming part. You must let the balloon dry between layers so that it won't get moldy. Usually I make the balloons over a 2 or 3 day period, adding 2-3 layers of tissue paper each day. You can tell when the paper mache Easter egg is ready when you knock on it and it sounds solid. In addition you can push on the balloon and the sides should not depress when it is firm enough.
The main trick I use to dry the paper mache balloon is to hang it from a fan. That dramatically decreases how long it takes to dry. I use a binder clip and clip the knot portion of the balloon on the wire in front of a fan. But don't put it near a strong heat source because that can pop the balloon. Or you could hang it from string and just let it dry that way.
Pop the balloon inside the paper mache egg
And here is a fun part, popping the balloon. Stab the balloon or pop it with a needle. Sometimes it sticks to the inside of the egg. Just let it totally deflate and it will fall to the bottom and you can get it out.
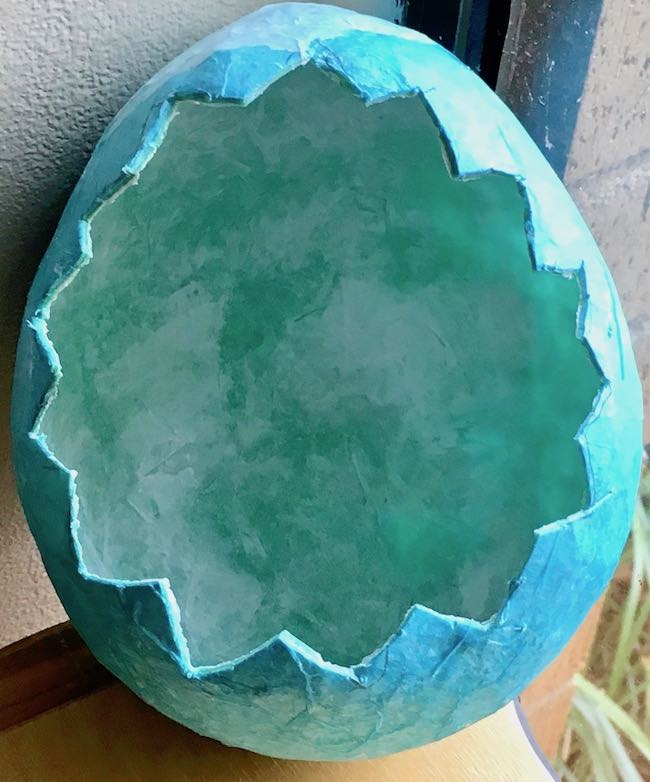
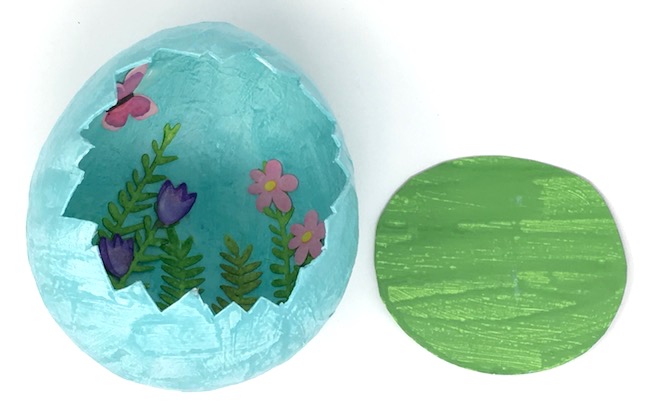
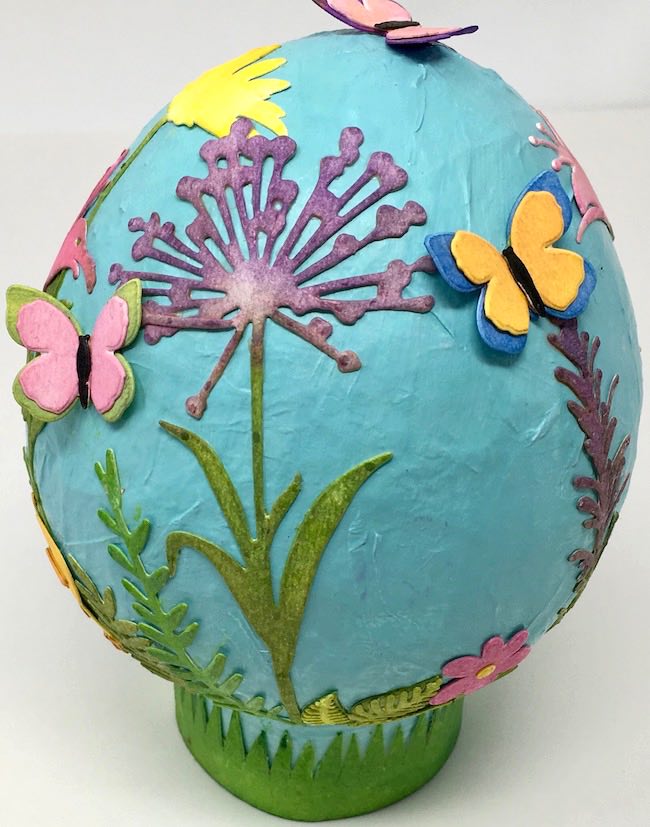
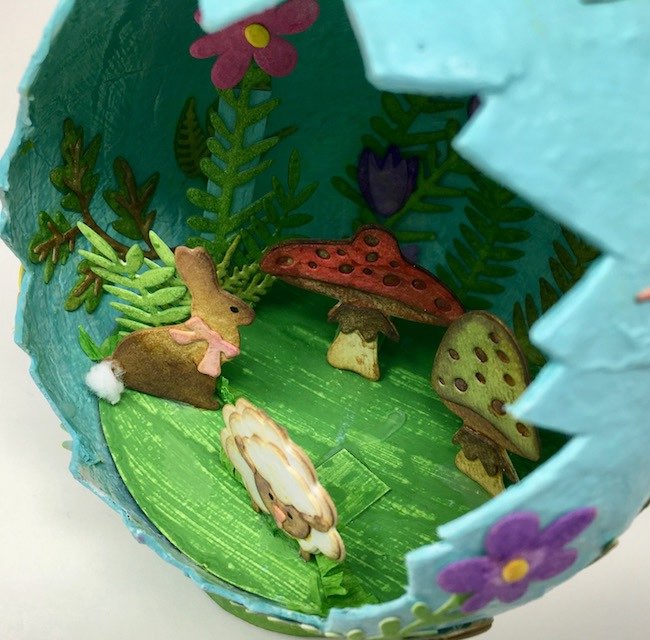
Now cover the hole with paper mache at the top where you cut the knot off the balloon. Above you can see where I glued a piece of tissue paper to the top of the balloon. Also you need to cut the front off the egg for your diorama. You can cut it as a straight line or jagged like a cracked egg. I like the jagged, cracked egg effect for this Easter vignette.
Paint the paper mache egg when dry
Now paint the egg with gesso as the primer. This gives the egg a good base for the main paint color. I use Ranger's Distress Paints by Tim Holtz as my go-to paints. For this egg I used Tumbled Glass Distress Paint. I love this color because it is perfect for the background for the Easter egg.
Make the Easter Elements
For this particular egg, I decorated it with fun Sizzix dies from Tim Holtz. First I cut them out from a thick watercolor paper (Strathmore® 300 Series Watercolor Pad), then I used Ranger Distress Inks to color all the Spring and Easter designs. All of these are so easy to color and make a great Easter or Spring vignette.
Another option is to use vintage Easter elements that you can find online. Above are links to Graphics Fairy and Alpha Stamps where you can find great vintage Easter collages that you can cut out and put in your Easter egg diorama.
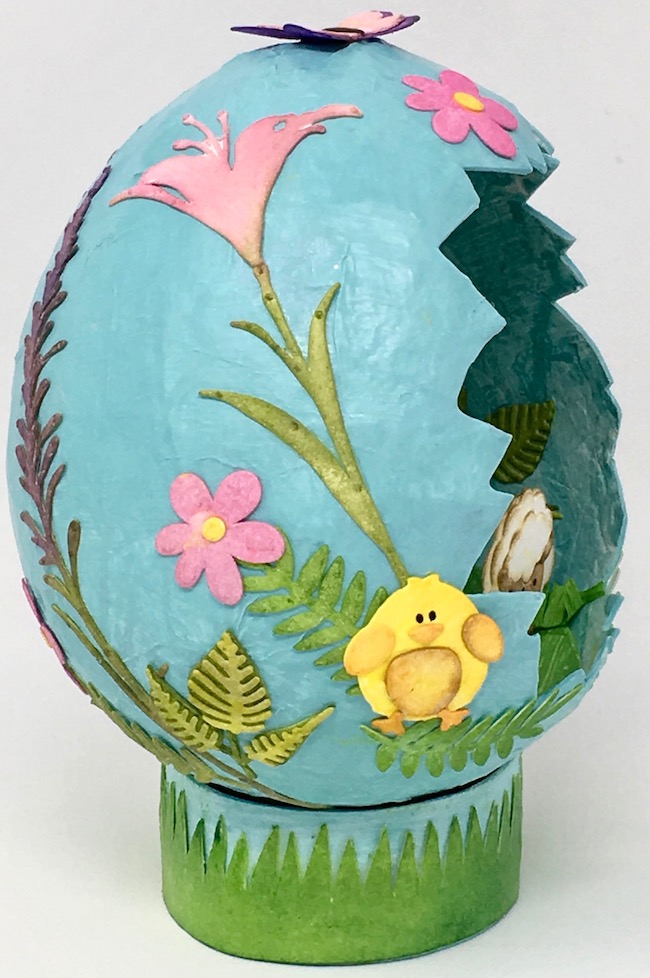
I made lots of flowers to go on the outside of the egg.
Make a base to support the Egg
It's not easy to make an egg stand up so you need to make a base. Fortunately, that part is easy. Cut out a 1-inch wide piece of cardboard long enough to go around the base of the egg. Since each balloon is a different size, I can't tell you how long a strip you need to support your egg. I think my strip was about 6 inches long and then I trimmed it. Around the edge I cut some green paper cut to look like grass and glued that around the painted base.
Finally Glue the Easter Elements to your Paper Mache Egg
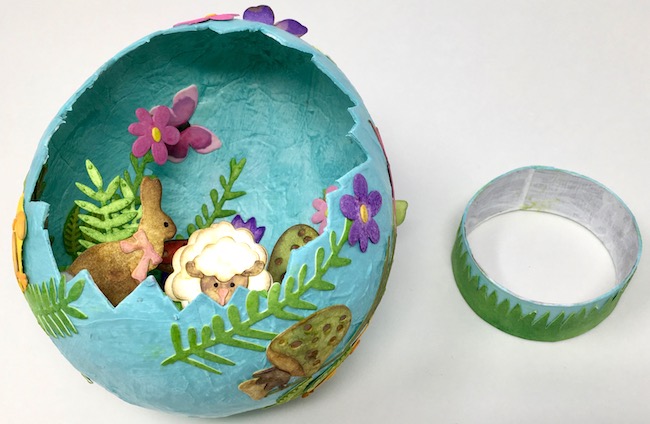
In order to do that, you need a base for your Easter figures. So I cut out a cardboard oval that fit in the egg. I had to test fit it several times until I got it to be the right size for the inside of the egg. Then paint it to either match the inside of the egg or match the grass. I used Mowed Lawn Distress Paint for the perfect green for the grass of my little Easter figures. Before you glue your figures on the base, decorate the inside of your egg with floral decorations. You can also glue them on the outside as well.
And to get them stand up, I glued the figures to an L-shaped strip of cardboard which was painted green just like the base cardboard within the egg. For the two main characters I glued a little green crepe paper behind them. You can see it behind the little lamb.
So decorate your Easter egg as much as you like by gluing figures to the inside and outside of the egg. It's kind of like decorating a little cardboard house, this is the fun part.
I hope you have enjoyed this latest installment of the 14 Days to Spring Crafts. Only 9 more projects to go. Thank you so much for stopping by.
Lucy
P.S. Please pin this to your favorite craft board so you can remember where you found this tutorial.


Bon
It's so adorable, with so many ways to customize it!
Lynn
This is so cute. I used to make these with my students, but we painted them like globes and hung them in our classroom.
Lucy
When I was making them I thought about making globes. This is a fun project. I have 2-3 more ideas to make with these balloons.
Jennifer
VERY cute!