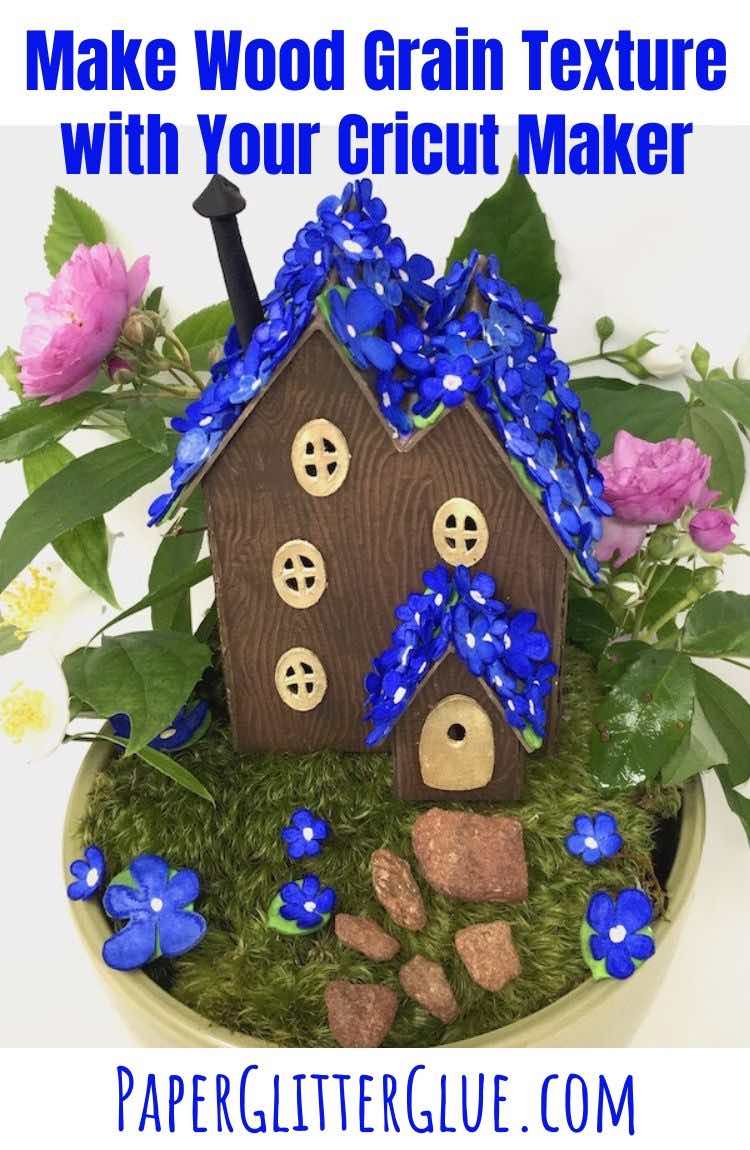
How to make Wood Grain Texture with Your Cricut Maker and the Deboss Tool.
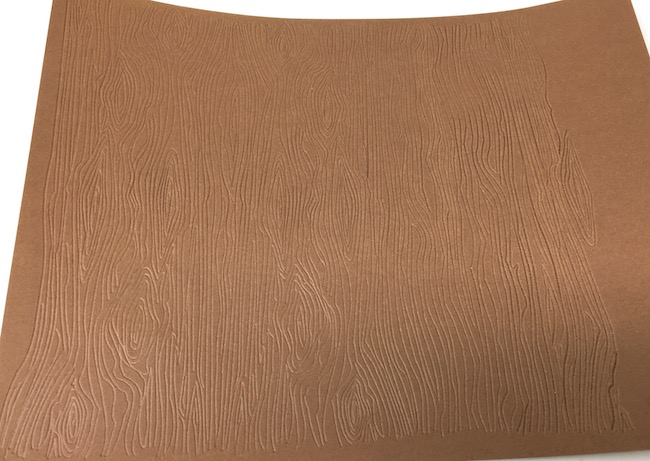
You know I love texture in my paper crafts. One of my favorite techniques is simulating wood grain for my little houses. Usually I do that with embossing folders, paint with or without crackle medium, But I just figured out a way to make great wood grain texture using the Deboss tool in my Cricut Maker. It works incredibly well.
What is debossing anyway? It's a paper craft technique where the design portion in imprinted on the paper - rather than being raised as in embossing, it is depressed or debossed. It's a lovely effect that is certainly worth exploring for this purpose.
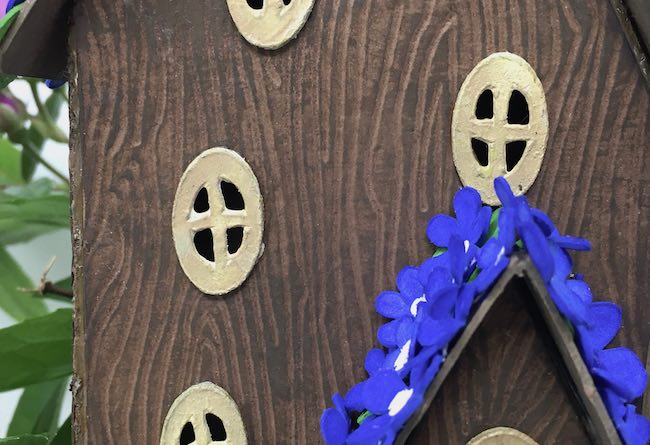
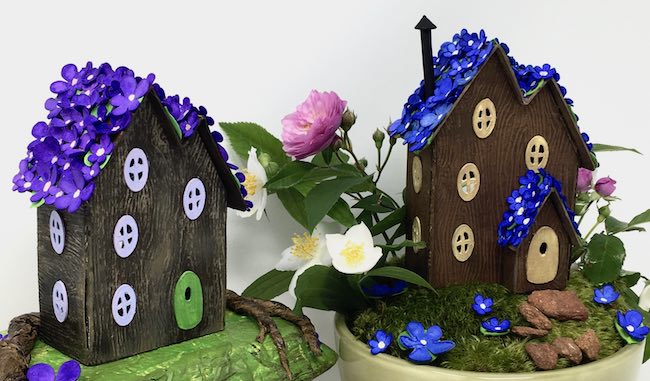
First, I experimented by drawing wood grain patterns that you can use from my free library. Finally, I came up with two versions - a simplified wood grain and one that is much more detailed and wood-like. Below you can see the more complicated debossed design on the Blue Violet Fairy House. Doesn't that add a great detail to the little house? (Don't worry. That free pattern is available in the April 2020 section of the Paper Glitter Glue library.)
This post contains some affiliate links for your convenience. That means if you make a purchase after clicking an affiliate link, I will earn a small commission but it won’t cost you a penny more. Click here to read my full disclosure policy.
So what do you need to make this really cool wood grain texture?
Materials for Debossed Wood Grain Texture
- Cricut Deboss tool for the Cricut Maker
- Standard Grip Mat for the Cricut
- Cricut Maker
- Card stock, paper, or plain cardboard (without a coated finish)
- Contrasting paint color
- Wood grain pattern - SVG format - Design No. 81
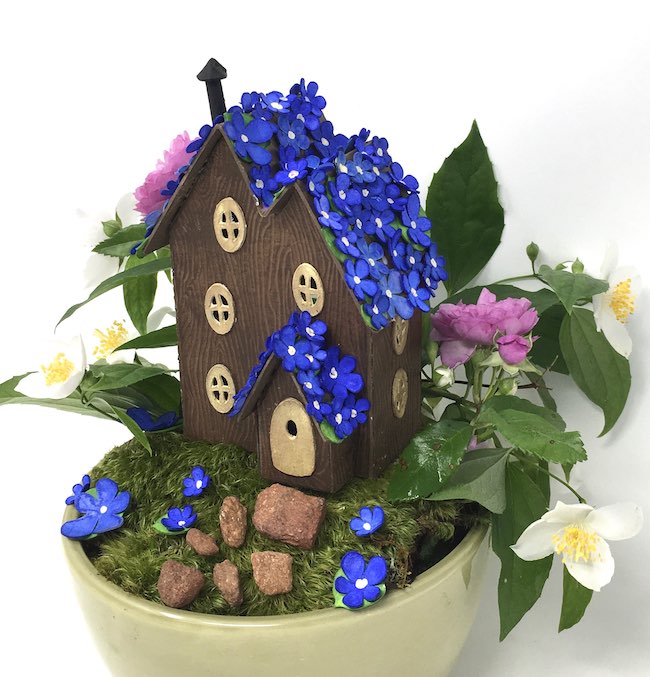
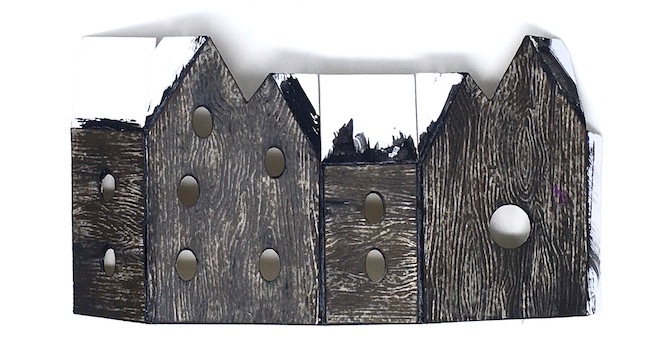
Another fairy house with a darker wood tone below.
Instructions to Make the Wood Grain Texture for your Paper Crafts
- Upload Wood Grain SVG pattern - Design No. 81 - to your Cricut Maker
- Insert Deboss tool in your Cricut Maker
- Firmly tape your card stock or cardboard to your Cricut Mat (Standard grip preferred)
- Make the debossed wood pattern on your paper material
- Optional - cut out your house or other pattern from the wood grain paper while it is already taped down
- Paint the paper a contrasting color to make the debossed grain more prominent
For more detail and discussion, continue reading. I made a video showing the steps to make the wood grain texture on card stock.
First, you need the Free Wood Grain pattern
Here's how to get the wood grain pattern from my Paper Glitter Glue Library. If you have the password, just go here and type in the password. I put all my patterns in the library chronologically with the most recent pattern first. So make so you will find this pattern in the April 2020 section of my library.
But if you don't have the password, then just subscribe to my newsletter with the form below and you will get the password immediately. Please know that I will never send you any spam.
As I mentioned above, it's available in 2 versions - simple and more complex.
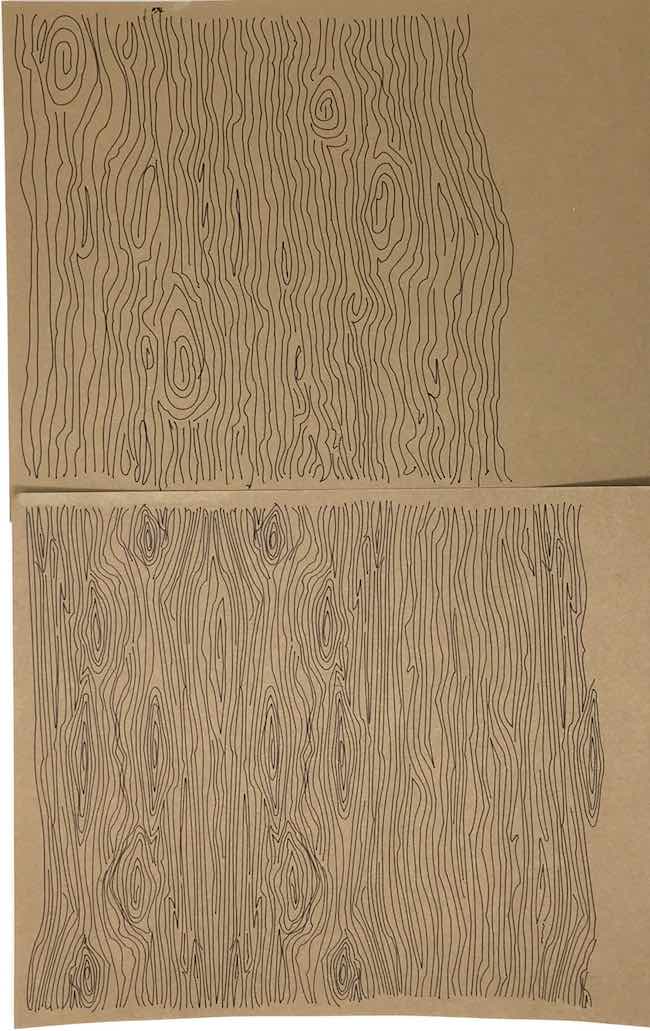
Below are the two options - simple and more detailed - as drawn with a pen on my Cricut Maker.
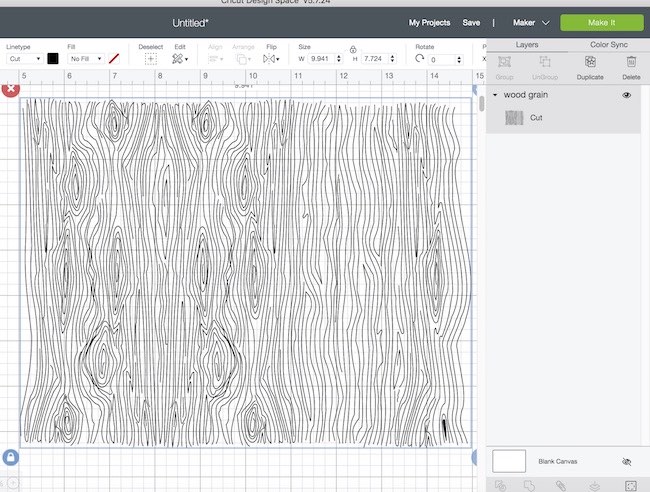
Here's the wood grain pattern in Design Space. Please notice under the layers panel that all the lines are combined so that Design Space considers it one object.
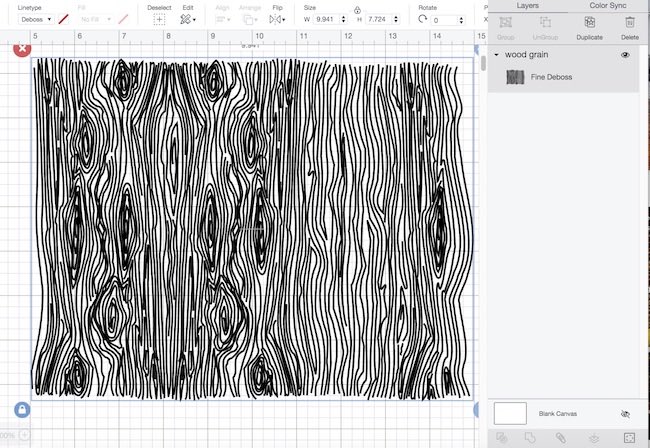
And here is the pattern in Cricut Design Space after selection of the Deboss type linetype. You don't even have to attach it because it is basically one object.
I even tried several other options to make get a wood grain texture with the Cricut Maker - using the scoring tool and the scoring wheel. But nothing was very effective. The photos I took of using the scoring tool didn't even show the score lines very well at all. The scoring wheel made a slightly more prominent design, but not enough to recommend it.
So now let's review the specific steps to make the Wood grain texture
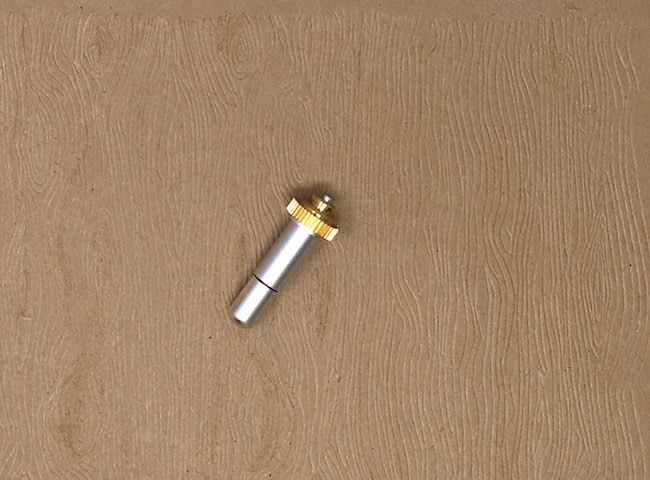
First, insert the Deboss tool in your Cricut Maker
Remember that the Deboss tool only works with the Cricut Maker. It does not fit the Cricut Explore. The Deboss tip is number 21 in the Cricut line. It fits on the quick swap housing. If you already have Cricut Maker's quick change housing, you don't need to get another one for this tip.
And I need to tell you that when the Deboss tool is working, it stops periodically and just spins in place. I don't know why, but the Maker warns you and tells you it does this. Now you know not to worry when it happens as you are making things.
Choose your paper material for making the wood grain texture
For this step, I tested a number of materials:
- 65 lb. card stock
- 110 lb. card stock
- 140 lb. watercolor paper
- Cardboard
- White coated cardboard
The two versions of card stock work beautifully.
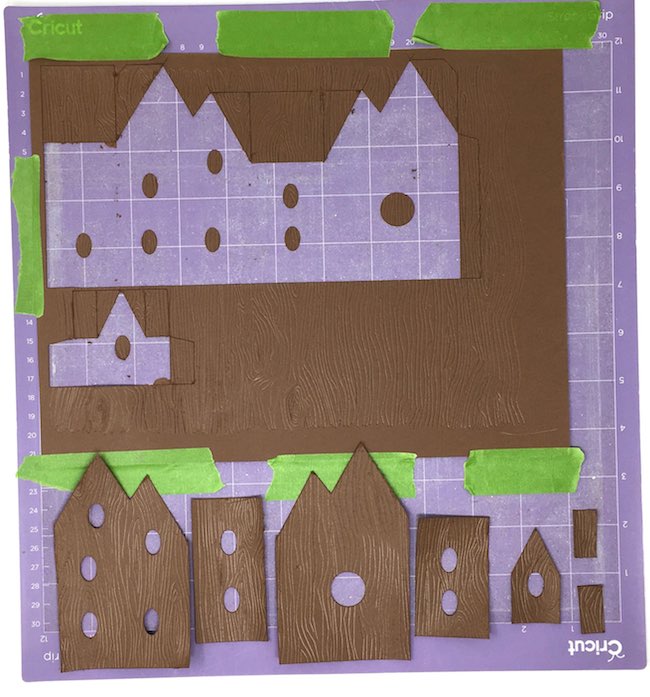
Here are the textured Fairy House cut out pieces made from card stock. Notice how the paper is taped to the Cricut mat. Generally, I use a Strong Grip mat because most of the time I cut out cardboard. But for card stock, the Standard Grip mat works better.
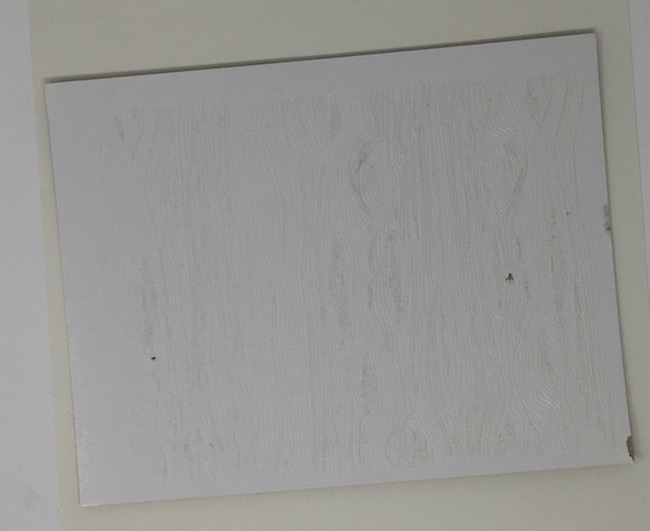
In the photo below, I used a white coated cardboard that didn't work well. The deboss tool pulled up the white coating and scratched the surface rather than simply debossing the surface. The tool did not do that on any of the other materials I used - card stock, watercolor paper, or even plain cardboard.
Now click "Make it" to deboss the card stock or cardboard with your Cricut Maker
Run the card stock through your Cricut Maker.
Optional: Cut out the pattern before you take it off the mat
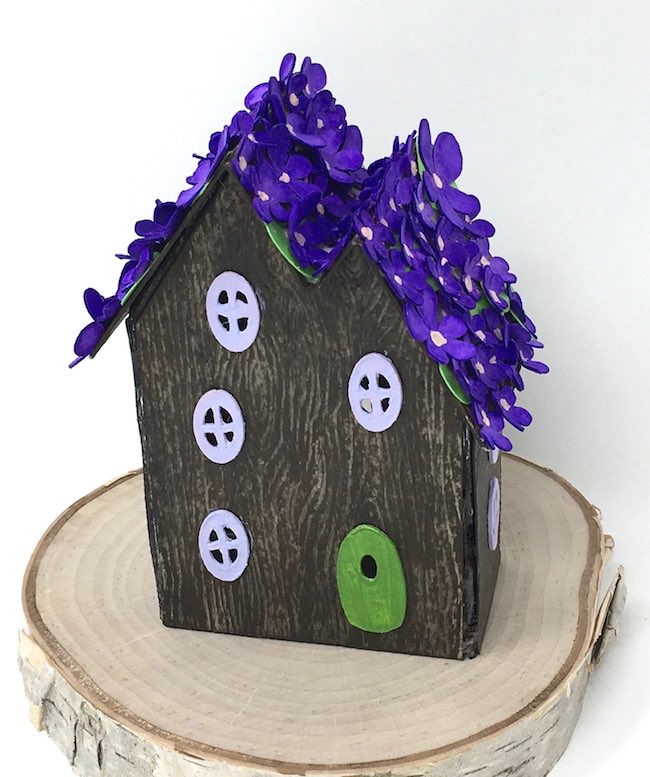
This is the easiest way to make something with your textured paper. Just leave it on the mat and upload a new pattern for cutting. When you cut the pattern out pay attention to the direction of the grain. I neglected to notice that I changed the direction of the grain on the Purple violet Fairy House (the Spring Blossom Fairy House). Fortunately, it probably bothers me more than other people.
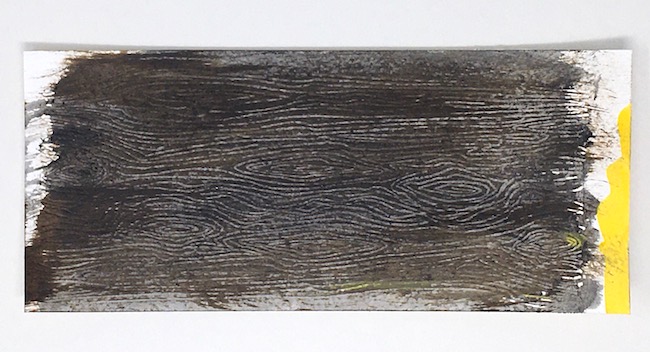
Finally, paint the texture to accentuate the debossed lines
Ok, this is the only step that takes some skill. To accentuate the grain, it helps to add more color to the raised areas. And in order to do that, use a dry brush technique and pull the paint across the surface. So here's how to do that. Use a brush with very little paint on it (an almost dry brush) and pull it across the paper almost completely parallel to the paper. This way the paint only sticks to the raised portions of the design. In addition, I use an old scraggly brush with firm bristles so it won't make a solid, defined line on the paper.
Another way to make the design look more wood-like is to add successive layers of color in the same manner. Initially, start with a lighter color as the base color, then build with darker colors. Below is an wood texture made with several layers of color. That's what I did on the first Fairy house with a darker wood surface.
Eventually, I found that pulling the brush across the surface perpendicular to the long lines of the design worked better. That's what I did for my second woodland Fairy house which is on the right below.
So that's how you make a great wood grain surface on your paper using the deboss tip for the Cricut Maker. I hope you will try it.
Here's a video that may help you make the wood grain texture.
Lucy
P.S. Let me know if you have any questions. You can always email me at [email protected] or leave a comment below. Also stop by soon for the Fairy House pattern. It's easy and fun to make.
Leave a Reply