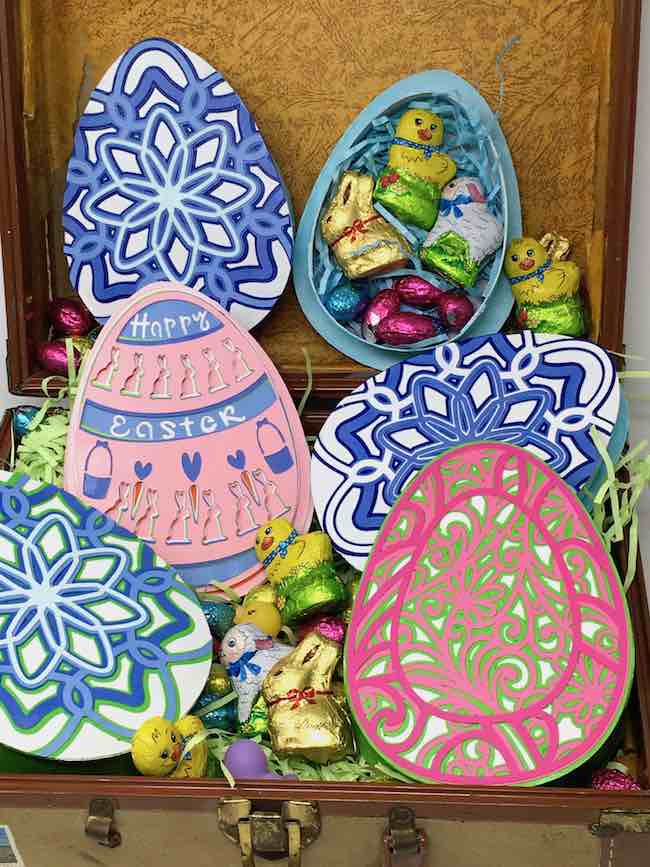
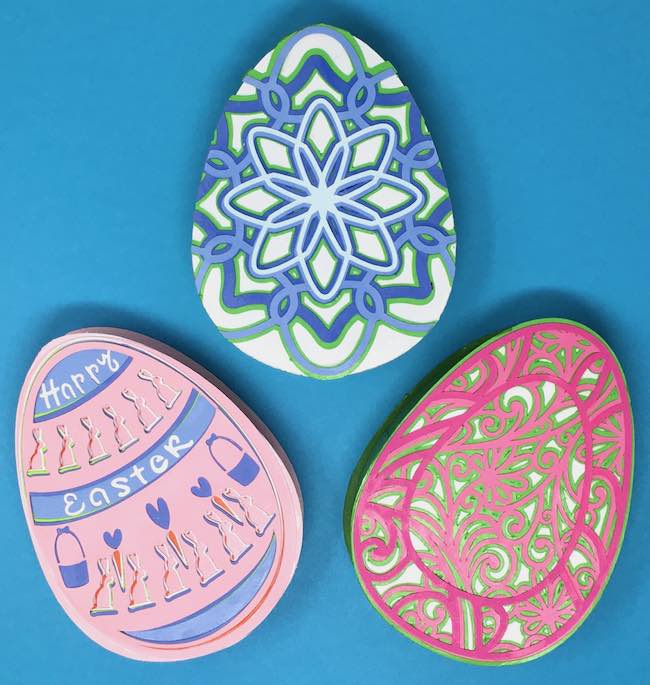
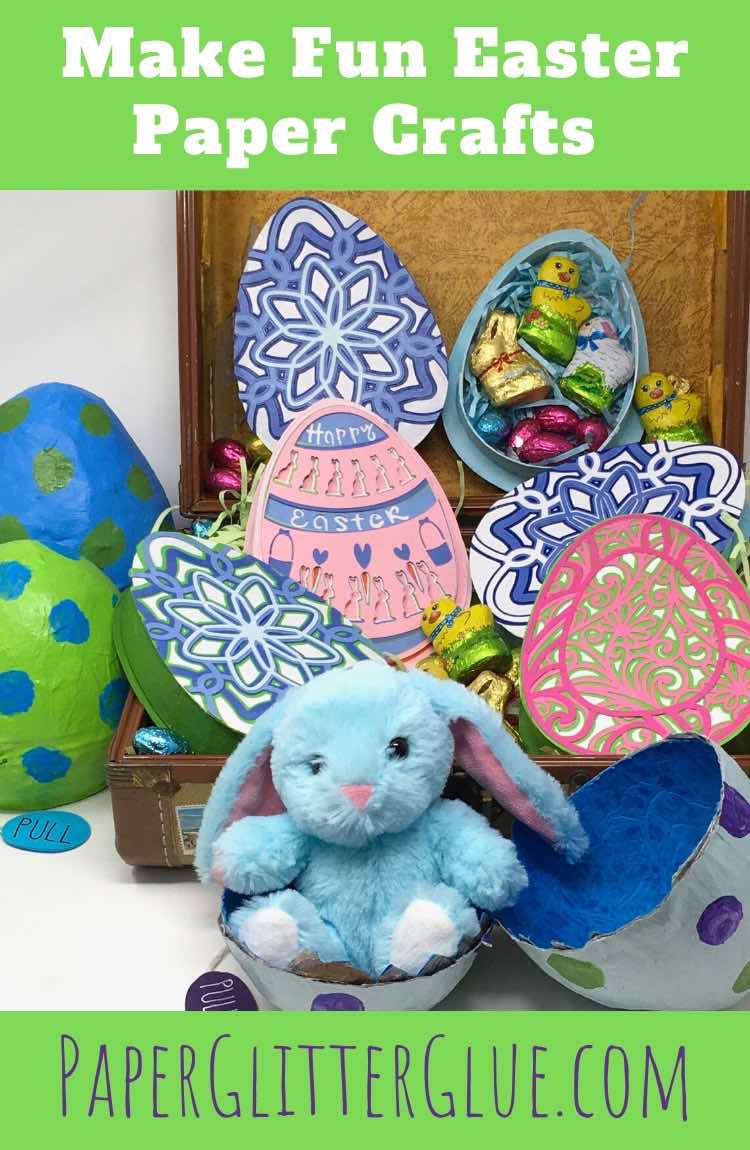
Learn how to make an adorable Easter egg box - decorated with different cutout intricate Easter egg designs made by some of my crafting friends.
As Easter is just a few days away you need an easy craft to make before the holiday. The decorated Easter egg box works perfectly for a last minute treat box. All of the patterns can be made by hand or using your Cricut cutting machine. Another way to decorate the eggs is to just paint them. You know kids love to paint eggs.
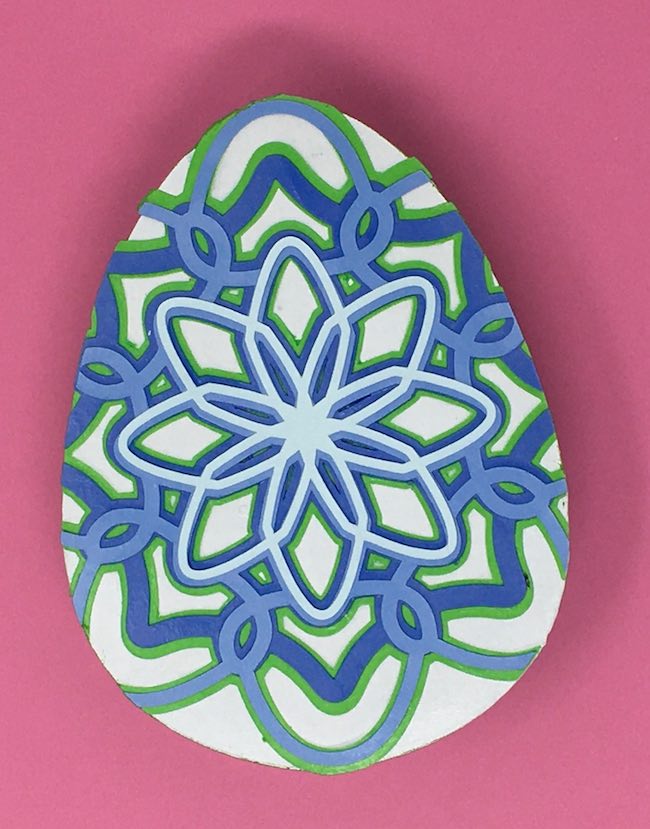
This layered egg design is free on the Maggie Rose Designs Co blog.
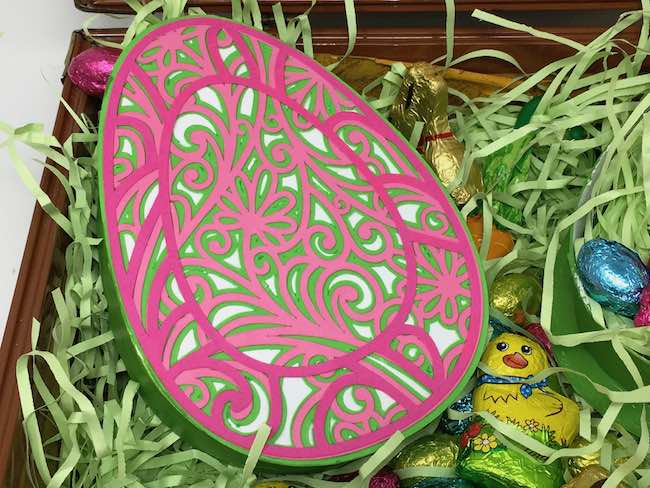
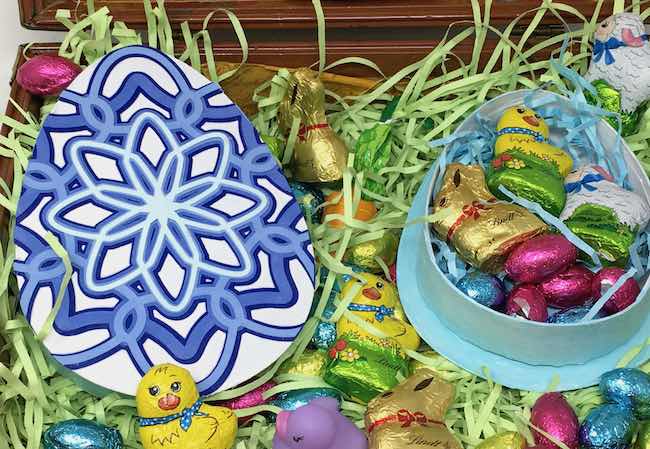
JenniferMaker designed this Filigree egg design.
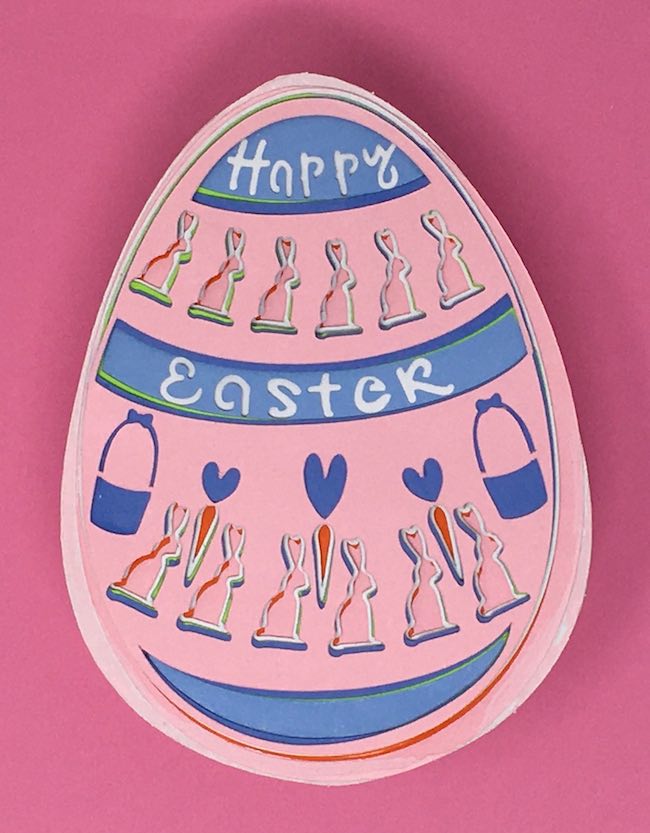
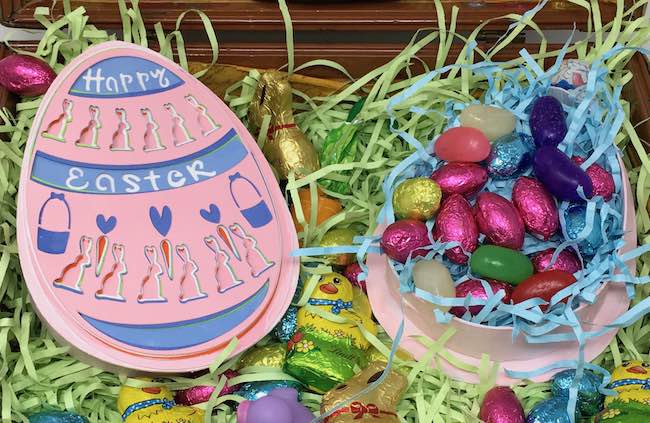
And the fun layered bunny design is by Jennifer Swift of the Well-Crafted Studio.
Several of these layered egg designs are free on the following websites:
- JenniferMaker's 3D Layered Easter Egg Mandala-Style and Filigree Designs
- Well Crafted Studio Layered Mandala Egg Design Cut Files
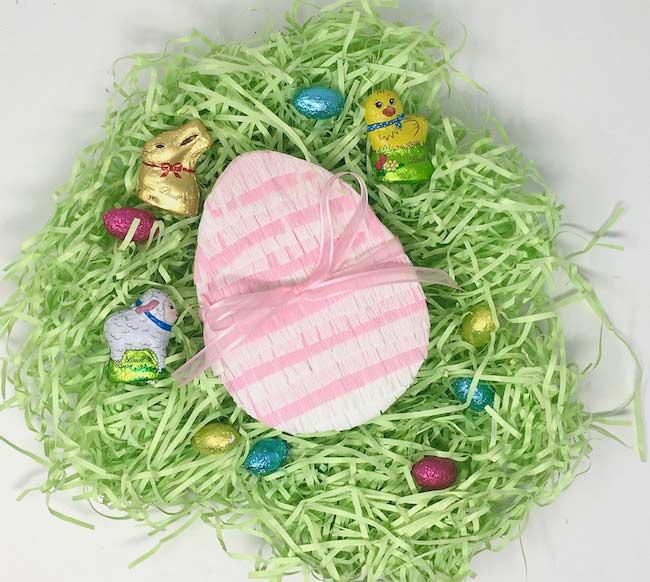
Also I made a piñata version of the Easter Egg Box just to give you another option.
This post contains some affiliate links for your convenience. Click here to read my full disclosure policy.
Materials to make the Easter Egg Boxes:
- Cardboard for the Eggs
- White PVA Glue
- 65-110 lb. Card stock
- Gesso primer
- Paint
- Mod Podge
- A way to cut your materials (I used my Cricut Explore Air 2 to cut everything)
- Cut files for the layered eggs (all of the links are listed above)
- My free SVG design files for the cardboard egg box free file - Design No. 80 - from the Paper Glitter Glue Library
Instructions to Make the Easter Egg Candy Box:
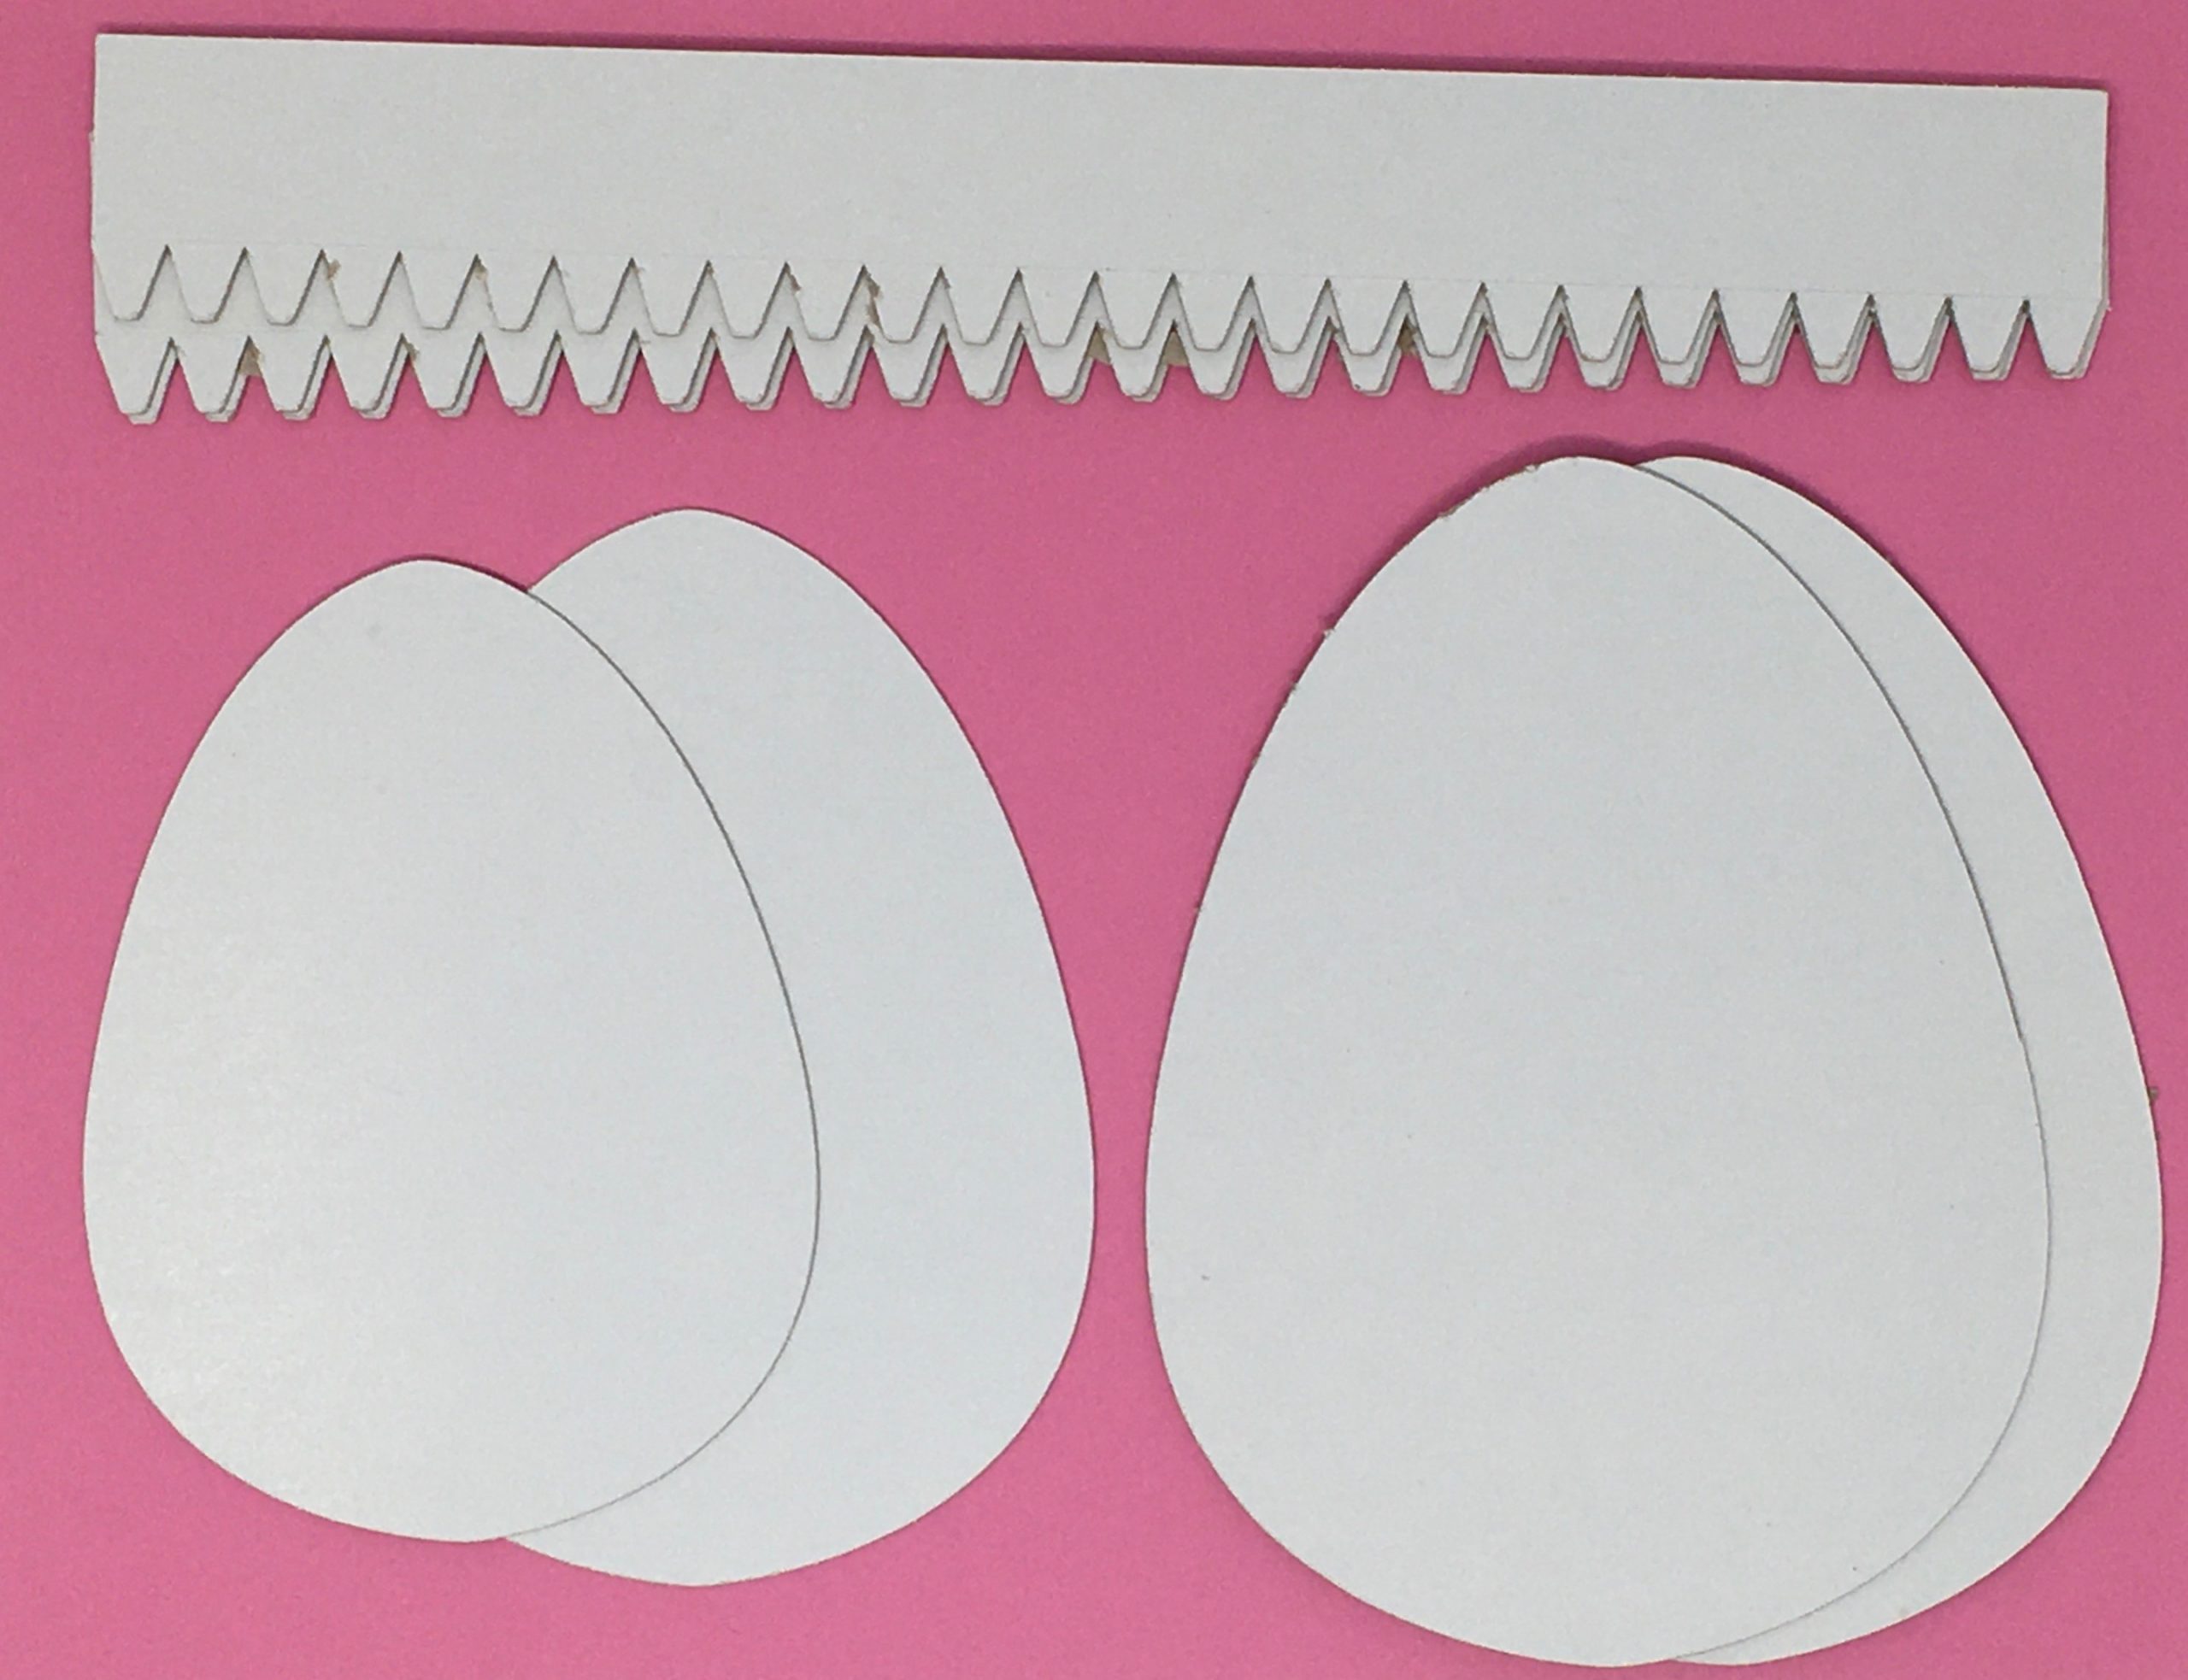
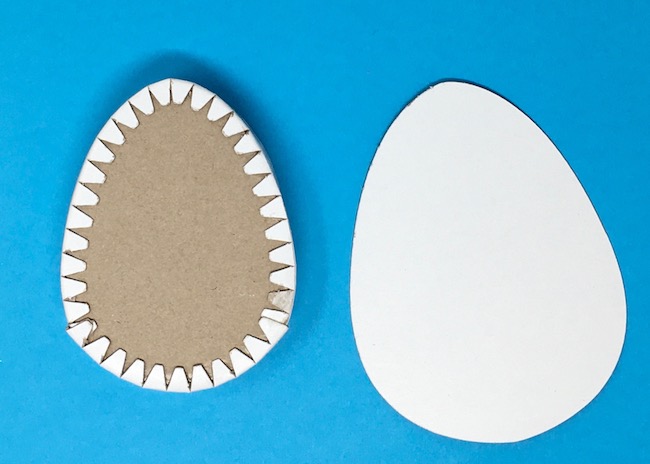
- Cut out the egg-shaped cardboard pieces
- Fold along the score lines on the side strips
- Glue side strips to the top and bottom inner egg shapes
- Adhere the large outer egg cutout to the egg-shaped boxes
- Prime and paint the egg
- Cut out layered egg designs from card stock
- Glue layers of card stock to the top of the egg-shaped box
- Make a piñata-style Easter egg box
- Fill with candy or gifts
- Deliver your adorable gift egg!
See the detailed tutorial below.
First, Cut out the egg-shaped cardboard pieces
You can get the pattern - Design No. 80 - in my library for free. All the designs in my library are free. If you have the password, just go to the library and enter the password to get the Easter Egg Box pattern. But if you don't have the design, then just sign up for my newsletter using the form below and you will get the password right away.
Since this is a simple project with simple shapes, you can easily cut it out by hand. I used cardboard, but after making the Peeps bunny candy boxes, I do think card stock would work well too.
But for those of you who make projects with your Cricut or other cutting machine, here is how the pattern looks in Cricut's Design Space. You will need to make a total of 4 sides strips for each Easter egg box.
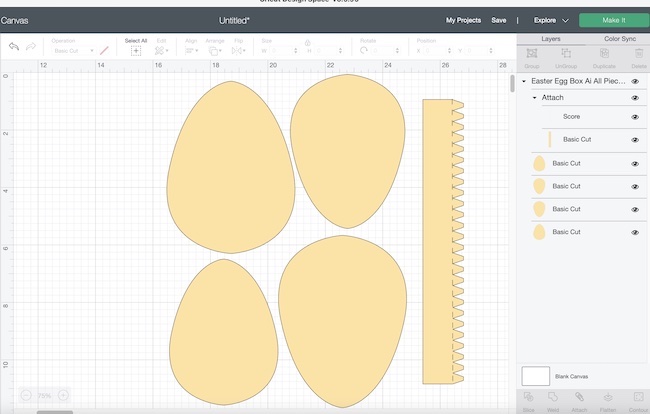
The outer egg shape - the top and bottom pieces to the box - are 6 inches tall.
After cutting out the egg shapes, you need at least 4 side strips to make the sides for the box. On the pattern I included 1 strip that you will need to duplicate. Since the egg shape is so simple you can easily use cardboard to make the sides. When you are making a more complicated candy box, then it is much easier to make it with card stock rather than cardboard.
In Cricut Design Space the score line is already designated and attached to the appropriate cardboard strip.
Next, start making the box with the side strips and the inner egg-shaped pieces
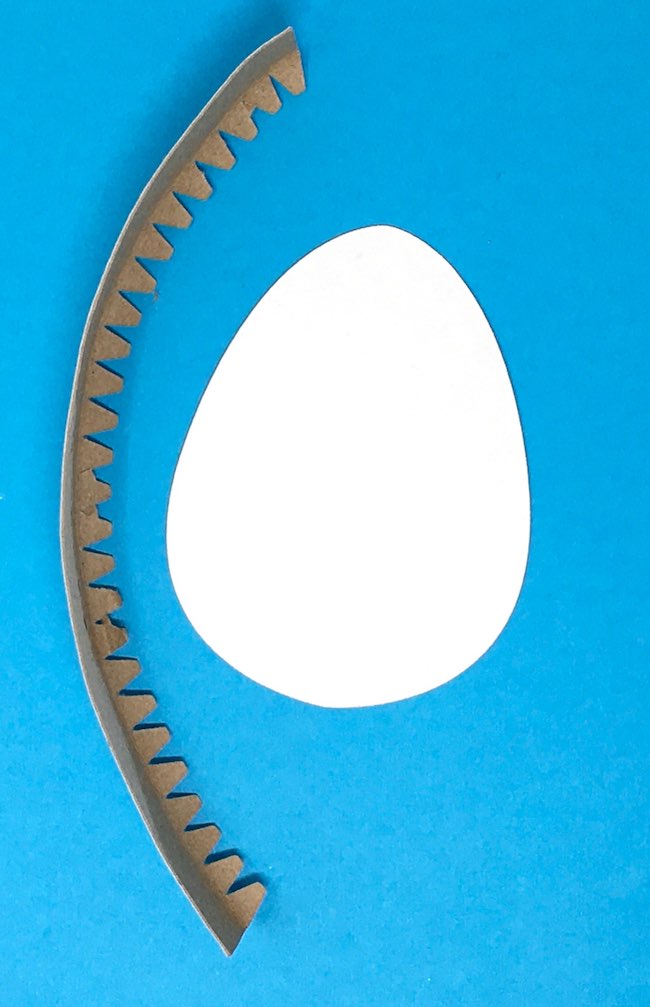
As shown in the photo below, fold all the little tabs to the inside of the side strip. Pull the strip through your fingers to make it curve better. Then it will fold around the egg shape pretty easily.
Glue the sides strips to the inner egg-shaped cardboard pieces
Now apply a fairly thick layer of glue to the tabs and along the edge of the side strip.

Now fold the side strip around the egg. Center the side strip around the top of the egg. That way the additional side strip piece will be at the rounded bottom. You can see what I mean on the piece below. See how the extra side strip is glued on the bottom.
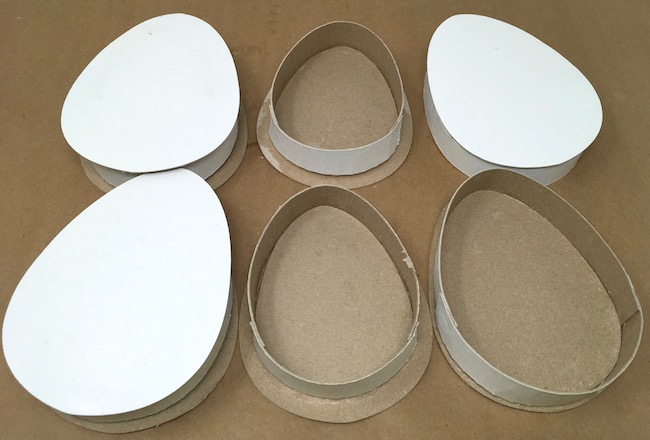
Do that for both pieces so you have the inner and outer parts of the box.
Next, glue the the top and bottom egg-shaped pieces to the box shapes
Apply a thick layer of glue all over the surface of the egg box top and bottom pieces. Then apply the larger egg cutout on top.
Make sure that you center the larger egg cutout so that the edges match up when the box is assembled. For example, make the bottom piece first and let that dry. Next glue the larger egg cutout to the top part of the box. Then make sure that the edges of the top piece coincide with the bottom piece. They don't have to be exact because there is some extra space around the top and bottom box pieces when they fit together.
Below are finished egg box pieces.
Prime and Paint the Egg Boxes
Now prime the egg boxes. Then paint coordinating colors that you are going to use for the layered card stock designs. I left the top white for my eggs.
But you can always paint the egg boxes too. This would be a good craft for kids.
Cut out the Layered Egg Designs
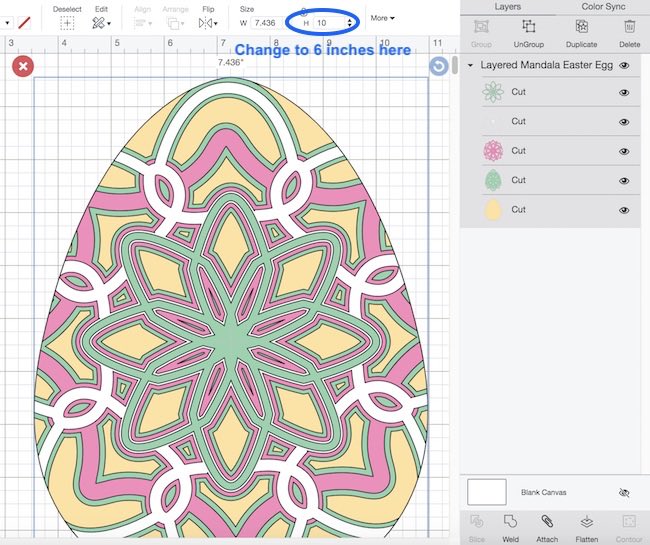
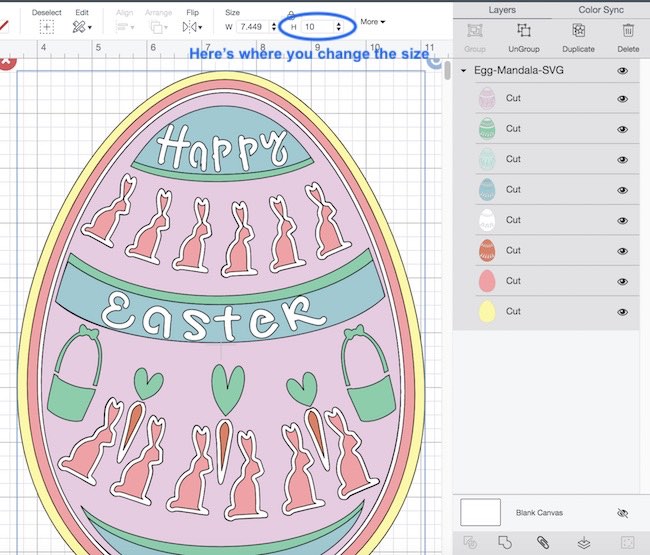
Ok, now for the fun part. Cut out the layered egg designs. The most important thing to do if you are using the layered egg designs I've linked to is to RESIZE them. I tested 3 layered egg mandala-type designs.They worked great when you leave them grouped and resize so that the height of the design is 6 inches tall.
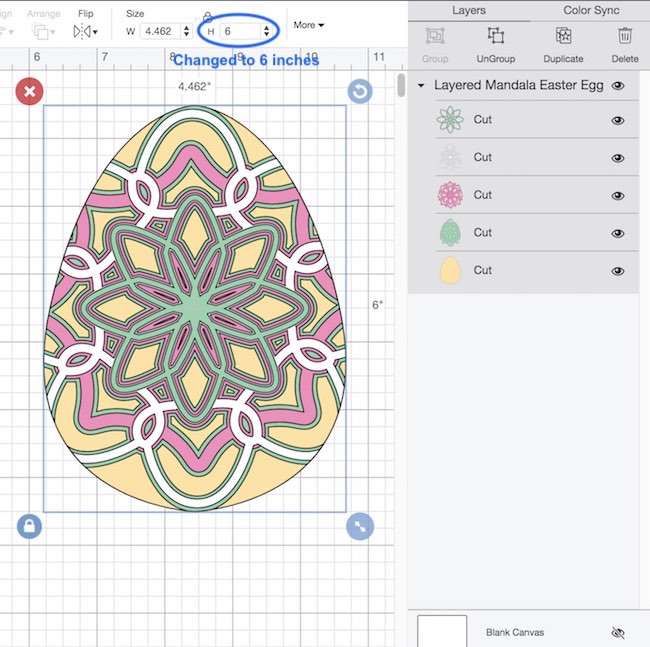
See the examples in Design Space below. First you see the design as it is looks when you upload it to Cricut's Design Space. And the second photo shows it as the design once you have changed the egg height to 6 inches.
This is Maggie Rose's design grouped in Design Space. Leave it grouped before you change the size.
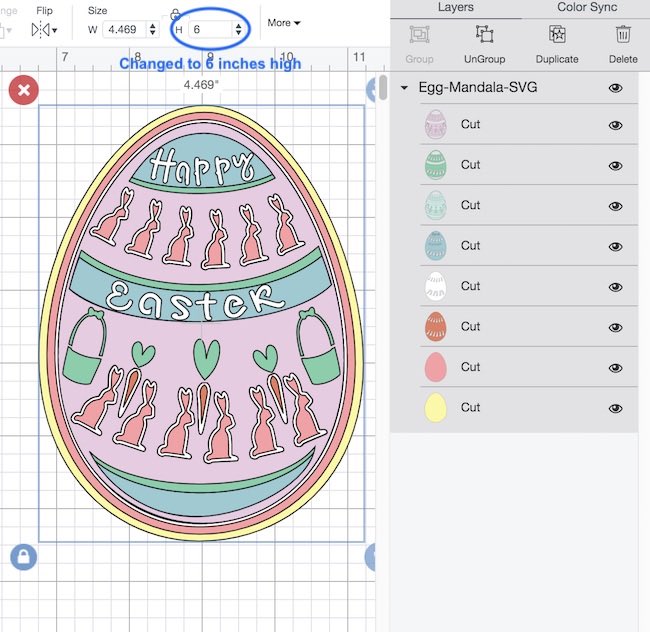
And here is her design resized to 6 inches.
Below is Jennifer Swift's design before resizing.
And here is the resized grouped design.
Finally, JenniferMaker posted layered eggs designs on her blog that you will love. I chose the filigree design because it is the easiest.
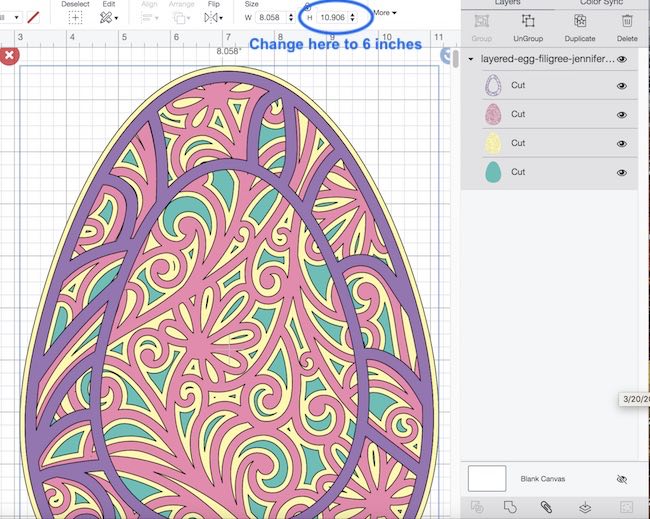
And here is the resized filigreed egg.

Glue layers of card stock to the top of the egg-shaped box
There is one other important point - I didn't cut out the solid background layer because the egg shapes are just slightly different. Paint the top of the egg whatever background color you want. I just left them white.
Start with the lowest layer of the design and apply Mod Podge to it so it will stick to the egg. Next apply it to the top of the Easter egg box. Continue with the next layer coating it with Mod Podge the same way until to get the top layer. Finally coat the top layer with Mod Podge as well.
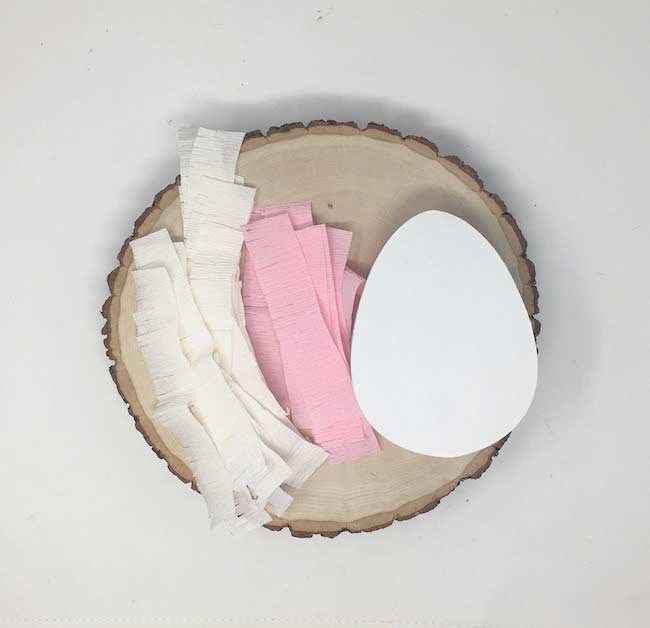
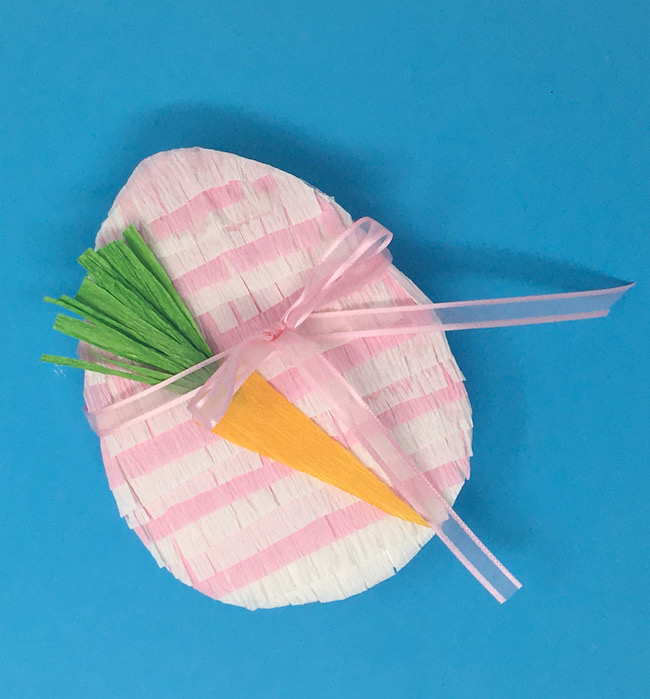
Make a Piñata-Style Easter egg box
All you need to decorate the egg to look like a piñata is some crepe paper or tissue paper cut in strips. And glue them row by row on the top of the Easter egg candy box. Since the egg shape is simple, it's easy to glue the strips on and then trim them easily into an egg shape.
Here it is.
Now fill your adorable gift box with candy and gifts
And finally share your gift. That's what we all need now. Also I would love to see it on my Facebook group which you can join here.
Do you have any questions about how to make the layered egg boxes? If you do have questions, then just email me at [email protected]. I will be glad to help.
Lucy
P.S. Here is a list of all of the gift box designs on my blog:
- DIY Peeps Bunny Box for Spring
- Valentine Llama Candy Box
- Happy HollyDeer Reindeer Candy Box
- Merry ChrisMoose Gift Box
- Scotty Dog Gift Box
- Gnome Gift Box
- Shamrock Candy Box
- Valentine Piñata Candy Box
- Easy Heart-Shaped Candy Boxes
- Mini Llama Pinata Box
Tami Sheridan
where do I find the svg file for the easter egg box. I was trying to find one with the clear front but this will work fine. I have 7 grandkids that I would like to make them for. Thank you
Lucy
Tami,
It's design no. 80 in the free paper glitter glue library.
Since you've already subscribed, you should already have the password. Here's a link to how to use the library.
Please let me know if you have any problems finding the file.
Kim
thank you! I will try again haha. it's probably me over thinking again. cause I want to turn it into a bunny box.
Lucy
I have a bunny box too. It's made in a similar way.
Kim
OK so i downloaded the egg thank you for sharing. of course i did have some trouble trying to figure out what as the top and bottom. me probably over thinking of course. was wondering if you had a video on this. thanks again for any help.
Lucy
Kim,
I don't have a video for constructing the egg box at this time, but I will try to get that done before this Easter.
Lucy
Kim
thank you i am just confused as to which would be the top egg and which is the bottom in your picture. let me know if i'm right . in the picture shows the egg shapes. is the one ontop for the top of box? and the bottom egg shape for bottom . thanks for the help
Lucy
Let me review the files and I will add a photo to clarify which is for the top and which is for the bottom.
Lucy
Lucy
Now I can answer you question better. The top and bottom pieces are exactly the same size. So when you make your Egg box the outside eggs on the top and bottom are the same size. The difference is that the egg pieces that go inside the box are slightly different so one will fit inside the other when you put the two halves together.
The slightly smaller egg is designed to be the bottom of the box. Does that help?
Rach
Hi how do you download the Easter egg box svg I can’t see the file? Thnx
Lucy
Rach,
I see that you subscribed to the newsletter so that means you should have gotten at least an email with the password in it. Please find it and open it to get the password. It's in the email called "Your crafting newsletter from Paper Glitter Glue". Sometimes it goes to your spam folder so please look there.
Go to the About the Paper Glitter Glue library page, click the link in the middle of the page which takes you to the next page (the doorway to the library, so to speak) where you enter the password.
All my files are listed chronologically so the Easter Egg Candy Box is in the April 2020 section of the library. I hope that helps.
If you have any questions, just let me know.