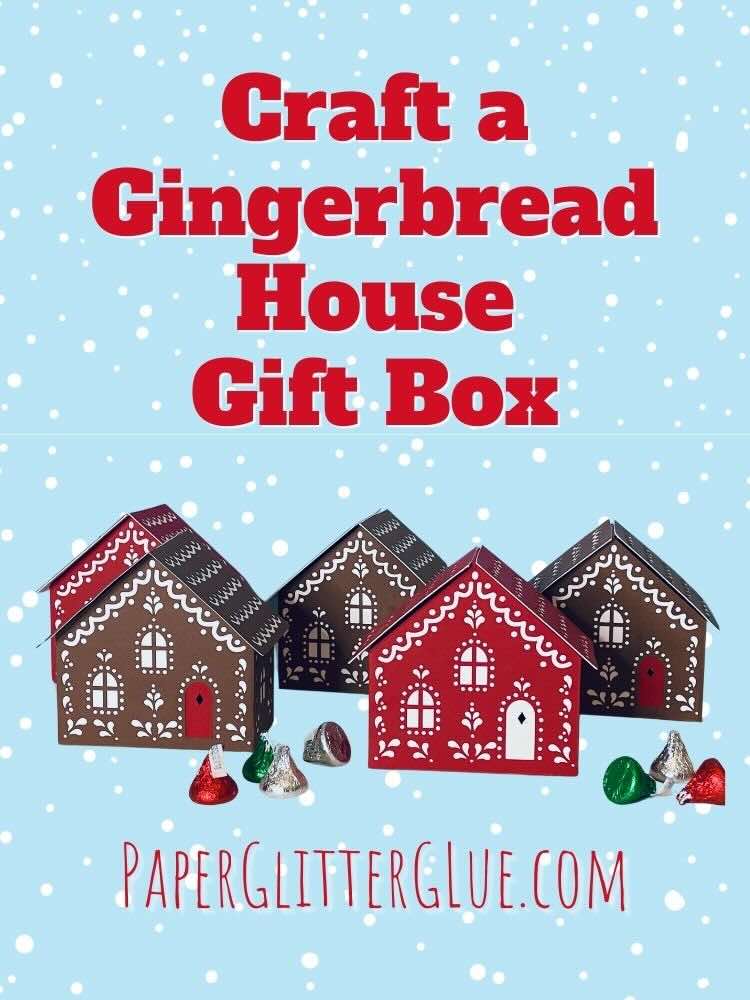
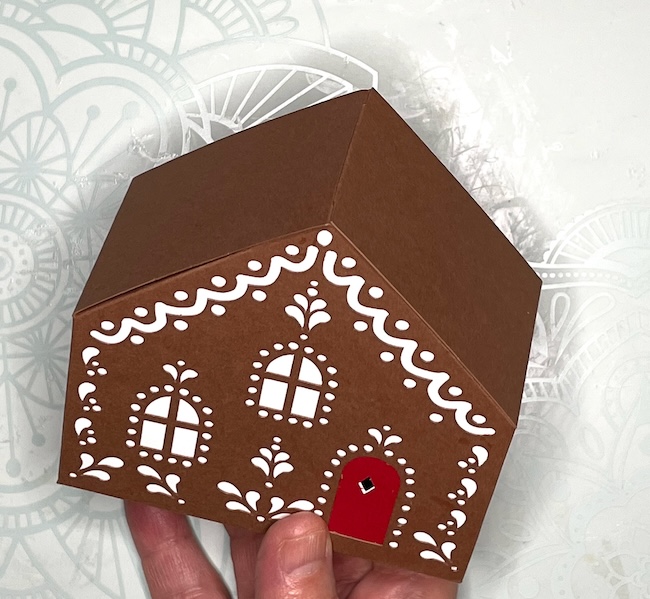
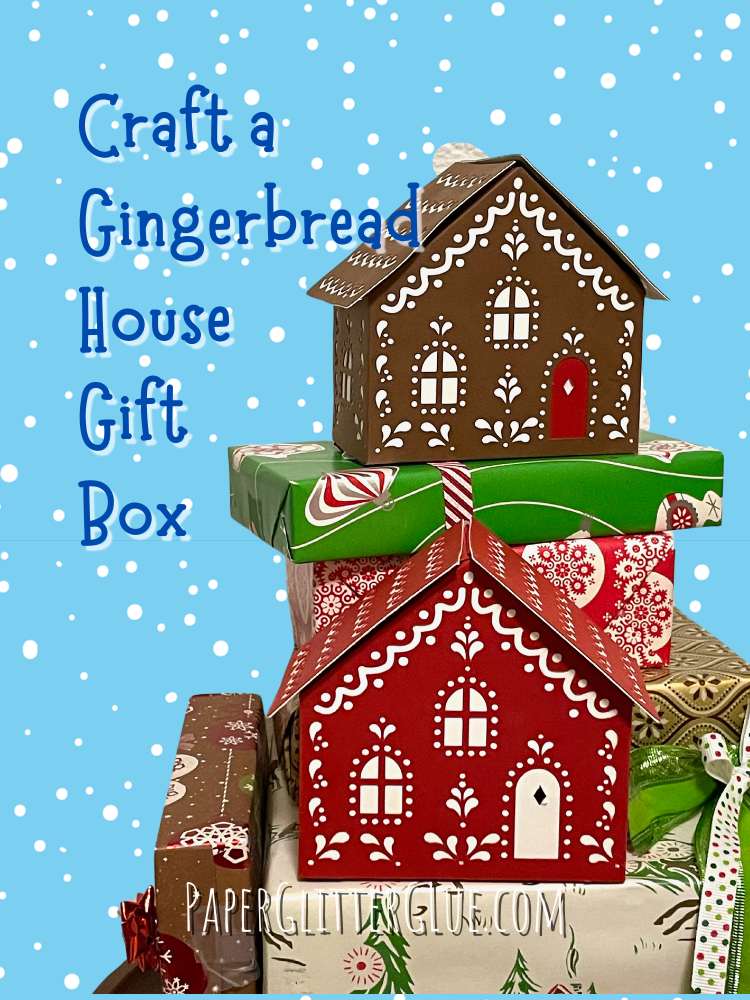
Craft a paper gingerbread house gift box EASILY with this free SVG gift box pattern I've designed for you. This design is based on the Easy Paper Gingerbread House, but modified into a gift box. Precisely cut out the intricate pieces of the gingerbread house template with your cutting machine or use the plain version and decorate it with a white pen.
Once cut, carefully fold along the designated score lines to create the 3D structure of the house. Assemble the pieces with glue, transforming the flat cutouts into a charming gingerbread house gift box.
This post contains some affiliate links for your convenience. Click here to read my full disclosure policy.
MATERIALS TO MAKE THE PAPER GINGERBREAD HOUSE GIFT BOX
- A way to cut out your pattern - I used a Cricut Maker, but it works well with the Cricut Explore Air, Cricut Joy Xtra. The pattern is too large for the Cricut Joy.
- Cardstock in various colors - I used red, white, and brown
- Cricut scoring stylus or scoring wheel - my preference is the scoring tool
- Glue - I love this glue because it has a small tip and glues fast
- Metal ruler - to help you fold the pieces
- Design No. 152 in the Paper Glitter Glue library

INSTRUCTIONS TO MAKE THE PAPER GINGERBREAD HOUSE GIFT BOX
- Download the free pattern - Paper Gingerbread House Gift Box - Design No. 152 in the Paper Glitter Glue library
- Unzip the Gift Box file folder
- Upload the file to your cutting machine
- Convert the score lines to SCORE under the operations menu within Cricut Design Space and attach the score lines to the appropriate pieces
- Cut out the gift box pieces
- Glue the background pieces to all the house and roof pieces
- Construct the gift box shape
- Fold the box together before gluing the roof pieces in place
- Adhere the roof to the house pieces to the top of the gift box
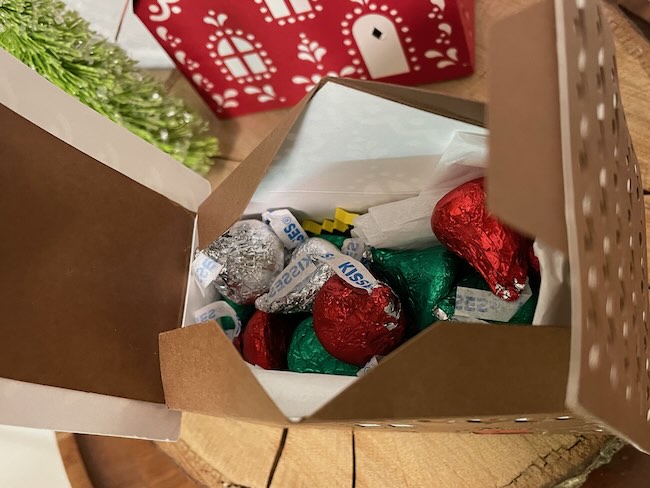
- Fill your box with little treats and give to someone you love
Here's a video which shows the construction of the Gingerbread House Box
1. Download the Paper Gingerbread House Gift Box - Design No. 152
First, download the free pattern for the Paper Gingerbread House Gift Box (Design No. 152) from the Paper Glitter Glue library. That's where I store all my free files. These files are available in 2 formats - SVG cut files for cutting machines and printable PDF files.
To get the files, type in the password on the password page. If you don't have the password, just subscribe to my Paper Glitter Glue library and you will get the password right away.
Unzip the Gift Box file folder
The files are in a compressed folder (zipped folder). If you don't know how to unzip folders, here are the instructions:
- Here's how to unzip a folder using an iPad or iPhone.
- To learn how to unzip a folder using a Windows computer, click here.
- To learn how to unzip a folder with an Android device, click here.
- To learn how to unzip a folder using a Mac, click here.
Upload the file to your design software
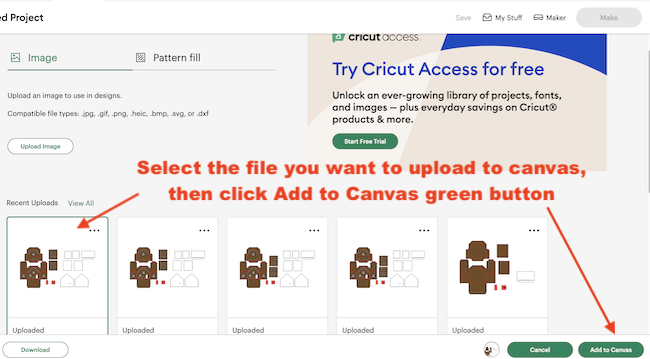
The only brand of cutting machine that I am familiar with is Cricut. So that's the example I use. Your file is named Paper Gingerbread House Gift Box SVG. Upload that to your canvas.
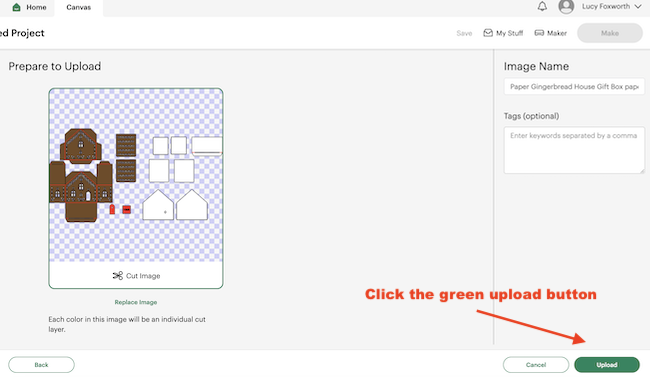
Then once it is uploaded, select the file and click the green "Add to Canvas" button on the lower right corner.
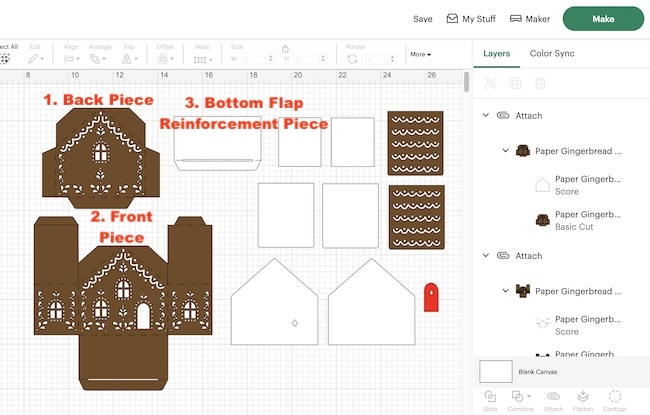
Convert the score lines to SCORE under the operations menu within Cricut Design Space
Once you have the SVG pattern on the Cricut Design Space canvas, ungroup the design.
Three pieces have score lines that you need to designate as score lines and attach to the appropriate piece. So select the score lines on the back piece, the front piece, and the bottom flap reinforcement piece.
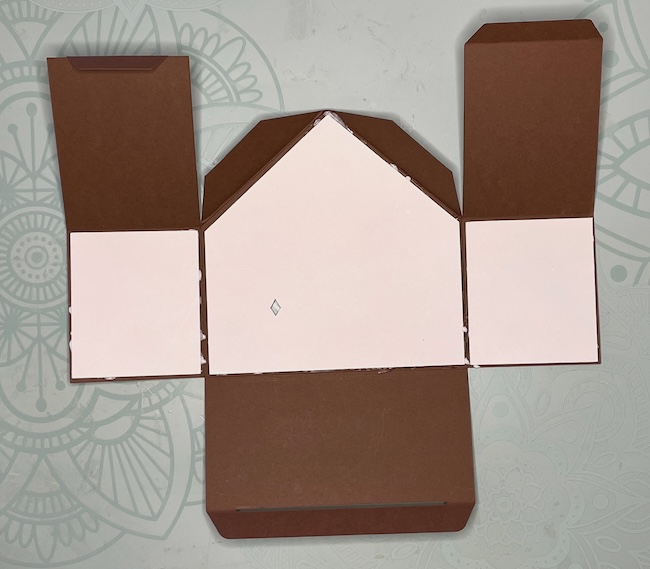
2. Cut out the Gift Box pieces
I used 65# card stock and my Cricut Maker to cut out all the pieces for the this gingerbread house box. It does take awhile to cut out all the pieces just. because of the decorations on the pieces. But really the worst part in making this project is scraping all the little doodads off your cutting mat. That's not very fun.
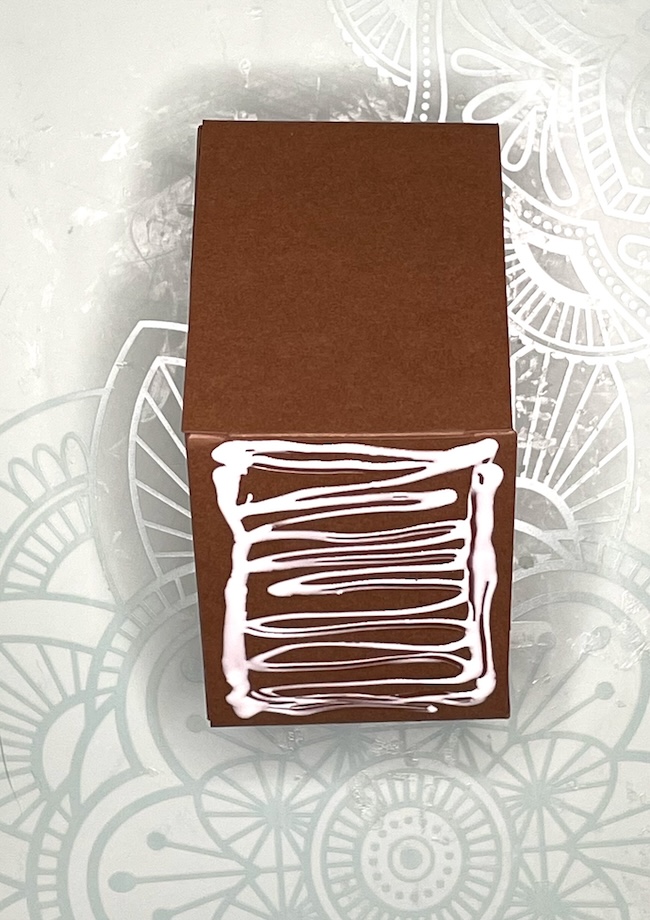
3. Glue the background pieces to the Gingerbread House pieces

Apply glue to the cut out gingerbread pieces. I like the way Bearly Art Glue goes on. It's easy to apply a small line of glue. If you want to use a contrasting color for the door, glue to the back of the front house piece. Now adhere the background pieces to the gingerbread gift box pieces.
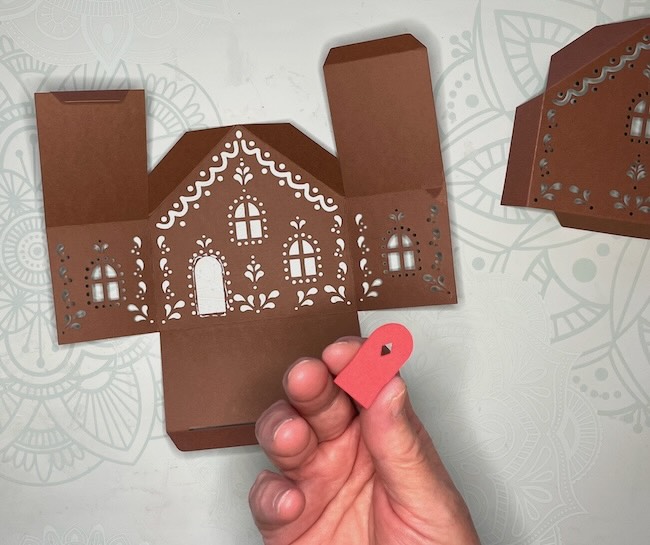
This is how the front looks after you glue the door to the back of the house. But remember, you don't have to use the door cutout if you don't want.
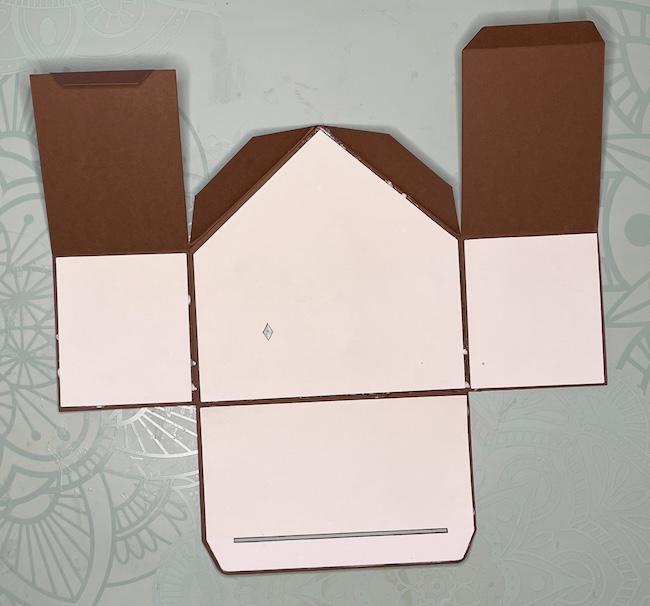
Now add the background piece behind the door.
Doesn't it look great?
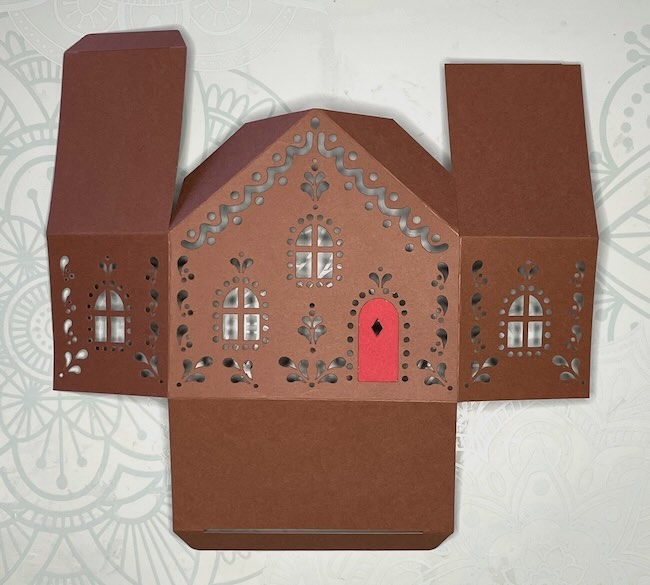
Do the same thing to the side pieces.
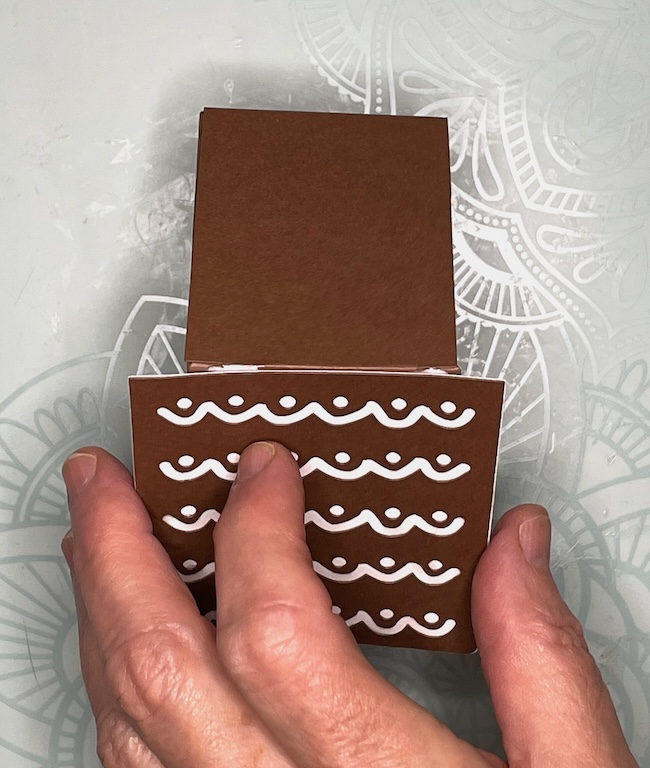
Next apply glue to the bottom flap.
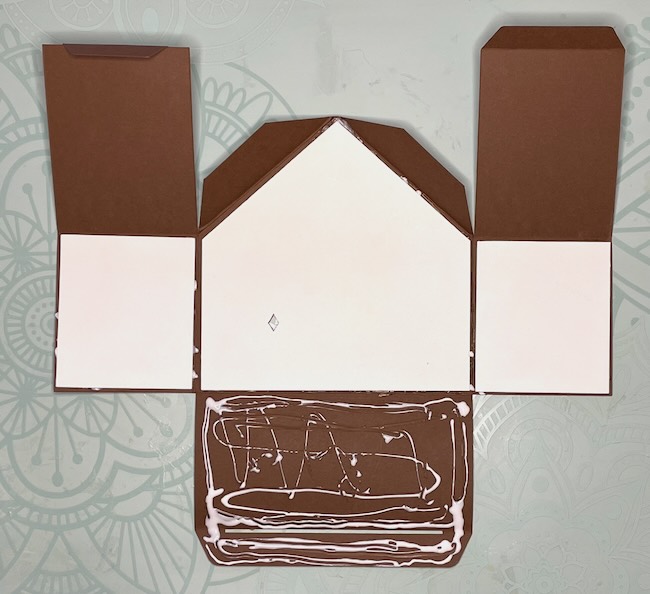
Line up the bottom flap with the cutout on the flap. When you are finished, it should look like the photo below.
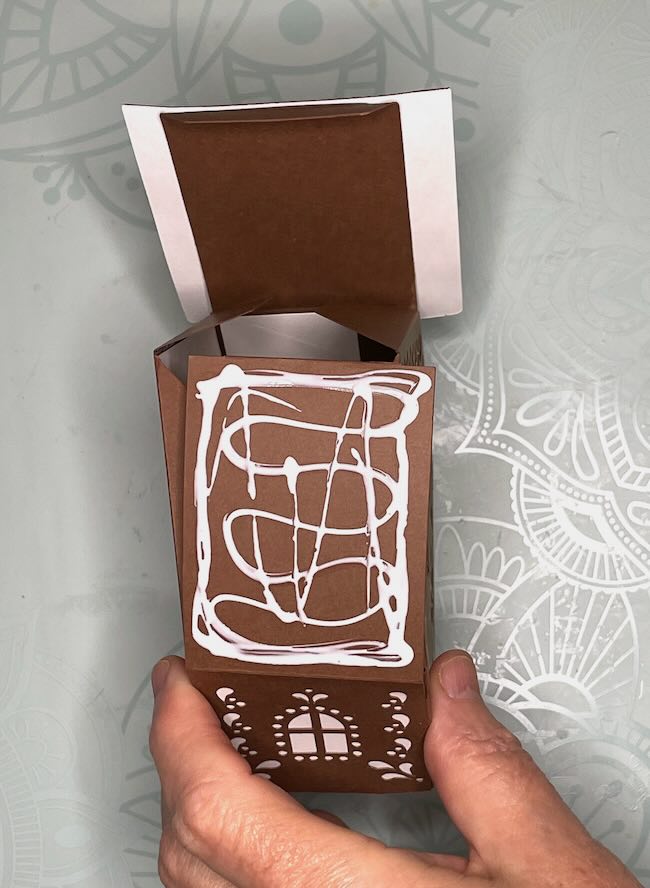
Finally, apply the background pieces on the back piece and the roof pieces.
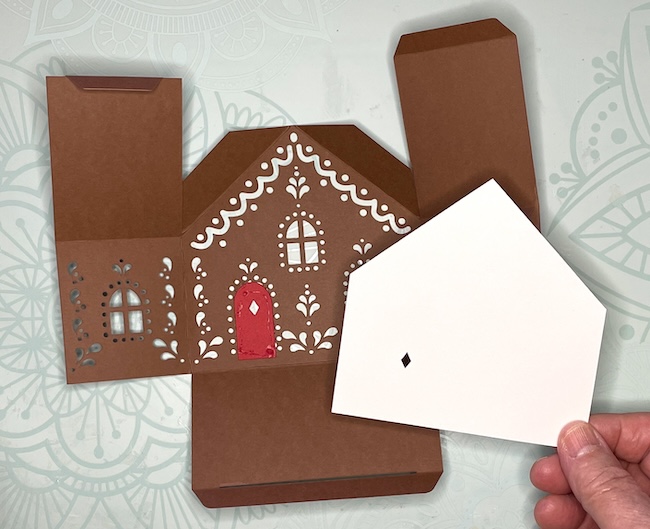
4. Construct the Gift Box shape
Apply glue to one of the side tabs on the back piece.

This is how the house looks where you've glued the back piece to the front of the house.

Next apply glue to the opposite glue tab on the back of the house.
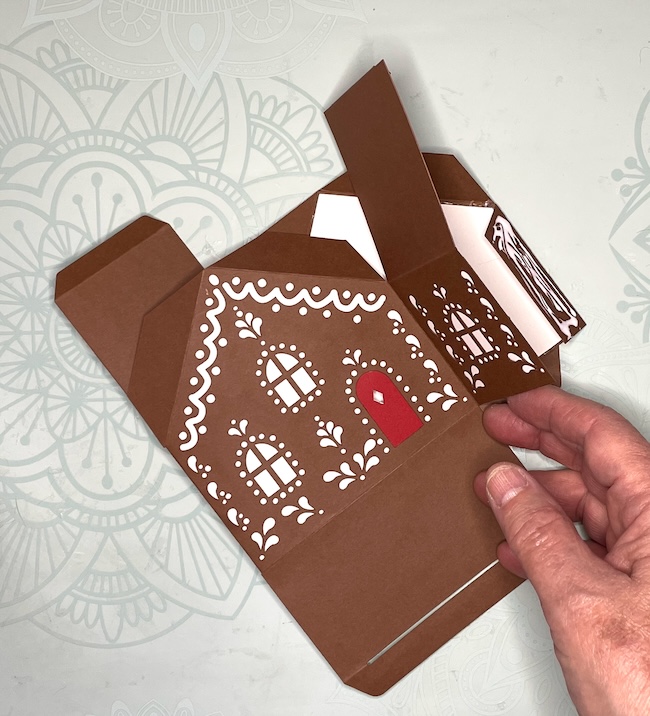
Now the basic gingerbread gift box is done. All we have to do now is apply the roof pieces.

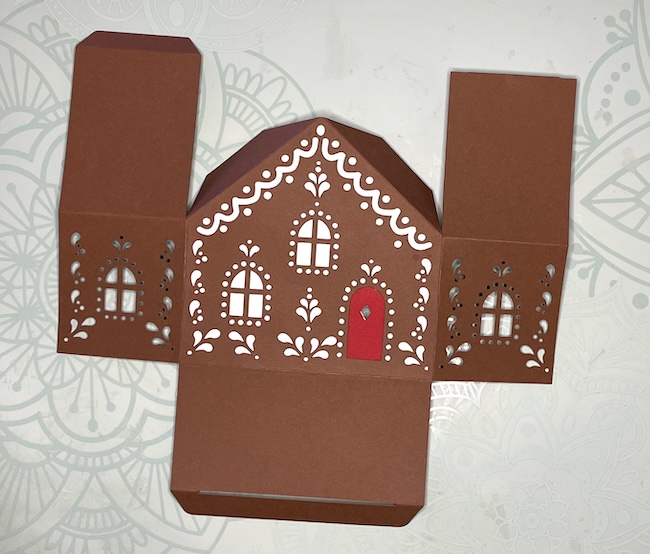
5. Fold the gift box together before gluing the roof pieces in place
Fold the gift box together by inserting the tab in the bottom flap. Then insert the tab on the roof flaps into the slot on the opposite roof flap. You can place the roof pieces much easier when the house has been constructed.
6. Adhere the roof pieces to the gift box
Apply glue to one side of the roof flaps. Adhere the roof piece just to the fold line at the very top of the roof peak.
Center the roof piece to the side of the roof covered with glue.
Do the same thing on the other side, but remember to avoid gluing the tabs together. You want them to be able to open them up.
The photo below shows both decorative roof pieces in place.

7. Fill your gift box with treats and give to someone you love
Questions? And be sure to share your project
If you have any questions, please email me - [email protected]. I am always happy to help.
Want More Gift Box or Treat Box Ideas?
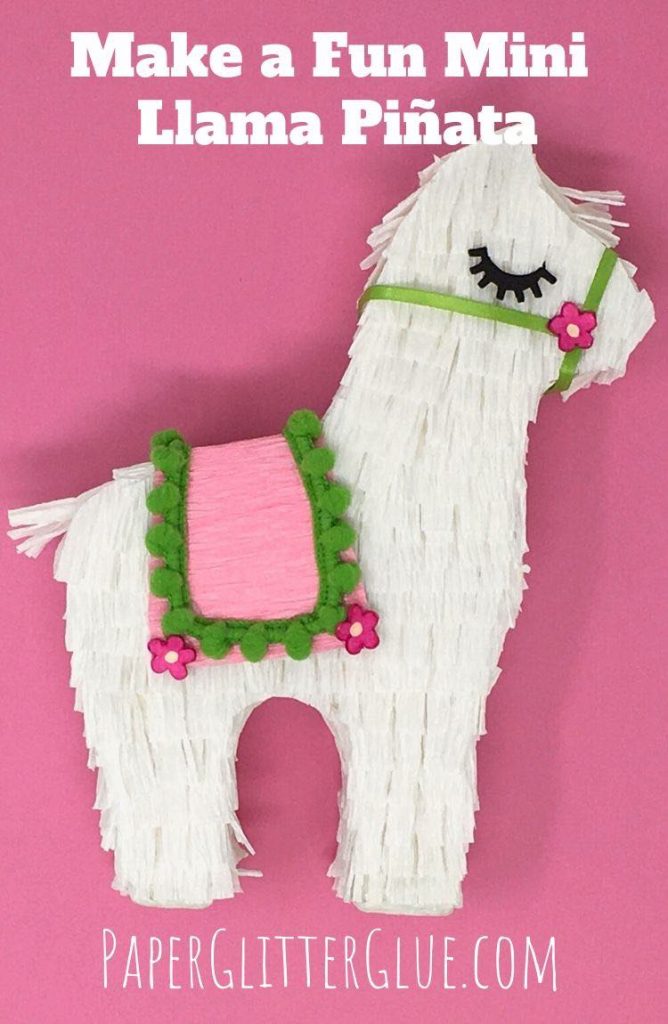
How about a Llama Piñata treat box?
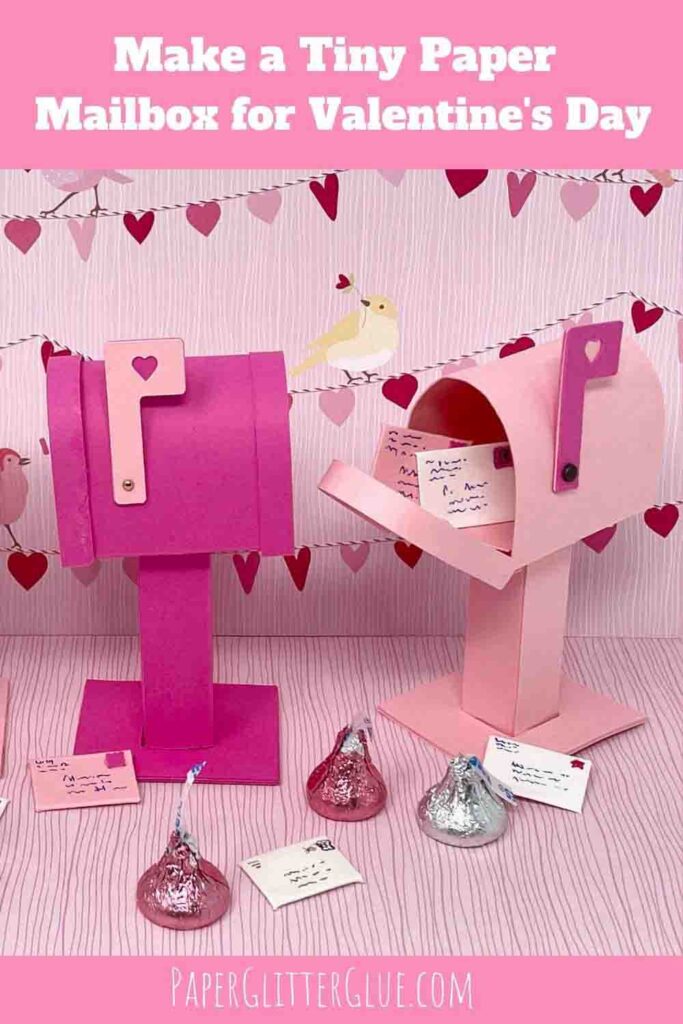
Or perhaps tiny mailbox for a few pieces of candy or a fun message?
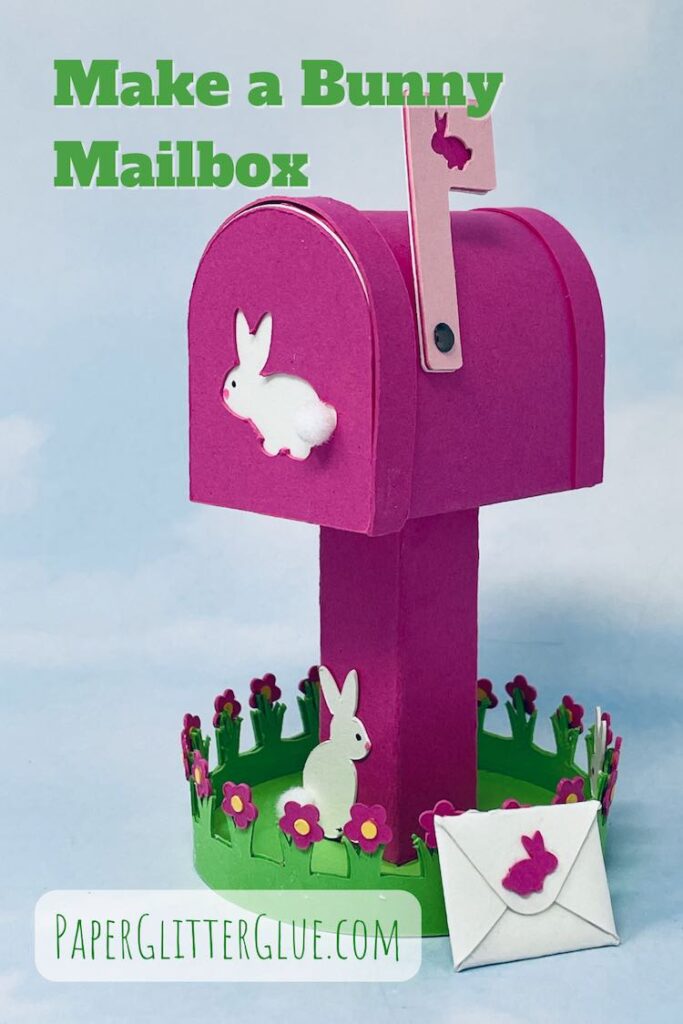
I've even got a bunny mailbox variation.
Lidia
I love the houses you make! Gingerbread is my theme for Christmas decor and so these are at the top of my list to make. I was wondering, if I used the heavier cardstock and deleted (or set aside) the cutouts — do you think that’d work ok? I thought I’d paint the details with the pens in your Am list. I saw the little Halloween houses first —I’m doing those first. Just got my first Cricut and I’m a little concerned about the cutouts. Thank you for sharing these wonderful houses!❤️❤️❤️
Lucy
Lidia,
I think it might be hard to delete the cutouts because they are part of the design. I do have another gift box house that might work better for what you are thinking of doing. I really like the idea of painting on the details. I actually like it better than the cutouts. I did that on the this little house
Check out those other options to see what you think.
Lucy