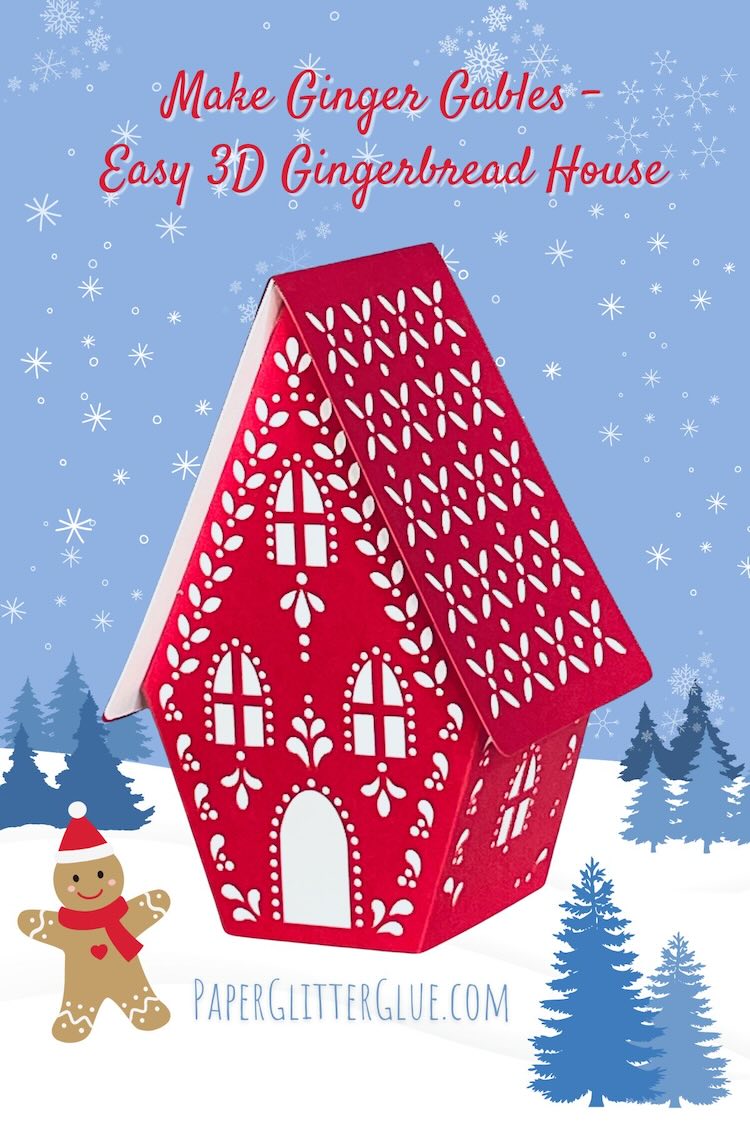
Here is the Ginger Gables - an EASY, really easy 3D Gingerbread Paper house that you can make. It's the design for Day 7 of my 12 Days of Christmas Papercraft event. You can see all the other projects at that link.
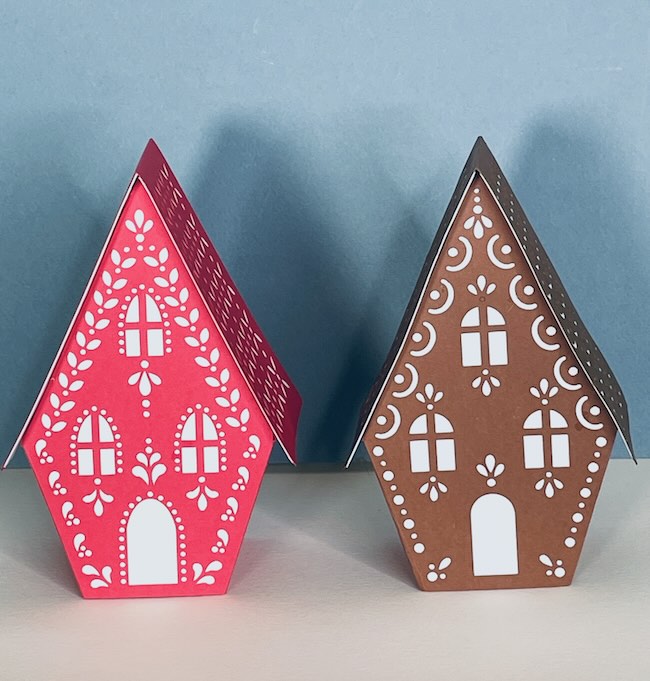
I started to make this pattern last year for another online event and my first pattern for it just looked plain ugly. No beating around the bush. It looked pretty bad. You can see it on the right below - the brown gingerbread house.
I even had to miss the deadline for the event and come up with a better design. I did eventually come up with a different design I liked better. Despite the house not being what I wanted, this house shape kind of stuck in my mind and I saved the pattern so I could make a better version using the same basic structure at some point. Ginger Gables is the result.
The disadvantage of this design is that it does take a long time to cut out the pattern with a cutting machine. I suggest you just do some chores or preferably something fun while you let your cutting machine do the work.
But if you don't have a cutting machine, you can use the PDF files to make a version of the pattern which cuts out easily by hand. Then you can have fun decorating a gingerbread pattern on the house with a white gel pen or puffy paint.
Now let's get to the fun part, making Ginger Gables - the Easy 3D Gingerbread Paper House.
This post contains some affiliate links for your convenience. Click here to read my full disclosure policy.
What do you need to make Ginger Gables - the Easy 3D Paper Gingerbread House?
- A way to cut out your pattern - I used a Cricut Maker, but it works well with the Cricut Explore Air, Cricut Joy Xtra
- Cardstock in various colors - I used red, white, and brown
- Vellum - optional if you want light to shine through your little house
- Cricut scoring stylus or scoring wheel
- Glue - I love this glue because it comes out easily and adheres quickly
- Cardboard for the base - optional
- Metal ruler - to help you fold the pieces
- Design No. 177 in the Paper Glitter Glue library
Basic Steps to Make Ginger Gables Easy Paper Gingerbread House
- Download the free pattern for Ginger Gables Gingerbread House Design No. 177 in the Paper Glitter Glue library
- Unzip the file folder
- Upload the file to your cutting machine
- Convert the red score lines to SCORE under the operations menu in Cricut Design Space
- Attach the score lines to the appropriate piece
- Glue the background pieces to all the house and roof pieces
- Construct the house
- Adhere the roof to the house
- Apply the chimney to the roof of the house
- If desired, make a base (cardboard or cardstock) adhere to the house
Download the pattern for Ginger Gables 3D Paper Gingerbread House - Design No. 177
The pattern for the Easy Paper Gingerbread House is Design No. 177 and is free in the Paper Glitter Glue library. It's available as SVG files and PDF files.
To get access to the library, simply go to this page, click the big orange "CLICK HERE " button on the library page. That takes you to the password page.
On the password page, type in the password and voila! you have access to the library.
I include the password in every newsletter email. If don't already have the password, then just subscribe with the form below and you will get the password right away.
Unzip the File Folder
All my files are stored in the library in a compressed format - in a zip folder.
To unzip the file folder, follow these instructions:
- Here's how to unzip a folder using an iPad or iPhone.
- To unzip a folder using a Windows computer, click here.
- To learn how to unzip a folder with an Android device, click here.
- To learn how to unzip a folder using a Mac, click here.
Upload the file to your cutting machine
After you unzip the folder, upload the file to your cutting machine. It is listed as Ginger Gables Gingerbread House paperglitterglue SVG.svg. That file has all the pieces included in the file.
If you are cutting by hand, use the PDF version because it is so much simpler to cut. I would imagine it would drive you crazy to try to cut out all the gingerbread cut outs by hand. Just cut around the shape to make the house.
Convert the red score lines to SCORE under the operations menu in Cricut Design Space
When using a cutting machine like the Cricut, the most important function for making any 3D project like making a little house is using score lines.
To convert the lines on the house pieces to score lines, select the specific lines under the layers panel (not the entire piece), go to the operations menu and select score.
Attach the score lines to the appropriate piece
After you designate the score lines be sure to attach them to the appropriate house piece. The attach button is at the bottom right of the Cricut Design Space screen. It looks like a little paper clip.
Now your machine knows that these specific lines go to this specific piece of the house.
Glue the background pieces to the two house pieces and roof piece
These are the front piece and the roof piece without the background piece added.
I've designed the background pieces to be slightly smaller than the section of the house that they adhere to. That's to make sure that the edges of the background pieces do not interfere with the score lines on the folds.
Before you place the background pieces, always fold along all the score lines on the main structure of the house. The score lines will help you place the background pieces properly.
The background piece gives contrast to the all the gingerbread cutouts on the house.
Using a good glue with a small tip, apply glue to the house especially near the edges, then adhere the background pieces. But don't interfere with the score lines so you can construct the house easily.
If you want light to shine through the windows of your Easy Gingerbread House, use a copy paper or vellum. Card stock is too thick to really allow light to show. I like using the card stock because it makes my house stronger. You know I like my little houses to be strong. I want them to last for years.
Put Your Gingerbread House together
Now that you have your house pieces cut out with background pieces in place, we can construct Ginger Gables.
Basically I construct this house similar to the way I construct all my little houses. Since this is a slightly larger house, it's made with a back piece that is inset of the front piece.
To assemble, apply glue to the one of the side glue tabs on the back piece. Glue one side is place. Because of the angles sides on the Ginger Gables house, it works best to do just one side at a time. Line up the bottom edge. Wait until the glue holds before you go on to glue the other side.
Once the glue holds on the first side, glue the second glue tab in place.
Here's the other side of the back piece with glue applied.
Next, glue the roof tabs on top of the roof flaps. This is one of the most important things that holds the steep gables in place. The roof flaps are not the actual roof. There is a decorative piece that makes the real roof.
Adhere the roof to the Gingerbread House
If you haven't already done it, glue the background pieces to the back of the gingerbread roof.
Make sure you have a strong crease at the fold line of the gingerbread roof.
Center the roof over the house and apply gentle pressure to help it adhere. Let dry.
Make a base and adhere to the house
You don't actually have to make a base for this house because the angled shape and the steep roof make it surprisingly sturdy.
Still I recommend a base. I have included a pattern in the file.
If you make a base, my preference is 3 layers of cardboard or card stock to make the base for the house. Just glue 3 layers together. Then adhere to the base of house with a bead of glue.
If you like Ginger Gables you will also like the Gingerbread Cottage and the gift box you can make with the Gingerbread Cottage. I'm holding the Gingerbread Cottage in the photo below.

Questions?
If you have any questions, please email me - [email protected]. I am happy to help you.
If you like this project, please share!
Leave a Reply