These new Tim Holtz Impresslits from Sizzix are so fun. They are embossing folders combined with a cutting die. And they make can make strips just like Dresden Trims! I have always loved Dresden trims - metallic trim made from vintage German molds. And I've always wanted to use them on my little houses, though I never have purchased any. Why? Probably because I know I would think of them as so precious, I would hoard them and never actually use them on my houses. That happens sometimes - well, often. But now I can make my own.
Here's my first experiment with the Sizzix Impresslits on craft paper. Just wait until you see the next version.
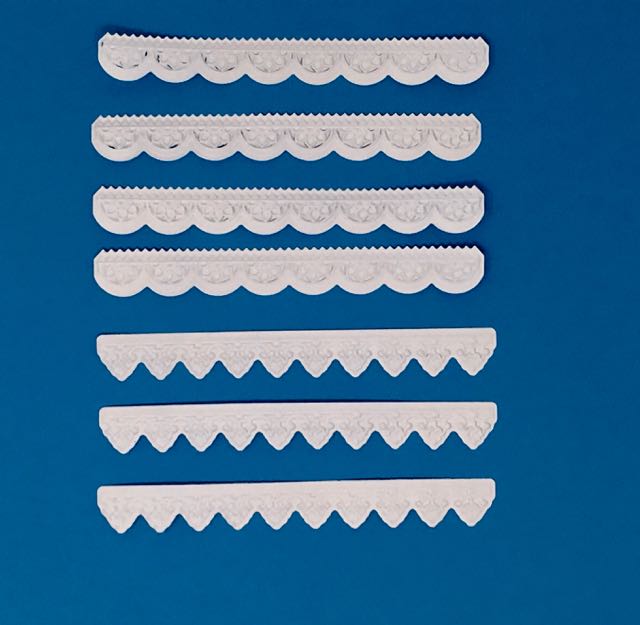
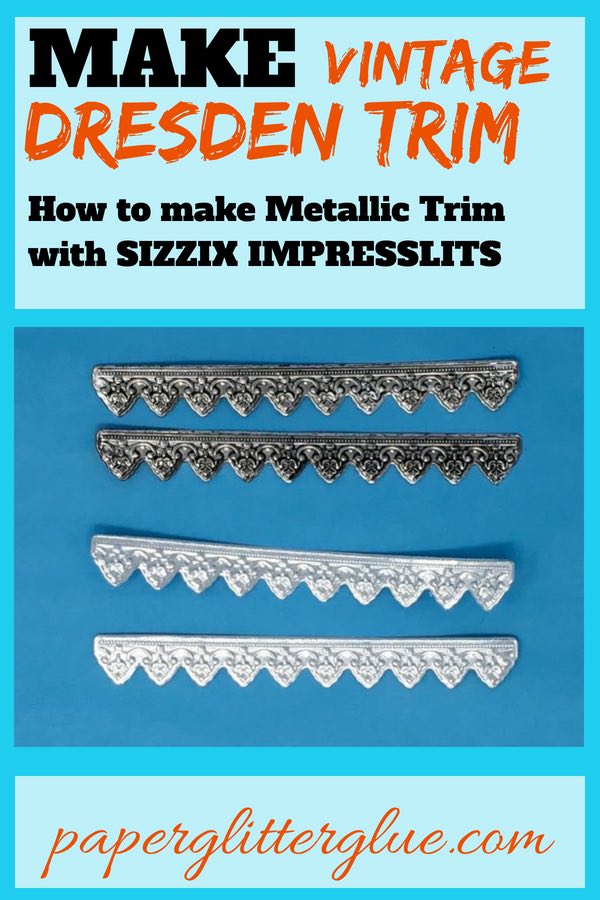
Comparison strips from the Tim Holtz Sizzix Impresslits embossing folder and dies all rolled into one
Not only can I make my own, but I can make them look vintage and spooky even. Here's the trick I just discovered - foil tape.
That's the secret - foil tape. I've often used foil tape in my paper crafts when I want a metallic or steampunk look such as the one you can see on this Shimmer and Shine Halloween House. And that's what I always use to make my rusted metal roofs on my little Putz houses. But I don't think I've ever made any trims or decorative elements with foil until now.
When I was experimenting with these new dies, I tried to find the right combination of paper and number of times to run the dies through the Big Shot or Vagabond to get the best impression. For my 98 pound craft paper, two times worked best. But what about metallic trim for a spooky Halloween house? How would that work out? The steps are listed below.
This post contains some affiliate links for your convenience. Click here to read my full disclosure policy.
Make Your Own Dresden Trims
Materials:
- Foil Tape - Ranger Alcohol Ink Foil Sheets or Ranger Metal Foil Tape Sheets or even the Metallic Duct Tape you find at a home improvement store
- Card stock - 65 pound is what I used to support the tape
- Tim Holtz Sizzix Impresslits - Mini Provincial for this experiment
- Paint
Apply Tape to Card Stock
I used 65 pound card stock to make sure that the impression would be sharp. I figured thicker paper would reduce the impression embossed on the foil so I used the standard 65 pound card stock.
Apply the strips of the tape in rows to your paper. Try to make it as smooth if possible, but don't have get crazy about it because the Impresslits will emboss the tape anyway and you really won't notice any wrinkles. Even the seams between the tape strips are barely visible.
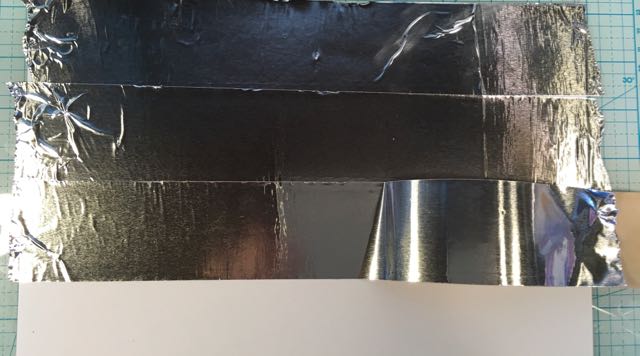
Apply strips of the foil to the cardstock as smoothly as possible for your Dresden trims
My tape is leftover metallic DUCT tape from some home renovations. Please note that it is not DUCK tape - the rubbery, flexible fix-everything tape, but real true metallic DUCT tape.
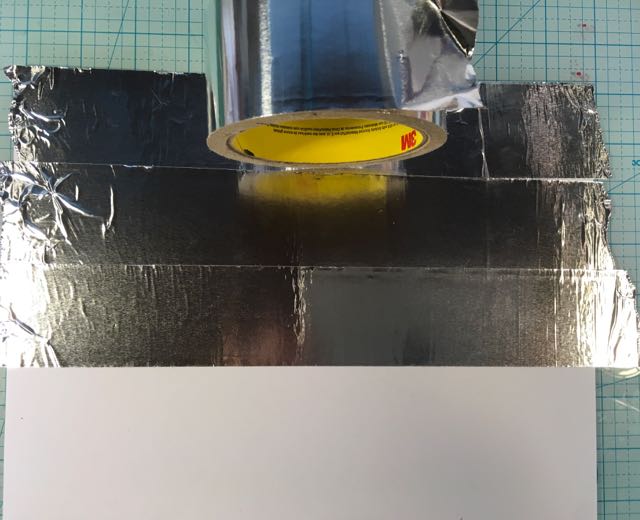
This is the brand of metallic duct tape that I happen to have on hand to make the Dresden trims.
Cut paper into strips to fit the Impresslit
The approximate size of the Impresslit dies are 1 inch x 5.5 inches so cut your strips to that size. You get 16 strips per sheet of 8.5 inch x 11 inch paper to make 16 Dresden trims.
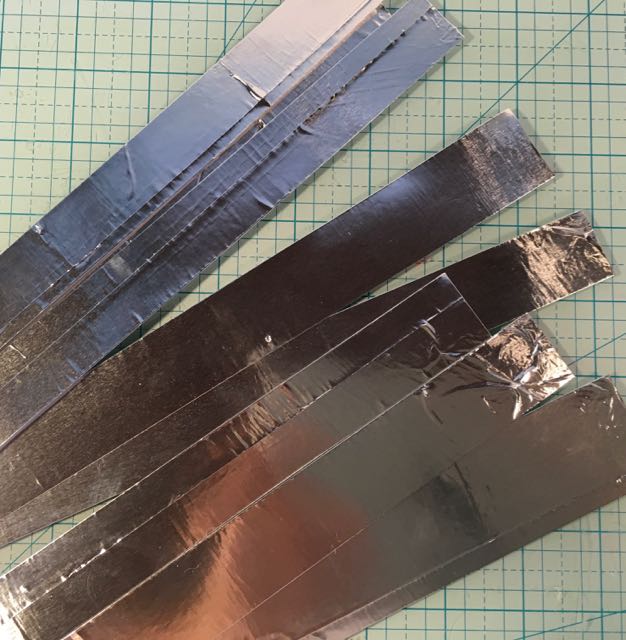
Cut the metallic tape card stock into 1 inch wide strips 5 ½ inches long.
Cut and emboss
Simply place the strips in the Impresslit and emboss. Always tape the Impresslit closed because you don't want your material to shift around during the embossing and cutting process especially since you run it through your cutting machine more than once. I use painter's tape to hold the Impresslits closed during this process.
Using the metallic tape on card stock 2 times worked perfectly. I didn't see a difference running it through more than that. The metallic tape does not tear through like paper can. It works beautifully.
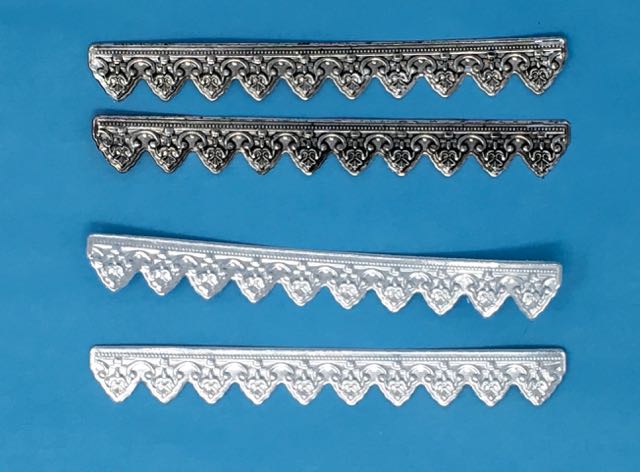
The top strips have been painted with black paint which was wiped off after few minutes. The bottom strips are fresh from embossing before the paint.
Paint your strips to give extra dimension to the embossing

The top strip was painted with black paint and then after a few minutes the paint was rubbed off. The bottom strip has just been painted.
I just love the effect of painting the trim with black paint to show the depth of the embossing. It gives such a nice vintage effect. The longer you leave the paint on, the darker the effect. Also I found that black gesso paint worked best likely because of the large amount of pigment in the paint.
Roof tiles made with the Dresden trim strips
And how does it look on one of the little houses? Here is a sneak peak of a little house I hope to finish and show you in a couple of days. I made the roof with multiple layers of the strips making great textured tiles on the roof.
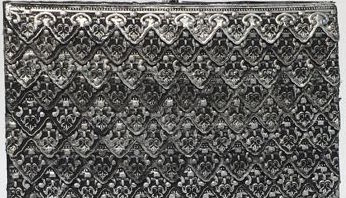
The roofline of a little Putz house in the works. I used multiple Dresden trim strips to make this texture. I love the way it looks.
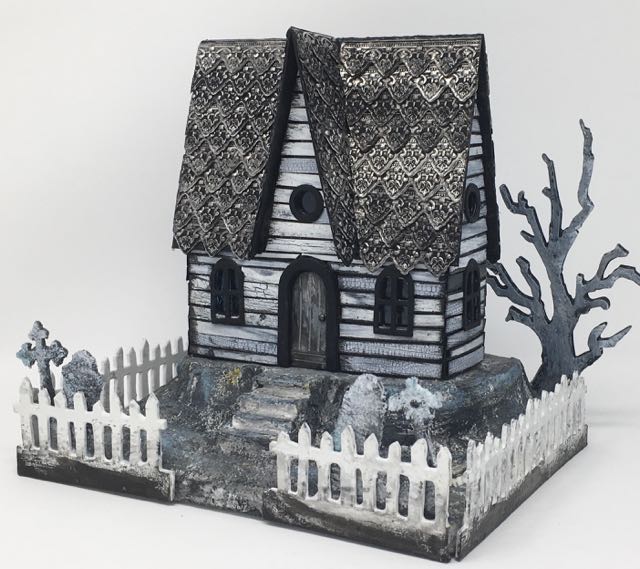
The finished Haunted Halloween House with its Silver Roof made from metallic embossed strips
Well, that's a rundown of my latest experiment with the new Tim Holtz Sizzix Impresslits dies. They are going to be well used at my house. I'm still waiting for some more to arrive.
Let me know what you think.
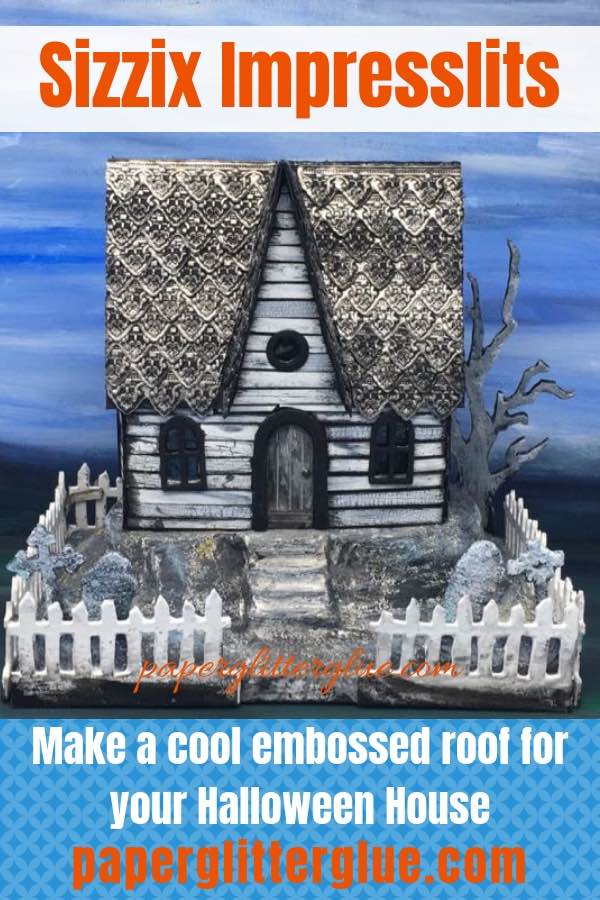
Be sure to pin to your favorite board.
Pin this to your favorite Pinterest board so you can remember this technique
Kim Marie
I love the look of these!
Lucy
Thank you. They are very cool. Whenever I can think of a good place to use them, I do. It's so nice to be able to make something like this whenever you need it rather than order it from somewhere.
Mary W
These turned out beautifully!!!! The details come right out with the black "wash" I think I like that the best. I wonder how other colors would work like the rusted washes? Knowing you you've probably started playing with them and will inspire us all.
Thanks, Mary