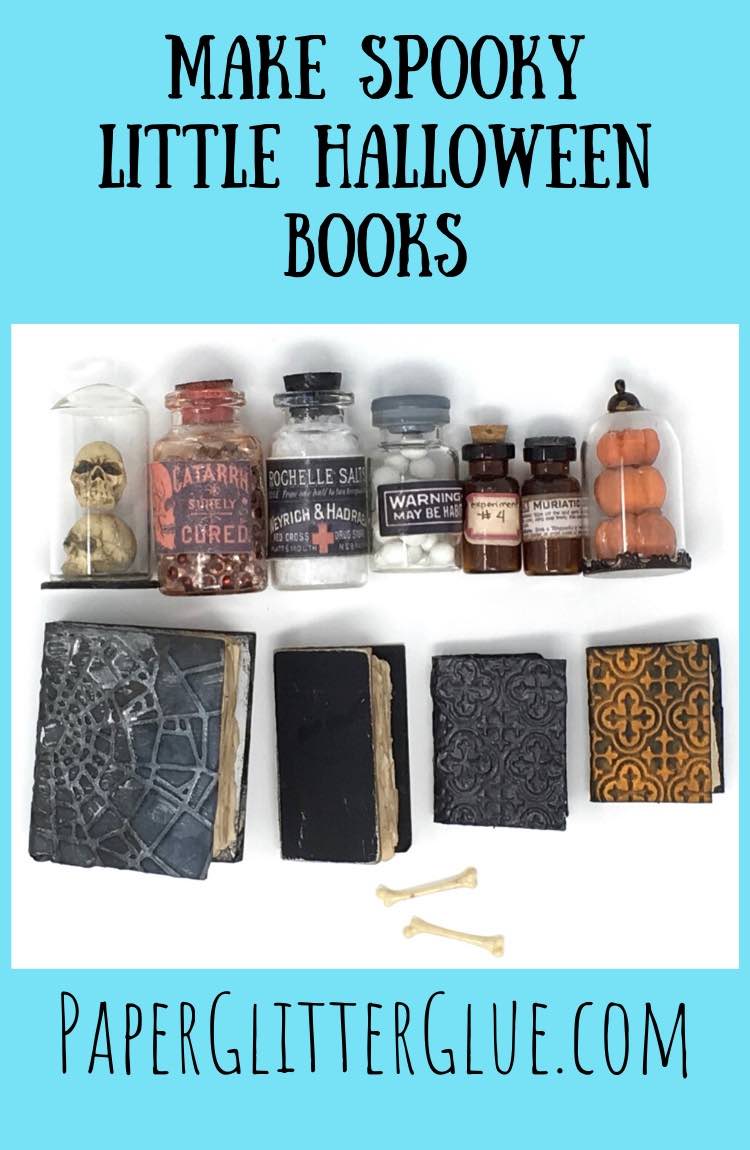
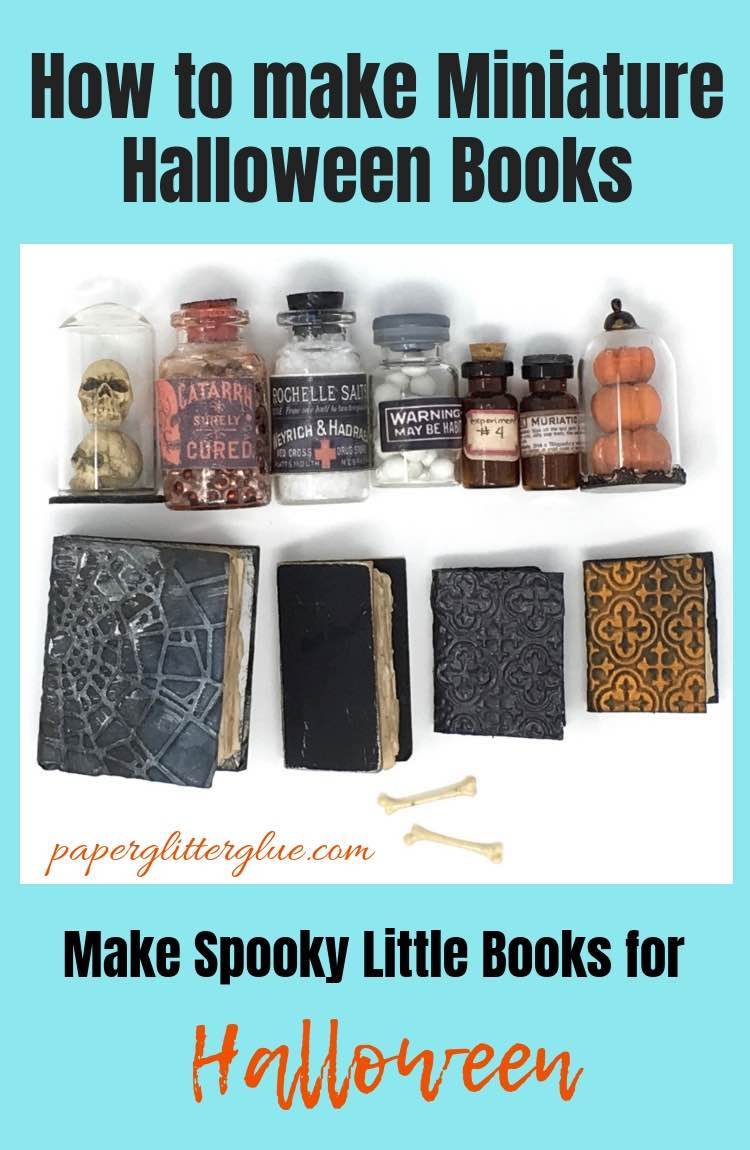
Want to learn how to make some fun miniature books for your Halloween projects?
While making the Apothecary Halloween House, I needed some miniature books to decorate the actual apothecary. And if you are like me, you want to make them, not buy them, so I did what any normal person would do - I googled making a miniature book. The first video that I watched showed someone making a little book by folding a regular piece of paper and tearing each section in half until the desired size of pages was reached. I thought to myself, why is this person tearing the pages, why not just cut the pages? Then I realized it was to make the pages look like old paper which is exactly what I wanted. So that's the process I followed.
With all the paper crafting I do, there is a LOT of scrap paper available so I used a couple of pieces where I printed little house patterns that I was testing. That's the writing you see on the paper.
Live video for making these tiny books
Make Tiny Book Earrings Using the Same Technique
Update: I wanted to make some Book earrings so I actually made a pattern for the tiny book earrings. If you are interested, the book pattern is free in the Paper Glitter Glue library - Design No. 200.
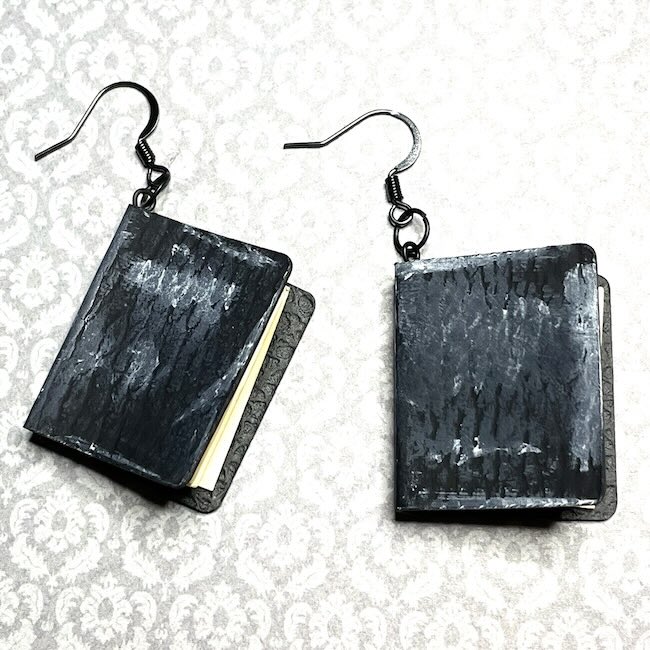
There is a LIVE video as well.
This post contains some affiliate links for your convenience. Click here to read my full disclosure policy.
Materials to Make the Miniature Halloween Books or the Apothecary Halloween House
- Scrap paper
- Stain
- Cardboard
- Binder clips
- Hot Glue
- Decorative paper for book cover
- Embossing folders or here's an example of a Spider Web folder
Steps in Making the Miniature Spell Books for the Apothecary Halloween House
- Fold and tear scrap paper repeatedly until you get to the size you want for your book (Of course, you can cut out the paper.)
- Stain the paper to make it look old
- Clamp the pages together to make the spine of the book
- Hot glue the spine of the book
- Measure and make the cover for the book
- Hot glue the cover to the pages of the book
- Decorate as desired
Tear Paper for the Pages of Your Miniature Book
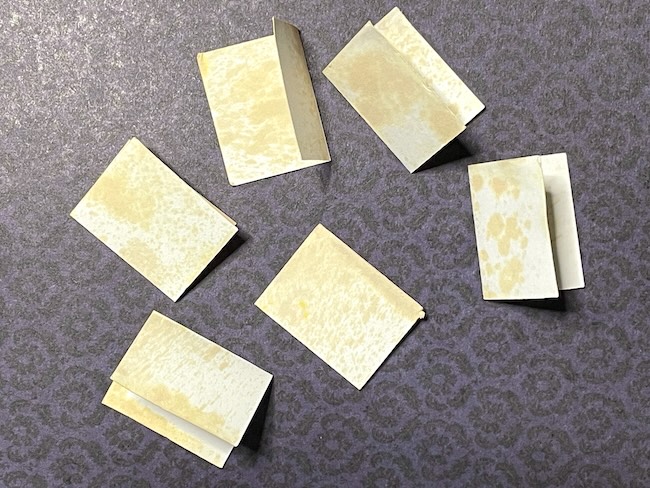
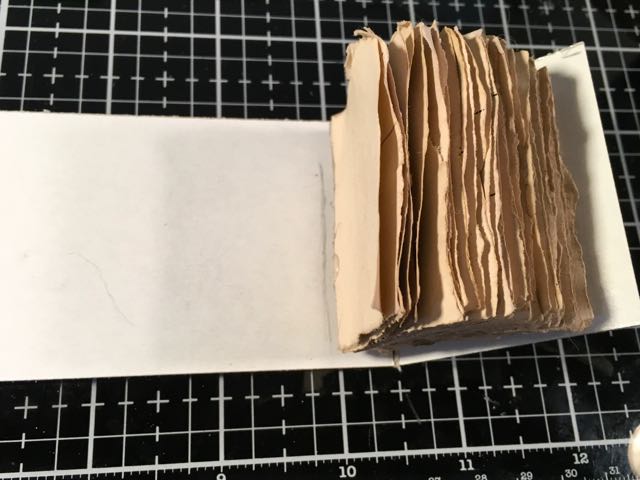
Eventually, I tore the paper to the size of the 2 smaller books shown below. These pages are roughly (roughly, because they have torn edges) about 1.5 inches long by 1 inch wide. I played around with strips of paper to make 2 other book sizes that I would fit in my little apothecary shelves.
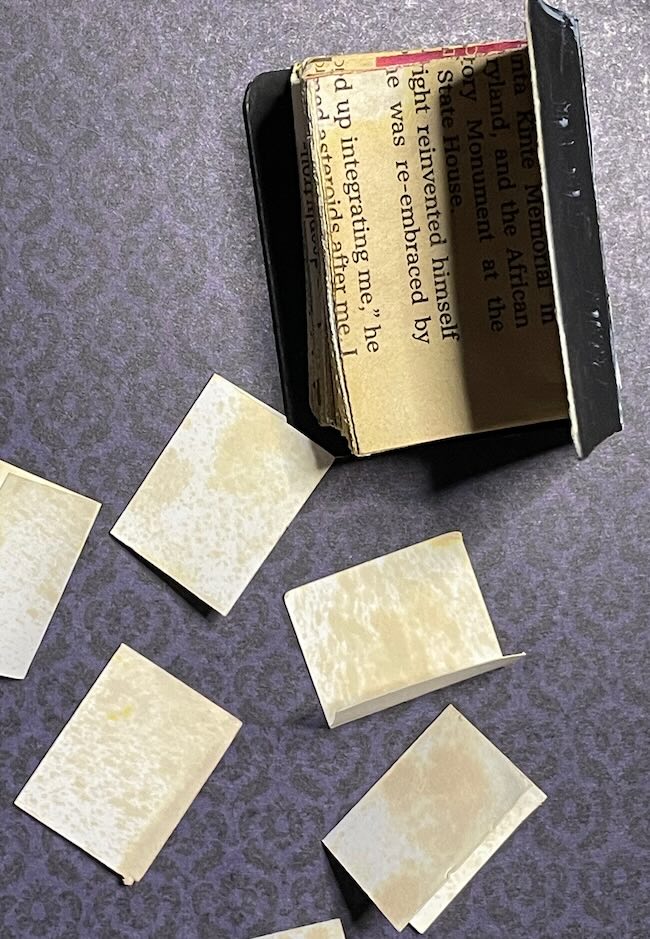
Of course, you can cut out the pages as shown in this book. I think I used cut newspaper for this book.
Stain the Pages of Your Miniature Book
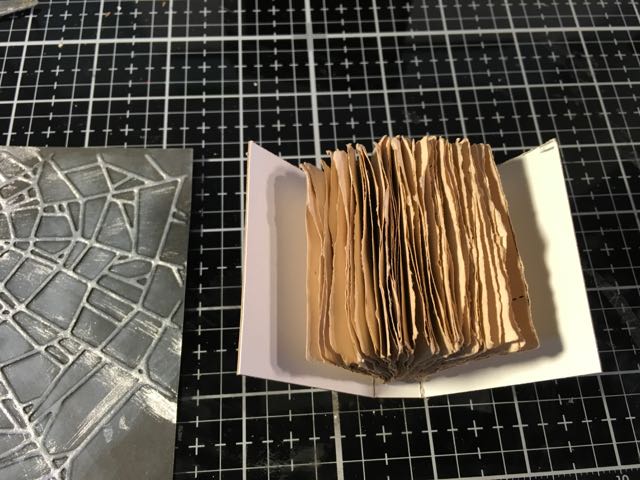
I soaked my pages in a mixture of tea bags and even added hickory nuts that I found in the back yard. Then to give them an even more aged patina I dried the pages in a warm oven - turned off, of course. They get all nice and wrinkly from the drying process.
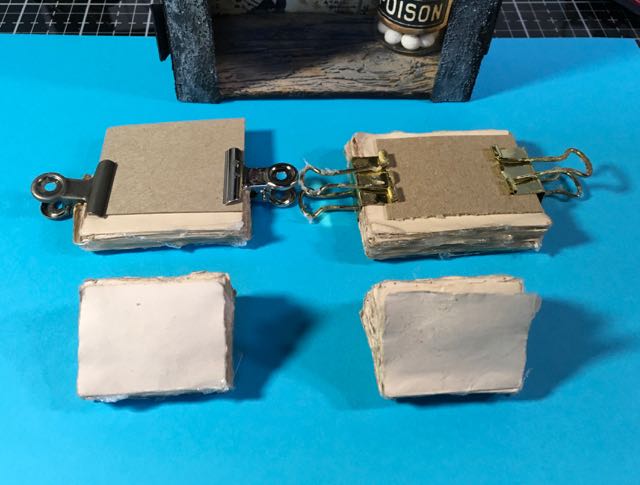
Or another easier option is to use Tim Holtz Antique Linen spray stain to age paper. These pages have been distressed with the Antique Linen stain.
The larger book is stained with the homemade stain.
Clamp the Pages together to hold for gluing the spine of the book
Use some scrap cardboard to squash down the pages and hold the binder clips in place without damaging your pages. The pages will be nice and compressed for gluing. You want to glue the folded edge of the pages.
Use Hot Glue to Glue the Book Spine together
Run a bead of hot glue along the spine and smooth down with another scrap piece of cardboard so the hot glue won't be lumpy. In the photo above, you can see that each of the books has glue along the spine.
Measure and Make the Cover for Your Miniature Book
You don't want the edges of the book cover to extend much past the page edges. If you go through the trouble of tearing the pages, you want them to be seen. So make the cover just slightly larger than the book pages - maybe ⅛ inch at the most.
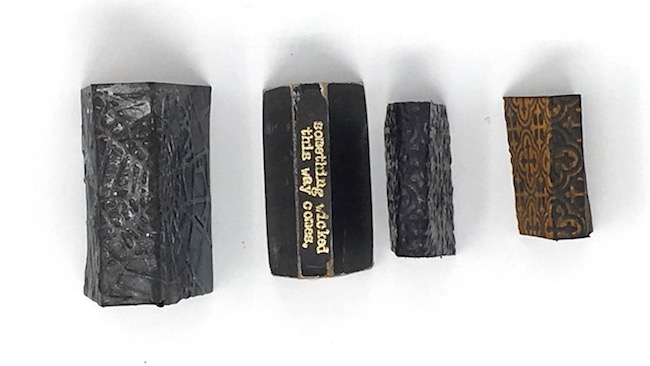
I had a number of pieces of embossed Halloween card stock left over from last year. It's easy to fit the card stock around the book. You can basically fold card stock and cut to size, then distress the edges.
Other ways to decorate the covers - use embossing powder or embossing glaze with stamps.
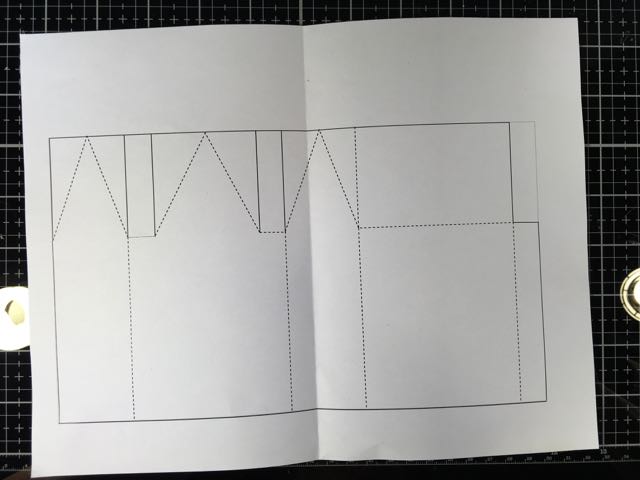
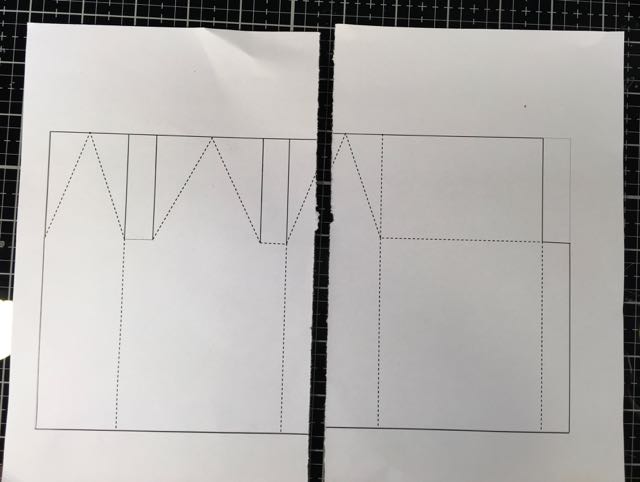
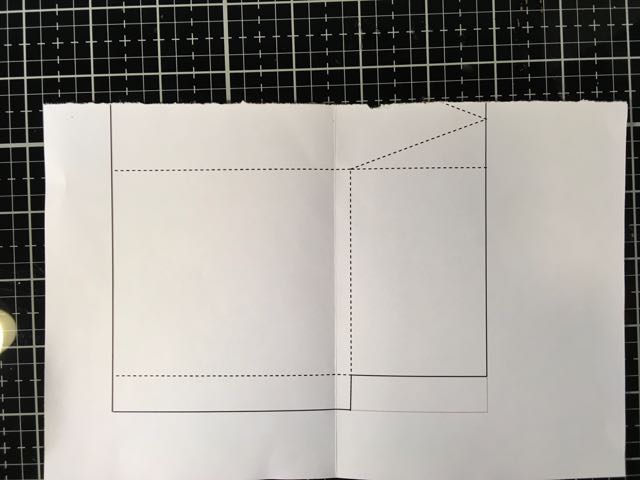
Using cardboard is a just slightly more challenging. First, decide on the size of front cover. Draw a line and score and fold.
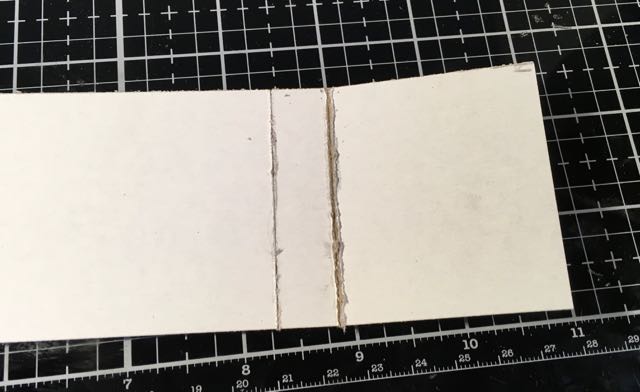
Trim the cover to the desired size.
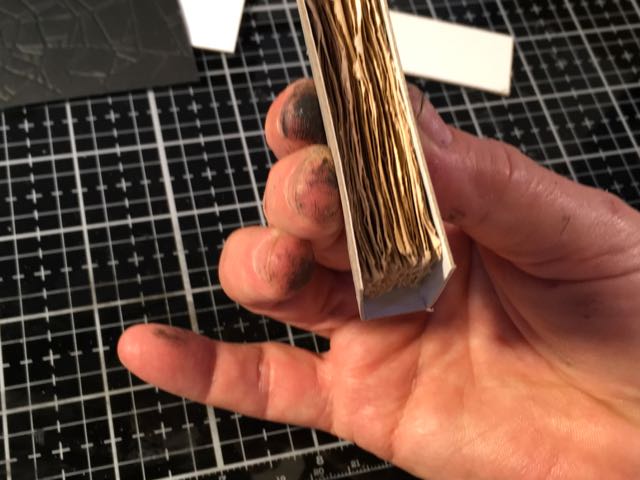
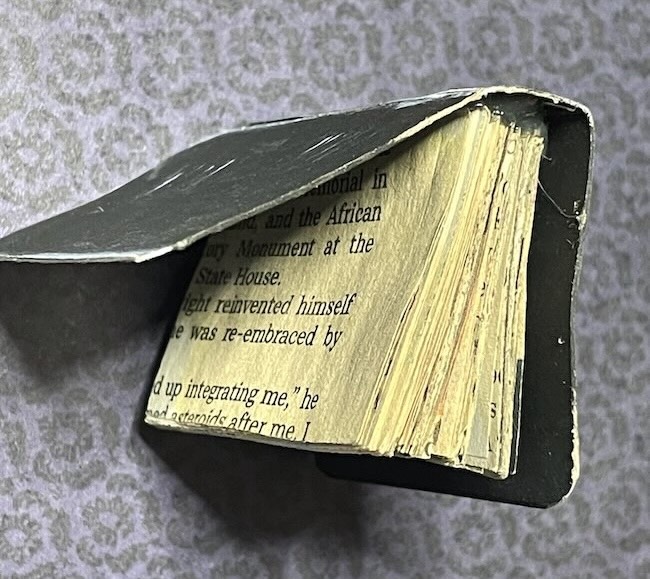
I covered this little book with embossed spider web paper before I glued the pages in. And yes, I am messy. I may have to bleach my hands before work tomorrow.
Hot Glue the Cover to Your Miniature Book
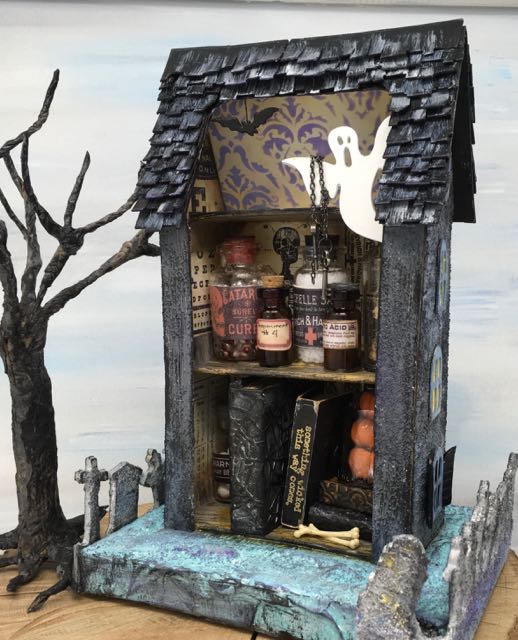
Spooky Elements for the Apothecary House - including the Miniature Books
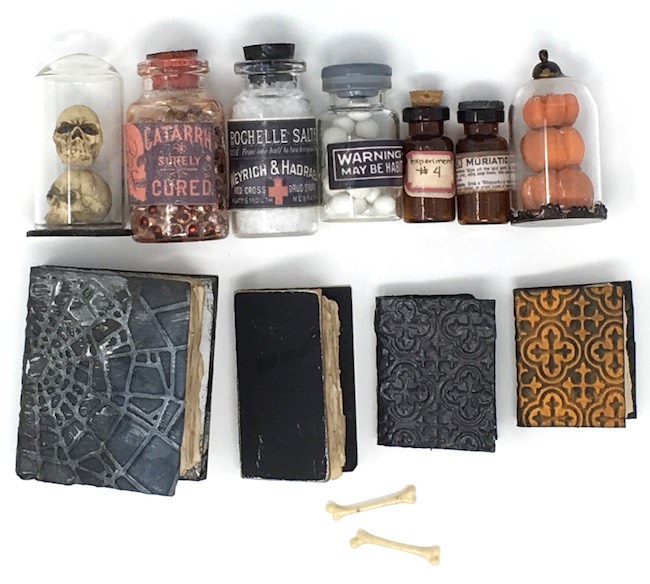
Spooky Elements for the Apothecary Shelves or for a Bookstore
Here are some examples of spooky elements you can use for your Apothecary shelves in addition to the little books:
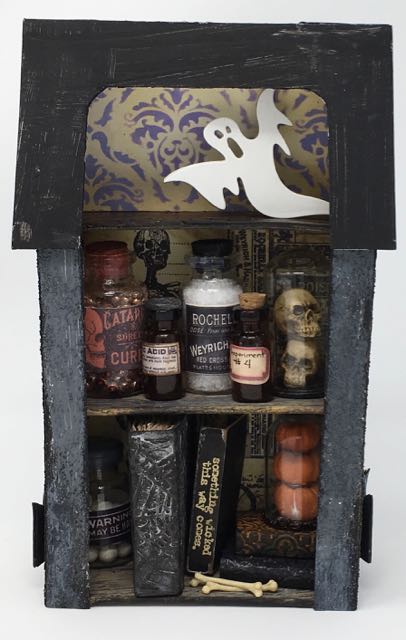
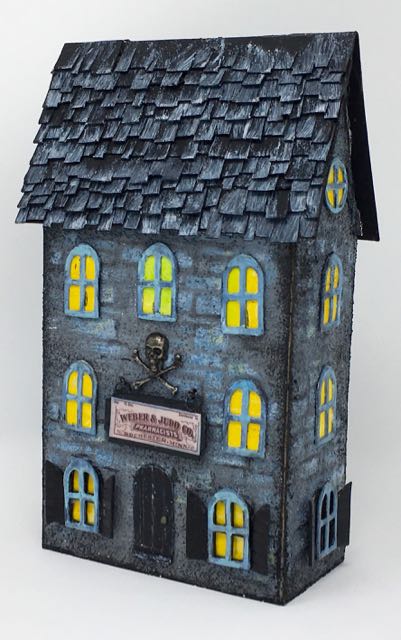
Here's the finished Apothecary Halloween House
And here are some other Halloween book projects I've made:
- Gus the Ghost's House on a Book Base
- Triple Gable Gothic on a Book Base
- Upcycled Cardboard Book Box with Drawer
- Making Books for Craft Projects
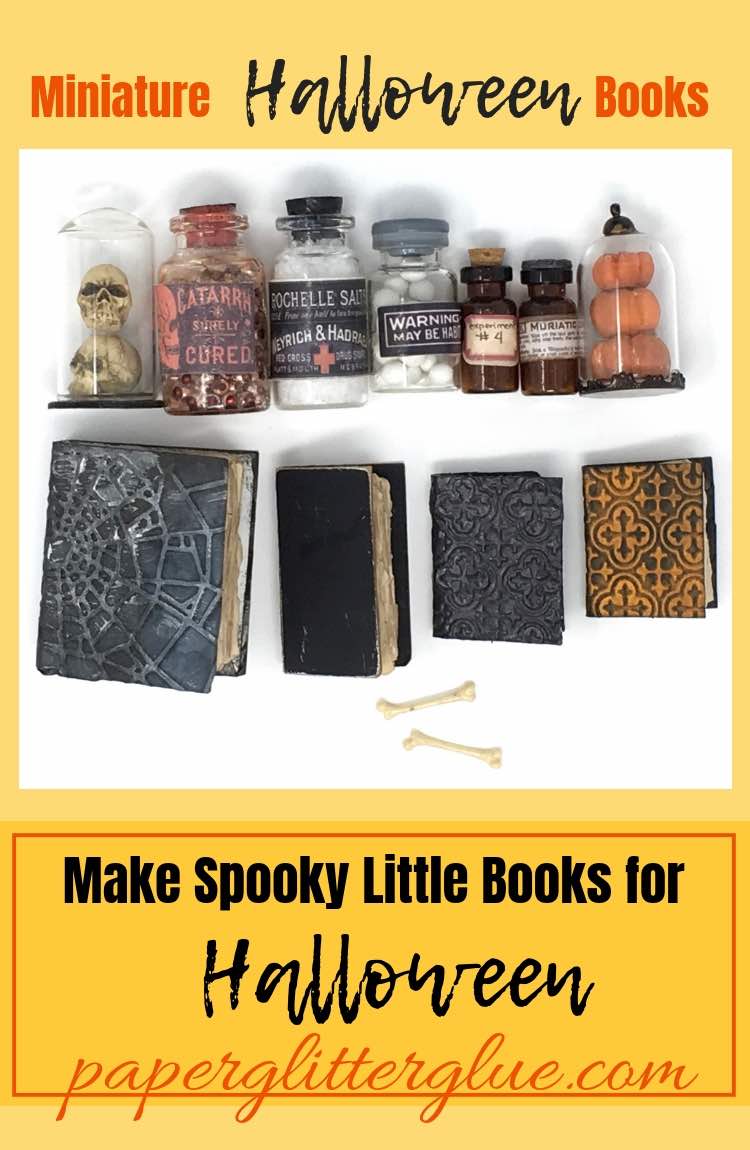
Pin to your Favorite Craft or Halloween Pinterest Board!
butterfly
Such fabulously spooky tiny books - they're great, and thank you for the detailed tutorial and step-by-step photos. Thanks so much for joining in at Mini Album Makers.
Alison x
sewpaperpaint
Hi Lucy! Wow, the hot glue trick for binding these pages is genius! What an easy way to make multiple tiny books for such a project. You are such a creative thinker and I love it! We are so thankful you shared in our challenge at Mini Album Makers. Big hugs, Autumn
Nancy Wethington
A perfect tutorial for the upcoming *scary* season. Love these teeny books. Thanks for the patterns. Going to have to try this myself. Thanks, too, for joining the Mini Album Makers Challenge blog.