Once you have completed your miniature cardboard house, you need to make a good solid cardboard base that supports the house well and allows you a good way to add light to the windows. Since I want to be able to add lots of embellishments around the house and be able to vary it for different seasons, I made the base pretty big. It's about 9.5 inches wide x 7 inches deep. That gives me room to add lots of bottle brush trees and probably a stone wall later on.
You can find this free pattern for this house and many more in my Paper Glitter Glue Library.
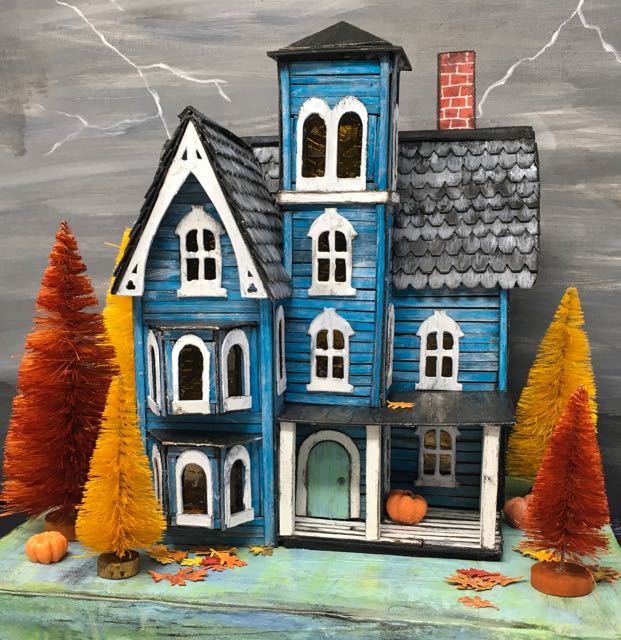
Faded Mansion cardboard house dressed up for Fall with room for lots of fall-colored bottle brush trees, leaves and pumpkins
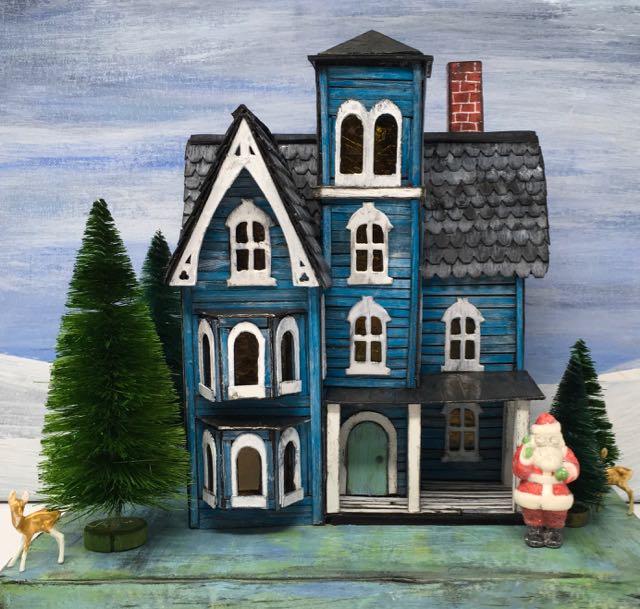
It's easy to add lots of Christmas decor on a cardboard base of this size.
Here is an additional tutorial on how to make a cardboard base with LED tea lights. I'll go over some of the specific steps in making the base for the Faded Mansion cardboard house.
This post contains some affiliate links for your convenience. That means if you make a purchase after clicking an affiliate link, I will earn a small commission but it won’t cost you a penny more. Click here to read my full disclosure policy.
Materials
- Corrugated cardboard
- Hot glue
- Mod Podge
- Newspaper or packing paper
- Gesso
- Acrylic Paints
-
Cut out cardboard for your base
Cut a rectangular piece of cardboard the size you want for the base of your house. I explained above that I want a larger base for this particular house.
-
Trace around the house on the cardboard base
First trace around the house to figure out where the lights need to go to effectively light up your house. Then plan placement of the LED tea lights. For this house I want lots of light so I made space for 5 LED tea lights.
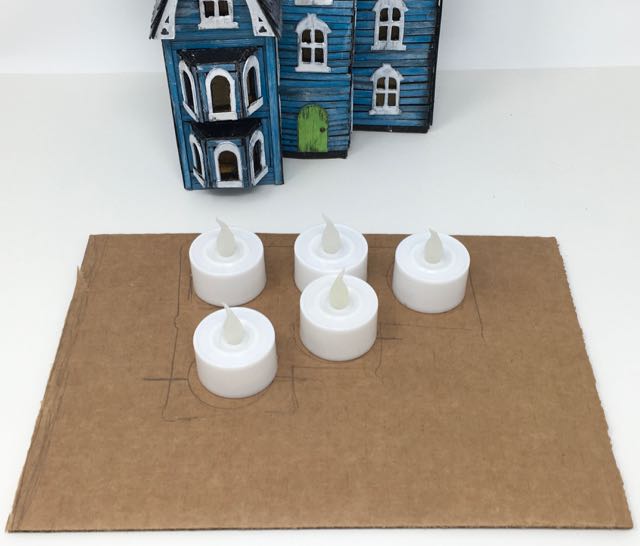
Tracing of the miniature house and LED lights for cardboard base Putz House
Then trace around the tea lights. Below you can see where the LED tea lights are going to go.
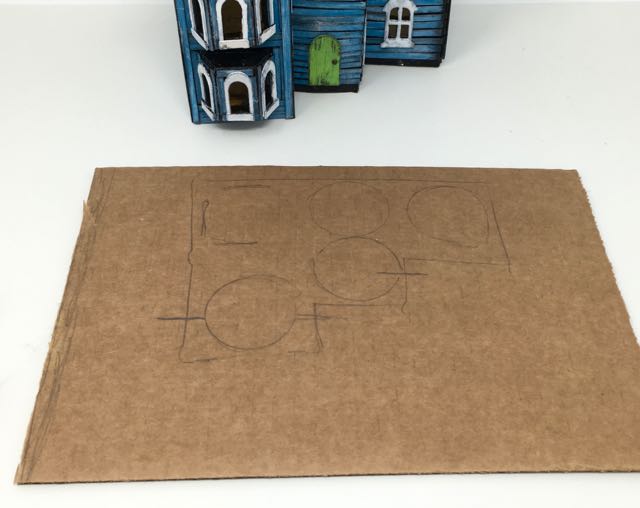
Trace around the LED lights within the tracing of the cardboard house
-
Cut out a section for the lights to fit.
Next cut out a section for your tea lights. This is now your template for the next several layers of cardboard.
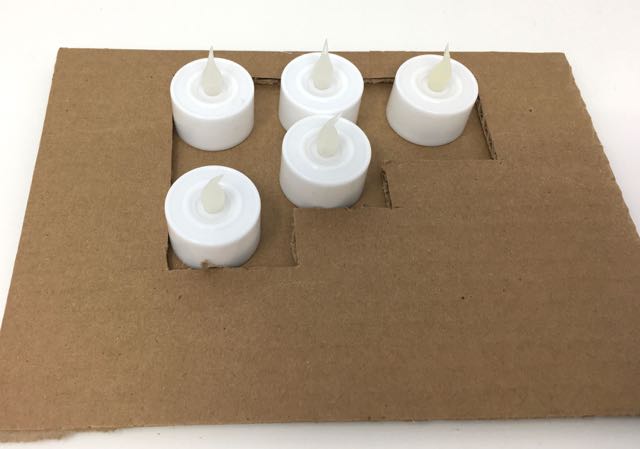
Cut out the space for the LED lights to fit underneath your little house
-
Cut out 4-6 layers of corrugated cardboard to go around the LED lights.
Because the cut out section for the lights is the same size as the house, we will need a top layer that is smaller, but still allows the light bulb to show through the cardboard. We also need the cardboard layers to be as thick as the base of the LED lights. Usually that takes about 5-6 layers of cardboard depending on the thickness of your corrugated cardboard. Then you cover those layers with a layer that has smaller cut outs that will fit underneath the house.
This is how the top layer of cardboard looks with holes cut out for the bulbs. Now the house will sit nicely on the space above the bulbs.
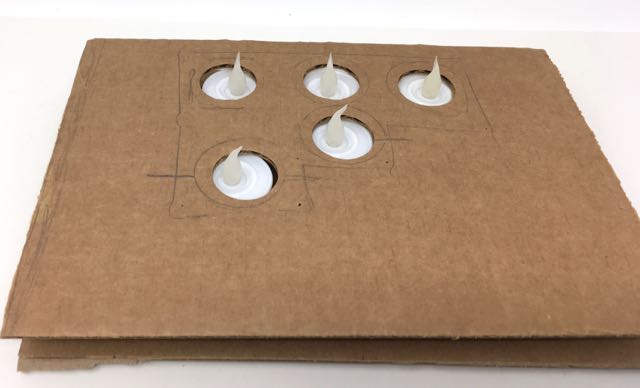
This is the top layer of the base for the cardboard house.
-
Glue layers together with hot glue, then cover the cardboard with paper.
After you have all the cardboard cut out, glue the layers together with hot glue. This is the fastest way to get all these layers to stick together. When you have this many layers of cardboard, regular glue takes a long time to dry. After you have all your layers glued together, cover the base with paper. You can wrap it neatly like a present or you can be a little more random and tear strips of newspaper to cover the base. I like that little bit of texture on the base. To glue the newspaper or packing paper down, I generally use Mod Podge for this step.
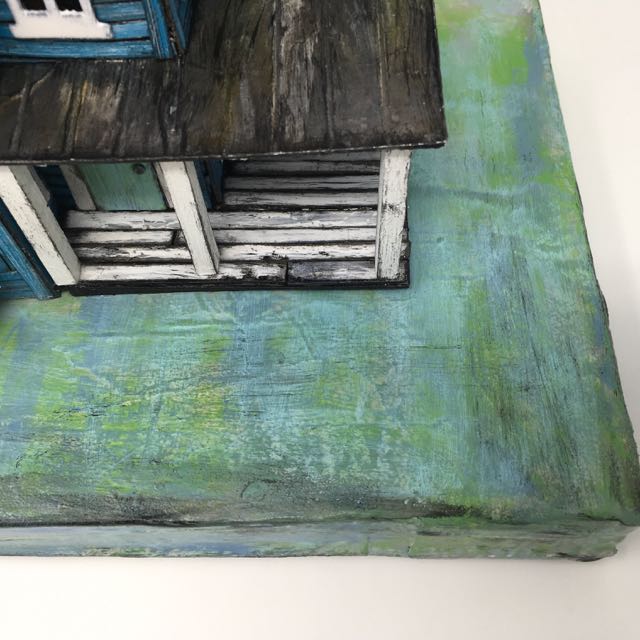
I like to paint layers of color on the cardboard house base.
-
Paint your cardboard base
For painting the base, I use the same acrylic Distress Paints that I've used on the house. Because I want this little house to be used for more than one season I painted the base green (Mowed Lawn) with some streaks of Tumbled Glass blue and edged with Black Soot.
Now you can see all the layers and how the LED lights fit in the base on this underside view. Also I think it is important to apply a layer of sealant to the bottom so it won't get wet if someone spills something next to the little house. I use Mod Podge for that step as well.
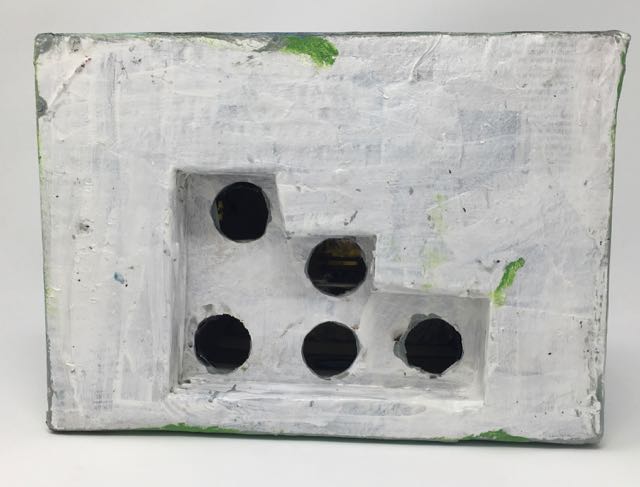
Bottom view of the cardboard showing where the LED tea lights fit to make your Putz house shine.

The Faded Mansion house with the lights on in front of a dark background
The photo below shows how the lights shine through the windows in the Faded Mansion Putz house when it is in the dark.
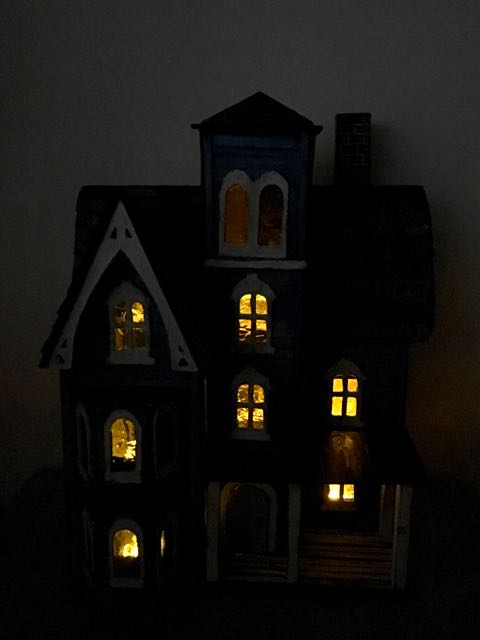
The Faded Mansion Putz house in the dark with all the lights on shining through the windows
And that is my preferred method to make a sturdy base with space for numerous LED lights for your miniature cardboard house.
Let me know if you have any questions. You can email me at [email protected] or leave a comment below. Thank you for reading. I hope it helps you in your crafting projects.
Sharon Owen
My first ever mini house, after the base is finished do I glue the house on top of base? and are the tea lights just lose under neath the base?
Lucy
Yes, just glue the house on the base. And the LED lights are just loose below the house. Now people are going with tiny LED lights on a string which will fit in the bottom as well. The nice thing about using an LED light string is that you can turn them on and off without picking up the house.
Sharon O
Thank you for reply, am having so much fun with these houses...
Lucy
Isn't it fun to make little houses? I am glad that helped.
Lucy
Jeanne
Hi Sara,
I'm not good with the computer, maybe because I'm 86. I don't have a printer so I cannot download. I can follow your writing and pictures but I need demensions too. Can U help?
Jeanne
Lucy
Jeanne, I am going to email you so I can help you. From now on I will add the dimensions on the patterns and eventually I will go back and update the current patterns with dimensions, but that will take some time. So look for an email from me - [email protected], ok?
Sara Emily Barker
How fun to learn about how you bring your houses to life. This is a great idea to make the holes for the lights to sit down into. Keeping this tip in the back of my head. Thank you so much for all your inspiration and hard work. Sending more hugs!
Lucy
The old timey Putz houses had a big hole in the back for the Christmas lights at that time - I think they are called C-8 lights. I still put a hole back there for tradition's sake, but I don't really use it. I like the lights underneath. You can even use a string of the tiny LED lights underneath your house. Thank you for writing, Sara.
Debbie
You could also use the battery-operated tiny rice lights that have a 6-hour timer.
Lucy
I really think you are right - that is the way to add lights to little houses at this time. Excellent idea. Thank you.