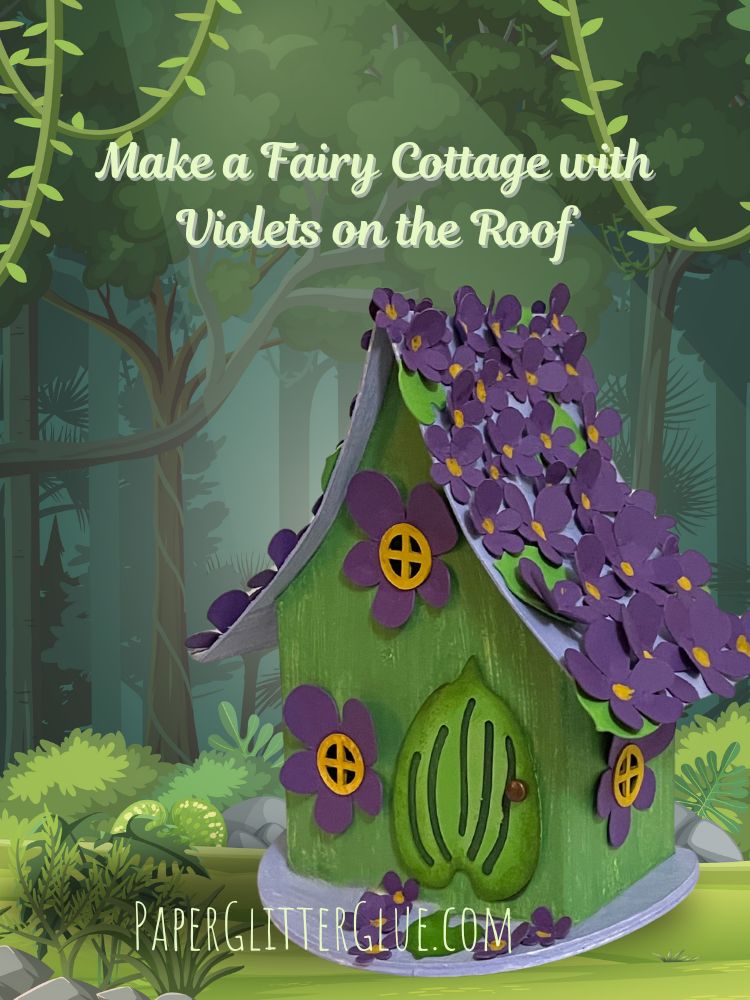
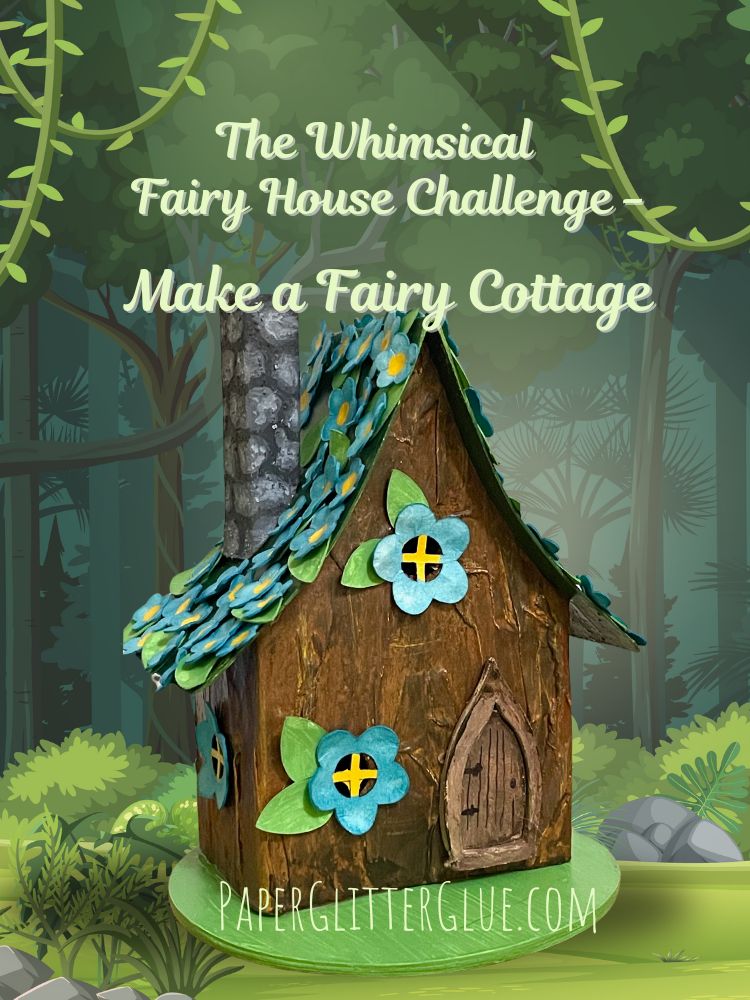
Learn how to make a Fairy House with Violets decorating the roof
For today's Fairy House project, we decorating our paper (or cardboard) Fairy House with tiny violets. I just love this effect. I'll show you some helpful tips to make this beautiful little house.
Watch this video to see how to make the Violets on the Roof Fairy House on my YouTube channel!
This post contains some affiliate links for your convenience. That means if you make a purchase after clicking an affiliate link, I will earn a small commission but it won’t cost you a penny more. Click here to read my full disclosure policy.
Materials to Make the Violets on the Roof Fairy House
- Card stock - If using card stock, I prefer 110# card stock for the structure of the Fairy Houses, but 65# card stock works, too
- Cardboard - you know that cardboard is my favorite material for making houses - 22 point cardboard works well.
- Watercolor paper takes stain and paint beautifully - makes great flowers. But for this fairy house, I used card stock for the flowers
- Gesso primer for painting cardboard
- Acrylic paint for painting cardboard, card stock, and decorative elements. I used Mowed Lawn Distress Paint for the body of the house, Shaded Lilac Distress Paint for the Roof and the base. And for the center of the flowers, I used Mustard Seed Distress Paint for the yellow.
- Glue options - Quick Dry Tacky Glue for the structure of the cardboard house or Bearly Art Glue for gluing card stock together
- A way to cut out the pieces, I use my Cricut Maker but you can use other cutting machines
Steps to Make this Fairy House with Violets
- Download the free Violet pattern from the Paper Glitter Glue library - Design No. 159
- Choose the basic house structure for your Fairy House:
Circular Fairy House - Design No. 155
Hexagon Fairy House - Design No. 155
Fairy Cottage - Design No. 156
All of these patterns are free in the library - Cut out the pattern for the house and the violets
- If using cardboard, prime and paint your house pieces
- For watercolor paper violets, paint or stain the flowers
- Paint the flower centers yellow or glue yellow centers in place
- Glue the house structure together
- It works best to glue the house to the base before decorating
- Apply the violets in a random pattern to the Fairy House roof
- Use a few leaves on the roof for contrast
- Glue the windows and door to the front of the Fairy House
- Decorate around the base, if desired
- Share your adorable creation
1. Download the Pattern for the Violets on the Roof - Design No. 159
This pattern for violets is free in the Paper Glitter Glue library. The files are available in 2 formats - SVG cut files for cutting machines like the Cricut Maker or Cricut Explore and PDF files you can print out.
If you have already subscribed to my newsletter, you have the password because it is at the bottom of every email I send.
If you don't have the password, just subscribe with the form below and I will send you the password right away. Don't worry. I will never send you any spam and you can unsubscribe at any time.
Also the pattern files are in a zipped format. That is, they are compressed so they can be easily downloaded. If you need help unzipping the files, these instructions will help.
If you are having difficulty unzipping the folders, here are the instructions:
- Here's how to unzip a folder using an iPad or iPhone.
- To learn how to unzip a folder using a Windows computer, click here.
- To learn how to unzip a folder with an Android device, click here.
- To learn how to unzip a folder using a Mac, click here.
2. Choose the Fairy House Shape
Here are the 3 shapes of Fairy Houses in this series. Choose the ones you want to make. The Violet flower pattern fits all of the houses.
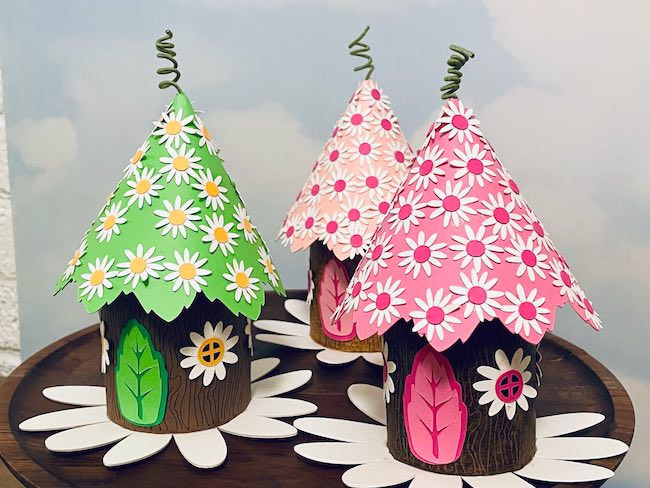
The Hexagon-shaped Fairy House

And the Fairy Cottage
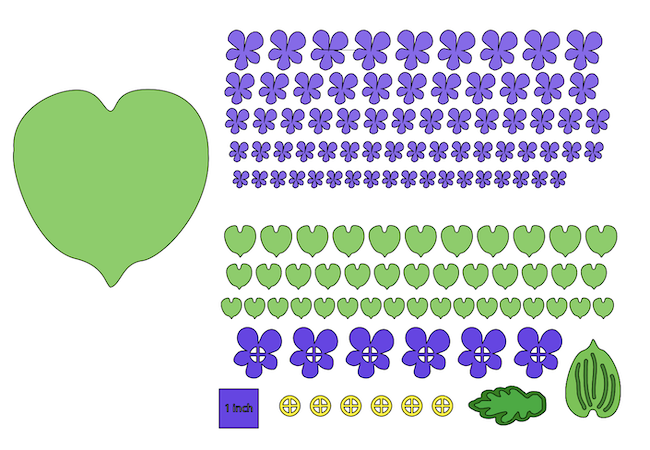
3. Cut out the pattern for your little house
Here are all the pieces for my house. Allie Cat is helping me as usual. Just a heads up here - the little violets take a LONG time to cut out.

4. Prime and paint your little house if using cardboard for your structure
You can see the painted pieces in the photo above.
5. For watercolor paper violets, paint or stain the flowers
I love to use watercolor paper for my flowers because it takes stain or paint so beautifully.
Since I was in a bit of a hurry so I used regular card stock for these violets. There's not as much color variation as I like, but the deep purple card stock still looks good.
6. Paint the flower centers yellow or glue yellow centers in place

If you really don't want to do that, just cut out small yellow circles from card stock and glue them to the center. I personally think it is easier to paint the centers as opposed to gluing tiny circles in place.
7. Glue the house structure together
See the specific video showing how to assemble the houses. The Circular house and the Hexagon-shaped houses are shown here.
You can see the construction of the Fairy Cottage here.
8. Glue the house to the base before decorating the house
It's a bit easier to hold the house and decorate it when the house is already adhered to the base.
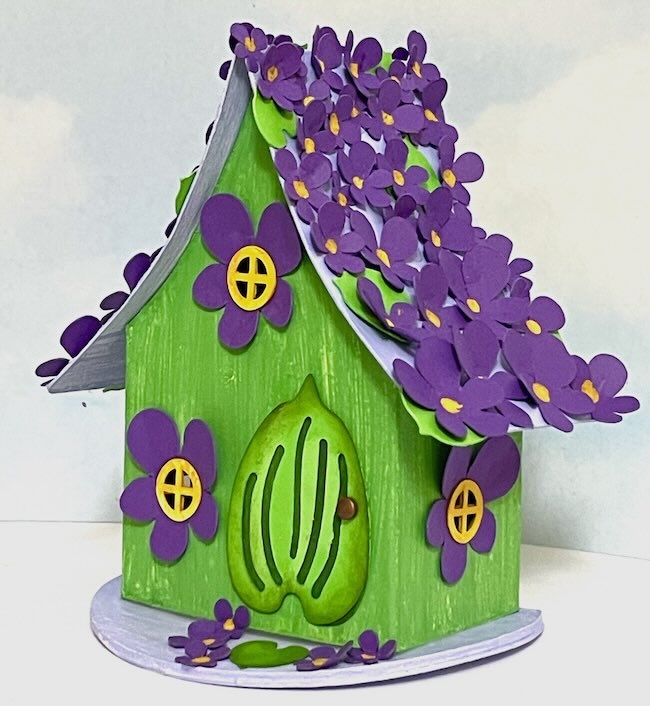
9. Apply Violets to the roof in a random pattern
Add a few leaves for contrast. I like to have them just barely sticking out over the edge of the roof.
10. Glue the windows and door to the Fairy House

11. Decorate around the base, if desired
I just did minimal decoration with a few extra violets and one leaf which acts as a stepping stone before the door.
12. Share your adorable creation
I would love to see what you create. You can share it with me in my private Facebook group, on Instagram (be sure to tag me @LucyF7) or email me so I can see your little house.
Also please remember to pin to your favorite Pinterest board. Thank you for stopping by.
Questions?
If you have any problems, please email me at [email protected]. I will be happy to help.
Leave a Reply