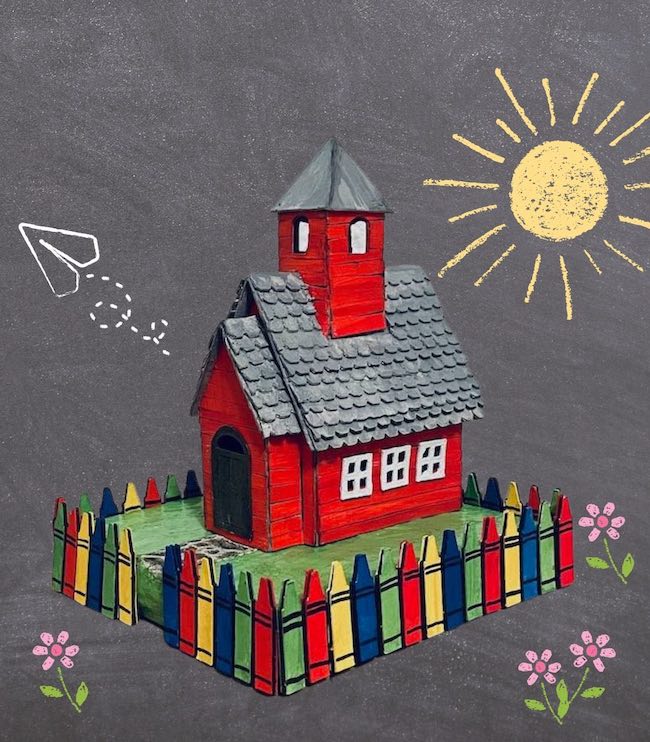
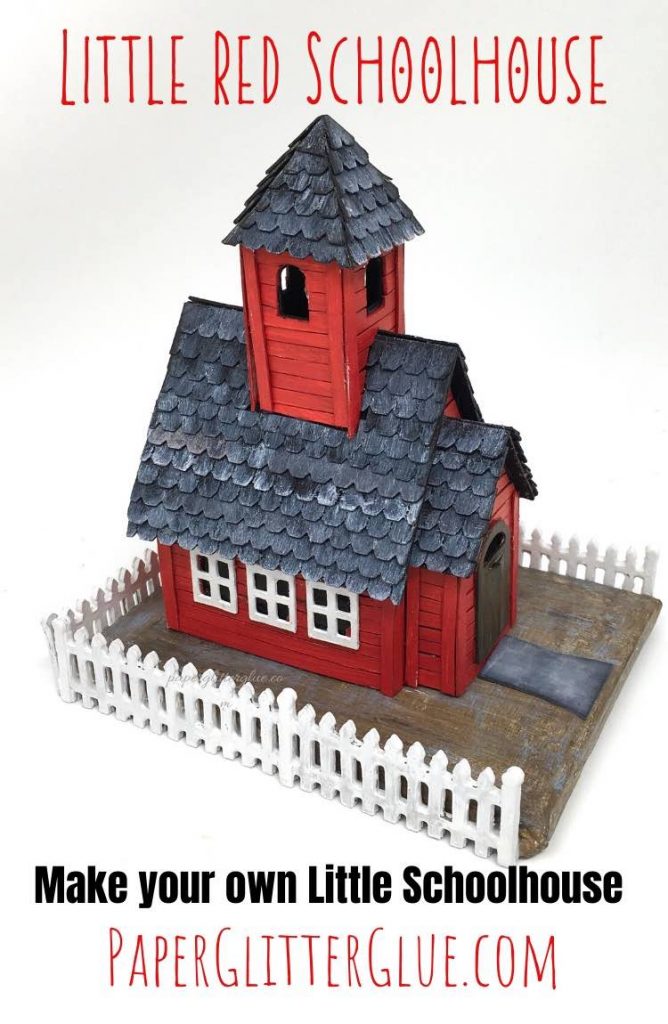
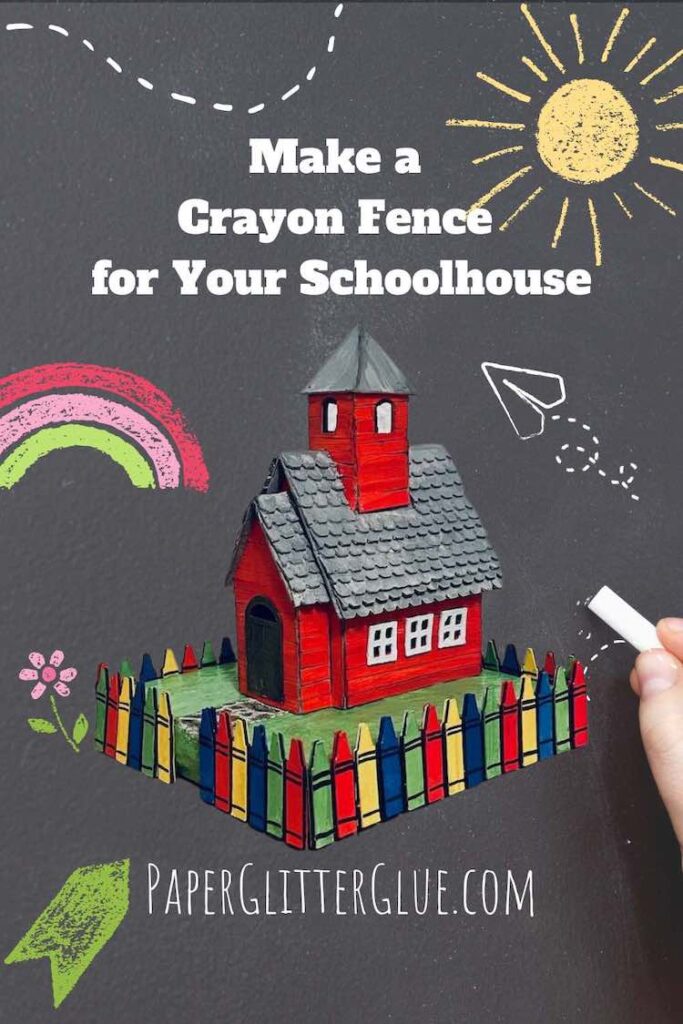
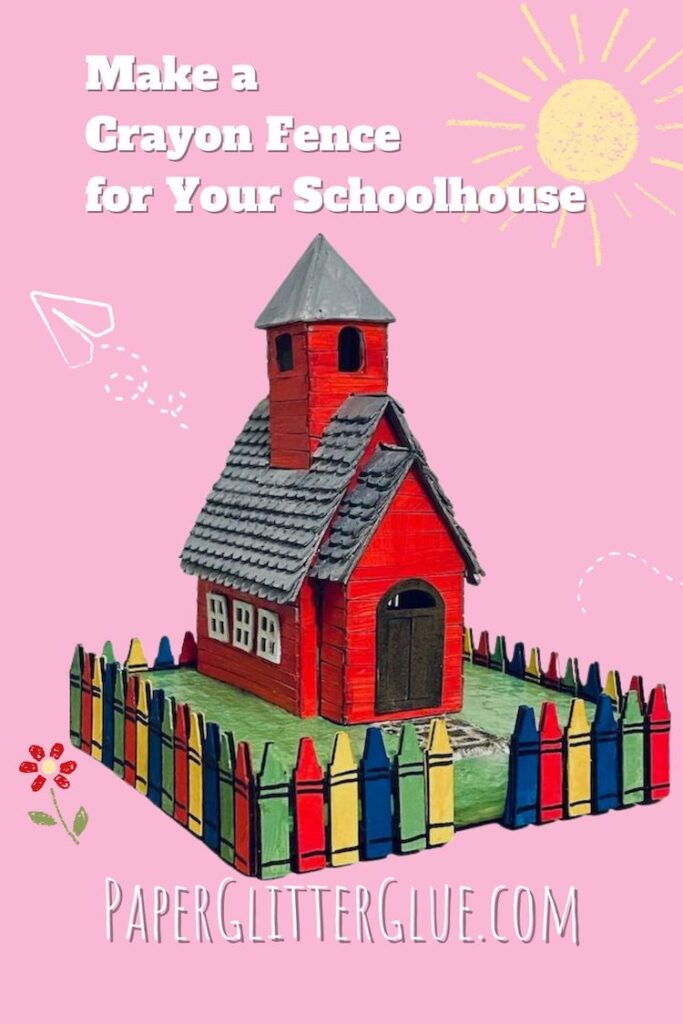
I decided that my Little Red Schoolhouse needed a colorful fence so I came up with a pattern for the Crayon fence. I think it is so fun.

For my first Schoolhouse version, I actually used a fence from Tim Holtz die, but I did add a picket fence pattern to the Schoolhouse pattern.
But then it occurred to me that a Crayon fence would work perfectly with the little Schoolhouse. The Little Red Schoolhouse free pattern - Design No. 58 - in the Paper Glitter Glue library. And the crayon fence pattern - Design No. 145 - in the library.
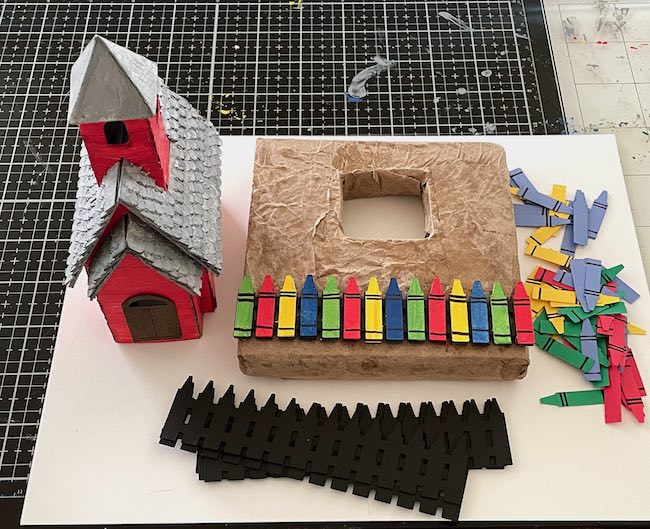
So what do you need to make the Crayon Fence for a little house?
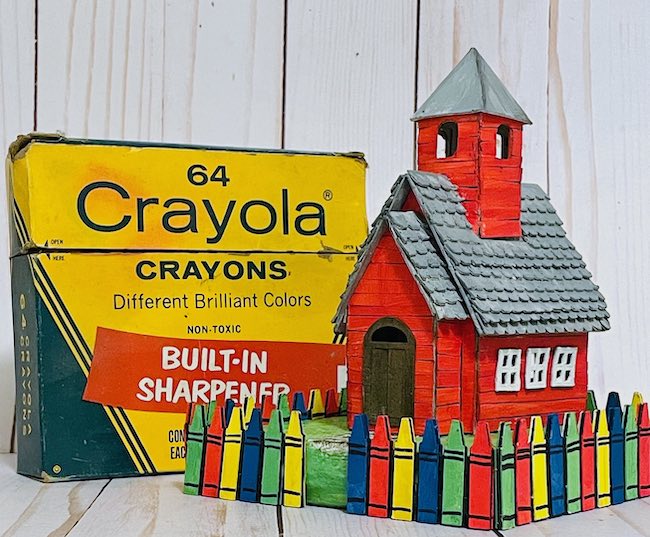
This is an ancient box of crayons I found in one of my craft supply boxes. You don't actually need crayons, though. But I wonder if you could hot glue them around the base? That might be another fun experiment.
This post contains some affiliate links for your convenience. Click here to read my full disclosure policy.
Materials to Make the Crayon Fence
- Card stock - I like 110# card stock for the basic structure of the fencing
- Card stock for the crayons - various colors in 65# card stock
- Watercolor paper for the crayons - optional
- Paint for crayons if using watercolor paper
- Fine Point Sharpie pen to draw to the lines on the crayons
- Sharpie adapter to use with the Cricut Maker or Cricut Explore Air
- Glue - here's my favorite
- A way to cut out the pattern - Cricut Maker or Cricut Explore Air
Steps to Make the Crayon Fence
- Download the pattern for the Crayon Fence - Design No. 145 - in the Paper Glitter Glue library
- Cut out the basic structure of the fence
- Cut out the crayons
- Optional - cutting out the crayon fence by hand
- If using watercolor paper, paint the crayons in your desired colors and draw the lines on the crayons
- Glue three layers of base structure of fence together
- Decorate the fence with crayons
- Glue the fence around your little house
Now let's go into more detail about making the Crayon Fence.
Here's a video showing you how to make the Crayon Fence.
1. Download the pattern for the Crayon Fence
The Crayon Fence pattern - Design No. 145 - in the Paper Glitter Glue library. It's a free pattern in two formats - PDF and SVG. Click on the CLICK HERE on the About the Library page which takes you to the page where you add the password.
If you need get the password for my Paper Glitter Glue library, just subscribe to the Paper Glitter Glue newsletter and you will get the password right away.
The PDF patterns are printable. The SVG cut files are for a cutting machine like a Cricut Maker, Cricut Explore Air, or a Silhouette Cameo.
Also the files are in a zipped folder - meaning that it is a compressed folder to make it easier to download. If you have a Mac, your file is unzipped automatically. But if you are on a Windows-based machine, follow these instructions to unzip your folder.
2. Cut Out the Basic Fence Structure
Each section of fencing is just under 5.25 inches wide with 14 crayons on each side of the fence but you can alter the sizes to fit the base of your little house.
For this project, we don't have to designate any score lines if you are using a cutting machine. It's a relatively simple project to cut out with your machine.
Here's how the file looks in Cricut Design Space.
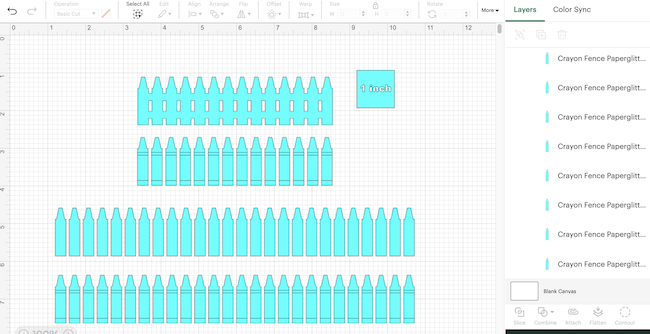
Also delete the one inch square when you know that the pattern is uploaded at the correct size.
To make the fencing sturdy, I use 110# card stock and cut out 3 layers to glue together. That makes a long-lasting fence which supports the crayons well.
Duplicate the fence base.
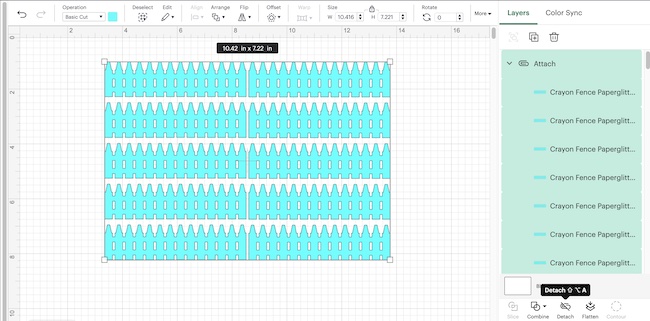
I was able to fit 10 pieces on one sheet of 8.5" x 11" card stock.
3. Cut out the crayons
You can choose to make the long line of crayons or shorter line.
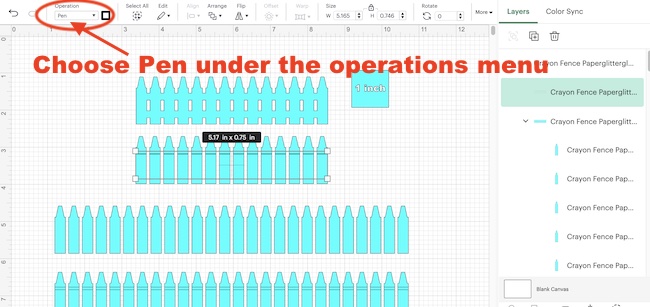
But if you want to draw the lines on the crayons with your machine, then be sure to go to the operations menu in Cricut Design Space and choose the lines and tell your Cricut to use the pen tool.
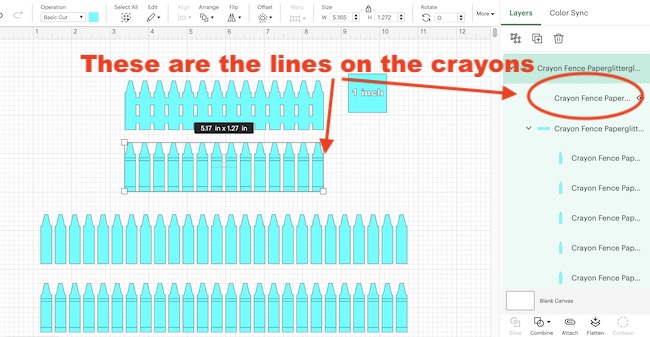
Finally, attach these lines to the crayons so your machine understands where these lines should go. The attach button is on the lower right corner of Cricut Design Space.
I used an adapter in my Cricut Maker in order to use a Fine Sharpie pen to draw on the crayons.
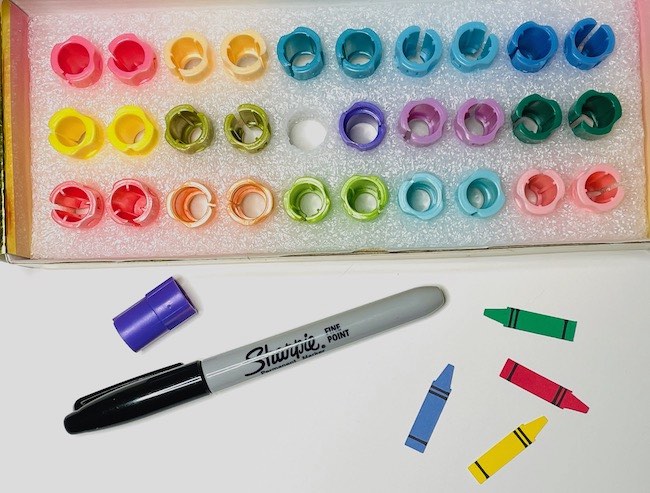
I did have to run the crayons through twice the Cricut Maker to make sure the lines were drawn on every crayon. Simply hit the start button again before you take the mat out.
For the crayons, you can also use watercolor paper so you can paint the crayons.
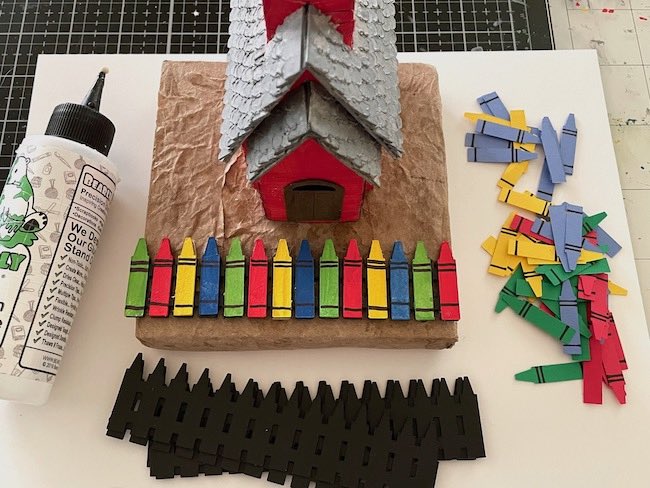
You can use either colored card stock or watercolor paper. If you want more colors and a more handmade look, then paint color on the crayon shape.
You can see both types in the photos below. My painted crayons are in the center of the photo while the card stock crayons are on the right side.
4. Optional - Cut the pattern out by hand with the PDF pattern
I made a PDF pattern for the Crayon fence that is designed to be fairly easy to cut out.
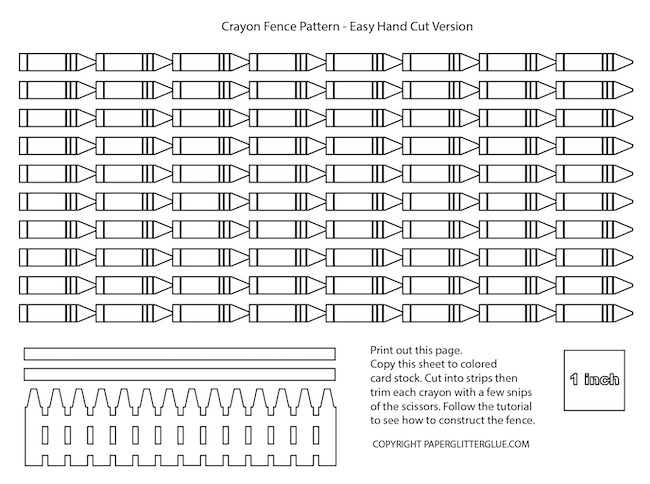
Basically you start by cutting the crayons out in strips. A paper trimmer like this or this makes it easier. Then you cut each crayon separately with scissors and cut the angled tips of the crayons.
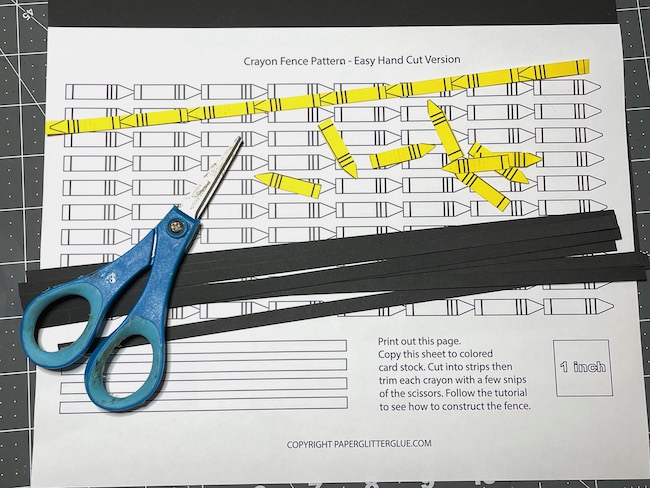
For the actual structure of the fence, just cut strips for the structure of the fence. That way you don't have to cut out all the tiny rectangles on the fence itself. Use the pattern on the PDF file as a way to line up your crayons, not as the pattern.
5. If using watercolor paper, paint the crayons in your desired colors and draw the lines on the crayons
I just love to paint my projects. So for my fence, I painted the crayons 4 different colors.
Then I drew the lines on the crayons with a Fine Point Sharpie. But my Cricut Maker does a great job drawing the lines.
Here's my rejected fence where I just painted the crayons on a fence base. It's not a good look.
6. Glue the 3 Layers of Fence Base together
Just glue 3 layers together to make the base fence structure.
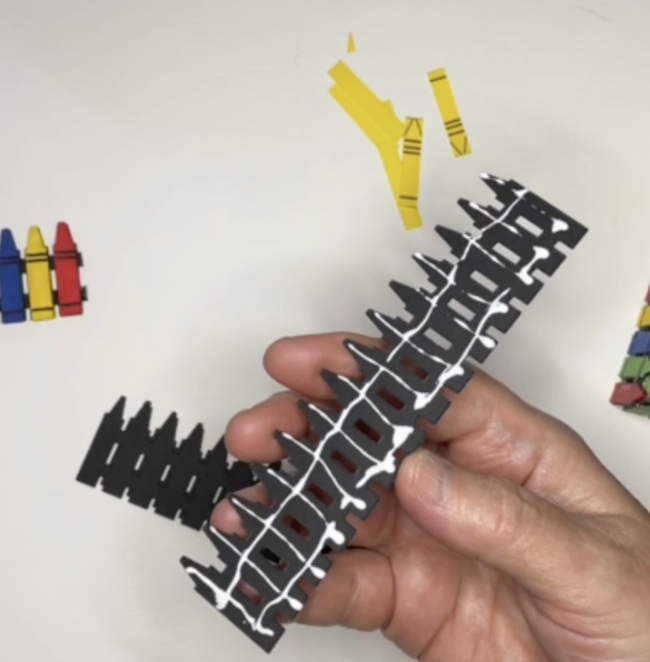
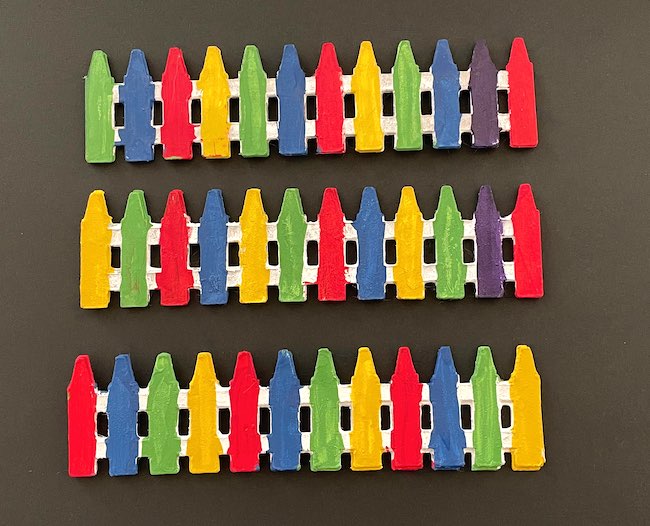
7. Glue crayons to both sides of the fence
Next glue the crayons to both sides of the fence. I think it's important to have the crayon color on both sides.
In the photo below you can see the crayons on both sides of the fence.
Arrange the colors however you like - randomly or in a regular pattern.
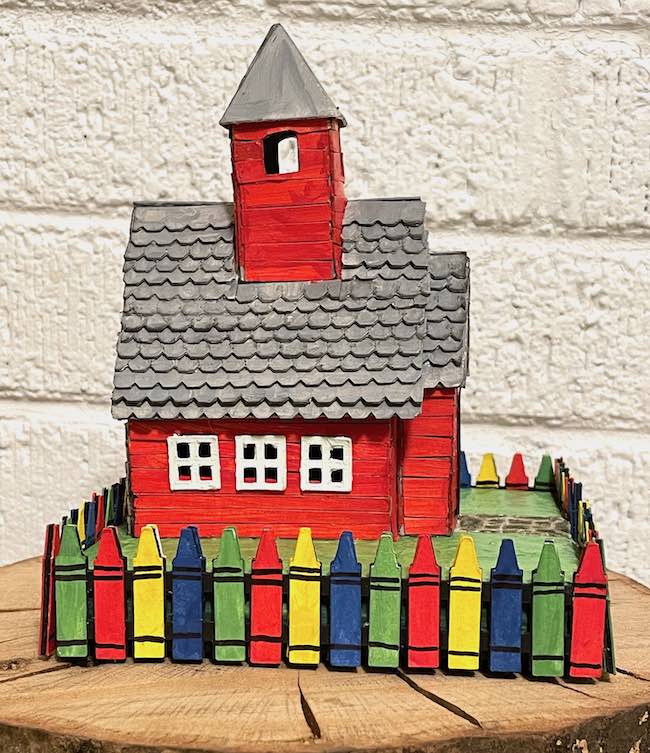
8. Glue the fence around your little house or schoolhouse
To adhere the fence to the base, use a strong glue. I like Aleene's Quick Dry Tacky Glue because it is strong and dries fast.
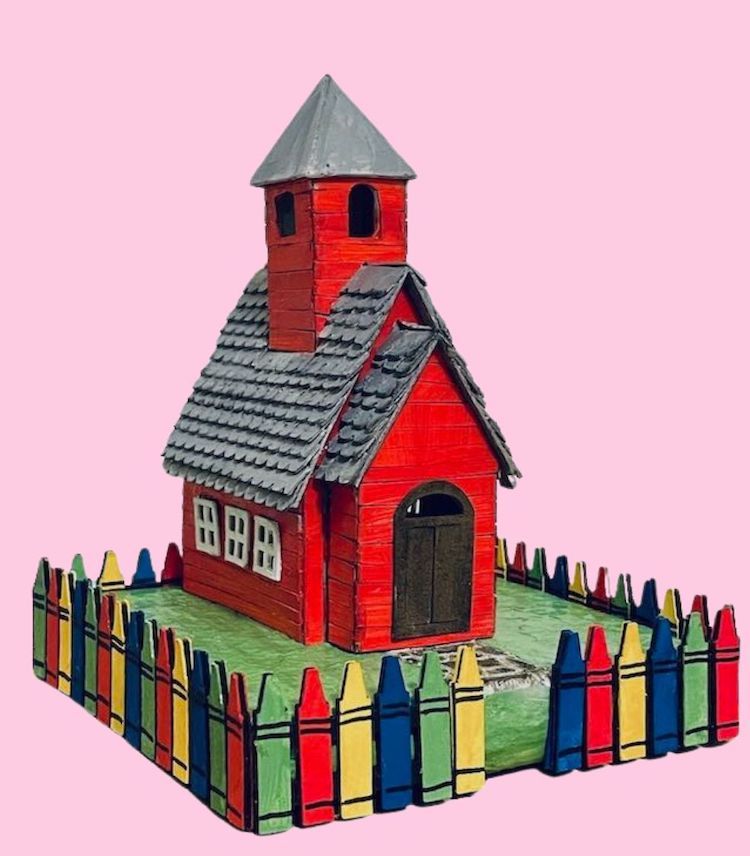
Choose where you want the fence to go around the base. For these two versions of the Little Red Schoolhouse I decided to put the fencing around the base, not on the top of the base.
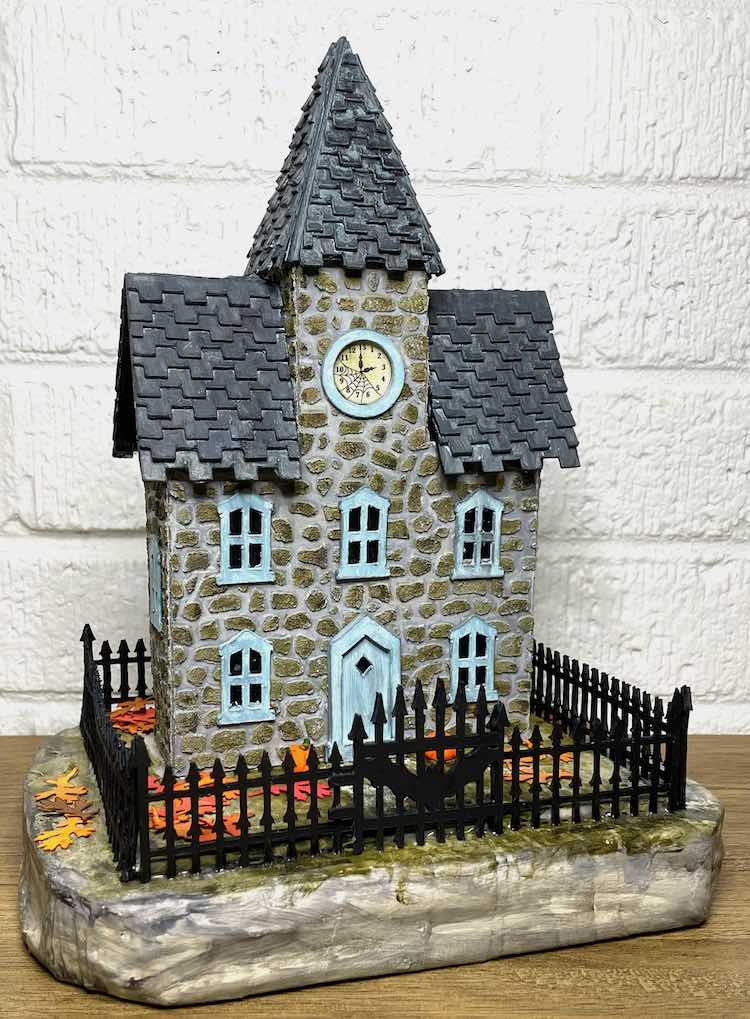
I find that the fence is much better supported when it is adhered to the sides of the base, not on top of the base. For contrast, see the Stone Clock house below showing the fence on top of base.
The Stone Clock House has a fence on top of the base which works well for this house. Just want to make sure that you can see the contrasting ways of applying fencing to a house.
Questions?
If you have any questions about making this Crayon fence, just email me - [email protected]. I am always happy to help.
Remember to Pin this to your Favorite Pinterest Board
That way you can remember where you found this project.
Leave a Reply