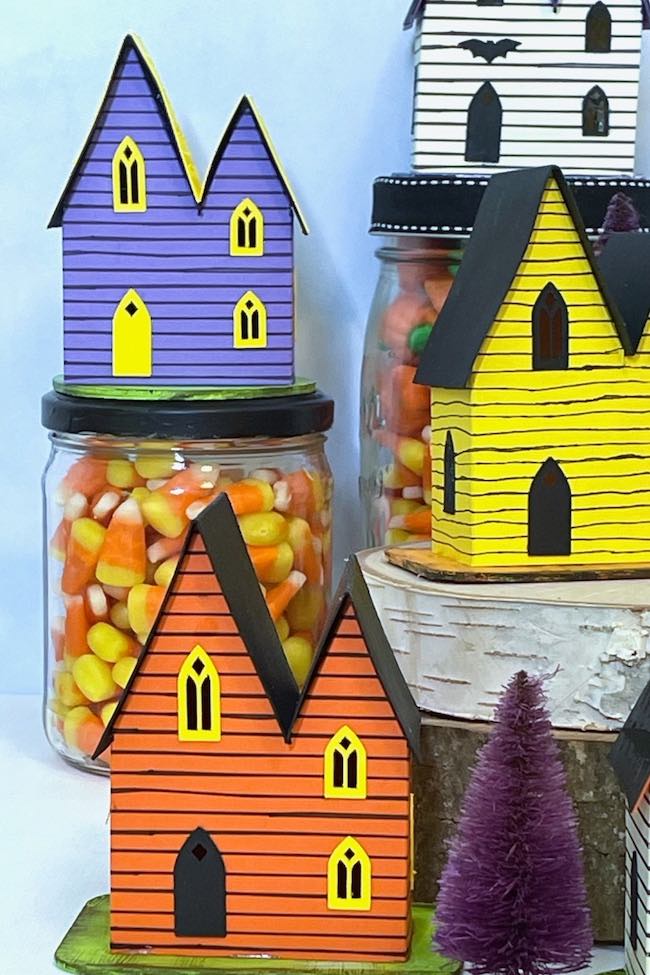
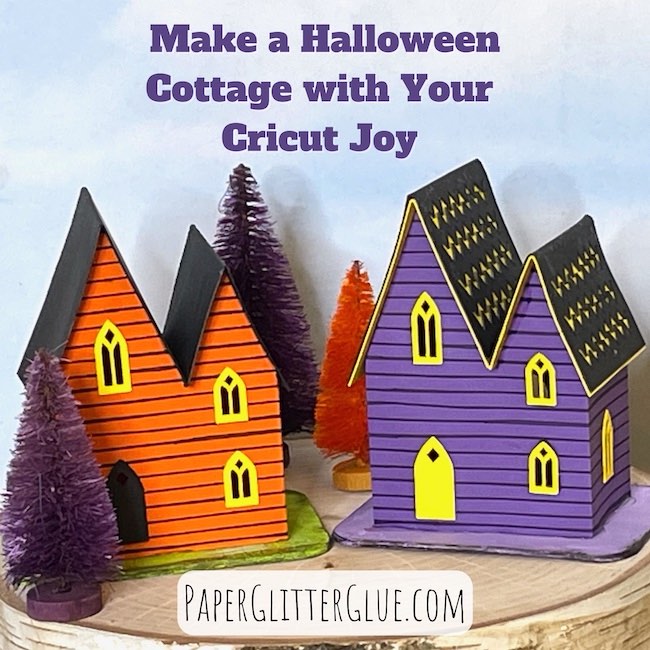
In this fun Halloween-themed project, you'll learn to construct a delightful tiny Halloween cottage with your Cricut Joy, but the pattern also works with the new Cricut Joy Xtra, a Cricut Maker or Explore Air. I'll show you how to make score lines to achieve precise folds and use your machines's drawing capabilities to add intricate siding details onto the card stock structure.
Get ready to immerse yourself in a world of miniature spooky charm while honing your crafting skills.

This post contains some affiliate links for your convenience. Click here to read my full disclosure policy.
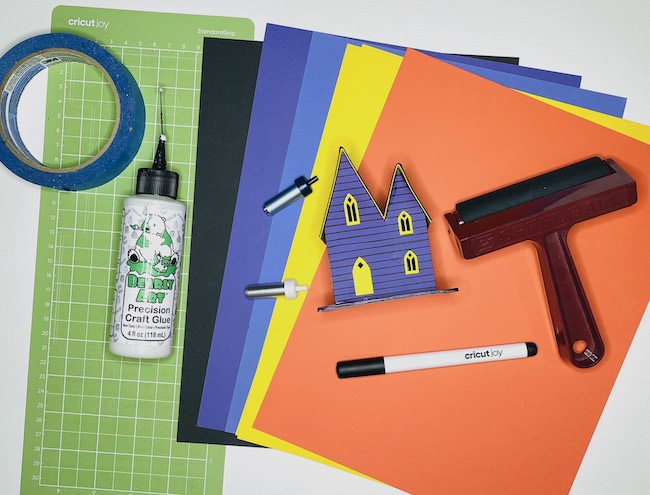
Supplies to make the Halloween Cottage with your Cricut Joy
- Card stock 110# (300gsm) is preferred for the body of the house, but 65# card stock works too.
- Glue - I prefer Bearly Art Glue
- Cricut Joy pen
- Cricut Joy Foil tool
- Cricut Joy 4.5" x 12" mat
- Brayer
- Ruler to help with folding along score lines
- Optional - Adapter for Cricut Scoring stylus
- Optional - Cricut Scoring Stylus
Directions to cut out the pattern with Your Cricut Joy
- Download the pattern from the folder - Cricut Joy Halloween Cottage SVG files - Design No. 148.
- Click green New Project on Cricut Design Space. Be sure you have chosen the Joy as your machine.
- Next, the click upload on the Cricut Canvas screen.
- Upload the Halloween Cottage for Cricut Joy paperglitterglue SVG.svg file. This is the file that we need to work with. The other file is just shapes to make the bases for the houses to sit on.
- Select the file that you just uploaded. It has a green line around it.
- Click Add to Canvas.
- Reduce the size on the screen so you can see the entire easily. The size button on the screen is on the lower left hand corner. This does not reduce the actual file, just how you see it on the screen.
- Ungroup the file - the ungroup file is under the layers panel on the upper left.
- First let's work on the score lines on the roof pieces.
- Select one of the roof pieces, then select the vertical line which is grouped with the roof piece. That's the score line.
- Go to the Operations menu on the upper right hand side.
- I draw score lines in red so the Color box is red.
- You have 2 main choices under the Cricut Joy Operations menu - Cut and Draw. Under draw you have 2 choices - Pen and Foil.
- For this demonstration, I used the Foil tool for making score lines. Click on Foil.
- Next select the rectangular roof piece with this score line and attach so you Cricut Joy knows that this line belongs to this piece.
- Do the same thing for the other rectangular roof piece.
- I group the two roof pieces together click the eye icon beside the group to hide them temporarily while I make the changes to the house portion.
- Click on the house pattern shape.
- Next select the dark shape, the first shape under the house group.
- Go to the operations menu and choose Pen. Now you can see how the siding looks when it is drawn.
- Choose the next set of lines in the house group and select Foil.
- Select the entire house piece and click the attach button at the bottom right of Design Space.
- Cut out your house piece. It fits the 4.5 x 12 inch mat. You must change the Cricut Joy tools 3 times to make the house piece - first the pen, then the foil too, then the blade.
- Cut out the windows and door and the roof pieces.
- Please note: The zigzag shingle roof pieces must be well-adhered to the Cricut Joy mat or they will come off the mat and get all messed up. Use your brayer here.
Directions for constructing the Halloween Cottage
- Download the Halloween cottage pattern - Design No. 148 - in the Paper Glitter Glue library.
- Cut out the pieces for the Halloween cottage.
- Fold along all the score lines. Use a ruler if you need help keeping the lines straight.
- Glue on the windows and the door to house.
- Fold the house into a rectangular shape and apply glue to the side glue tab. Adhere the glue tab to the side of the house. Make sure the house is a rectangular shape with 90 degree angles at each corner.
- Apply glue to the roof flap and roof tabs one side at a time. Fold the roof tabs down over the roof flap and adhere.
- Once the roof tabs are glued to the roof flaps, apply glue on the outside of the roof tabs to adhere the roof piece to the gable. Start with the larger roof piece first.
- The longer side of the roof goes on the outside of the house. The shorter side of the roof should fit nicely in the valley between the two gables. Center the roof piece over the gable so that the amount that hangs over the front and back is equal about ¼ inch.
- Test fit the smaller roof piece to make sure it fits on the gable. The top of the roof should touch the top angle of the gable. Depending on how thick your material is, you may have to trim the inner part of the roof piece (the part that goes in the valley) to fit. When you know that the smaller roof piece fits, glue it to the roof.
- Glue on the shingle pieces if you like. Again, you may have to trim the inner piece a bit to fit in the roof valley.
- Make a base for your little house - glue together several layers of cardboard or card stock for a sturdy base.
- Apply a thick bead of glue to the bottom of your house and adhere to the base.
- Admire your cute little Halloween cottage.
More great crafts you can make with your Cricut Joy
If you want to make little houses with your Cricut Joy, check out these patterns:
Leave a Reply